AAMP of Florida AAMP Global RM1802 1-Din Audio Mechless User Manual
AAMP of Florida, Inc. dba AAMP Global 1-Din Audio Mechless
UserManual.wiki
>
AAMP of Florida AAMP Global
>
RM1802 User Manual
User Manual
Navigation menu
Upload a User Manual
Namespaces
Wiki Guide
HTML
PDF
Info
Views
User Manual
Discussion / Help
Navigation
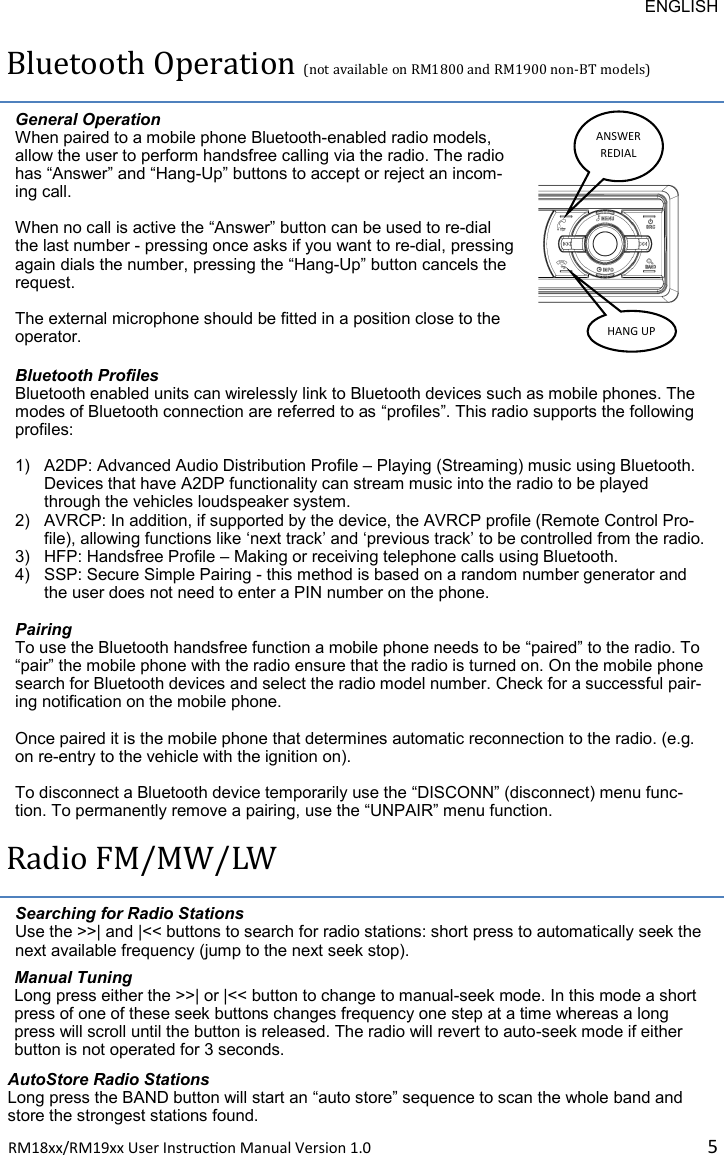
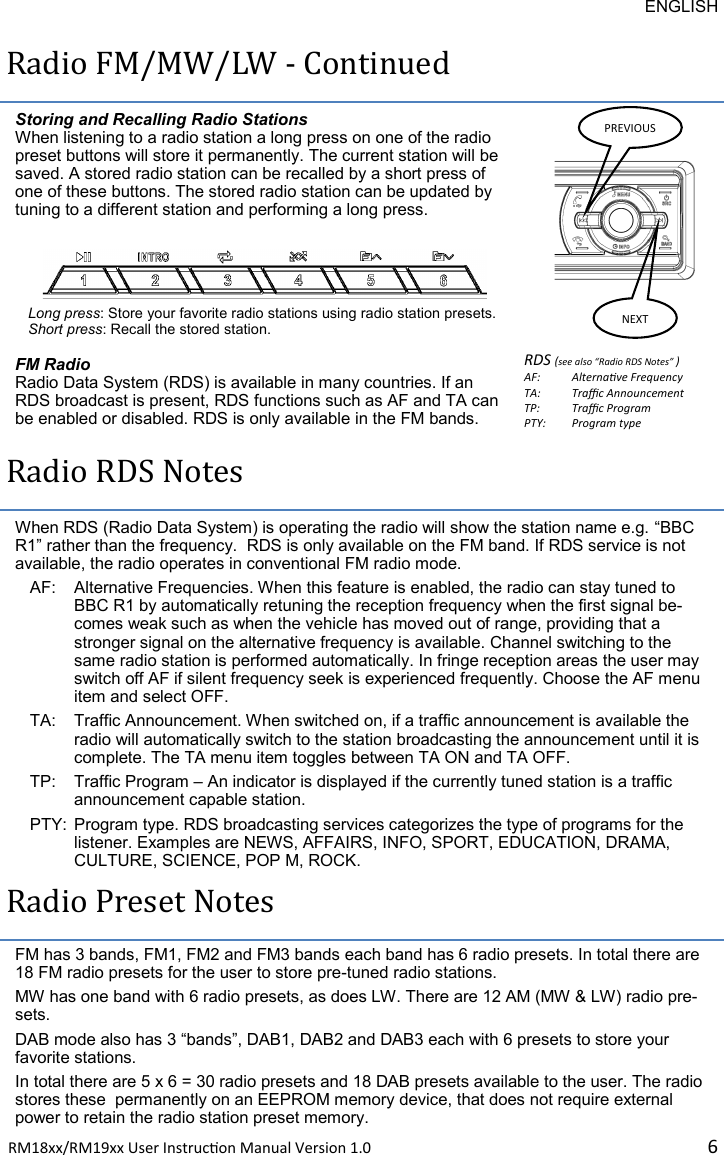
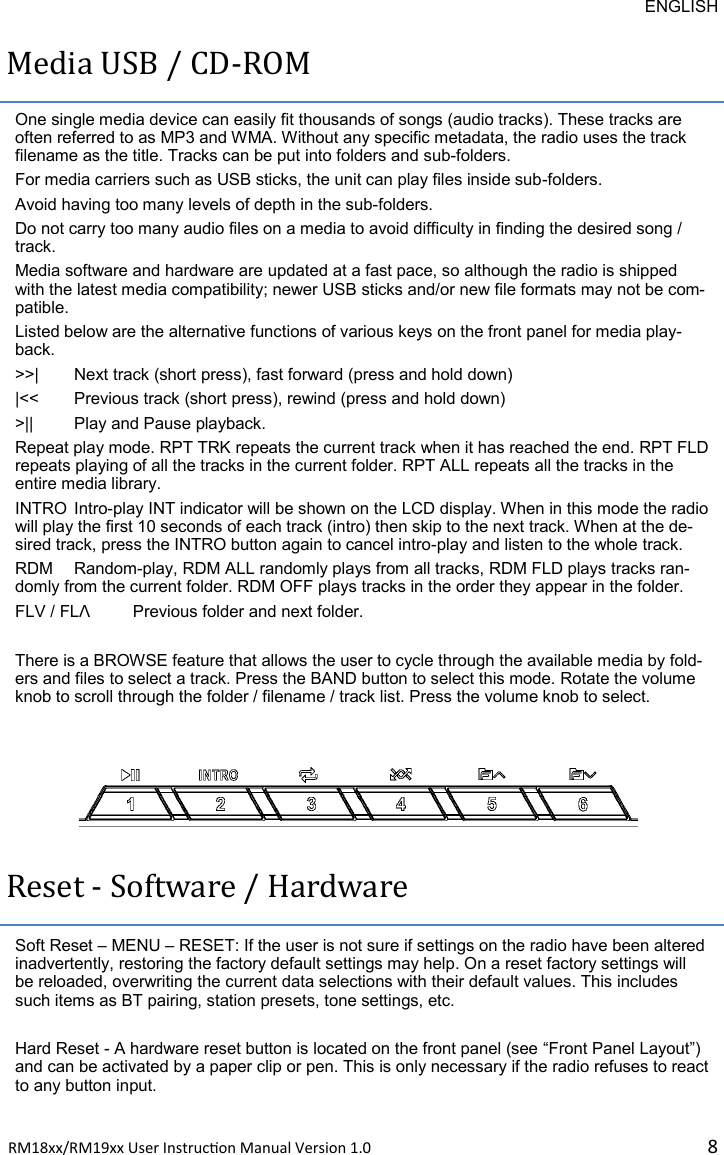
![ENGLISH RM18xx/RM19xx User Instrucon Manual Version 1.0 12Instructions on Disposal and Environmental Protection Do not dispose of this product in the usual household garbage at the end of its lifecycle; hand it over at a collection point for the recycling of electrical and electronic appliances. The symbol on the product, the instructions for use or the packing will inform about the methods for disposal. The materials are recyclable as mentioned in this marking. By recycling, material recycling or other forms of re-utilization of old appliances, you are making an important contribution to protecting our environment. Please inquire at the community administration for the authorized disposal location. Technical TUNER (FM) Frequency range See World Bands below Channel step See World Bands below Sensitivity <= 10 dBµV Stereo separation >= 30 dB SNR >= 50 dB Auto Stop Sens. LOC on 38 dBµV +/- 6dB (LO) Auto Stop Sens. LOC off 18 dBµV +/- 6dB (DX) TUNER (DAB/DAB+) Frequency range VHF Band III 174 - 240MHz Sensitivity <= 12 dBµV SNR >= 65 dB Scan Sensitivity <= 12 dBµV AUDIO Audio Power 40W max. / Channel, 4 Ohms @ 10% THD Speaker Impedance 4 to 8 Ohm Line Output Level 1.7V nominal Line Output SNR >= 70 dB MEDIA (USB, CD) Stereo separation >= 50 dB SNR >= 65 dB Media Codecs WAV, FLAC, MP3, WMA GENERAL Power Supply 12V DC (9 to 18V) Fuse Rating 15A Permanent Memory EEPROM Mounting DIN / ISO Cage TUNER (AM) Frequency range See World Bands below Channel step See World Bands below Sensitivity <= 40 dBµV SNR >= 40 dB Auto Stop Sens. LOC on 55 dBµV +/- 6dB (LO) Auto Stop Sens. LOC off 33 dBµV +/- 6dB (DX) Industry Canada (IC) Warning This device complies with Industry Canada’s license-exempt RSSs. Operation is subject to the following two conditions: This device may not cause interference, and This device must accept any interference, including interference that may cause undesired operation of the device. FCC Statement 1. This device complies with Part 15 of the FCC Rules. Operation is subject to the following two conditions: a) This device may not cause harmful interference, and b) This device must accept any interference received, including interference that may cause undesired operation. 2. any Changes or modifications not expressly approved by the party responsible for compliance could void the user's authority to operate the equipment. NOTE: This equipment has been tested and found to comply with the limits for a Class B digital device, pursuant to Part 15 of the FCC Rules. These limits are designed to provide reasonable protection against harmful interference in a residential installation. This equipment generates uses and can radiate radio frequency energy and, if not installed and used in accordance with the instructions, may cause harmful interference to radio communications. However, there is no guarantee that interference will not occur in a particular installation. If this equipment does cause harmful interference to radio or television reception, which can be determined by turning the equipment off and on, the user is encouraged to try to correct the interference by one or more of the following measures: Reorient or relocate the receiving antenna. Increase the separation between the equipment and receiver. Connect the equipment into an outlet on a circuit different from that to which the receiver is connected. Consult the dealer or an experienced radio/TV technician for help. CD Player Models contain a CLASS 1 LASER PRODUCT Complies with 21 CFR 1040.10 and 1040.11 except for deviations pursuant to Laser Notice No. 50, dated June 24, 2007 FCC Radiation Exposure Statement This equipment complies with FCC radiation exposure limits set forth for an uncontrolled environment. This equipment should be installed and operated with minimum distance 20cm between the radiator & your body World Bands FM Frequency [MHz] AM MW Frequency [kHz] AM LW Frequency [kHz] Start End Step [kHz] Start End Step [kHz] Start End Step [kHz] EUROPE 87.5 108.0 50 522 1620 9 144 288 1 USA 87.5 107.9 200 530 1710 10 --- --- --- LATIN 87.5 108.0 100 530 1710 10 --- --- --- M-EAST 87.5 108.0 100 522 1620 9 144 288 1 AUST-LIA 87.5 108.0 100 522 1710 9 144 288 1 ASIA 87.5 108.0 100 522 1620 9 144 288 1 JAPAN 76.0 90.0 100 522 1629 9 --- --- --- RUSSIA 87.5 108.0 50 522 1620 9 144 288 1 RUSSIA (FM3) 65.0 74.0 10 522 1620 9 144 288 1 Bluetooth Models Bluetooth Frequency : 2.402 - 2.480 GHz Output Power : +4dBm (max.), 0dBm (Ave.), Power Class2 Le présent appareil est conforme aux CNR d'Industrie Canada applicables aux appareils radio exempts de licence. L'exploitation est autorisée aux deux conditions suivantes : (1) l'appareil ne doit pas produire de brouillage, et (2) l'utilisateur de l'appareil doit accepter tout brouillage radioélectrique subi, même si le brouillage est susceptible d'en compromettre le fonctionnement."](https://usermanual.wiki/AAMP-of-Florida-AAMP-Global/RM1802/User-Guide-4003515-Page-12.png)