ACE ELECTRONICS ONA17AA015 CD MINI STEREO SYSTEM User Manual UserMan
ACE INTERNATIONAL ELECTRONICS LTD CD MINI STEREO SYSTEM UserMan
UserMan

PRODUCT GUIDE
Model: ONA17AA015
CD MINI STEREO SYSTEM
2
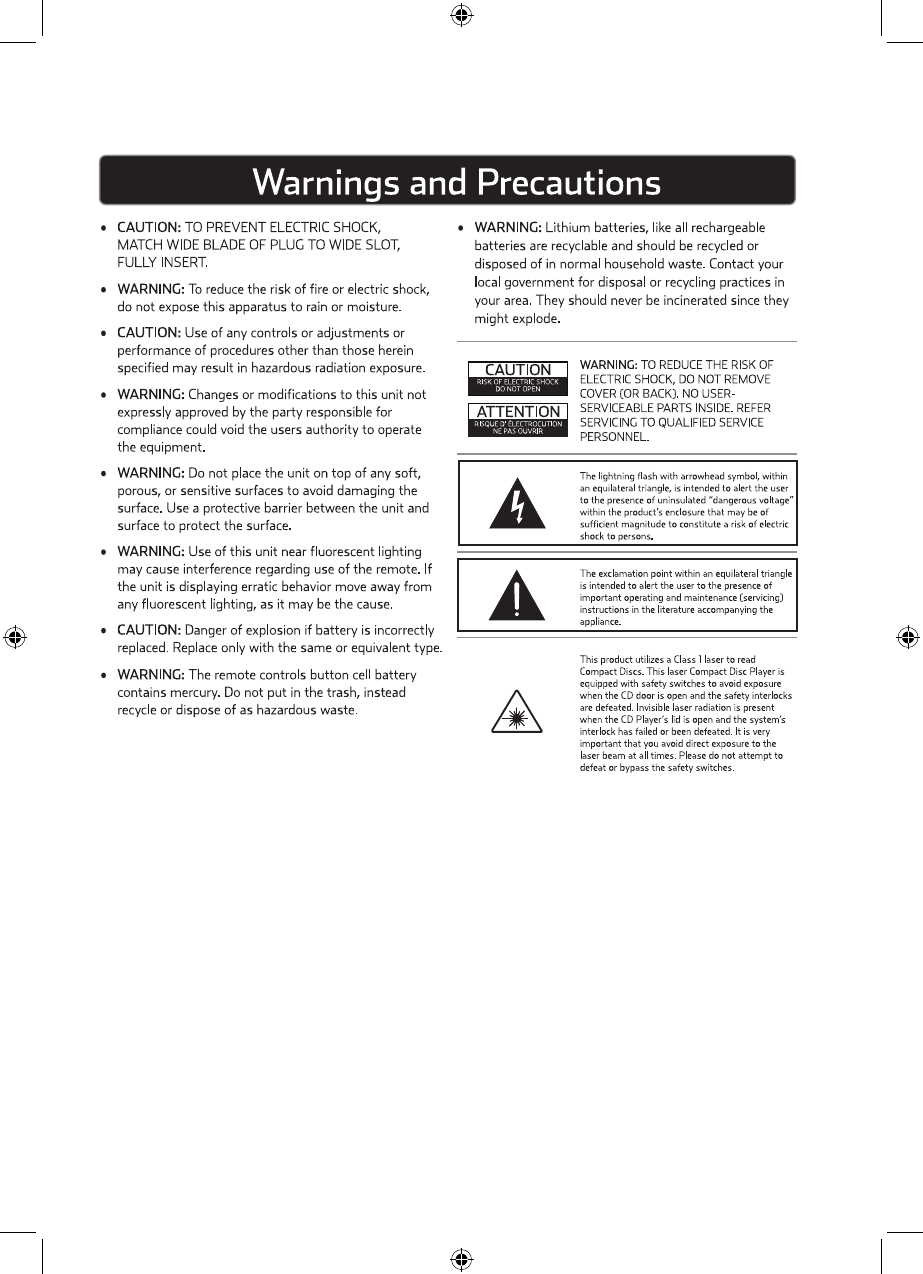
• Do not ingest the battery, Chemical Burn Hazard
• (The remote control supplied with)This product contains a
coin/button cell battery. If the coin/button cell battery is
swallowed, it can cause severe internal burns in just 2 hours
and can lead to death.
• Keep new and used batteries away from children.
• If the battery compartment does not close securely, stop
using the product and keep it away from children.
• If you think batteries might have been swallowed or placed
inside any part of the body, seek immediate medical attention.
WARNING
3
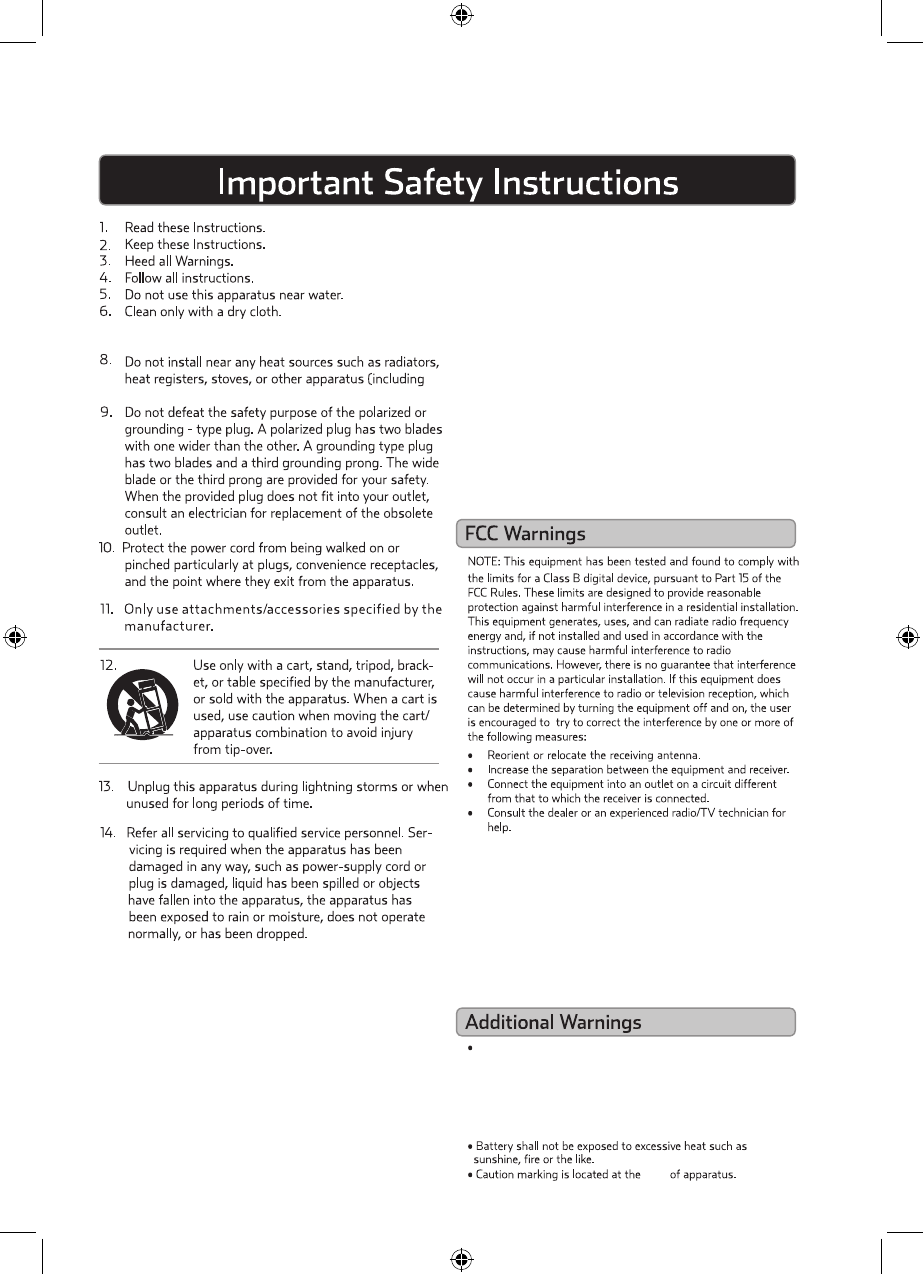
7. Do not block any ventilation openings. Install in accor-
dance with the manufacturer‘s instructions.
back
Do not expose the apparatus to dripping or splashing.
Do not place objects filled with liquids (e.g., vases) on
top of the apparatus.
• Adapter is used as disconnect device and it should remain
readily operable during intended use. In order to disconnect
the apparatus from the mains completely, the adapter should
be disconnected form the mains socket outlet completely.
.
(
amplifiers that produce heat
15. Power Sources - This product should be connected
to a power supply only of the type described in these
operating instructions, or as marked on the unit.
16. Water and Moisture - This product should be kept away
from direct contact with liquids. The apparatus shall not
be exposed to dripping or splashing and that no objects
filled with liquids, such as vases, shall be placed on the
apparatus.
17. CAUTION – Danger of explosion if battery is incorrectly
replaced. Replace only with the same or equivalent type.
Batteries (a battery pack or an installed battery) shall not
be exposes to excessive heat such as sunshine, fire, etc.
19. Do not install this equipment in a confined or "boxed-in"
space such as a bookcase or similar unit, and maintain
good ventilation conditions. The ventilation should not
be impeded by covering the ventilation openings with
items such as newspaper, tablecloths, curtains, etc.
20.
This apparatus is for professional use only.
22. WARNING: Please refer to any important information
(e.g., electrical, safety, etc.) printed on the exterior
bottom enclosure or rear panel before installing or
operating the product.
21. When moving or not using the appliance, secure the
power cord (e.g., wrap it with a cable tie). Be careful
not to damage the power cord. Before using it again,
make sure the power cord has not been damaged. If the
power cord has been damaged at all, bring the unit and
cord to a qualified service technician for repair or
replacement as specified by the manufacturer.
18. Where the mains plug or an appliance c
disconnect device, the disconnect device shall remain re
operable.
NOTICE: This device complies with Part 15 of the FCC Rules.
Operation is subject to the following two conditions: (1) This
device may not cause harmful interference, and (2) This device
must accept any interference received, including interference
FCC RF Radiation Exposure Statement
This equipment complies with FCC RF radiation exposure limits
set forth for an uncontrolled environment. This equipment
should be installed and operated with a minimum distance
of 20 centimeters between the radiator and your body.
oupler is used as the
adily

4
Features
Included
• CD player: CD, CD-R/ RW
• Full-range speakers
• Preset EQ (4)
• Line input
• AM/FM stereo radio
• Station memory presets/AMS(automatic memory store)
• Digital clock
• Remote control
• Timer
• RCA stereo inputs
• Vertical loading CD player.
• Stereo headphone jack
• ONA17AA015
• AC adapter
• Remote control
•Product guide
HOME MUSIC SYSTEM WITH CD PLAYER
SPECIFICATIONS
AC Adapter..............................................................Input :100-240V~50/60Hzz
Output:5V 2.3A
Power Source(Remote Control)..............DC 3V,CR2025,Lithium Battery
Speaker........................................................................................................4ohm x 2
Output Power............................................................................2.5W x 2 10%THD
RADIO SECTION
GENERAL
Frequency Range......................................................................FM:87.5 - 108MHz
Specifications are subject to change and improvement without notice. Actual
product may vary from the images found in this document.
Dimensions..............
Main Unit:6.9in x 3.9in x 9.5in(17.5cm x 9.9cm x 24.2cm)
Speaker: 5.1in x 3.9in x 9.5inx2(13cm x 9.9 cm x 24.2 cm x 2)

5
INTRODUCTION 6
8
9
10
11
SETUP
CD , BLUETOOTH
CLOCK AND ALARM
RADIO, AUXILIARY INPUT, AND LINE INPUT
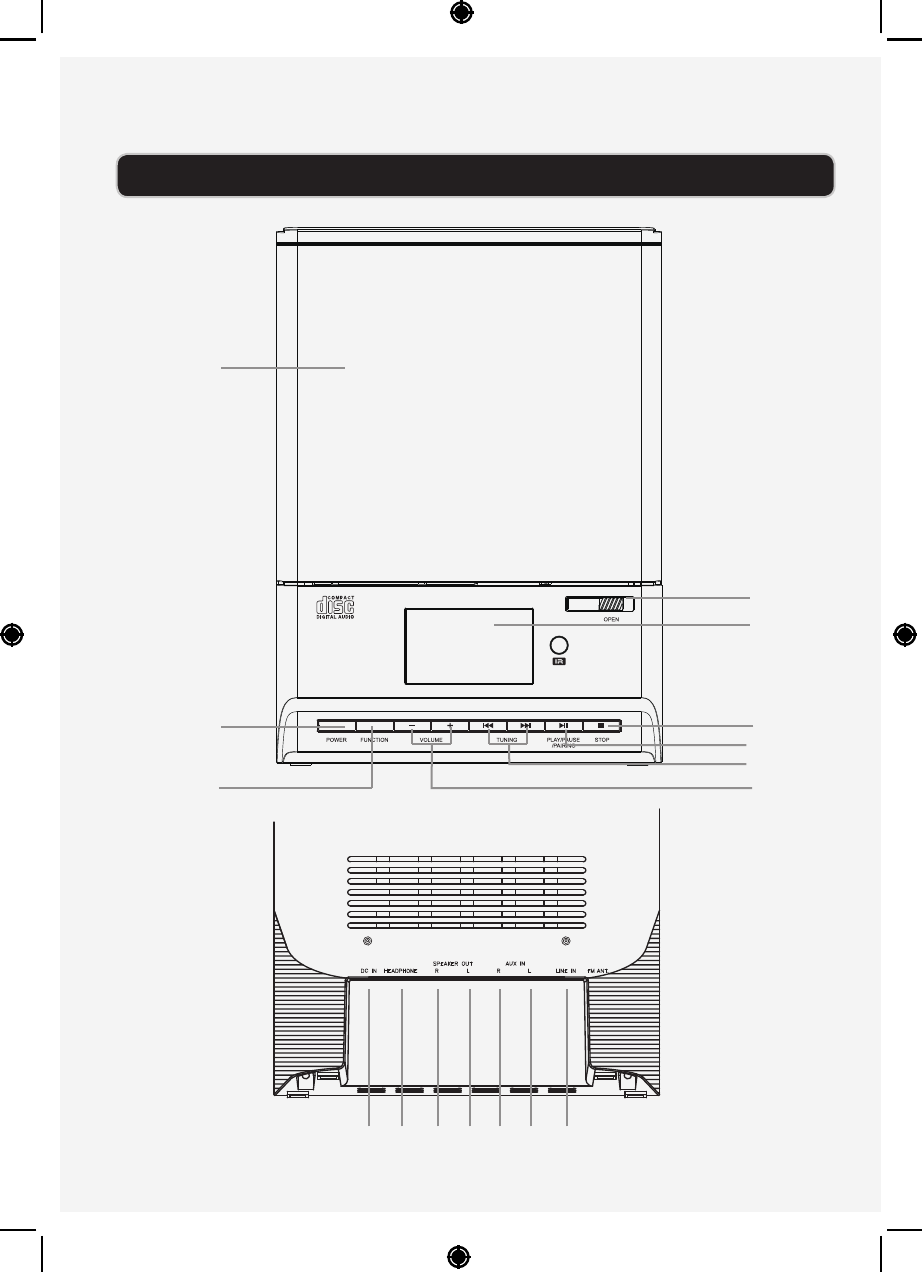
INTRODUCTION
6
1 . CD DOOR
2. POWER
3. FUNCTION
4. OPEN
5. LCD DISPLAY
6. STOP
7.
PLAY/PAUSE/PAIRING
8.
10 11 12 13 14 15 16
.
10 . DC IN
11 . HEADPHONE
12 . SPEAKER OUT -R
13 . SPEAKER OUT -L
14 . AUX IN-R
15 . AUX IN-L
16 . LINE IN
TUNING
VOLUME9
1
2
3
4
5
6
9
8
7
STANDBY
PAIRING
FUNCTION
CLK PROG
7
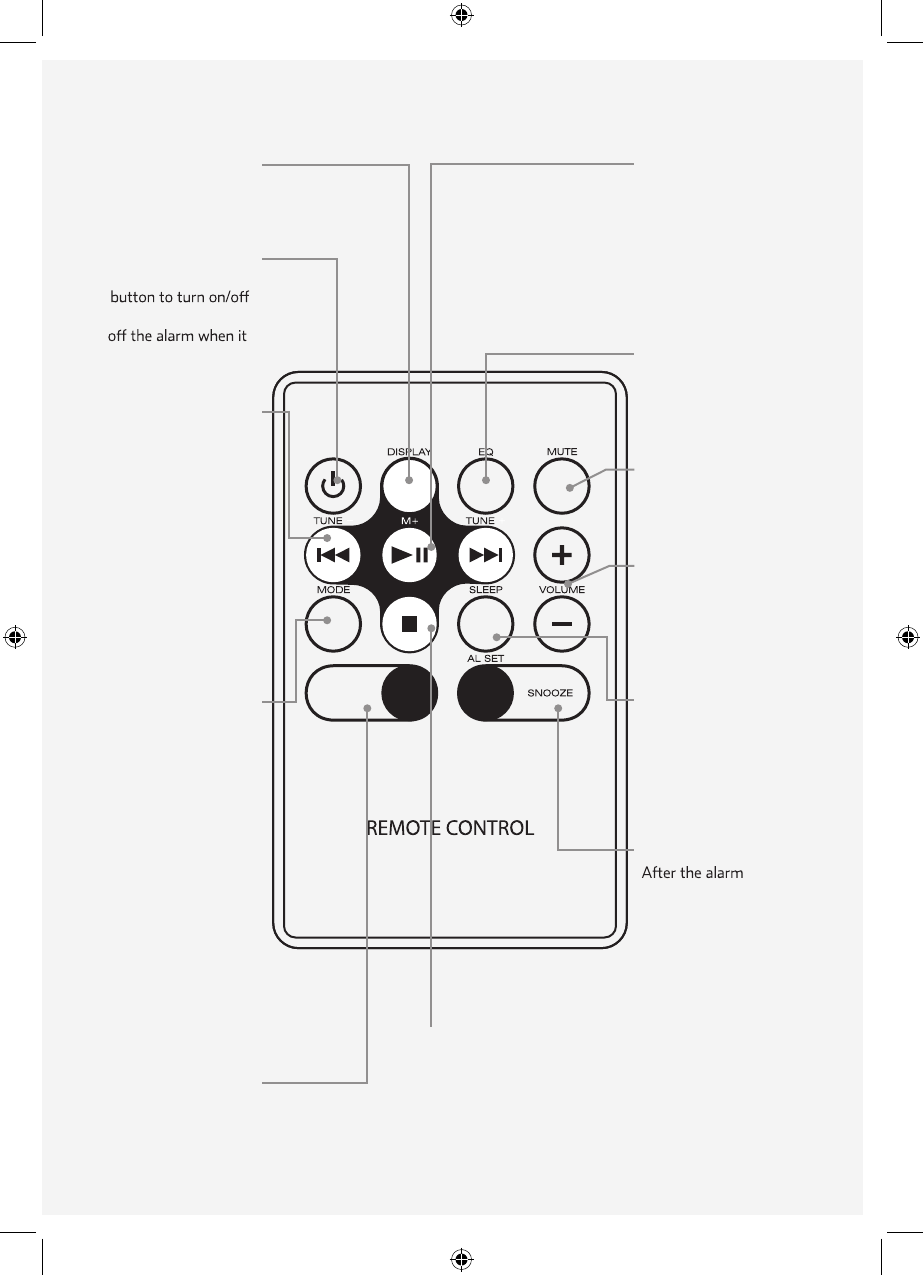
DISPLAY
Press to view the
clock on the LCD
display.
STANDBY
Press the STANDBY
the unit. Press it to turn
has sounded.
TUNE/SKIP/
SEARCH
In radio mode, press
the TUNE/SKIP/
SEARCH button to
tune the AM or FM
radio frequency.
In CD mode, press
it to select the tracks.
Long press to search the
track with a high speed.
MODE/CLK PROG
press the MODE/
When playing a CD,
CLK PROG button
once to repeat a single
song and twice to repeat
an entire album.
When CD is stopped,
When the unit is OFF,
Press it to program
a CD.
press to set the clock.
In Radio mode,
press it to save an AM
or FM radio station.
FUNCTION
Press the FUNCTION
button to switch
CD, Radio,
and AUX mode,
and Bluetooth.
STOP
In CD mode, press the
STOP button to stop
a CD during play.
In radio mode, press it
to switch FM radio mode.
PLAY/PAUSE/PAIRING/M+
In CD mode, press the PLAY/
PAUSE/PAIRING/M+ button
to play or pause a loaded CD.
to recall the saved AM or FM
In radio mode, press the button
radio station.In bluetooth mode,
long press to disconnect.
EQ
Press the EQ button to
switch between Rock,Pop,
Jazz,or Classic EQ settings.
MUTE
Press the MUTE button
to decrease the
volume entirely.
VOLUME
Press the VOLUME
buttons to increase
or decrease the volume
level.
SLEEP/ALARM SET
Press the SLEEP/ALARM
SET button to set the
when the unit is turned OFF.
press button to chose FM
mono or ST.
sleep timer.
Press it to set the alarm
SNOOZE
press the SNOOZE
sounds,
button to delay the
alarm for an additional
9 minutes.In radio mode,
8
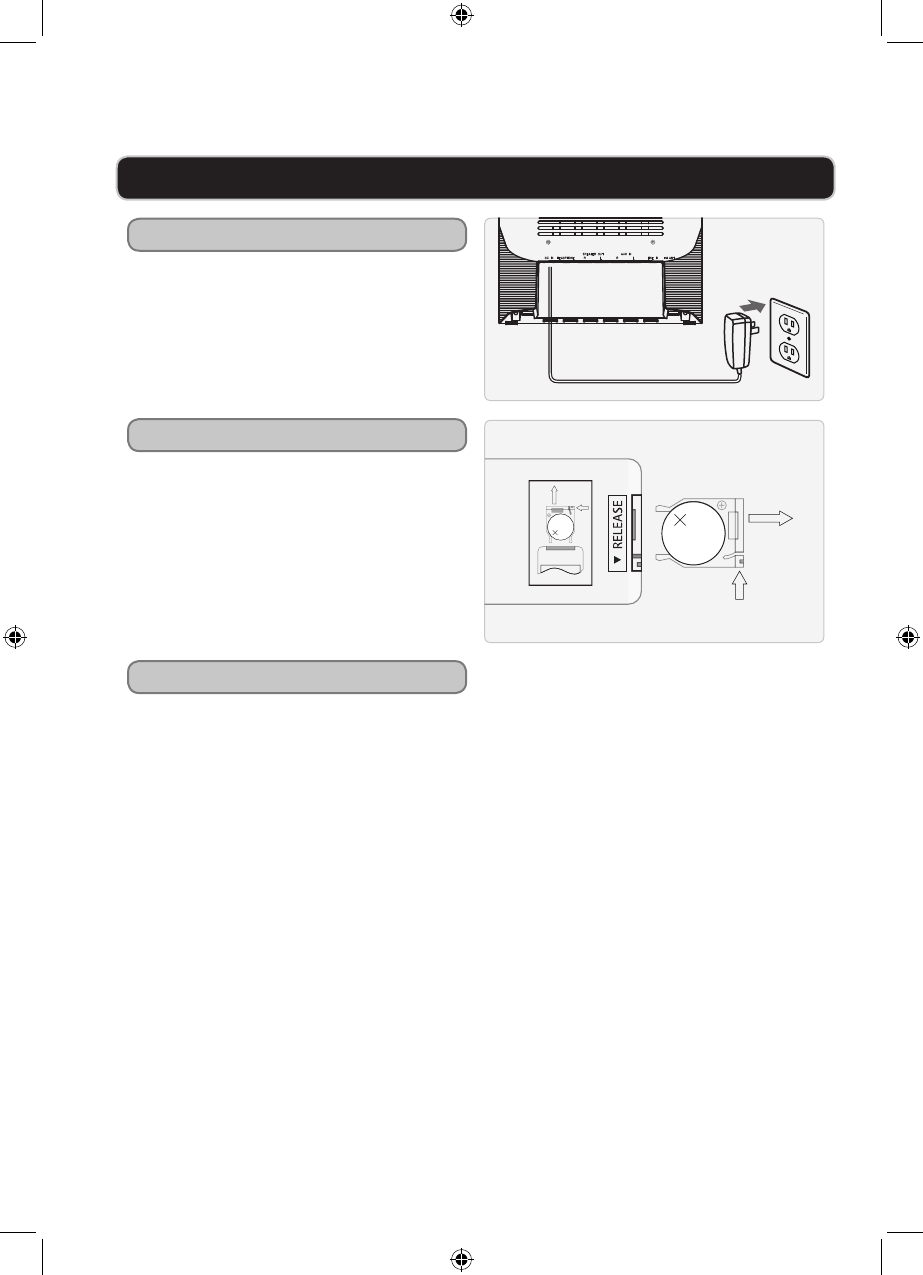
Power
Speakers
SETUP
Plug the attached 5V/2.3A adapter into
a standard AC power outlet to power
the home theater system.
Plug the speaker cables into the
corresponding colored speaker
outputs.
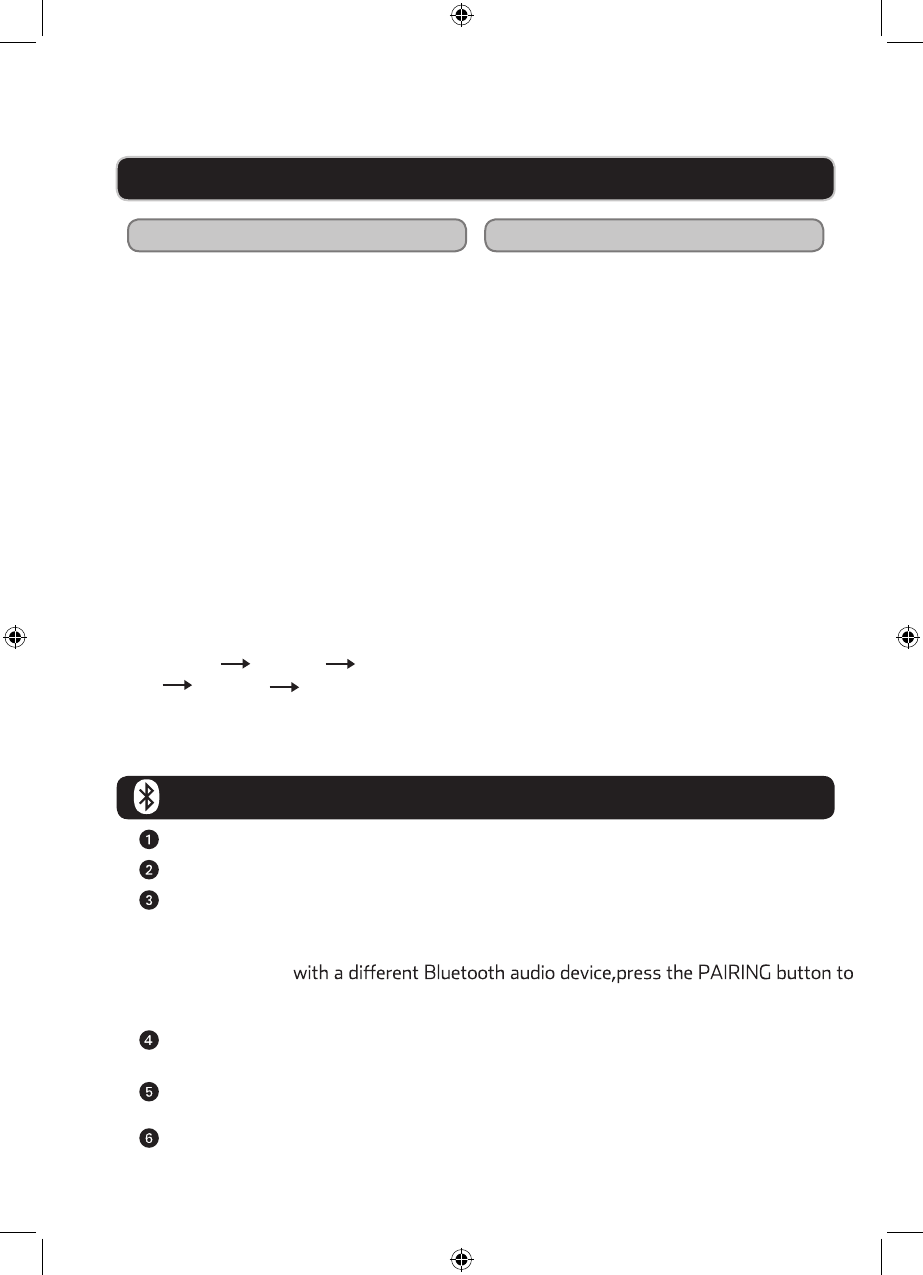
Remote
Requires 1 CR2025 battery (pre-
installed)
LITHIUM BATTERY
CR 2025
3V
CR2025
PUSH
OPEN
LITHIUM BATTERY
CR 2025
3V
CR2025
PUSH
OPEN
CD
Playing a CD Programming a CD
on this uni
If this is your first time playing a CD
t, remove the cardboard
disc from behind the CD DOOR before
attempting to play an actual CD.
1 Press the OPEN button to
open the CD DOOR.
2 Insert a CD into the unit
P
4
Press the MODE/CLK/PROG button
to select the play mode as following
sequence:
Normal Repeat 1 Repeat all
Random Normal.
ress the
3 Press the POWER button
to turn on the unit.
FUNCTION button until
the unit is in CD mode.
The loaded CD will play automatically.
1 Follow the steps for “Playing a CD”,
then press the STOP/BAND button.
2 Press the MODE/CLK/PROG button.
“PROGRAM”and“ P-01” will appear on
the LCD display, indicating that the unit
is in program mode, and it is ready for
the first track to be selected.
3 Press the SKIP/TUNE buttons to
select the track as your desire.
4 Press the MODE/CLK/PROG button
to select a track.
“P-01” will change to“P-02”.
5
5 Repeat steps 3, 4, and 5 until the
desired CD tracks are programmed.
6 Press the PLAY/PAUSE/M+ button
to play the programmed tracks.
7
tracks,press the MODE/CLK/PROG
button repeatedly in stop mode.
If you went to review the programmed
9
streaming music and audio with Bluetooth wireless
Turn on the unit by pressing the STANDBY Button.
disconnect the current paired Bluetooth audio device or make sure the current
device has been moved out of range.
Please the MODE button to set the unit to “ BT” mode.
Next, press the PAIRING button on the top of the unit
. “ONA17AA015”will appear
ONA17AA015
on your Bluetooth. enabled device Select
your Bluetooth audio device to connect to the ONA17AA015.If you wish to pair the
“ONA17AA015” from the available list and
During playback, press the PLAY / PAUSE
button to pause playback and again
to resume playback
While in STOP mode, you can press SKIP UP + or SKIP DOWN button to select a
aspecific track for playback.
–
To skip forward or backward on the disc, press the SKIP UP + or SKIP DOWN
–
button to skip to the beginning of the next track or the beginning of the previous track

CLOCK AND ALARM
Setting the Clock
Setting the Sleep Timer
Setting the Alarm
Cancelling the Alarm
1 Press the STANDBY button to turn
2 Press the MODE/CLK/PROG button,
the display will flash the time. button the display will flash the time.
3 Press the SKIP/TUNE SKIP/TUNE
buttons to
adjust the hour and minute.
3 Press the buttons to
adjust the hour and minute.
A PM INDICATOR will appear on the
display when the time is set in the PM.
Make sure to set the correct AM/PM as
desired.
4 Press the MODE/CLK/PROG button
to confirm the adjusted time.
1 Press the STANDBY button until the
unit is turned on.
When the unit is on, the POWER button
will not be illuminated red.
2 Press the SLEEP/ALARM SET buton
until “SLEEP” appears on the LCD.
3 Press the SLEEP/ALARM SET button
consecutively to adjust the sleep
timer between 0 and 90 minutes.
4 After the allotted time has expired,
1 Press the SLEEP/ALARM SET button
twice to cancel the ala
Note:
Note:
When the sleep time is 00,It’s meaning
“sleep”icon will disappear.
Note:
rm.
The ALARM icon on the display will
disappear.
2
simply press the SLEEP/ALARM
SET button again.The ALARM icon
will appear on the display.
1 Press the STANDBY button to turn
5 Press the FUNCTION button to
select CD, RADIO, or BUZZER.
For BUZZER mode, the display will
not show any indication.
2 Press and old SLEEP/ALARM SET
A PM INDICATOR will appear on the
display when the time is set in the PM.
Make sure to set the correct AM/PM
as desired.
4 Press the SLEEP/ALARM SET button
to confirm the adjusted alarm time.
An alarm clock icon will appear on the
LCD Display when the alarm is set.
sounded, press the STANDBY button.
10
To search forward or backward on the disc, press and hold the SKIP UP
+
or SKIP
–
DOWN button to search within the track currently playing
.
note:
If the last paired Bluetooth audio device is powered on and within range with
Bluetooth enabled, the device will automatically reconnect to the ONA17AA015.

11
RADIO, AUXILIARY INPUT, AND LINE INPUT
Using the Line Input
1 Tune the radio to the station you
want to save.
2 Press the MODE/CLK/PROG button
to enter the program mode,then
to select a preset number.
press the PLAY/PAUSE/M+
button
3 Press the MODE/CLK/PROG button
again to save the current station.
Repeat steps 1/2/3 to program more
stations.
You can program up to 20 FM
presets and 10 AM presets.
Requires a RCA Cable (not included)
1 Connect an audio device to the
AUXILIARY INPUT.
2 Press the FUNCTION button to set
the unit to AUX mode as indicate
on the LCD Display.
The AUXILIARY INPUT will not work
when a device is connected to the LINE
INPUT.
3 The audio device will play through
the speakers.
play through
the speakers.
The audio device will
Requires a Line Input Cable (not
included)
2 Press the FUNCTION button to set
the unit to AUX mode as indicated
on the LCD Display.
When the LINE INPUT is connected,
the AUXILIARY INPUT will not work.
3
1 Press the STANDBY button until the
unit is turned on.
2 Press the FUNCTION button to set
the unit to Radio mode as indicate
on the LCD Display.
3 Press the STOP button to select
FM radio bands.
adjust the radio frequency.
Using the Auxiliary Input Using the Radio
4
4
P
5 Press and hold “play/pause/M+”to
enter into searching station
automatically.
ress the SKIP/TUNE buttons to
Saving with Program
1 Connect audio devices including
phones, tablets and mp3 players
to the
Note:
Note:
LINE INPUT.