AMOI Electronics F8 GSM Tri-band Digital Mobile Phone User Manual F8 User s Manual
AMOI Electronics Co., Ltd. GSM Tri-band Digital Mobile Phone F8 User s Manual
UserManual.wiki
>
AMOI Electronics
>
F8 User Manual
Users Manual
Navigation menu
Upload a User Manual
Namespaces
Wiki Guide
HTML
PDF
Info
Views
User Manual
Discussion / Help
Navigation

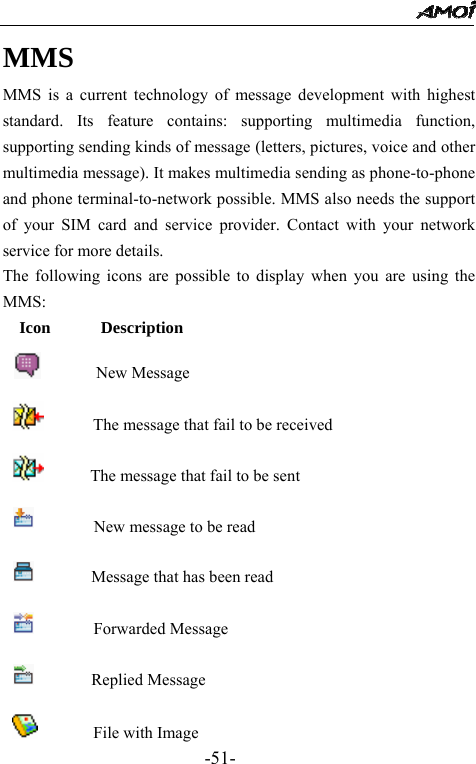
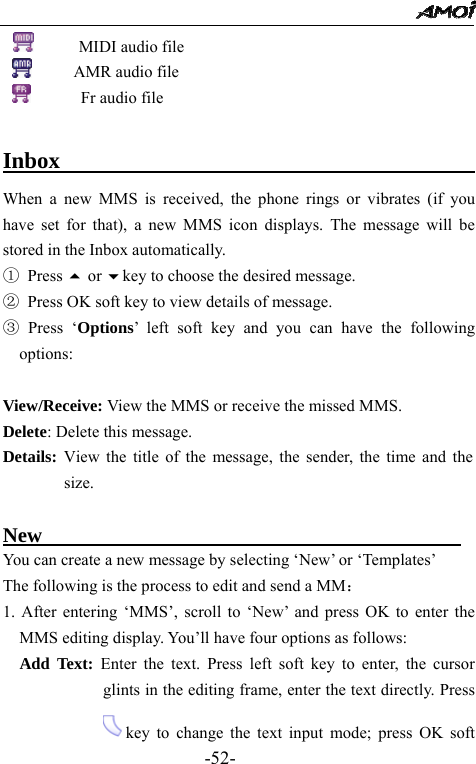
![-29- Symbol . , : ; ? ! “ ‘( ) * + - / = <> # % _ [ ] @ {}$ ~ ^ \ ` | 1 2 3 4 5 6 7 8 Note: The current input method will be the same as the one you last used before you quit the input mode. Insert Symbol Symbols mode enables you to enter symbols into a text message. To enter a symbol, you should: 1. When entering text, press the OK key to enter the ‘eZi Menu’. 2. Enter the ‘Insert Symbol’ and you will see a symbol chart as below. Press the c or d key to select the column which includes the symbol you want to use. 3. Press the corresponding numeric key on the bottom of the chart to insert the desired symbol mark. Insert Template There are 8 daily used templates stored in the phone that allows you to insert directly when editing the message.](https://usermanual.wiki/AMOI-Electronics/F8/User-Guide-540775-Page-29.png)