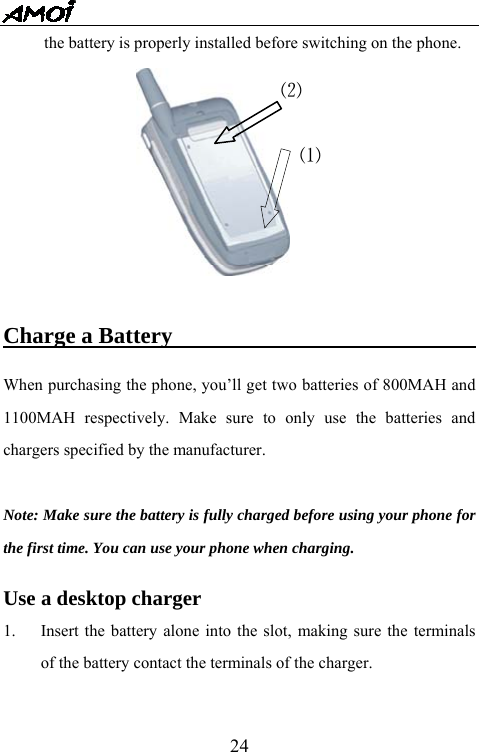
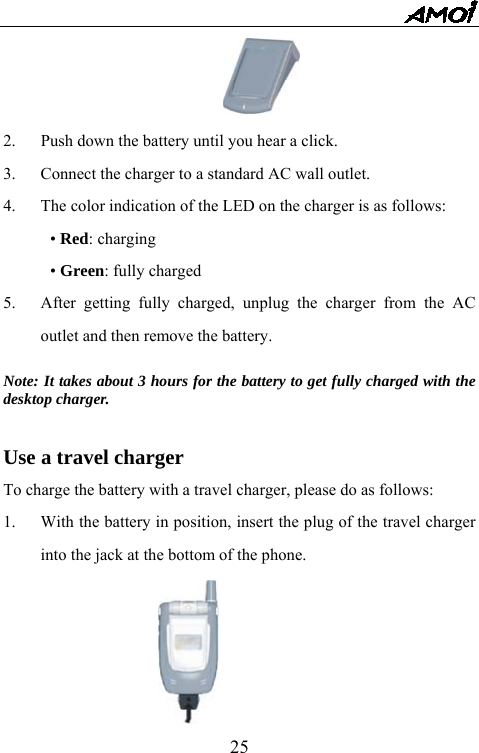
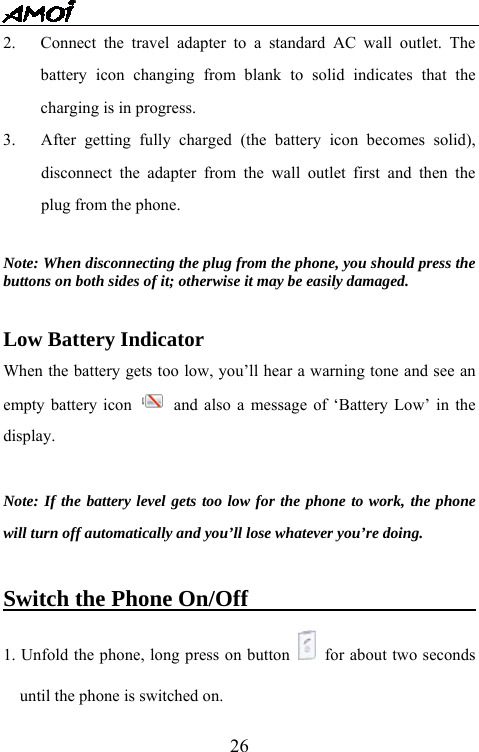
AMOI Electronics V810 Dual Band CDMA Mobile Phone User Manual
AMOI Electronics Co., Ltd. Dual Band CDMA Mobile Phone Users Manual
UserManual.wiki
>
AMOI Electronics
>
V810 User Manual
Users Manual
Navigation menu
Upload a User Manual
Namespaces
Wiki Guide
HTML
PDF
Info
Views
User Manual
Discussion / Help
Navigation


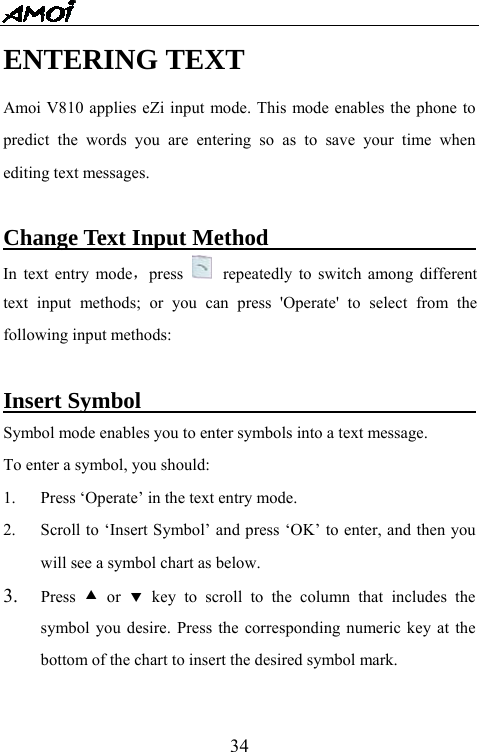
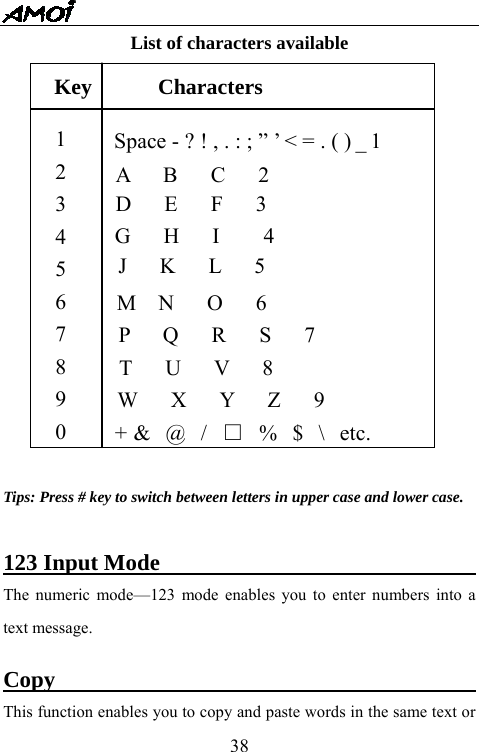
![35 Symbol table . , : ; ? ! “ ‘( ) * + - / = <> # % _ [ ] @ {}$ ~ ^ \` | Insert Template There are 12 template sentences pre-edited in the phone for you to insert into the text message. Insert Phone No. This enables you to select a phone number from the phonebook and insert it into the text. Dictionary You’re allowed to use your own dictionary in Amoi V810 when editing a text message. In English mode, you can provide a new word with the highest priority by adding it into your dictionary. 1. Press ‘Operate’ when editing a text message; 2. Scroll to ‘Dictionary’ and press ‘OK’ to enter;](https://usermanual.wiki/AMOI-Electronics/V810/User-Guide-601546-Page-35.png)