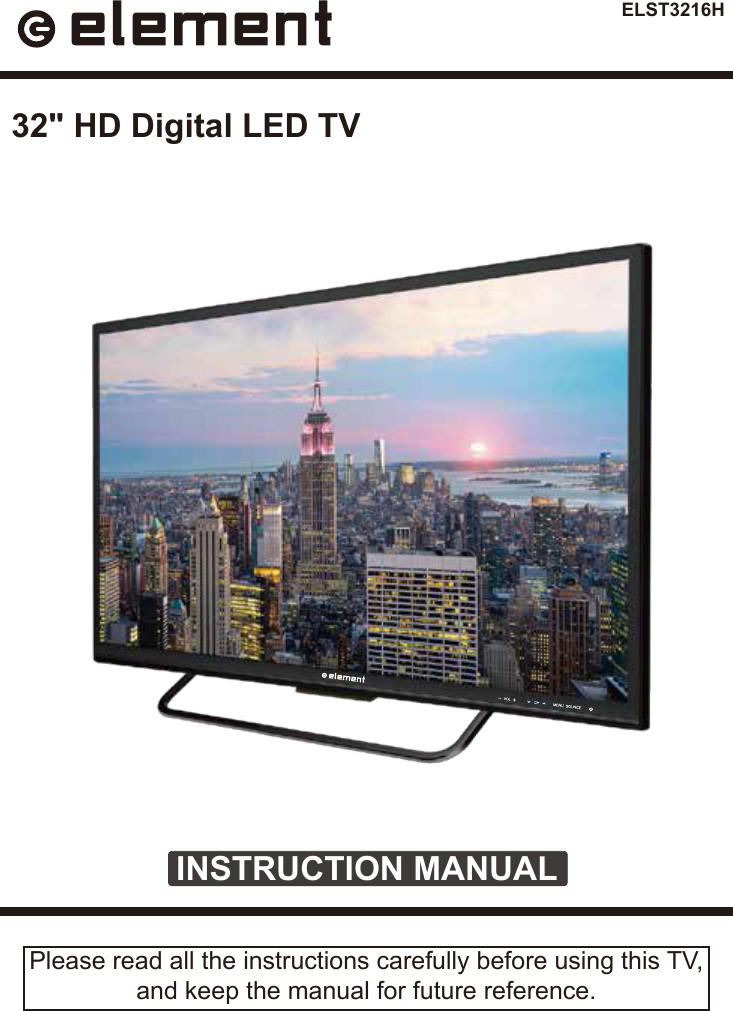
ANHUI KONKA ELECTRONIC ELST3216H 32 inch HD Digital LED TV User Manual Part 1
ANHUI KONKA ELECTRONIC CO., LTD 32 inch HD Digital LED TV Users Manual Part 1
UserManual.wiki
>
ANHUI KONKA ELECTRONIC
>
ELST3216H User Manual
>
Users Manual Part 1
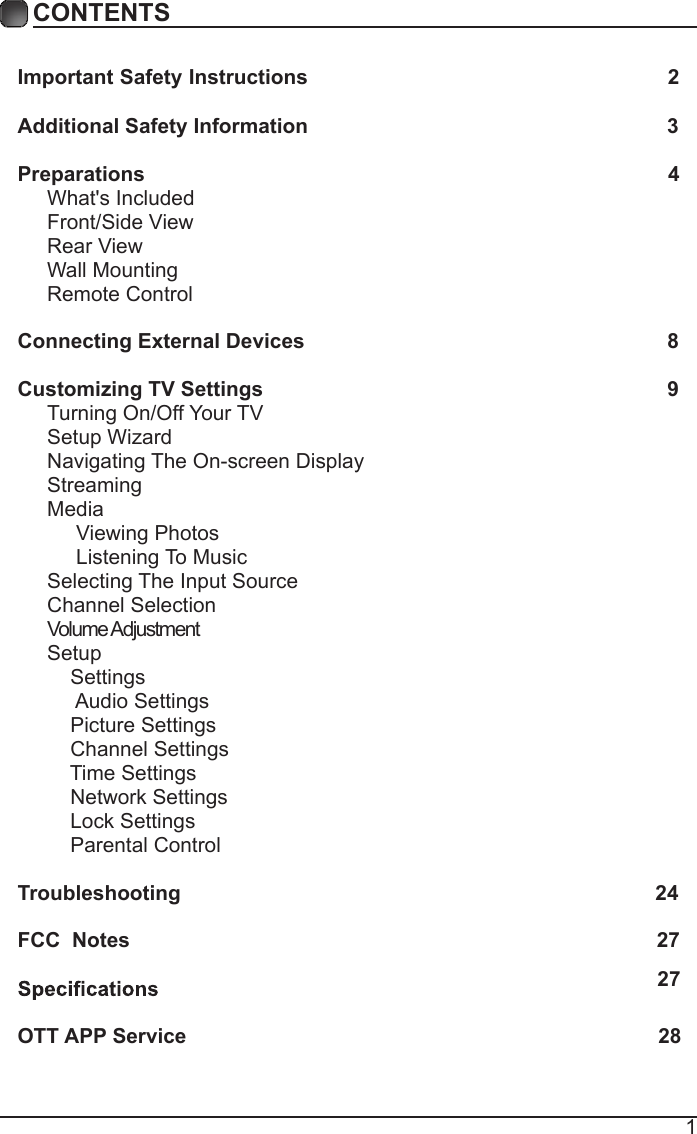
Contents
1.
Users Manual Part 1
2.
User Manual Part 2
Users Manual Part 1
Navigation menu
Upload a User Manual
Namespaces
Wiki Guide
HTML
PDF
Info
Views
User Manual
Discussion / Help
Navigation