APEX DISPLAY AGAM00090RC Dgital photo frame User Manual TAO 5x7 Manual ver 1 0 7 24 2008
APEX DISPLAY CO., LTD. Dgital photo frame TAO 5x7 Manual ver 1 0 7 24 2008
UserManual.wiki
>
APEX DISPLAY
>
AGAM00090RC User Manual
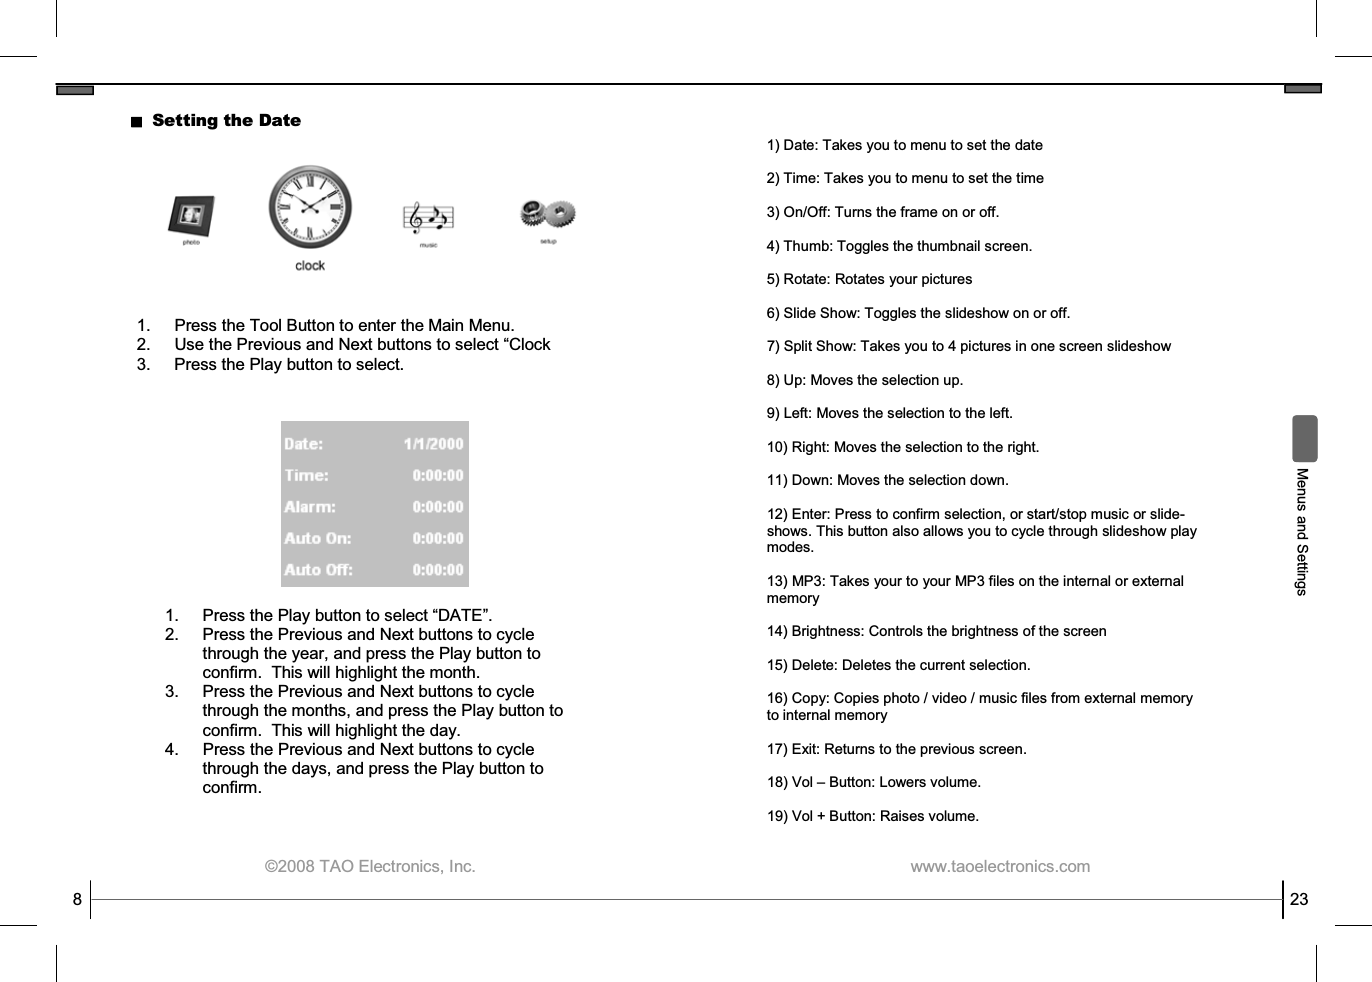
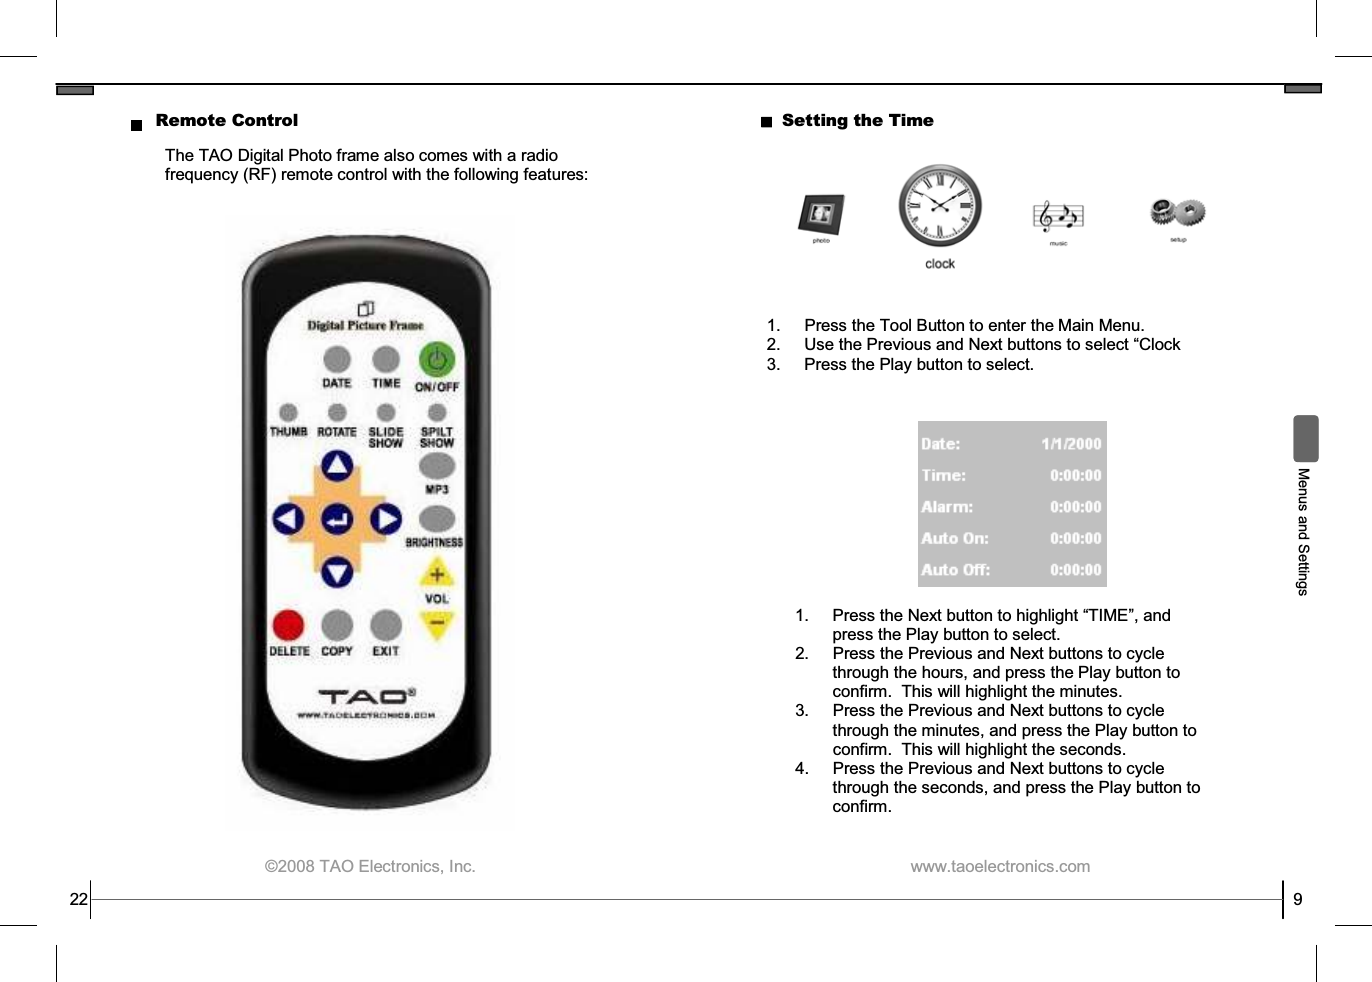
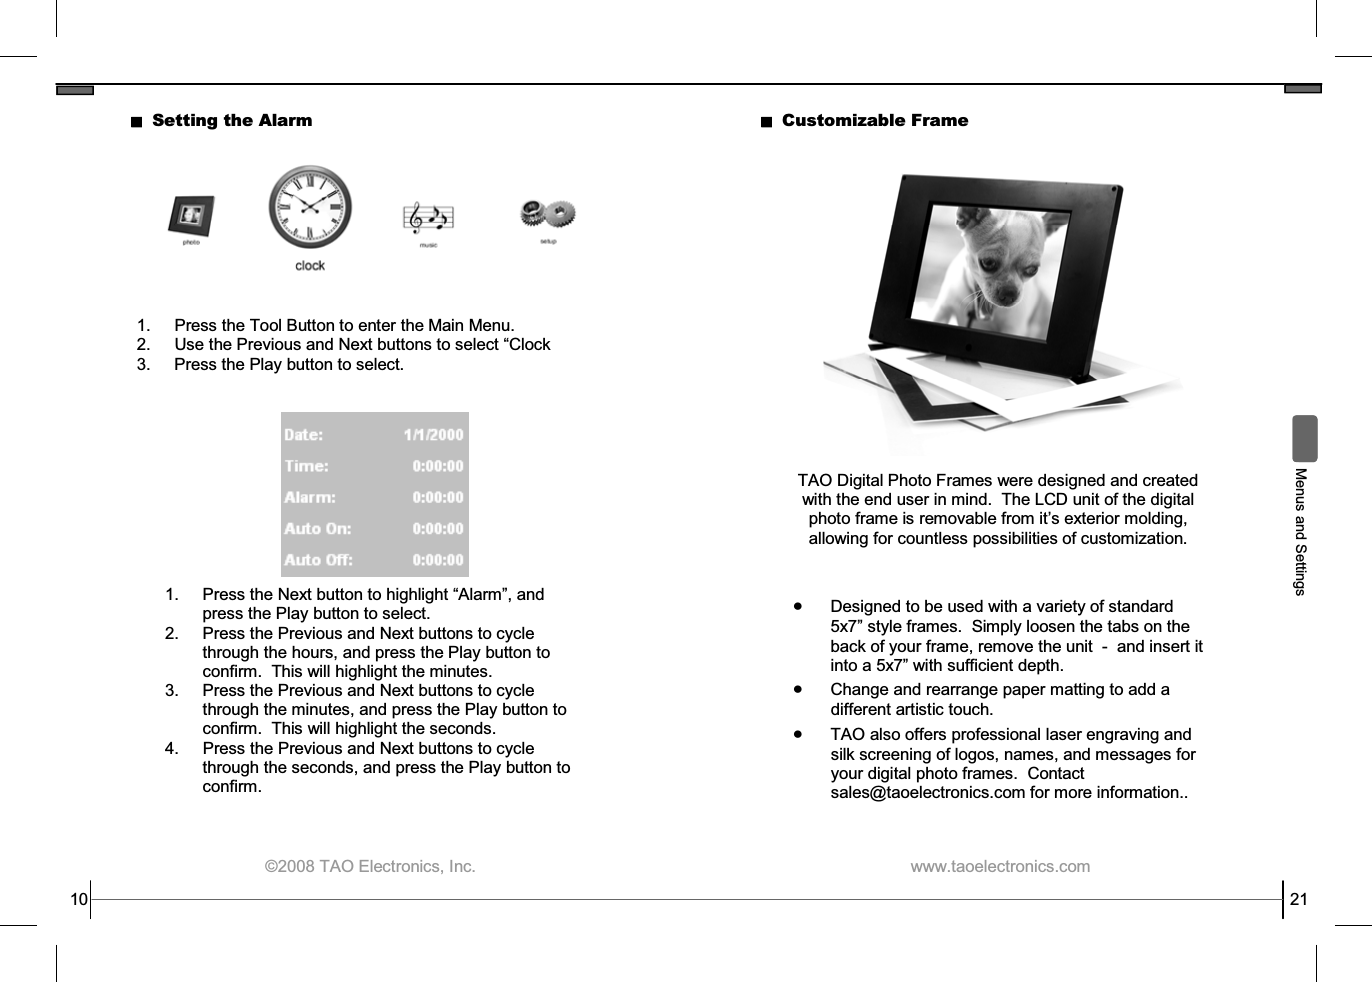
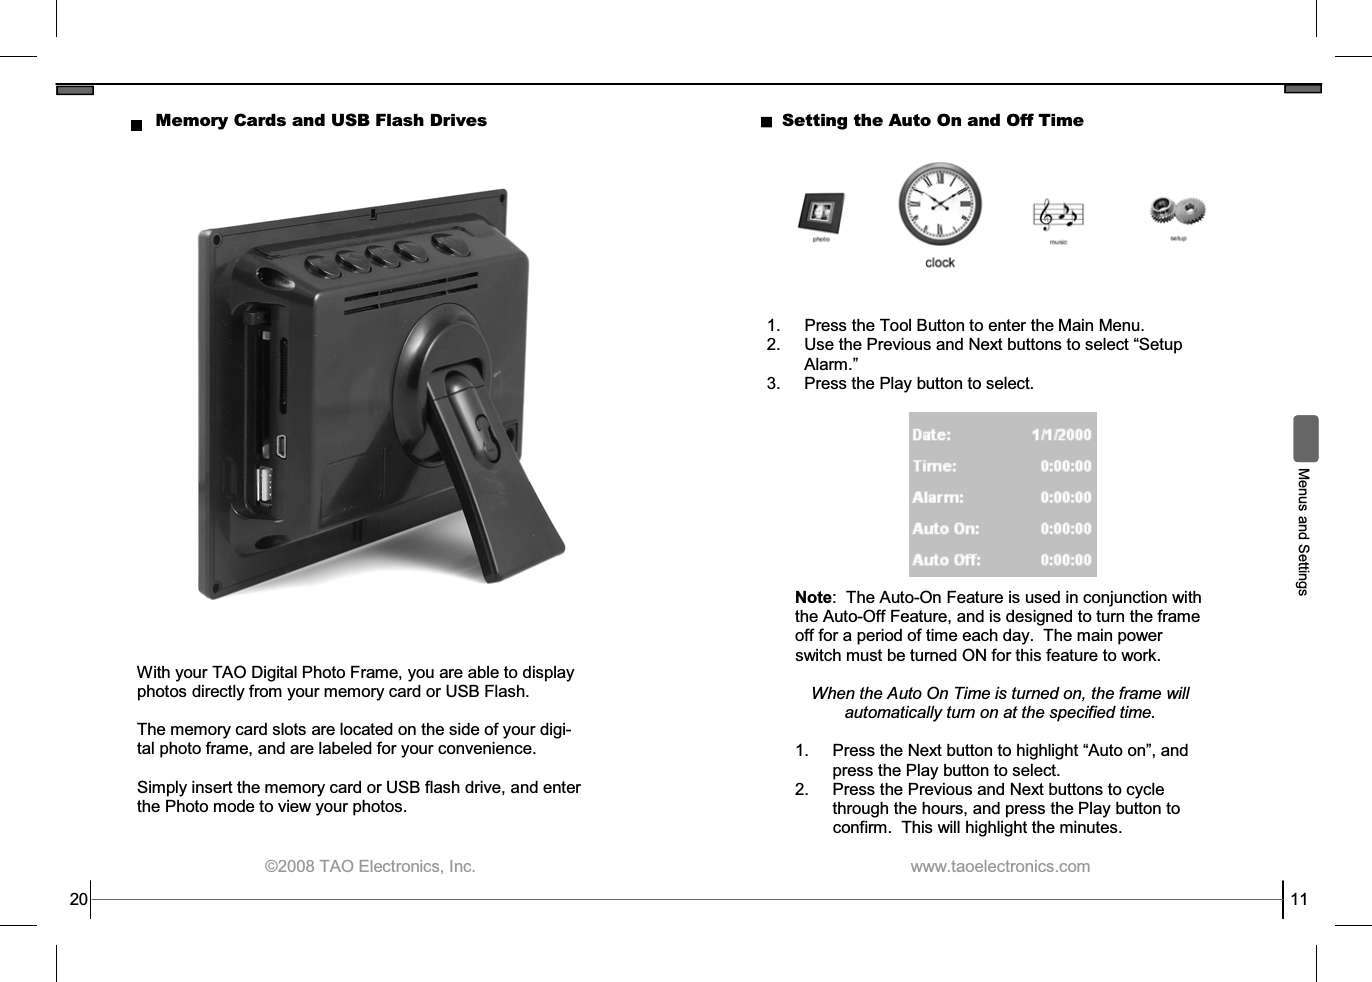
User manual
Navigation menu
Upload a User Manual
Namespaces
Wiki Guide
HTML
PDF
Info
Views
User Manual
Discussion / Help
Navigation