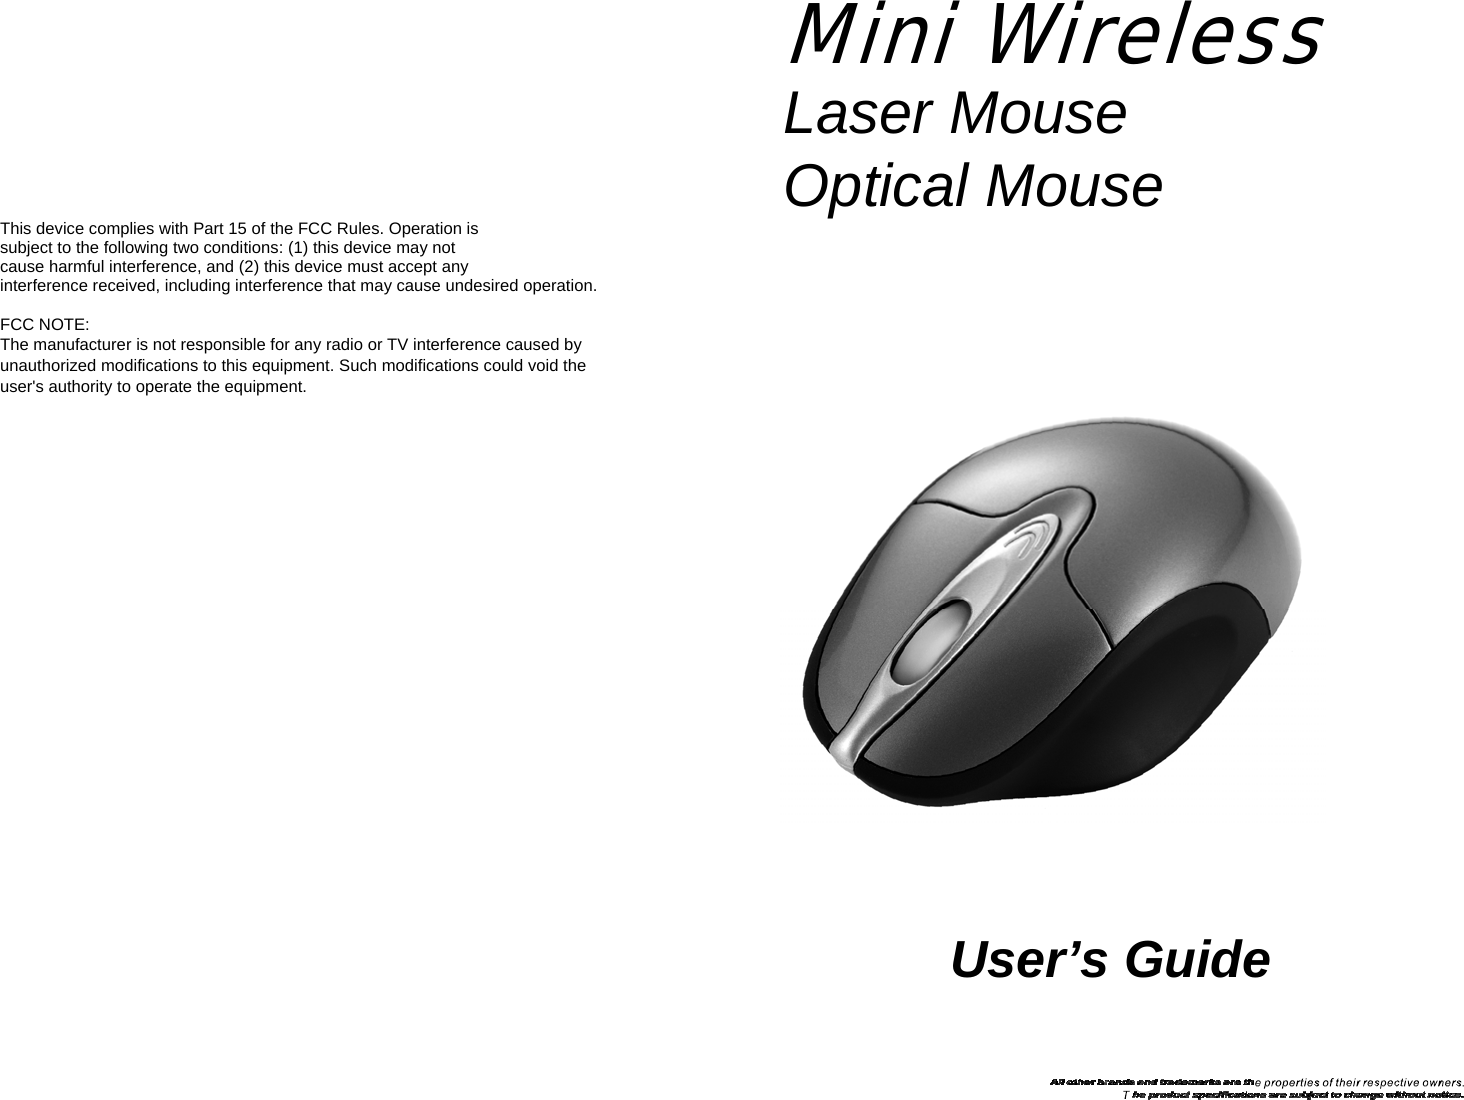
ARESON Technology BL0002 WIRELESS MOUSE User Manual USERS MANUAL
ARESON Technology Corp. WIRELESS MOUSE USERS MANUAL
UserManual.wiki
>
ARESON Technology
>
BL0002 User Manual
USERS MANUAL
Navigation menu
Upload a User Manual
Namespaces
Wiki Guide
HTML
PDF
Info
Views
User Manual
Discussion / Help
Navigation
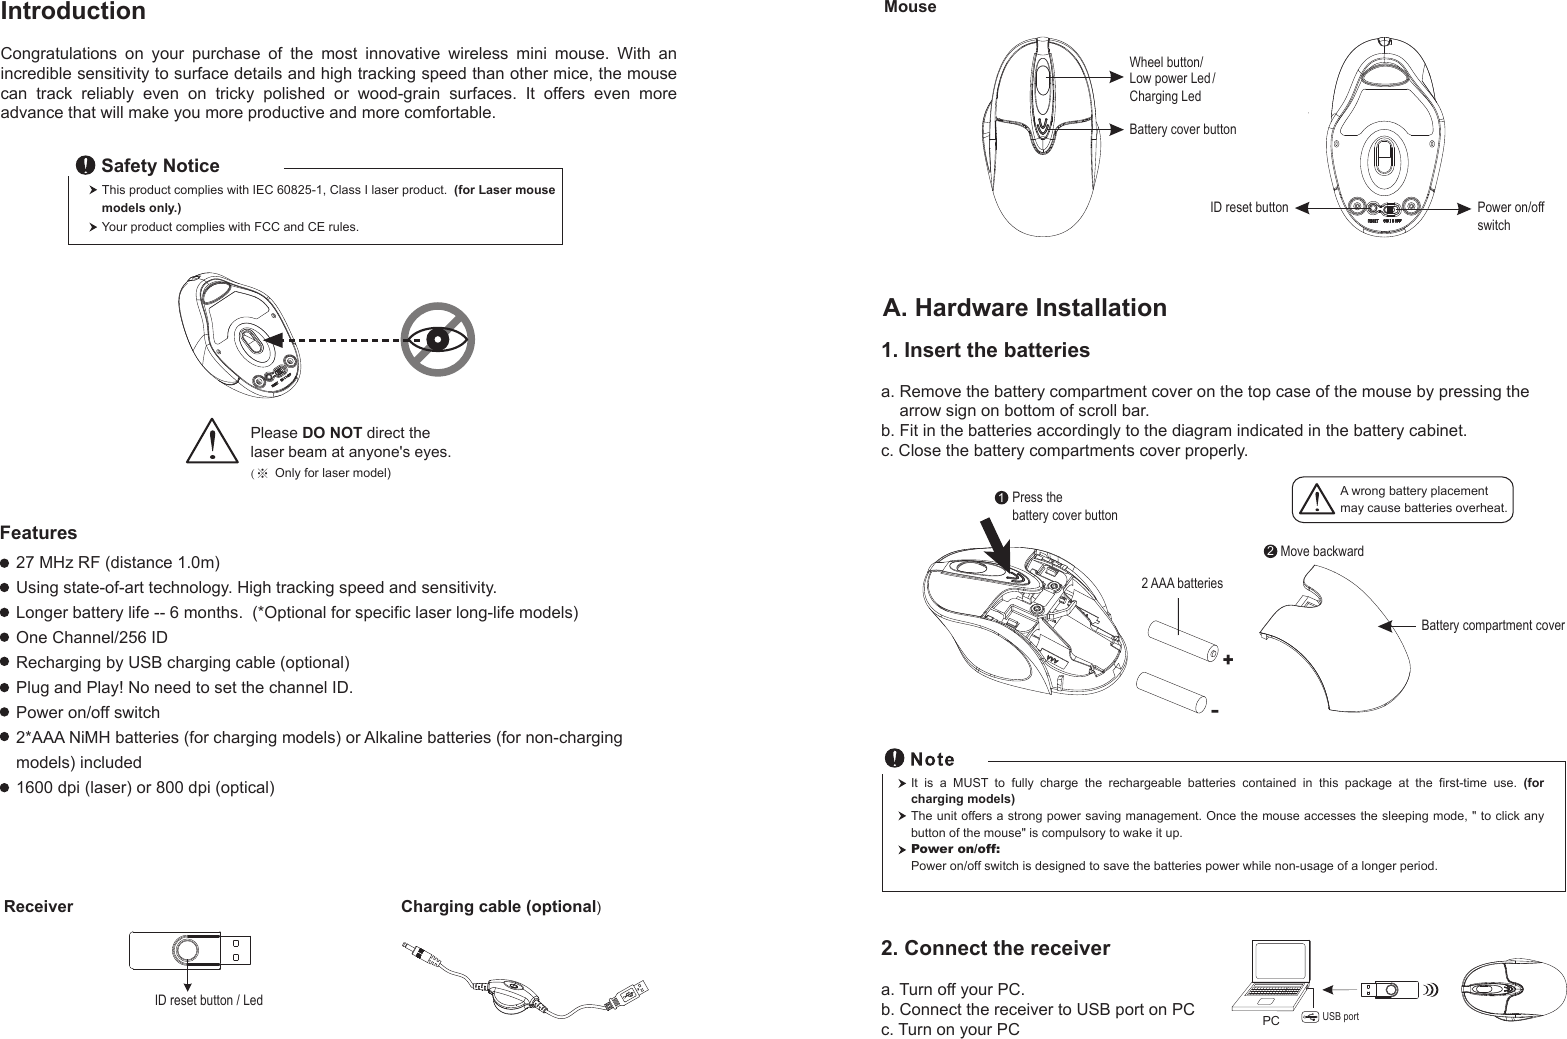
![Press ID reset buttonRed Led indicator blinks slowly3. Establish communication between the mouse and receiverA. Auto-link mode: The mouse default has auto-link function, no need to reset ID when first time use.B. Manual mode:a. Please reset the ID when first time use if necessary. (step 1)b. Press the ID reset button on the topside of the receiver, and note the red LED will blink slowly. (step 2) c. Press the ID reset button on the bottom of the mouse to set a new ID. (step 3) The red LED indicator will blink at a faster rate when an identical ID is located. (step 4)d. Press any button of the mouse to confirm the ID matching. The red LED indicator on the receiver will blink any time the mouse sends it a signal.Press ID reset button Red Led indicator blinks faster12 3 4 5ID links OK! [Charging cable] Red LED Light ON - Charging [Charging cable] Green LED Light ON - Charge completed [Mouse] Blue LED flashing - Low Battery★ LED Display statusCharging cablePC USB port4-1. Recharge the batteries (Only for models with the charging feature)When the battery is low power, the blue LED will be flashed. Please recharge the batteries by connecting the USB charging cable between the front of the mouse and your PC USB port. (Make sure that you are using rechargeable batteries inside). It takes about 5-6 hours to completely recharge the batteries.The blue LED on the scroll wheel of the mouse is a low batteries power indicator. It indicates that batteries inside the mouse are need to be recharged. If the batteries are used up, you may need to take out the batteries, reinstall and reset the ID to recharge it. The mouse surface may be warm during charging process. It is a normal phenomenon.NoteAfter Recharging1. Disconnect the recharging cable from the mouse when charging is completed.2. Make sure the communication between the mouse and the receiver is still available after completing recharging batteries. If not, please refer to the ID setting instruction (refer to No. 3) in the manual to reset the communication.4-2. Replace the new batteries (Only for models without the charging feature)Please replace a pair of new batteries and follow the previous instructions. (2, 3) Trouble Shootinga. Make sure you have connected the receiver correctly to the computer's USB port.b. For the best performance, we suggest you to locate the receiver with a distance from other electrical devices, such as the computer, the computer monitor or external storage drives.c. Make sure you have set the communication between the receiver and the mouse. Refer to the channel setting instruction (refer to No. 3) in your manual.d. Some system devices might conflict with the mouse. Confirm the IRQ/address settings of these devices for conflicts, and change the settings as required.e. Make sure that you are not working the mouse on glossy or reflective surfaces.f. Try unplugging then reconnecting the receiver cable to your computer. Battery use reminders1. Please make sure the batteries used for recharging are "Rechargeable Batteries"2. Remove worn-out batteries from equipment immediately and dispose of promptly.3. Keep all batteries (used or new) out of the reach of children.4. To have the batteries with a regular check and replace new batteries if not used for a long time.5. Never dispose of batteries in fire, as they could explode.6. Always replace all the batteries at the same time. Mixing old and new batteries or mining types (such as alkaline with zinc carbon) will reduce overall performance and could cause leakage or rupture.7. If the lower power indicator is blinking, please charge the battery through the USB charging cable immediately. Otherwise, you may need to reset the batteries and ID, and then recharge the batteries more than 4 hours.8. Do not mix different types of batteries (e.g. Ni-MH, NiCd, alkaline, and etc) in the mouse.9. Remove batteries from the electrical device if the device is not going to be used for a long time.10. If the performance of the batteries decreases substantially, it is time to replace the batteries. FCC Radiation Exposure StatementThis equipment complies with FCC RF radiation exposure limits set forth for an uncontrolled environment. Thisequipment should be installed and operated with a minimum distance of 20 centimeters between the radiator andyour body.This device complies with Part 15 of the FCC Rules. Operation is subject to the following two conditions:(1) This device may not cause harmful interference, and (2) This device must accept any interference received,including interference that may cause undesired operation. The blue LED on the scroll wheel of the mouse is a low batteries power indicator. It indicates that batteries inside the mouse need to be replaced.NoteLow power indicator](https://usermanual.wiki/ARESON-Technology/BL0002/User-Guide-766008-Page-3.png)