ARRIS 3347 802.11b/g ADSL Router User Manual Software User Guide V7 7
ARRIS Group, Inc. 802.11b/g ADSL Router Software User Guide V7 7
UserManual.wiki
>
ARRIS
>
3347 User Manual
Abridged user manual
Navigation menu
Upload a User Manual
Namespaces
Wiki Guide
HTML
PDF
Info
Views
User Manual
Discussion / Help
Navigation


![14 • TR-069 Remote device management is automatically enabled by default for 2200-Series Gateways. (Explicit exceptions: bonded and VDSL2, 3341, 3387WG). See “TR-069” on page 349.Corresponding commands have been added to the Command Line Interface (CLI). See “Command Line Interface” on page 247. • Reset WAN port counter and CLI command to display individual Ethernet port statistics. See “reset enet [ all ]” on page 257 and “show enet [ all ]” on page 259. • CLI for Netopia ATA Remote Management. See “Remote ATA Configuration Commands” on page 269. • Provide Bandwidth Management using Weighted Fair Queueing for VDSL2 Platforms.See “Queue Configuration” on page 298.](https://usermanual.wiki/ARRIS/3347/User-Guide-865609-Page-12.png)
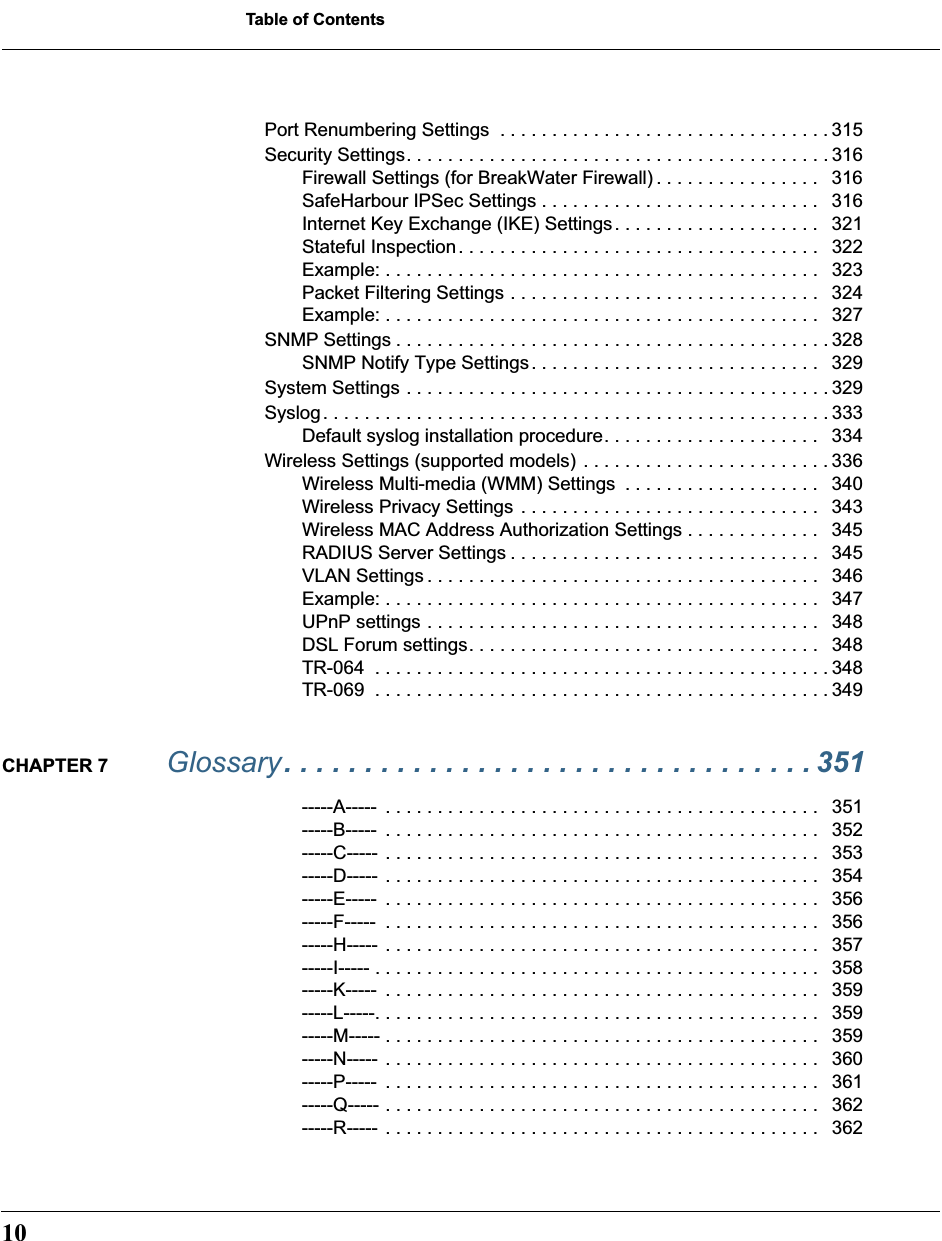
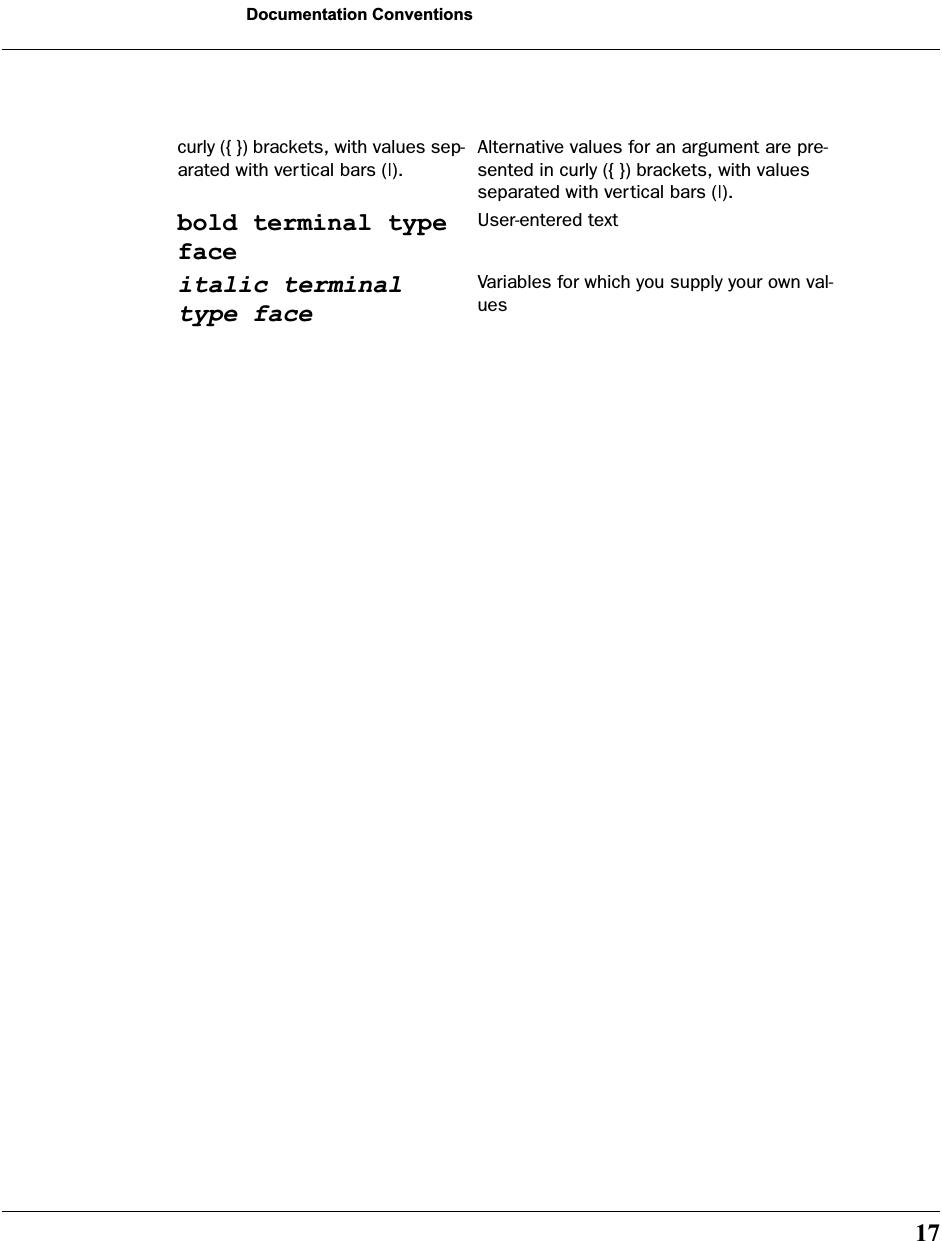
![16 Documentation Conventions General This manual uses the following conventions to present information: Internal Web InterfaceCommand Line Interface Syntax conventions for the Netopia Gateway command line interface are as follows: Convention (Typeface) Description bold italic monospaced Menu commands bold italic sans serif Web GUI page links and button names terminal Computer display textbold terminal User-entered textItalic Italic type indicates the complete titles of manuals.Convention (Graphics) DescriptionDenotes an “excerpt” from a Web page or the visual truncation of a Web pageDenotes an area of emphasis on a Web pageConvention Descriptionstraight ([ ]) brackets in cmd line Optional command arguments blue rectangle or linesolid rounded rectangle with an arrow](https://usermanual.wiki/ARRIS/3347/User-Guide-865609-Page-14.png)
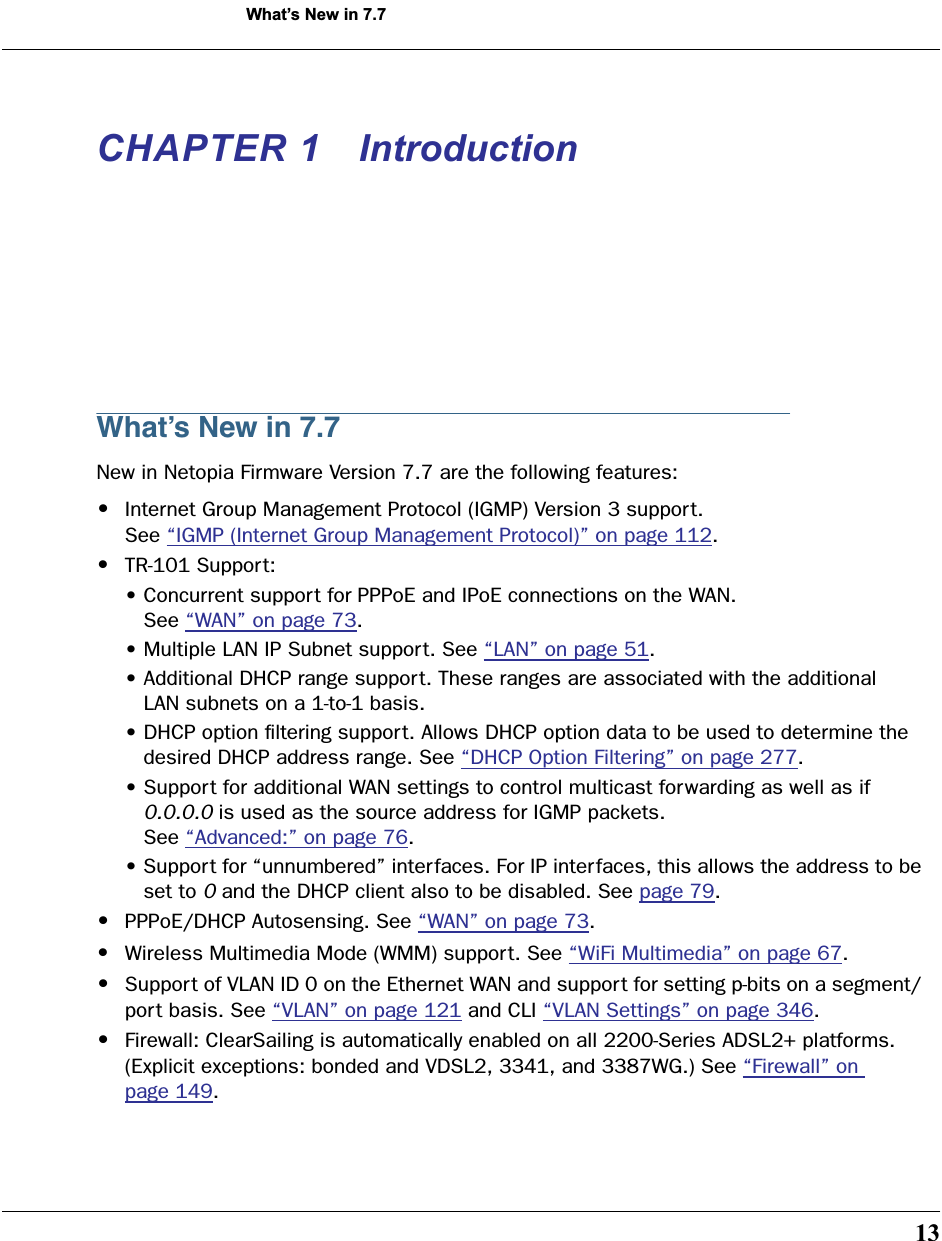
![37547 CFR Part 68 Information47 CFR Part 68 InformationFCC Requirements1. The Federal Communications Commission (FCC) has established Rules which permit this device to be directly connected to the telephone network. Standardized jacks are used for these connections. This equipment should not be used on party lines or coin phones.2. If this device is malfunctioning, it may also be causing harm to the telephone network; this device should be disconnected until the source of the problem can be determined and until repair has been made. If this is not done, the telephone company may temporarily disconnect service.3. The telephone company may make changes in its technical operations and procedures; if such changes affect the compatibility or use of this device, the telephone company is required to give adequate notice of the changes. You will be advised of your right to file a complaint with the FCC.4. If the telephone company requests information on what equipment is connected to their lines, inform them of:a. The telephone number to which this unit is connected.b. The ringer equivalence number. [0.XB]c. The USOC jack required. [RJ11C]d. The FCC Registration Number. [XXXUSA-XXXXX-XX-E]Items (b) and (d) are indicated on the label. The Ringer Equivalence Number (REN) is used to determine how many devices can be connected to your telephone line. In most areas, the sum of the REN's of all devices on any one line should not exceed five (5.0). If too many devices are attached, they may not ring properly.FCC Statementsa) This equipment complies with Part 68 of the FCC rules and the requirements adopted by the ACTA. On the bottom of this equipment is a label that contains, among other information, a product identifier in the format US:AAAEQ##TXXXX. If requested, this number must be provided to the telephone company.b) List all applicable certification jack Universal Service Order Codes (“USOC”) for the equipment: RJ11.c) A plug and jack used to connect this equipment to the premises wiring and telephone network must comply with the applicable FCC Part 68 rules and requirements adopted by the ACTA. A compliant telephone cord and modular plug is provided with this product. It is designed to be connected to a compatible modular jack that is also compliant. See installation instructions for details.](https://usermanual.wiki/ARRIS/3347/User-Guide-865609-Page-23.png)