ATEN Technology IOGEAR GBU421 Bluetooth 2.0 USB Micro Adapter User Manual GBU421 M1204 indd
ATEN Technology, Inc., dba IOGEAR Bluetooth 2.0 USB Micro Adapter GBU421 M1204 indd
UserManual.wiki
>
ATEN Technology IOGEAR
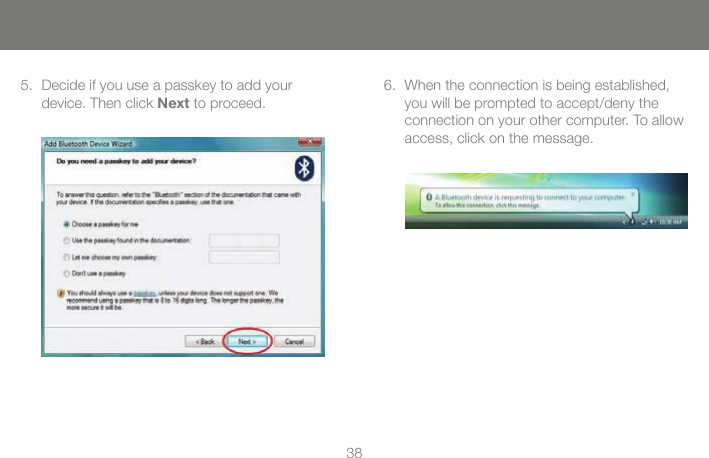
>
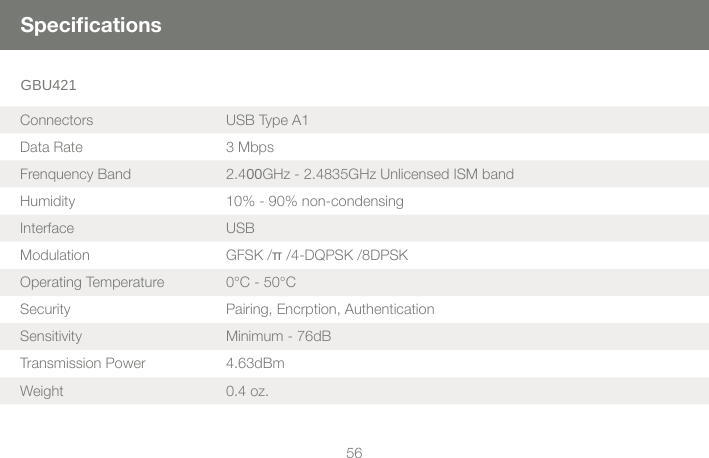
GBU421 User Manual
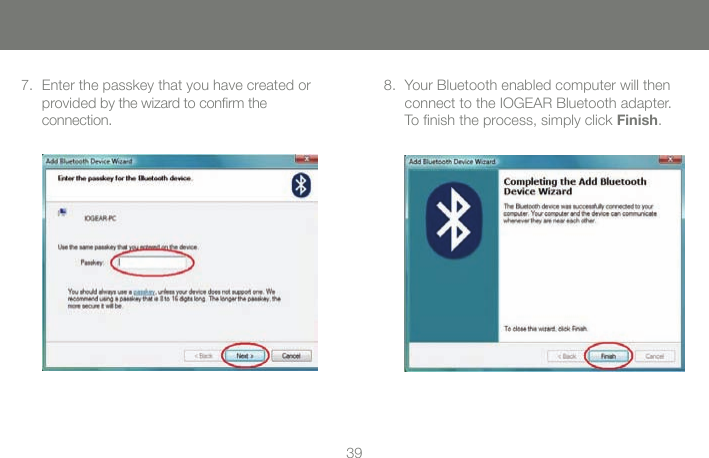
Users Manual
Navigation menu
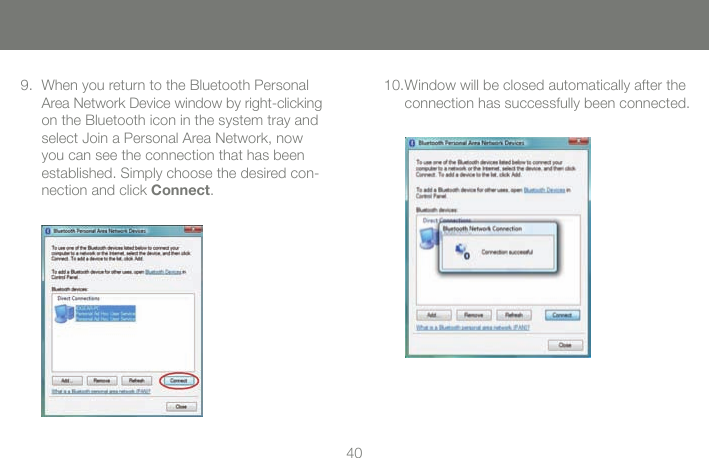
Upload a User Manual
Namespaces
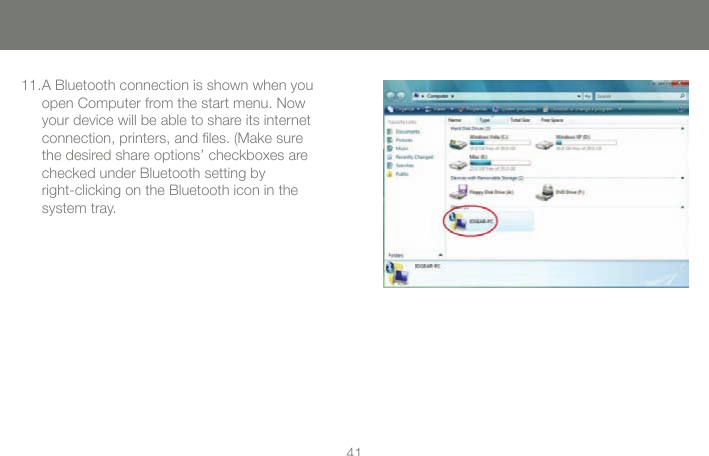
Wiki Guide
HTML
PDF
Info
Views
User Manual
Discussion / Help
Navigation
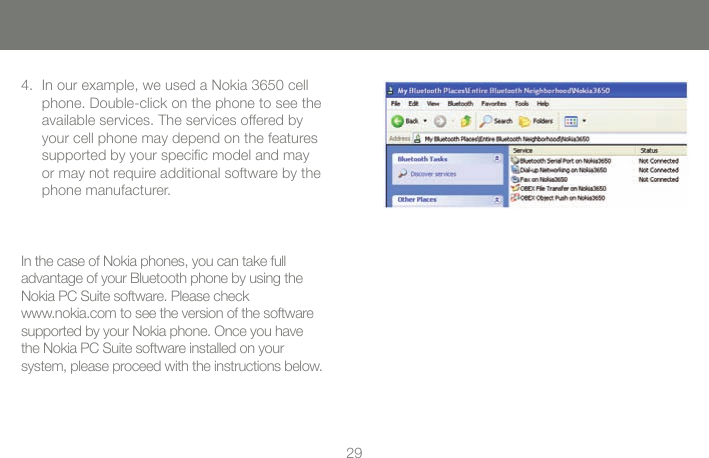
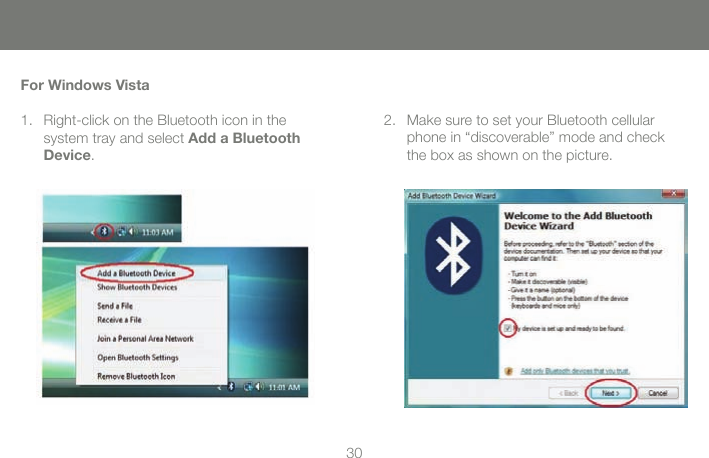
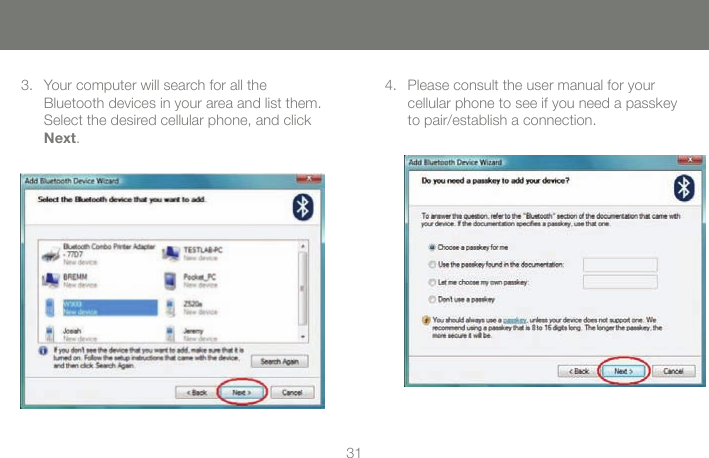
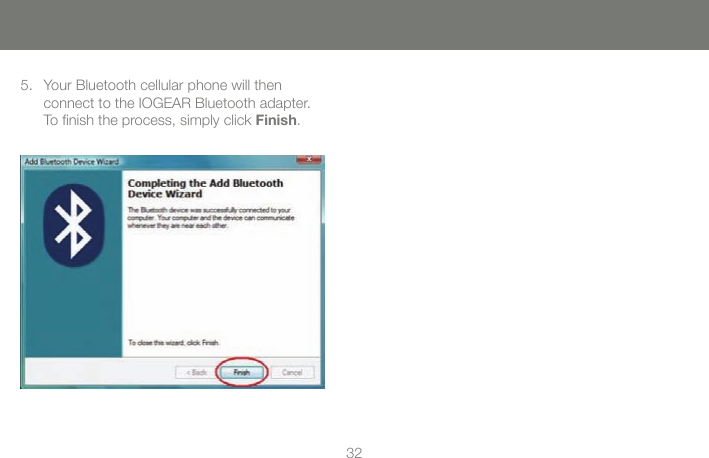
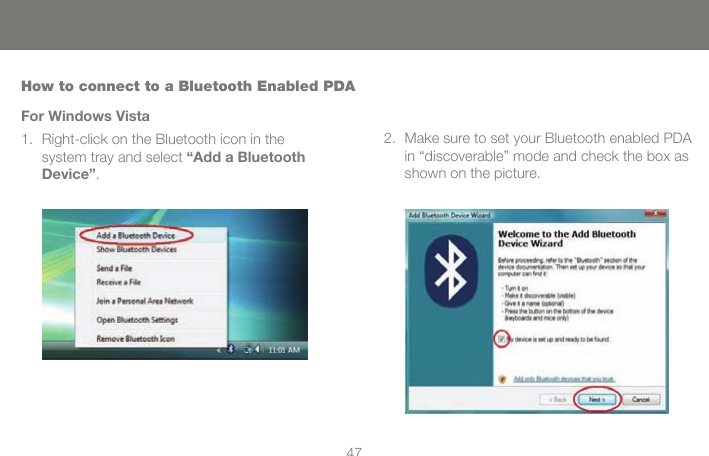
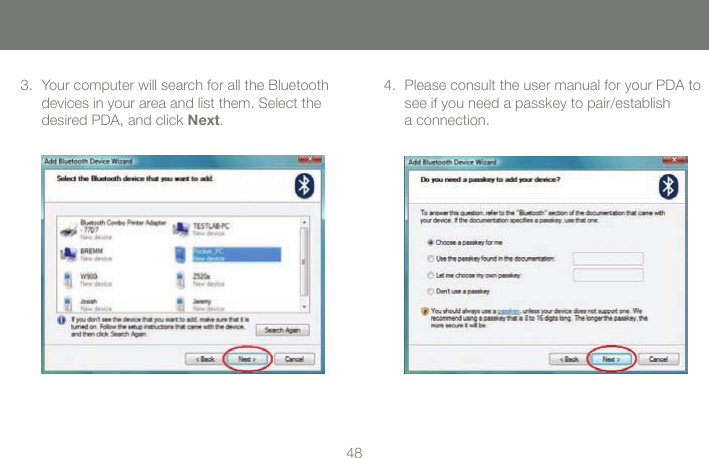
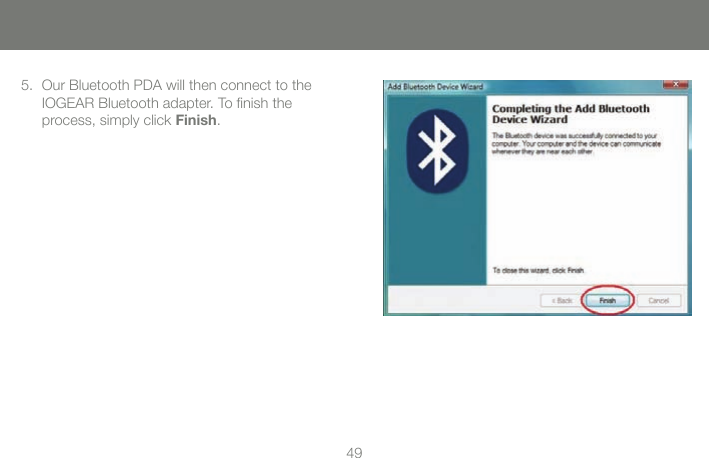
![2223Uninstall DriversWindows XP Service Pack 2First, unplug the IOGEAR USB Bluetooth1. ® 2.0 USB Micro Adapter from your computerGo to Control Panel (Start > Settings > 2. Control Panel)Click on 3. Add or Remove ProgramsClick on Widcomm Bluetooth Software and 4. click on [Remove]When the uninstall is complete, restart your 5. computerWindows VistaFirst, unplug the IOGEAR Bluetooth1. ® 2.0 USB Micro Adapter from your computerGo to Control Panel (Start > Control Panel)2. Click on Uninstall a program under Programs 3. or Click on Programs and Features (Control Panel Classic View)Click on Widcomm Bluetooth Software and 4. click on [Uninstall] on the top.When the uninstall is complete, restart your 5. computer](https://usermanual.wiki/ATEN-Technology-IOGEAR/GBU421/User-Guide-914633-Page-23.png)