Abocom Systems CB1522M IP Camera User Manual CA1522M Instructions v1 1
Abocom Systems Inc IP Camera CA1522M Instructions v1 1
UserManual.wiki
>
Abocom Systems
>
CB1522M User Manual
User Manual
Navigation menu
Upload a User Manual
Namespaces
Wiki Guide
HTML
PDF
Info
Views
User Manual
Discussion / Help
Navigation
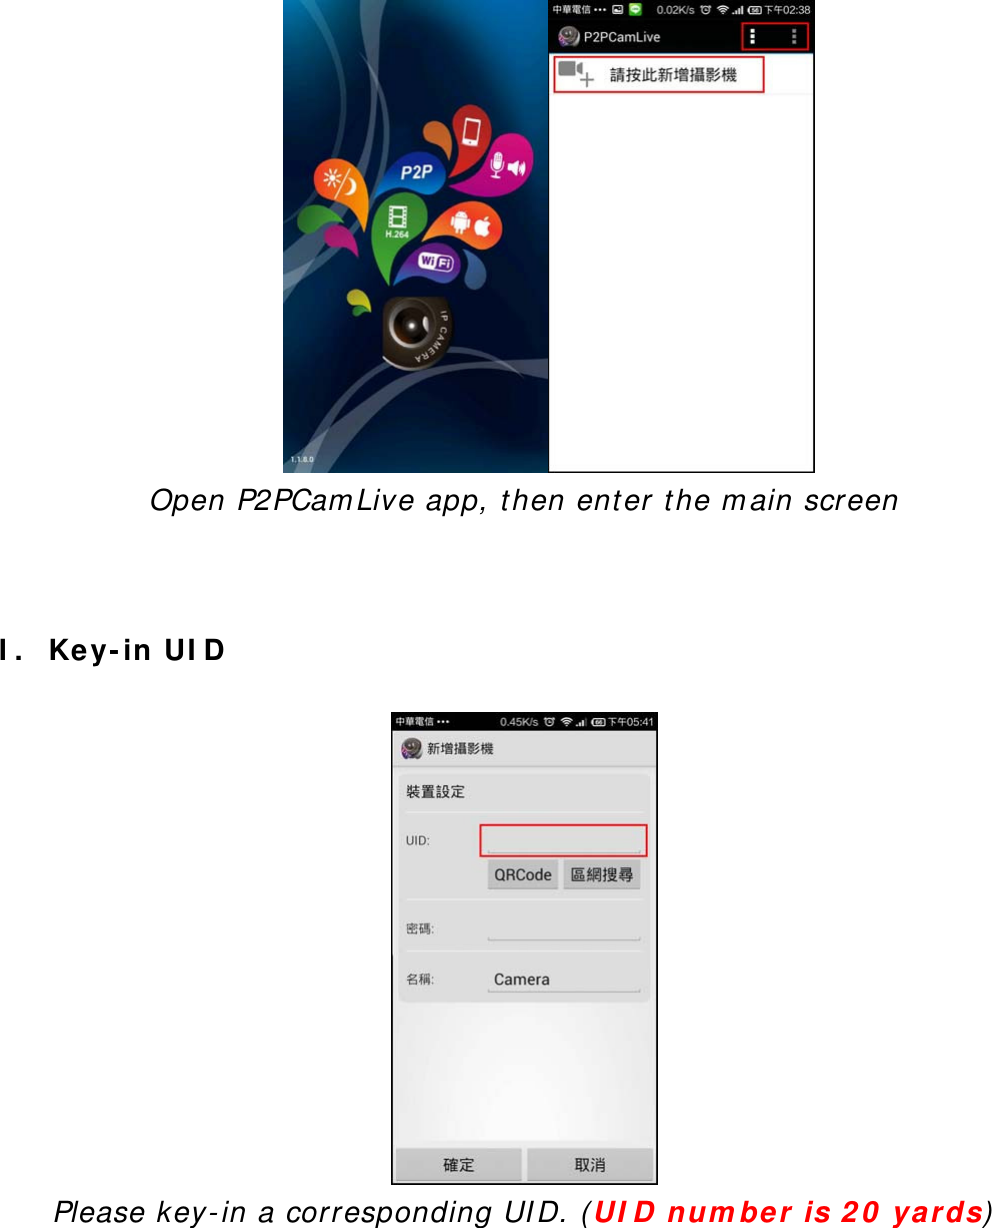
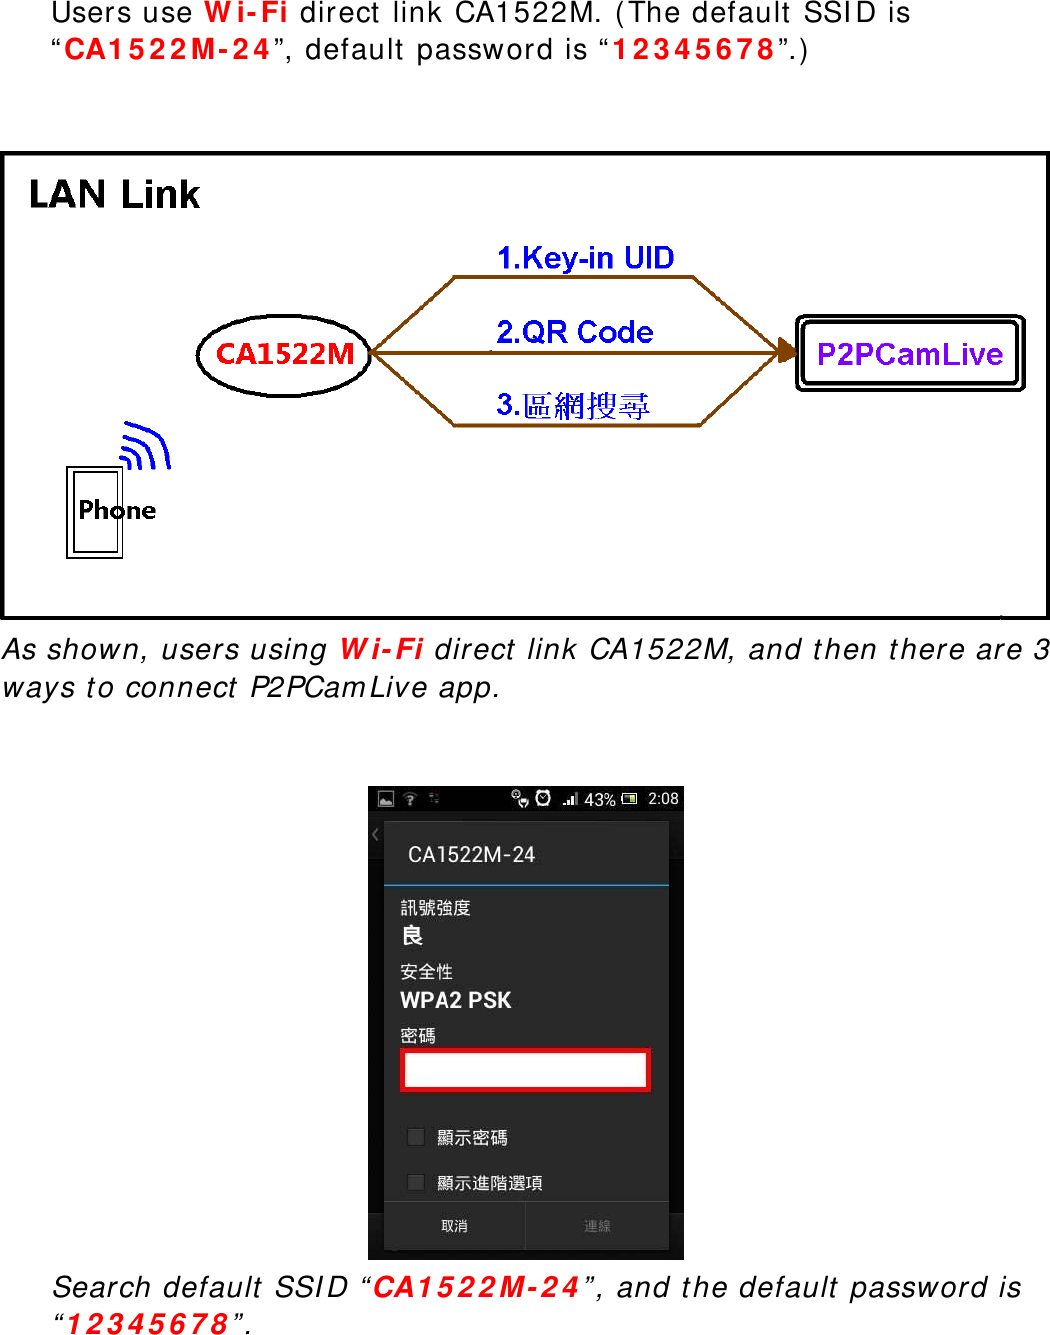
![Abocom Systems, Inc. CA1522M Camera Setting Instructions (Android) [Introduction] This file will show you how to use the “P2PCamLive” app of the phone, and environment architecture chart of the “CA1522M”. [Install] For the first time, please download “P2PCamLive” app and install. Click Install, this app will be installed to your phone. [Connect to CA1522M] Users have 3 ways to connect to CA1522M, and then there are 3 ways to connect P2PCamLive app and use. 1. Local Link](https://usermanual.wiki/Abocom-Systems/CB1522M/User-Guide-2396897-Page-1.png)

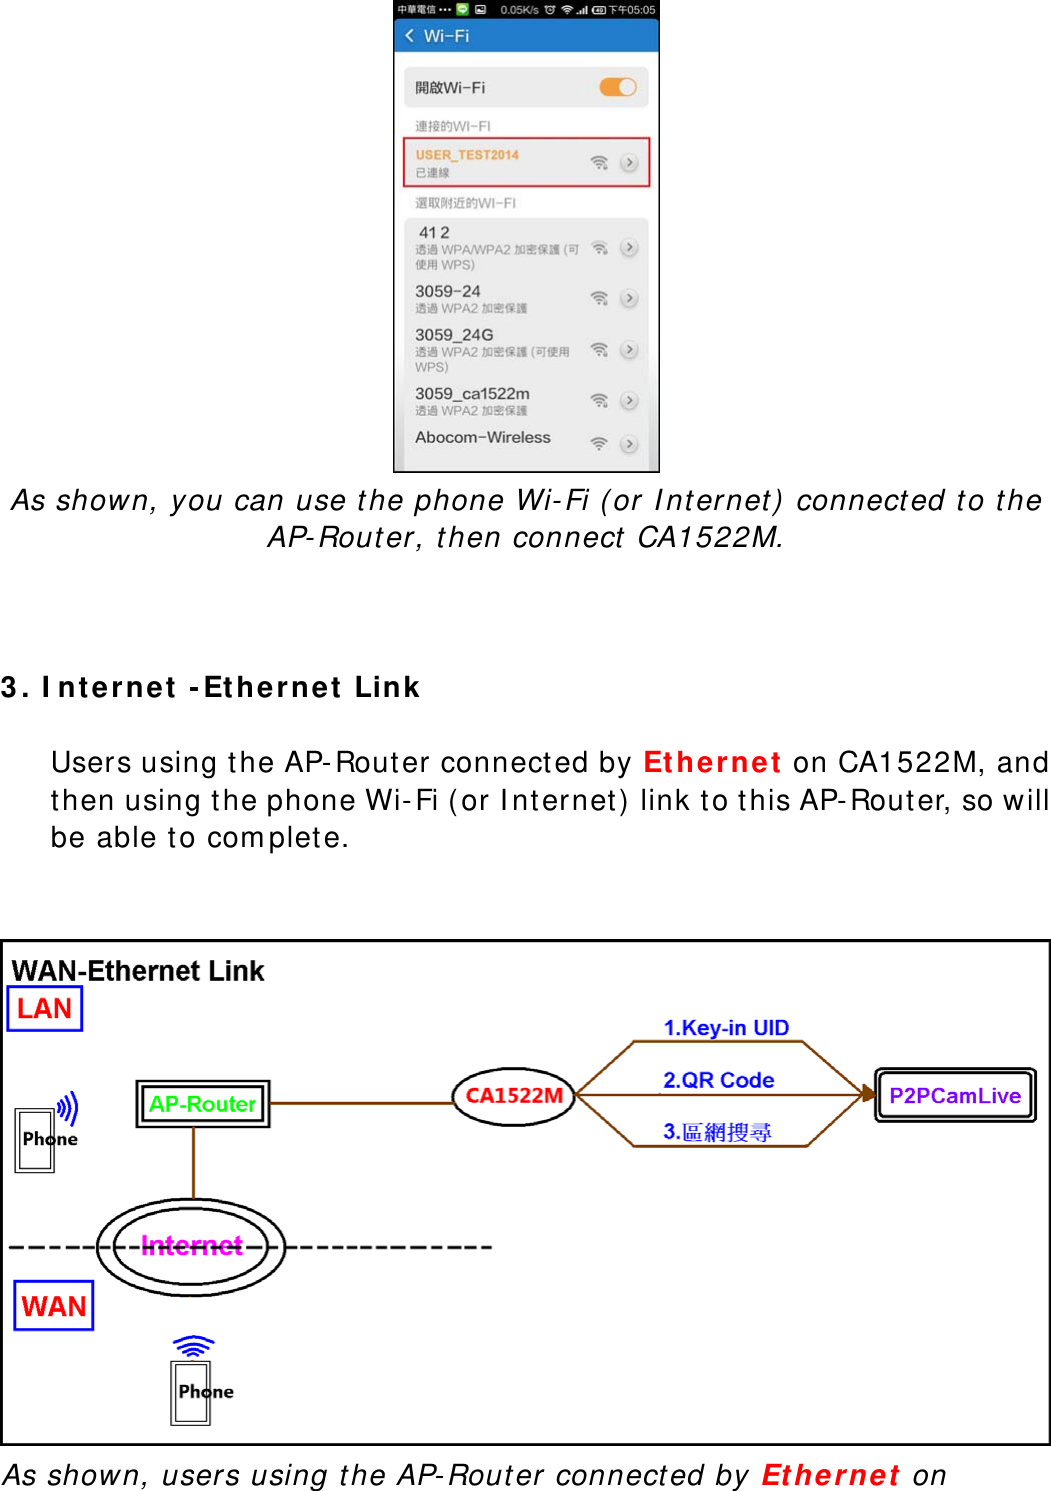
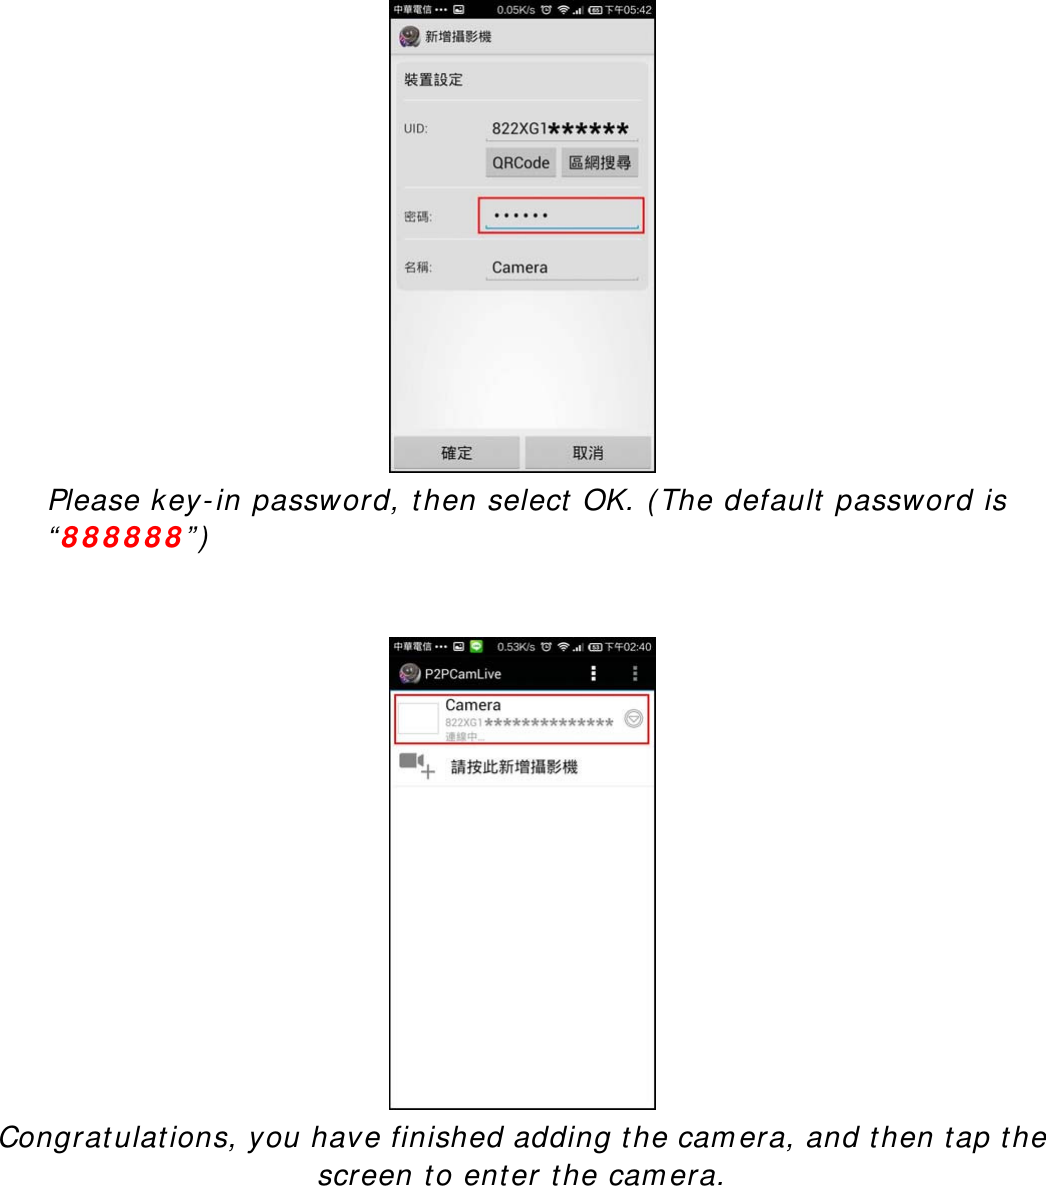
![CA1522M, and then there are 3 ways to connect P2PCamLive app. After creating the link, you will see a link to the information on the AP-Router screen. As shown, you can use the phone Wi-Fi (or Internet) connected to the AP-Router, then connect CA1522M. [Add Camera and Setting] When completed confirmation link CA1522M, and then open P2PCamLive app main screen, then select the “click here to add cameras” to enter the editing screen, and there are 3 ways to connect and use.](https://usermanual.wiki/Abocom-Systems/CB1522M/User-Guide-2396897-Page-6.png)