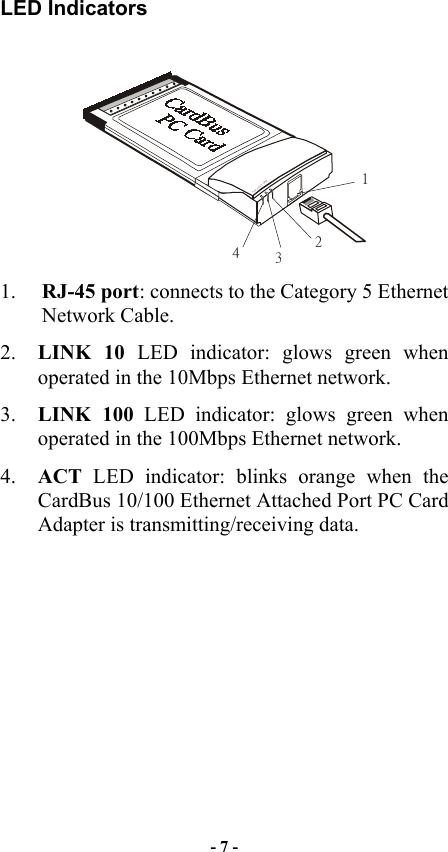
Abocom Systems FE2KVX 10/100M Fast Ethernet CardBus PC Card User Manual ABOUT THIS MANUAL
Abocom Systems Inc 10/100M Fast Ethernet CardBus PC Card ABOUT THIS MANUAL
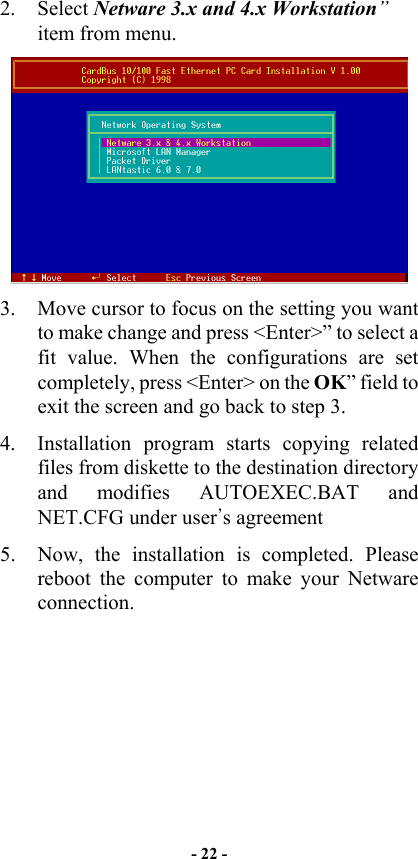
UserManual.wiki
>
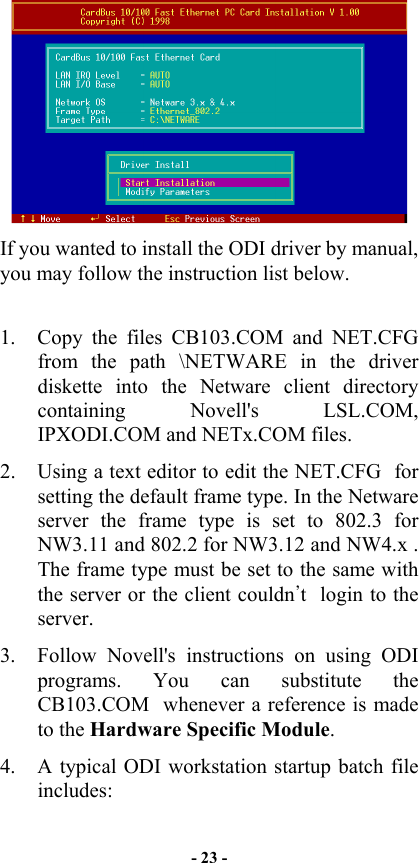
Abocom Systems
>
FE2KVX User Manual
users manual
Navigation menu
Upload a User Manual
Namespaces
Wiki Guide
HTML
PDF
Info
Views
User Manual
Discussion / Help
Navigation

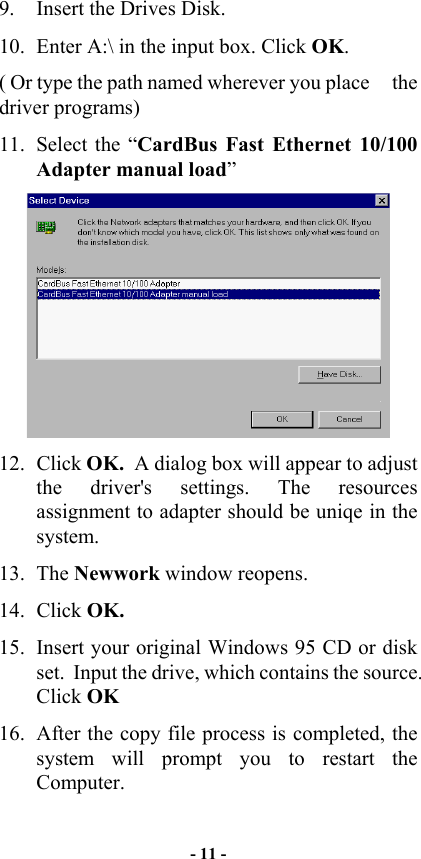
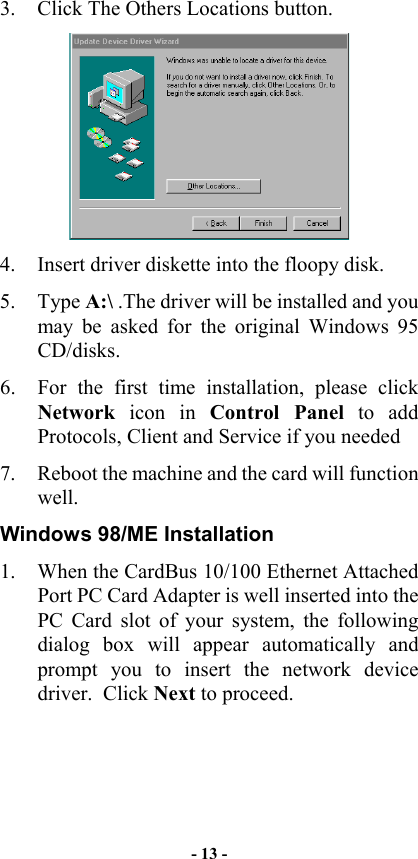
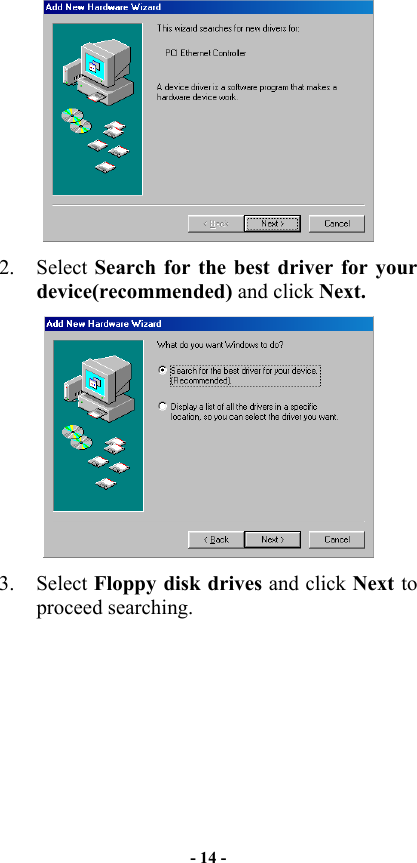
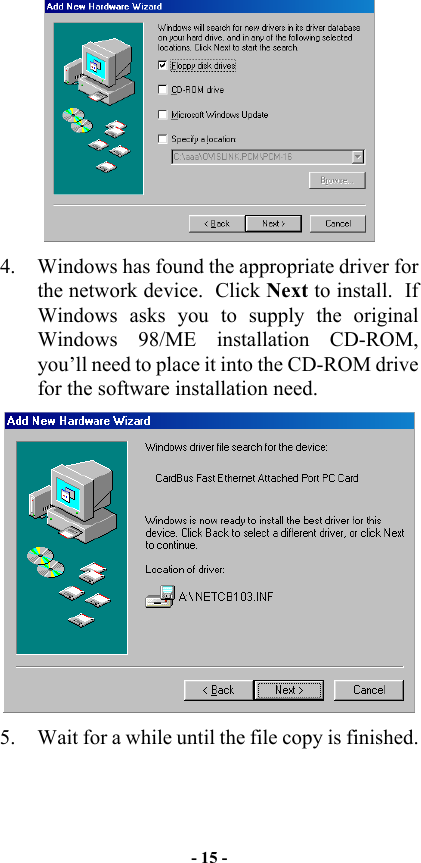
![17. For the first time installation, you need to go to the Network in the Control Panel to setup the protocols, clients and services properly according to your need. Note: If you start the computer without the CardBus 10/100 Ethernet PC Card installed in the socket, the native Windows 95 system will prompt you the warning message “Your Network Adapter CardBus Fast Ethernet 10/100 Adapter manual load” [0001] is not working properly. You may need to set it up again. For more information, see the network troubleshooting in the windows Help”. If you don’t need to use the CardBus 10/100 PC Card at this time, you can just ignore the message. Otherwise, you need to insert the CardBus 10/100 Ethernet PC Card into the CardBus socket and just restart the native Windows 95 again to make the Card work functionally. OSR2 Windows 95 and Later Windows 95 OSR2 and later versions support both CardBus and 16-bit PC Card. That is, you could run the 16-bit PC Card and CardBus 10/100M Ethernet PC Card simultaneously with the plug-n-play support. In addition to the plug n-play support of both types of PC Card, the user also could perform the Hot Swap function provided by the Card and Socket Service built in the OSR2 Windows 95 or later. 1. After the Windows 95 OSR2 is successfully booting, insert the CardBus 10/100 Ethernet PC Card into the CardBus Socket. 2. Click Next on Update Device Drivers Winzard. - 12 -](https://usermanual.wiki/Abocom-Systems/FE2KVX/User-Guide-178806-Page-17.png)