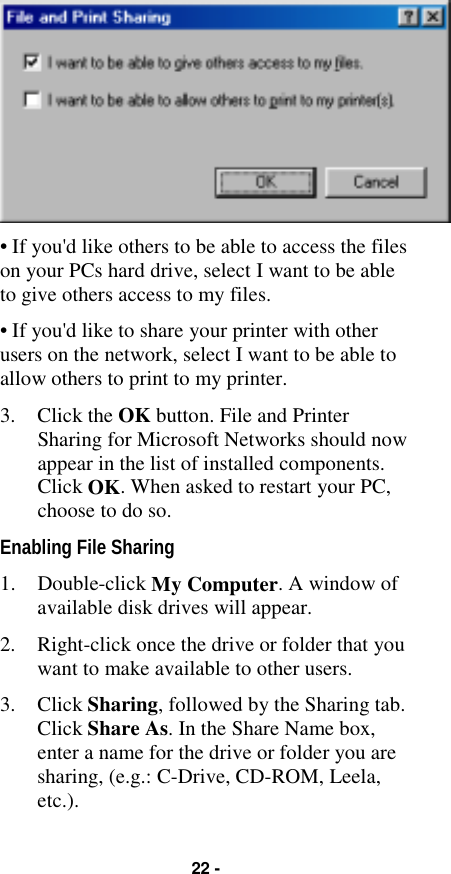
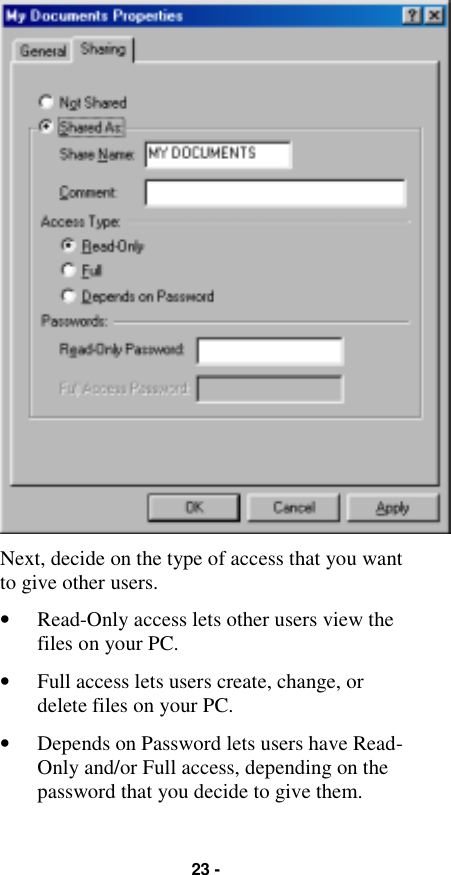
Abocom Systems UHF1KB USB 1M HomePNA & 10/100M Fast Ethernet Adapter User Manual users manual
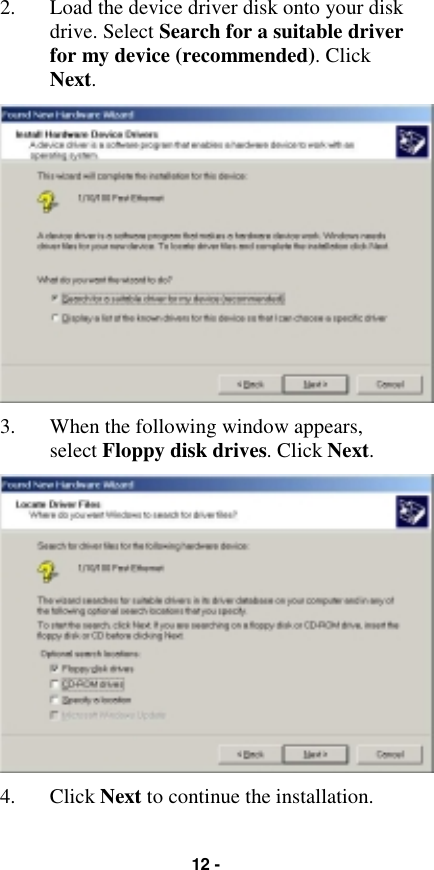
Abocom Systems Inc USB 1M HomePNA & 10/100M Fast Ethernet Adapter users manual
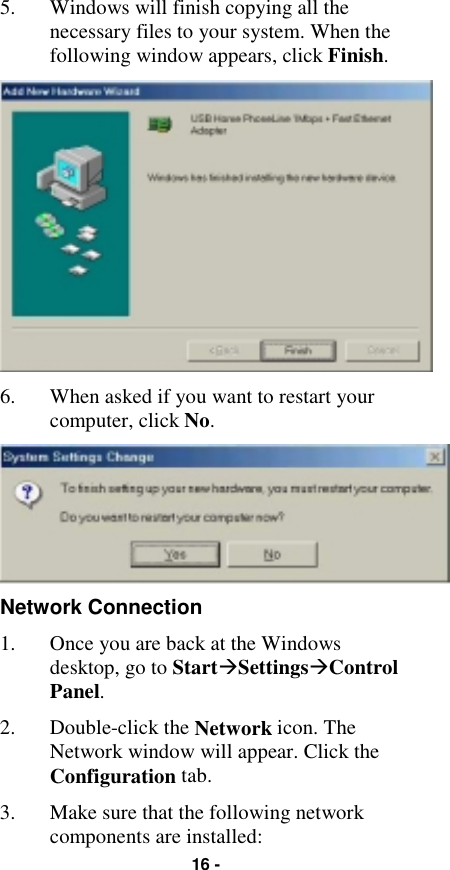
UserManual.wiki
>
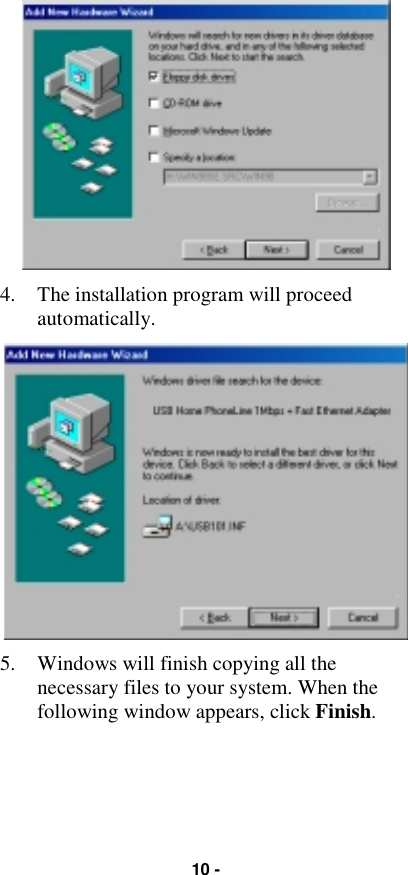
Abocom Systems
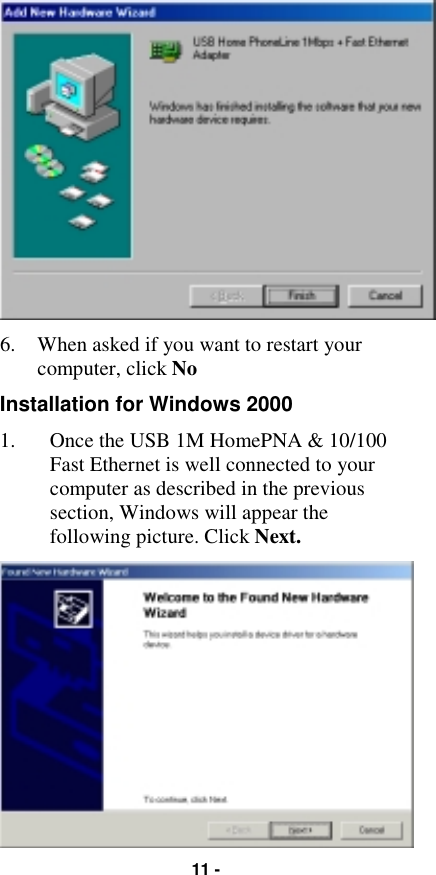
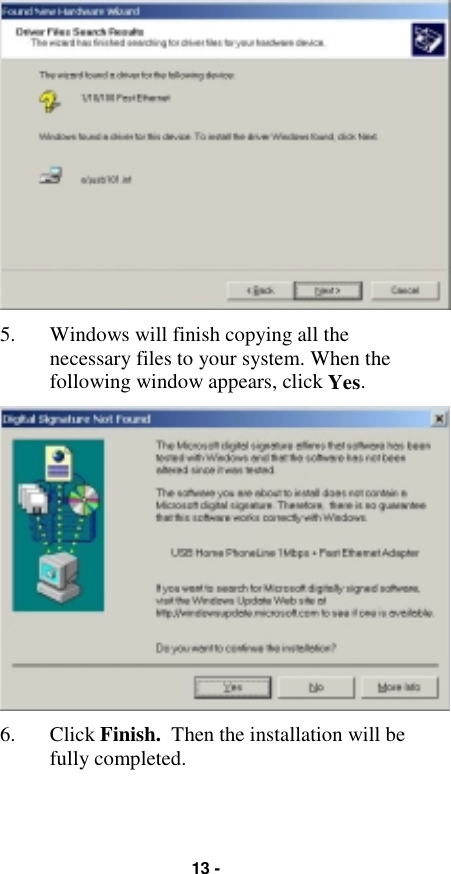
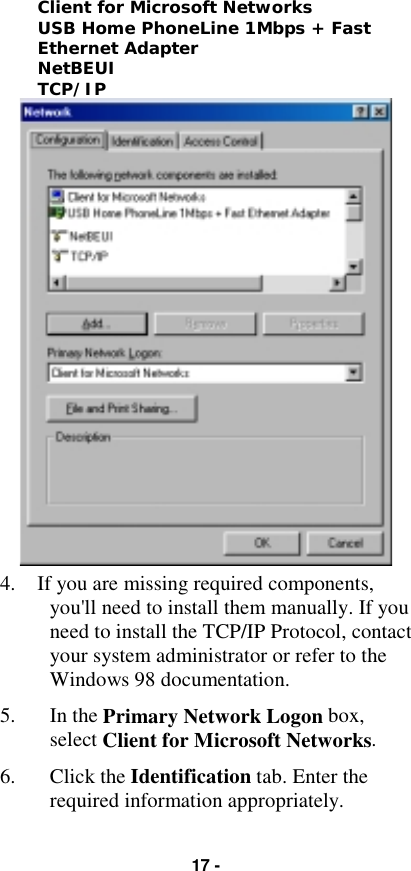
>
UHF1KB User Manual
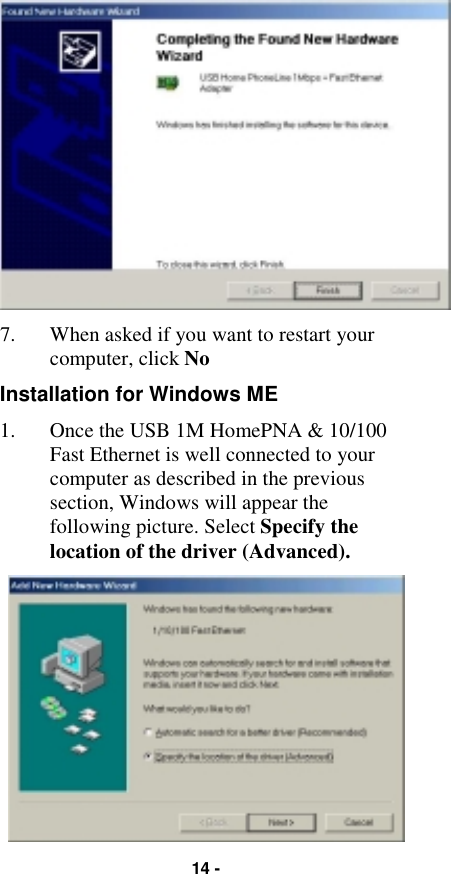
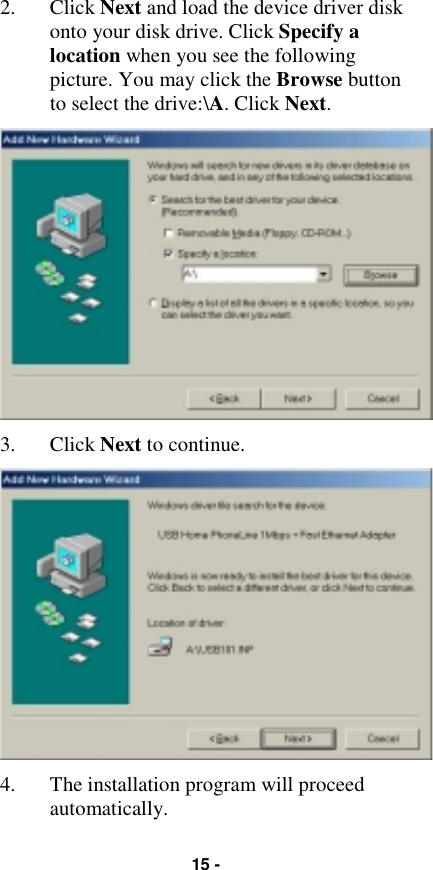
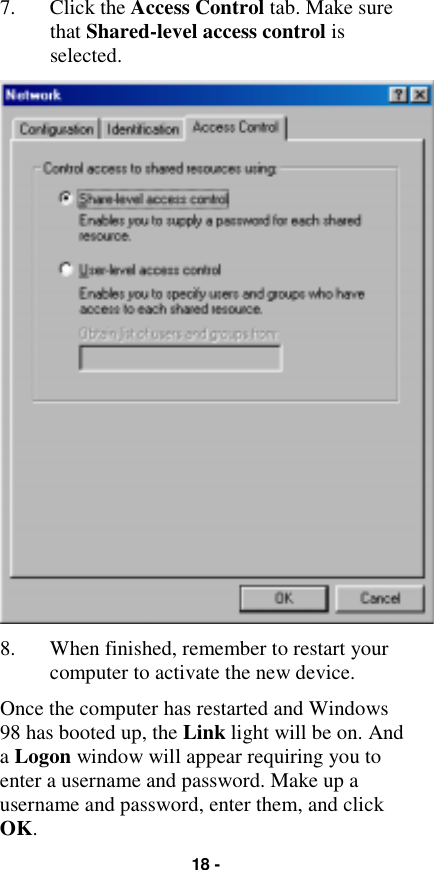
users manual
Navigation menu
Upload a User Manual
Namespaces
Wiki Guide
HTML
PDF
Info
Views
User Manual
Discussion / Help
Navigation