Aclara Power Line Systems Y72160-301 Wireless Meter Reading System User Manual RF
Aclara Power-Line Systems Inc. Wireless Meter Reading System RF
UserManual.wiki
>
Aclara Power Line Systems
>
Y72160 301 User Manual
Users Manual
Navigation menu
Upload a User Manual
Namespaces
Wiki Guide
HTML
PDF
Info
Views
User Manual
Discussion / Help
Navigation


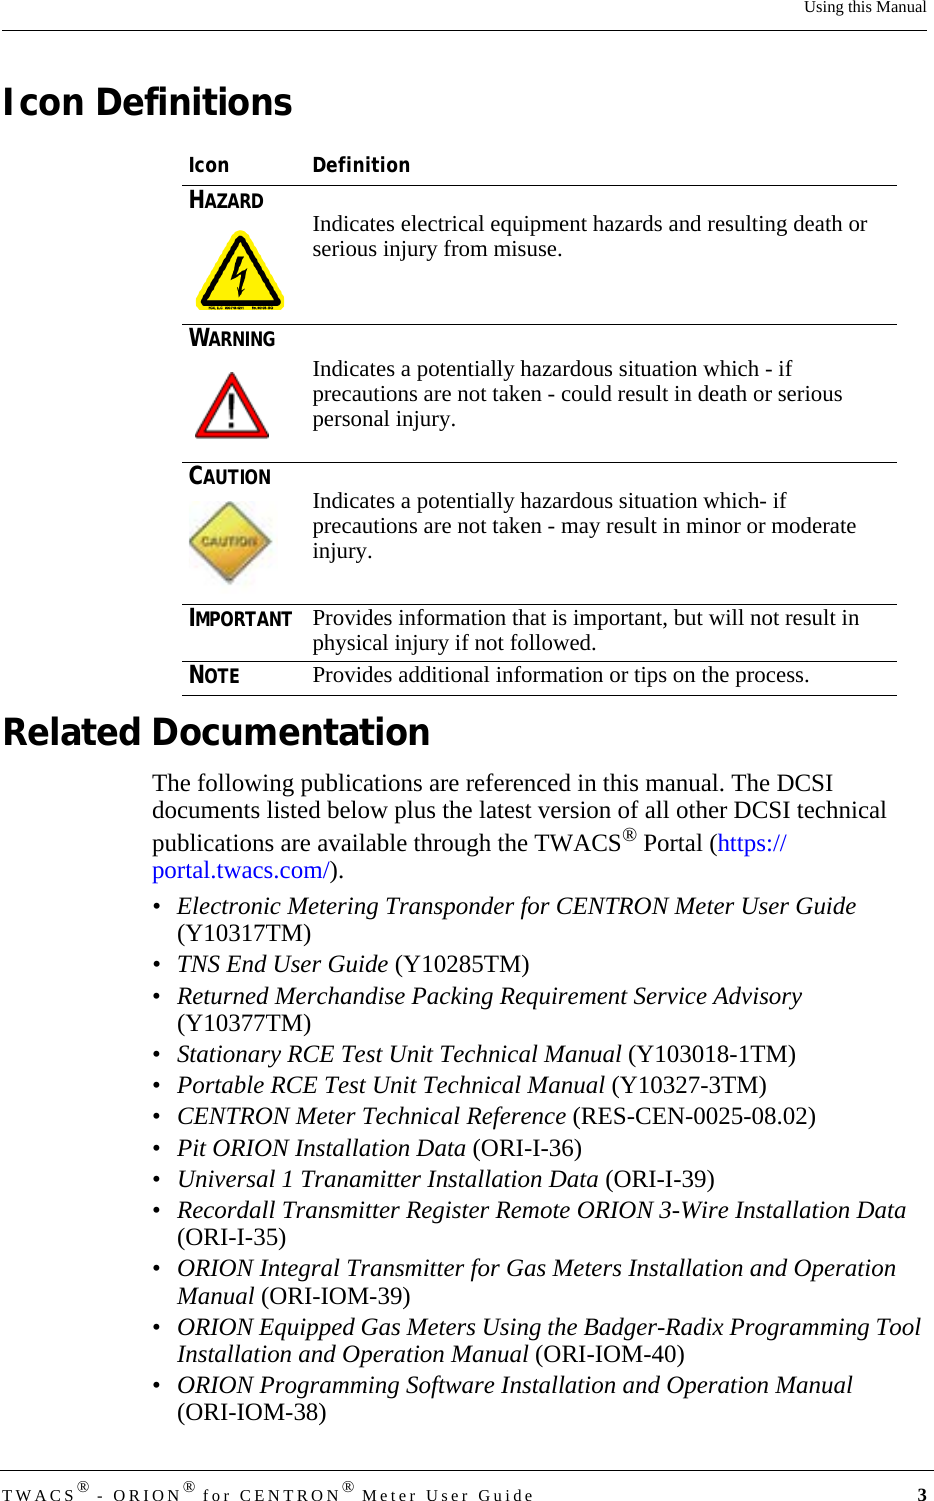

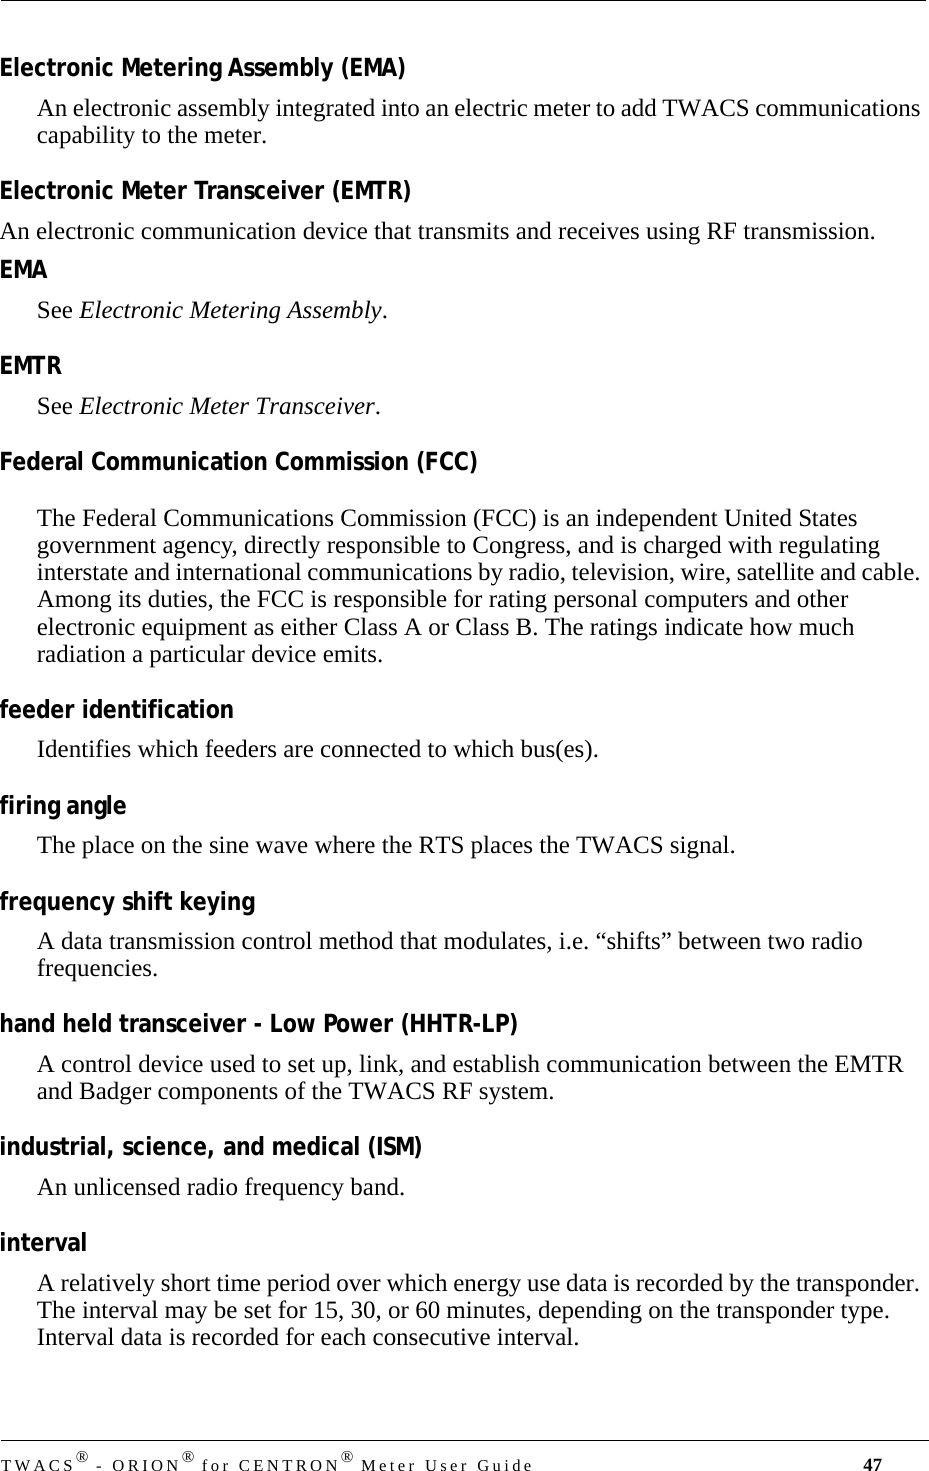
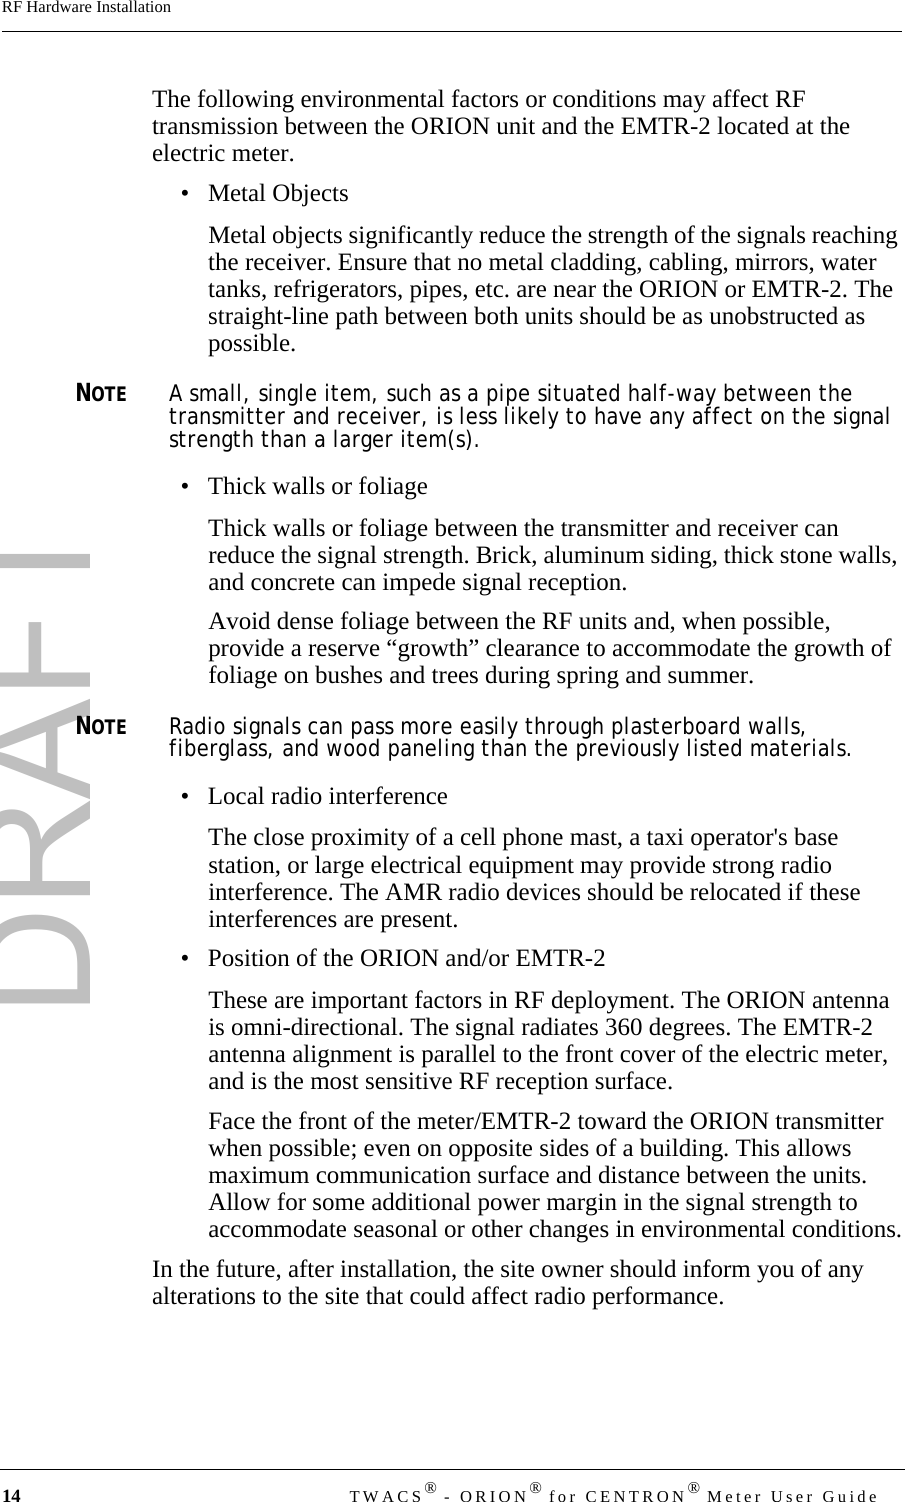
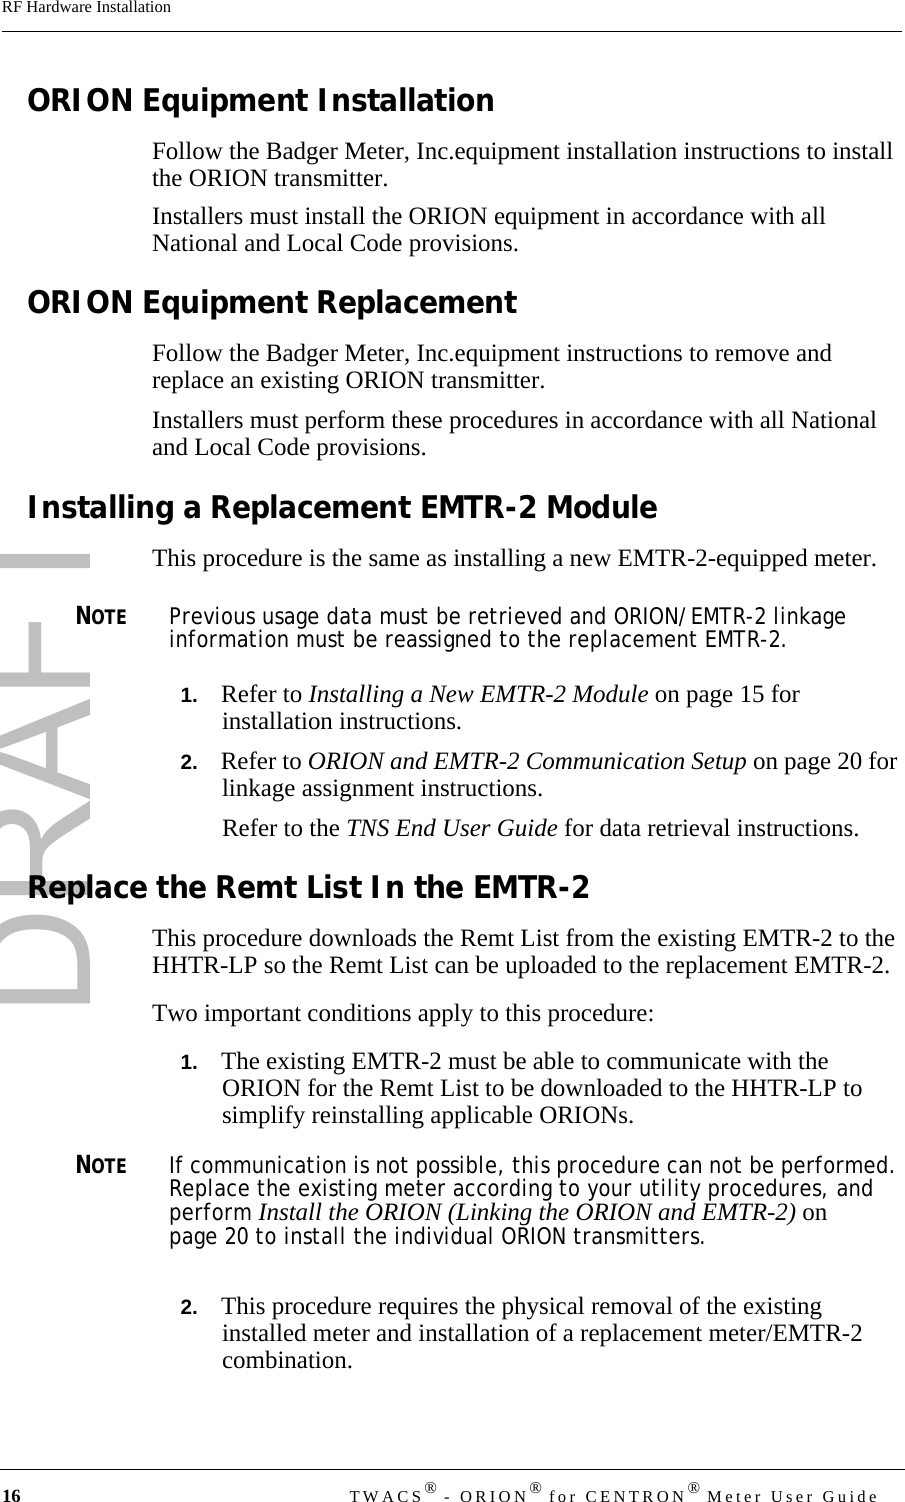
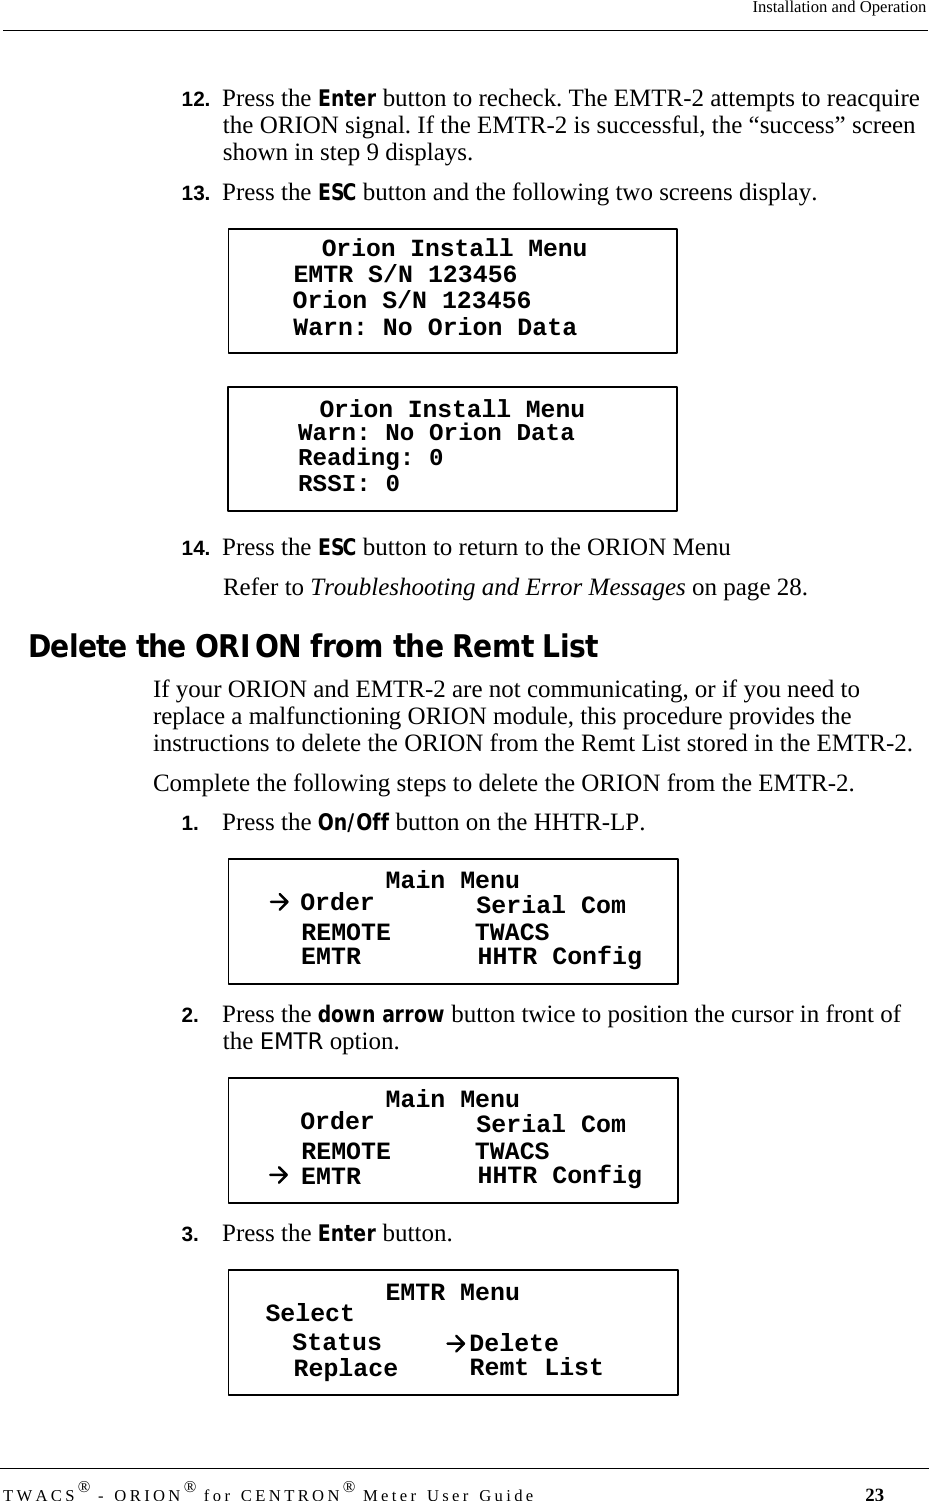
![DRAFTTWACS® - ORION® for CENTRON® Meter User Guide 7Installation and OperationTheory of OperationThe DCSI TWACS® - ORION® system operates within the 916.450 MHz UHF radio frequency range on channel 43A. This unlicensed frequency band is known as the ISM (Industrial, Science, and Medical) band. All components in the DCSI TWACS® - ORION®system comply with FCC (Federal Communications Commission) rules and regulations for radio devices operating in this frequency range.This band provides up to 79 channels; the TWACS® - ORION® system uses 51 of these channels. A channel is defined as a pair of adjacent frequencies used for transmission and for reception. Refer to the note below.Because the FCC limits the amount and duration of channel energy that can be emitted during RF transmission, the TWACS® - ORION® system employs transmission Frequency Shift Keying (FSK). This modulation and frequency hopping technology serves to: • Comply with FCC regulations• Reduce potential interference to and from other devices operating in the same band• Reduce the potential for eavesdropping• Minimize the effects of signal reduction NOTEFrequency hopping employs an algorithm that provides a half duplex (one transmission direction at a time [send or receive]), pseudo-random sequence of frequencies for the two-way radio link. Frequency Shift Keying modulation controls data transmission by “frequency shifting” between two frequencies (a channel). One frequency is used to represent the logical “1” and a different frequency represents the logical “0”.Five channels provide link acquisition with the HHTR-LP while the remaining 45 channels are used for data transmission after a successful link is established. The one remaining channel is used for TWACS-ORION communication.The EMTR-2 retains data until new data is uploaded during an ORION session. If an ORION transmitter is removed from the Remt List table stored in the EMTR-2, the previously loaded data (for the removed ORION transmitter) is automatically deleted.](https://usermanual.wiki/Aclara-Power-Line-Systems/Y72160-301/User-Guide-672869-Page-15.png)
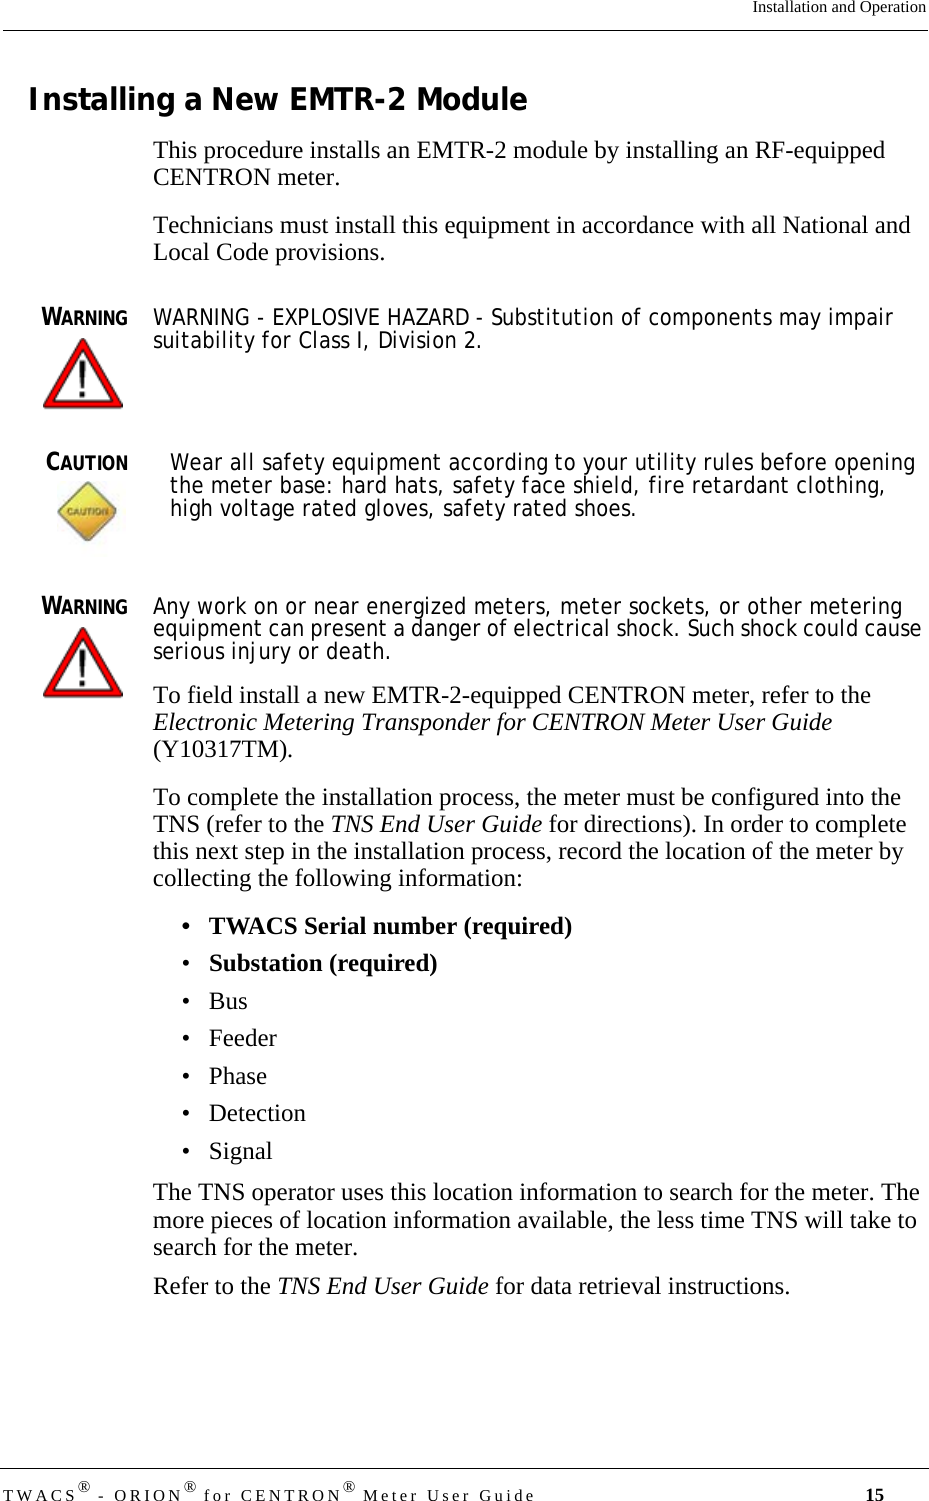
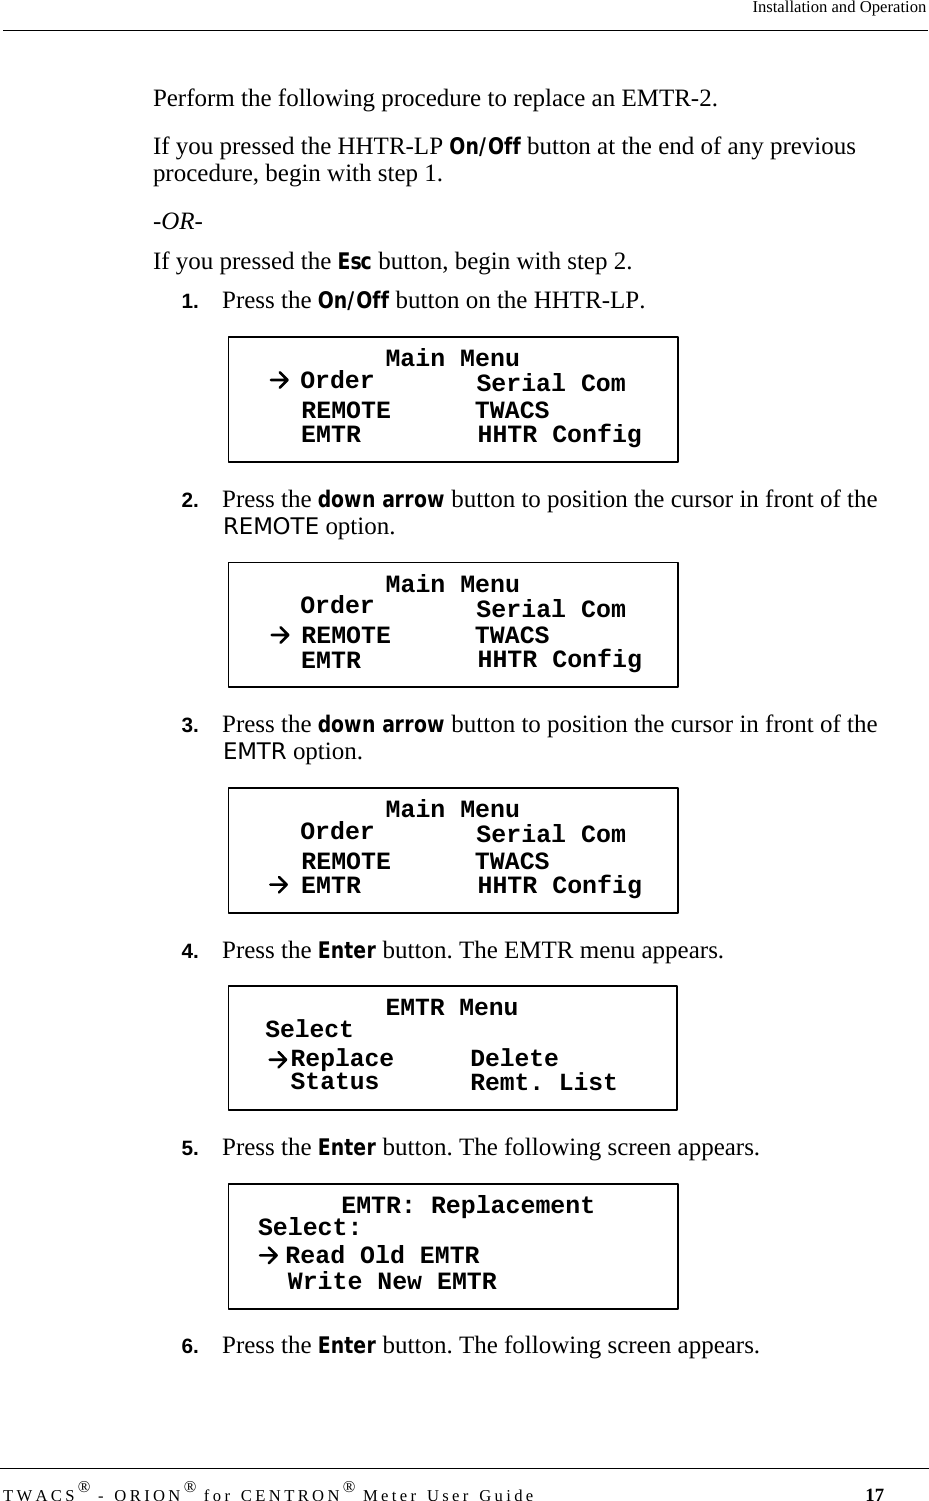

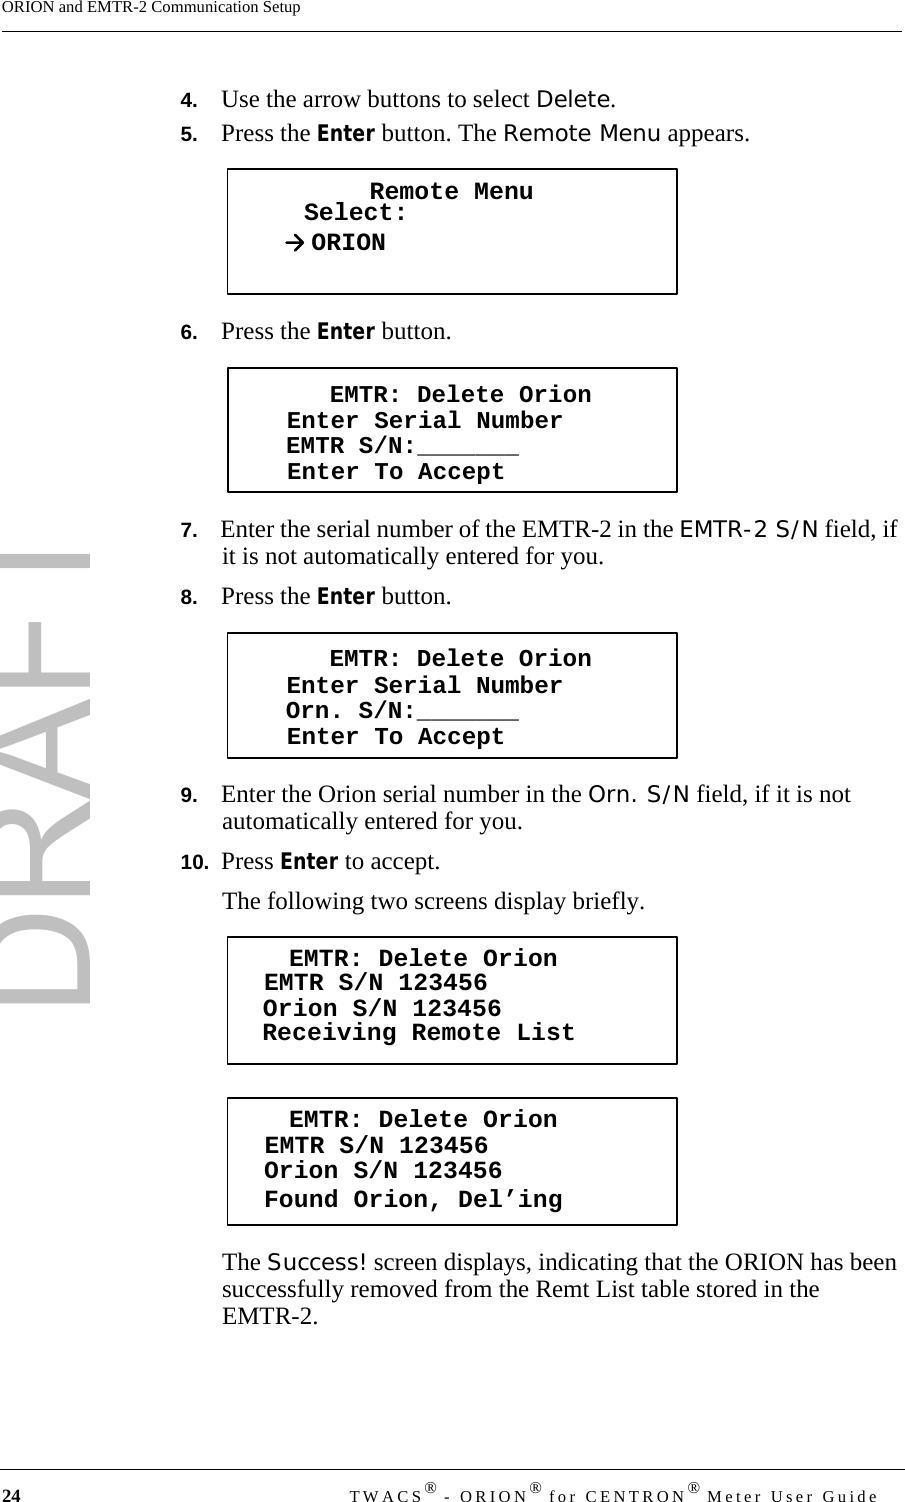

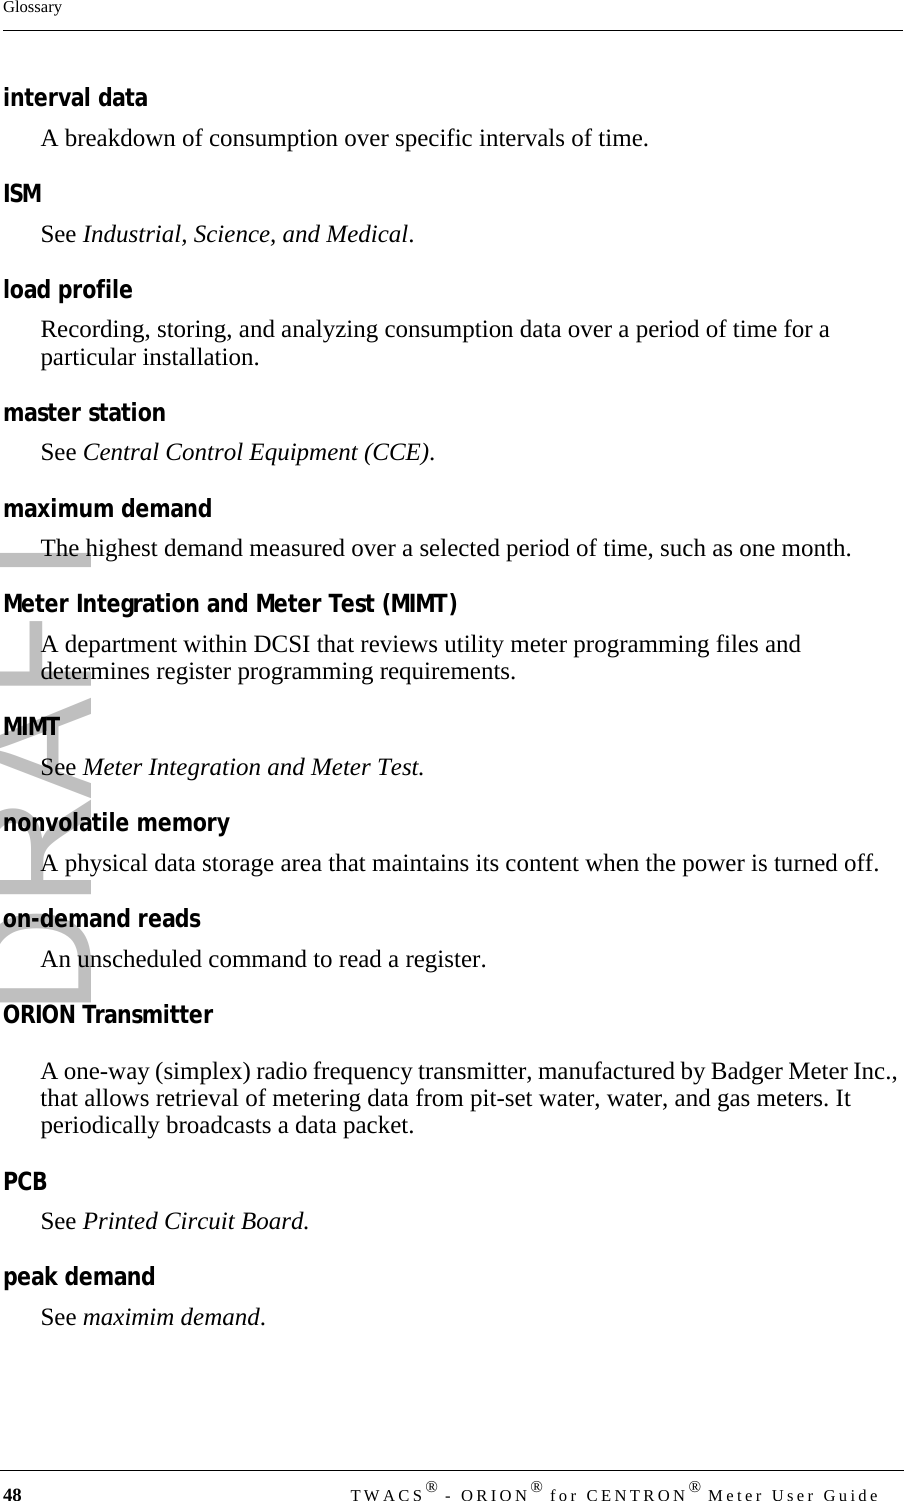
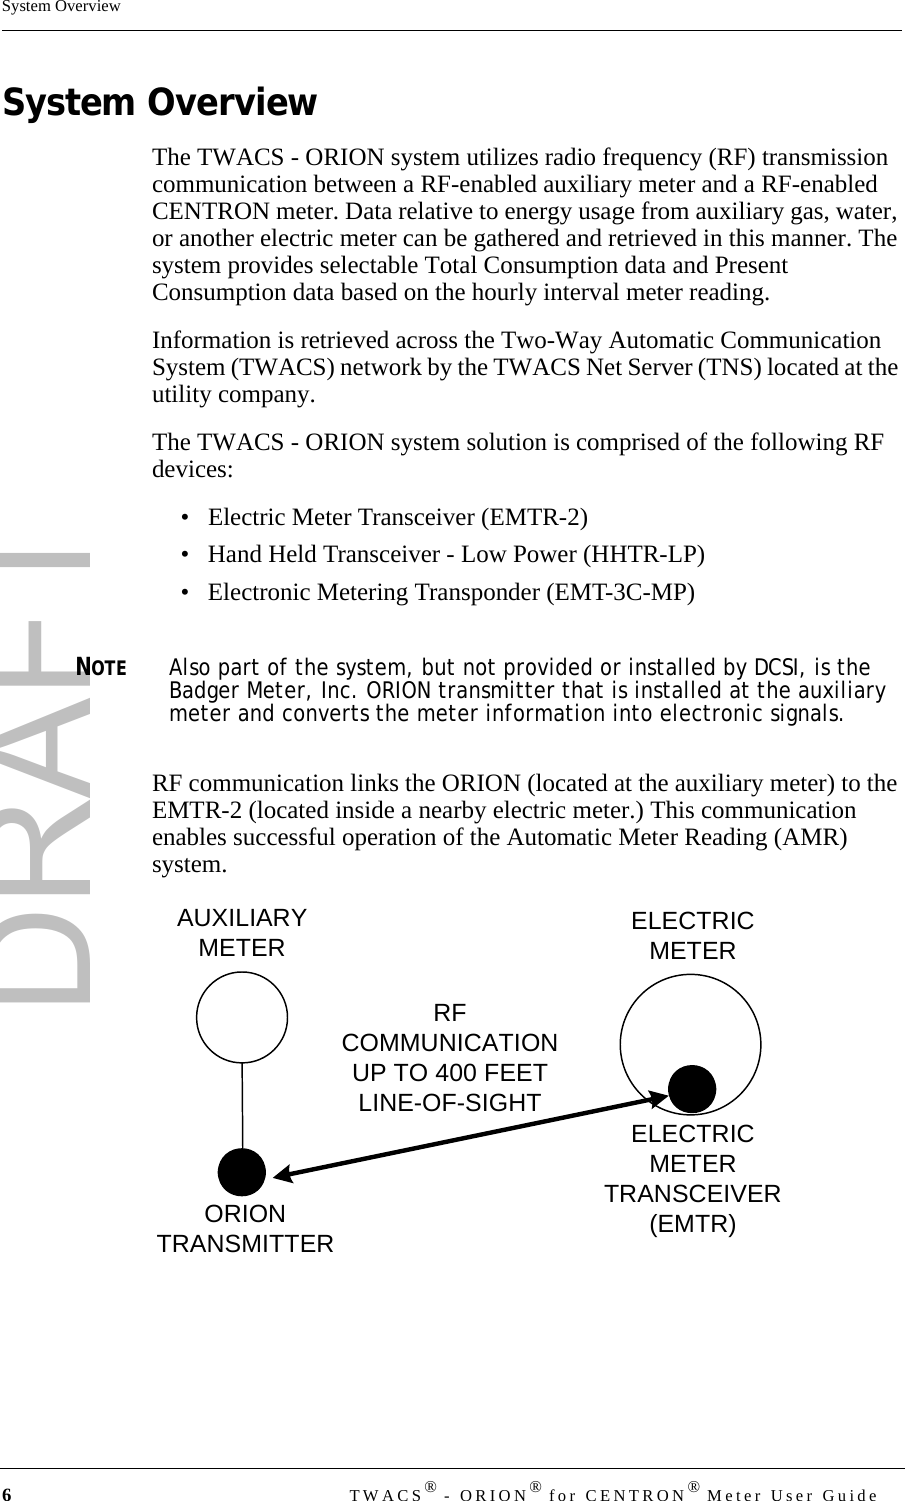
![DRAFTTWACS® - ORION® for CENTRON® Meter User Guide 35Chapter 2 • Testing, Troubleshooting, and MaintenanceMaintenanceThe TWACS-ORION system requires no maintenance.WarrantyRefer to contract terms for warranty information.Return ProceduresDCSI equipment which has been integrated or retrofitted by a third party, must be returned to the third party. Please do not return third party integrated equipment to DCSI. Contact the third party to obtain their “Return Authorization Number” and shipping instructions and return the equipment directly to the integrator/retrofitter. If you are a DCSI certified integrator and the product cannot be repaired in the meter shop, remove the module and complete the following procedure.NOTEBefore returning an item to DCSI, refer to your contract terms for warranty information. If an item is out of warranty, a diagnostic fee may apply. Please send an email to rma@twacs.com for a diagnostic estimate.If you have any questions regarding returns, send an email to rma@twacs.com.1. Send an email to rma@twacs.com with the information listed below. Within 24 hours, excluding weekends and holidays, you will receive an email acknowledging receipt of your request. After DCSI processes your request, you will receive a Return Material Authorization (RMA) number with the shipping instructions. To expedite the process, be sure to include all the information requested below:•Company name [Distributor name and location (city and state) if applicable]•Ship To name and address •Contact name, phone number, and email address•DCSI part number of each item•Serial number of each item•Description of each item•Total quantity (by DCSI part number) for each item •Specific reason for return of each item•Manufacturer number (number starting with A/M/V/C/W) of each RCE item2. Once you receive an RMA number, package the IMT-XM according to the shipping instructions received and following the notes below.](https://usermanual.wiki/Aclara-Power-Line-Systems/Y72160-301/User-Guide-672869-Page-43.png)