Action Electronics 9R3VOD128 DVD PLAYER (FM transmitter) User Manual VOD128 RT 91 RT 1001 V9 rev
Action Electronics Co.,Ltd. DVD PLAYER (FM transmitter) VOD128 RT 91 RT 1001 V9 rev
UserManual.wiki
>
Action Electronics
>
9R3VOD128 User Manual
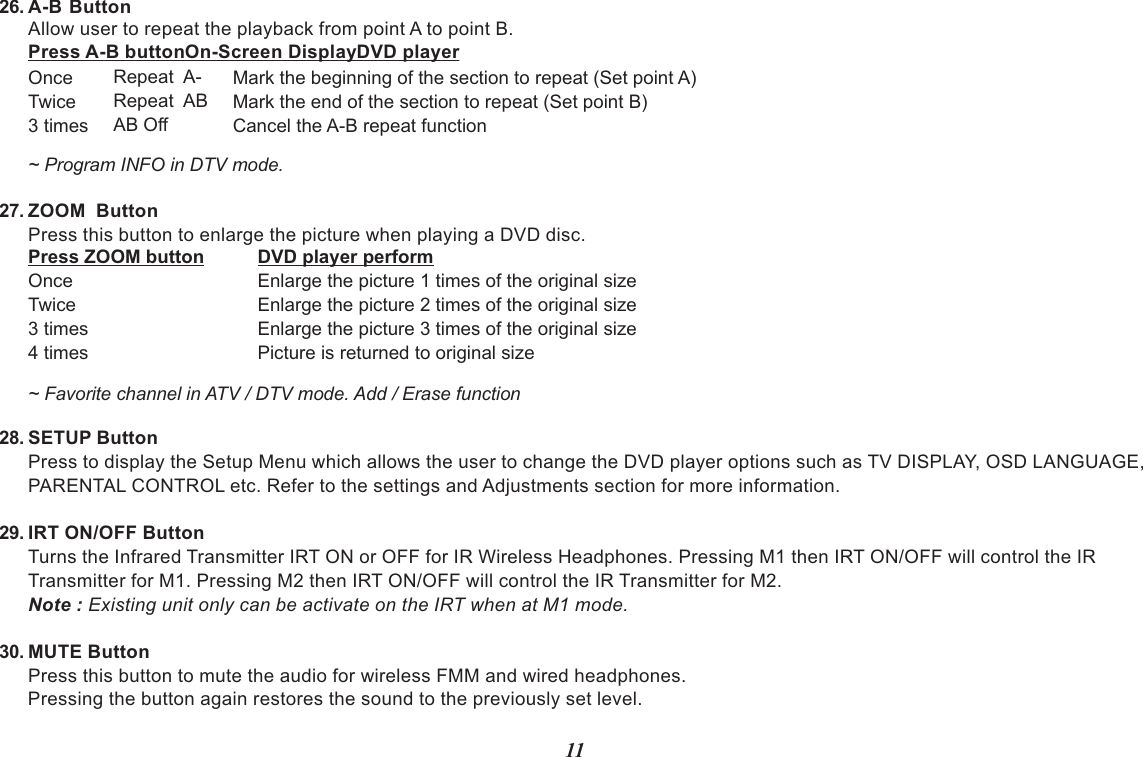
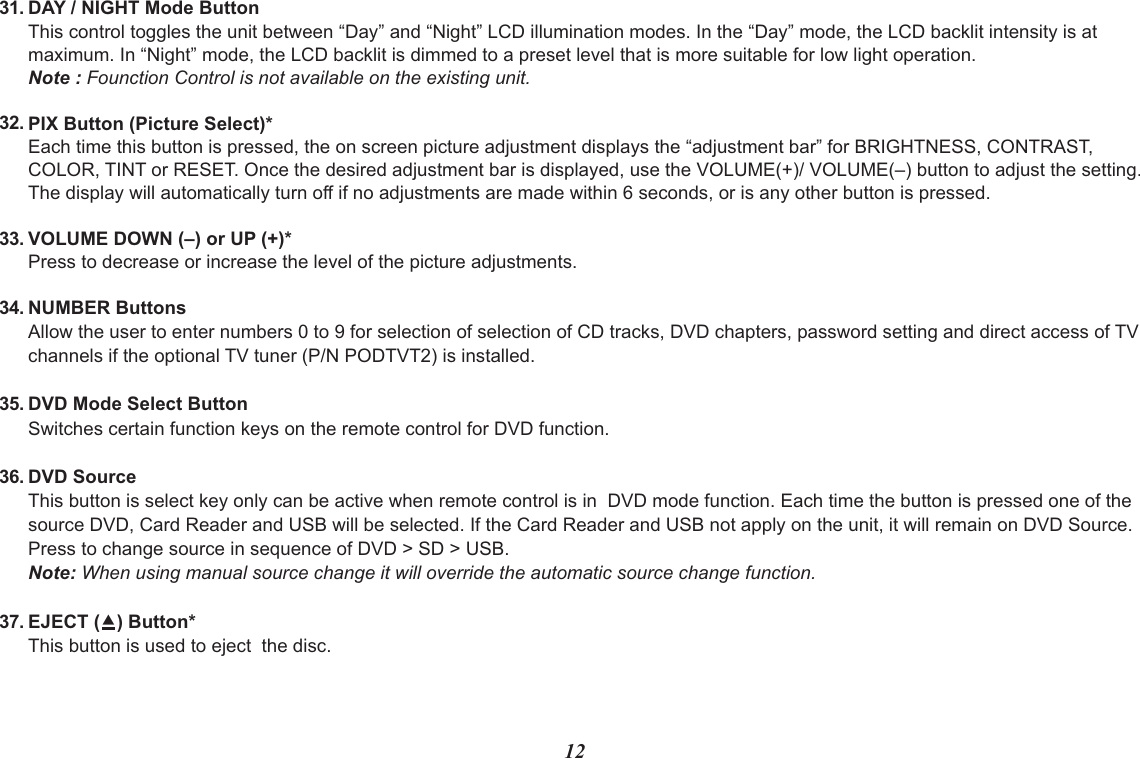
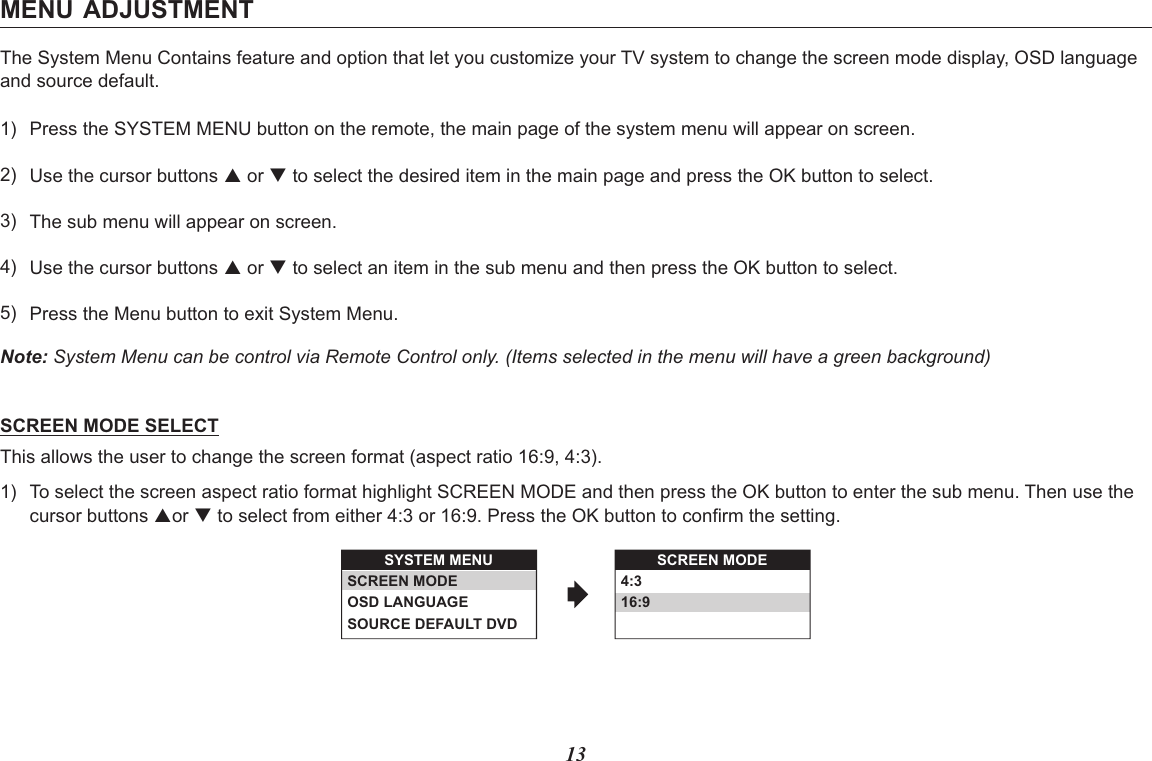
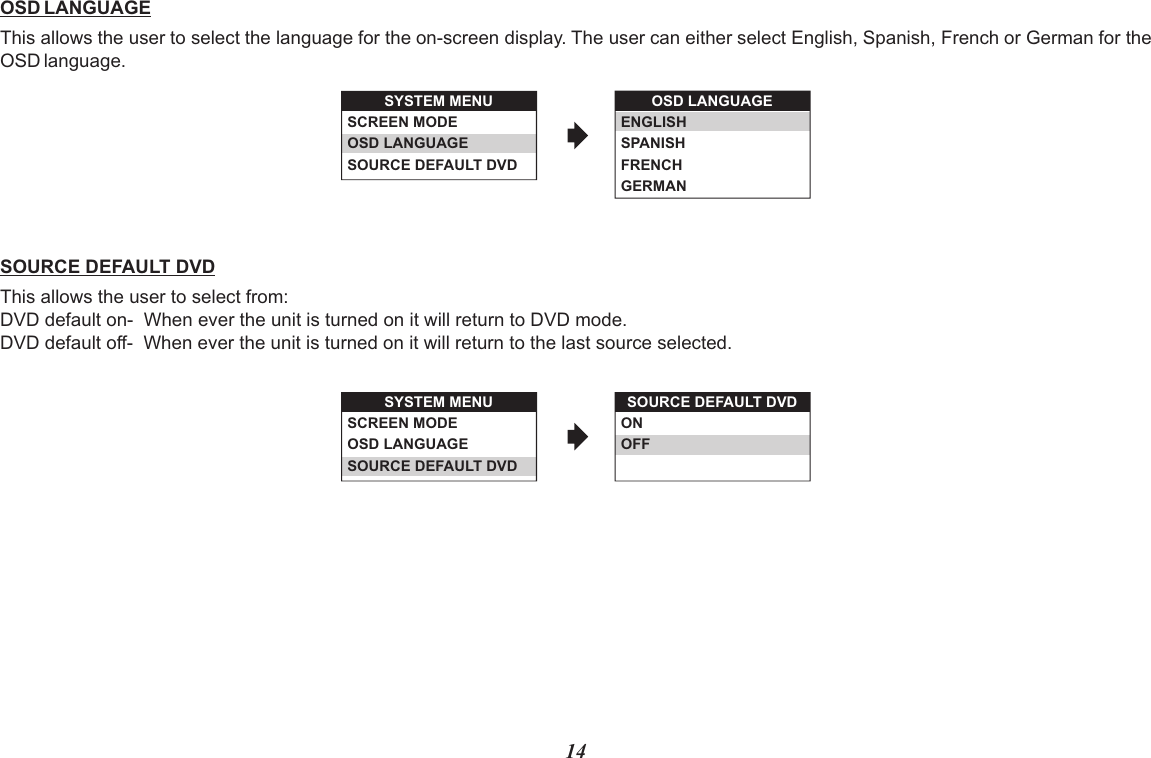
Users manual
Navigation menu
Upload a User Manual
Namespaces
Wiki Guide
HTML
PDF
Info
Views
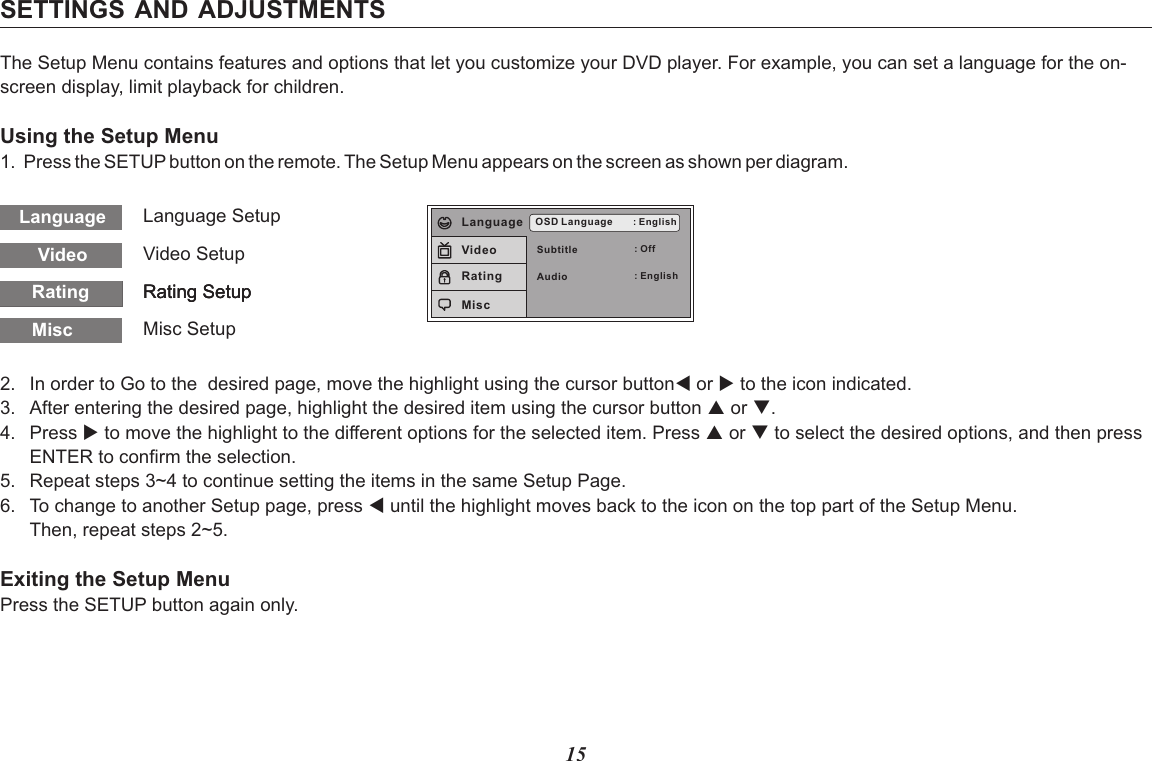
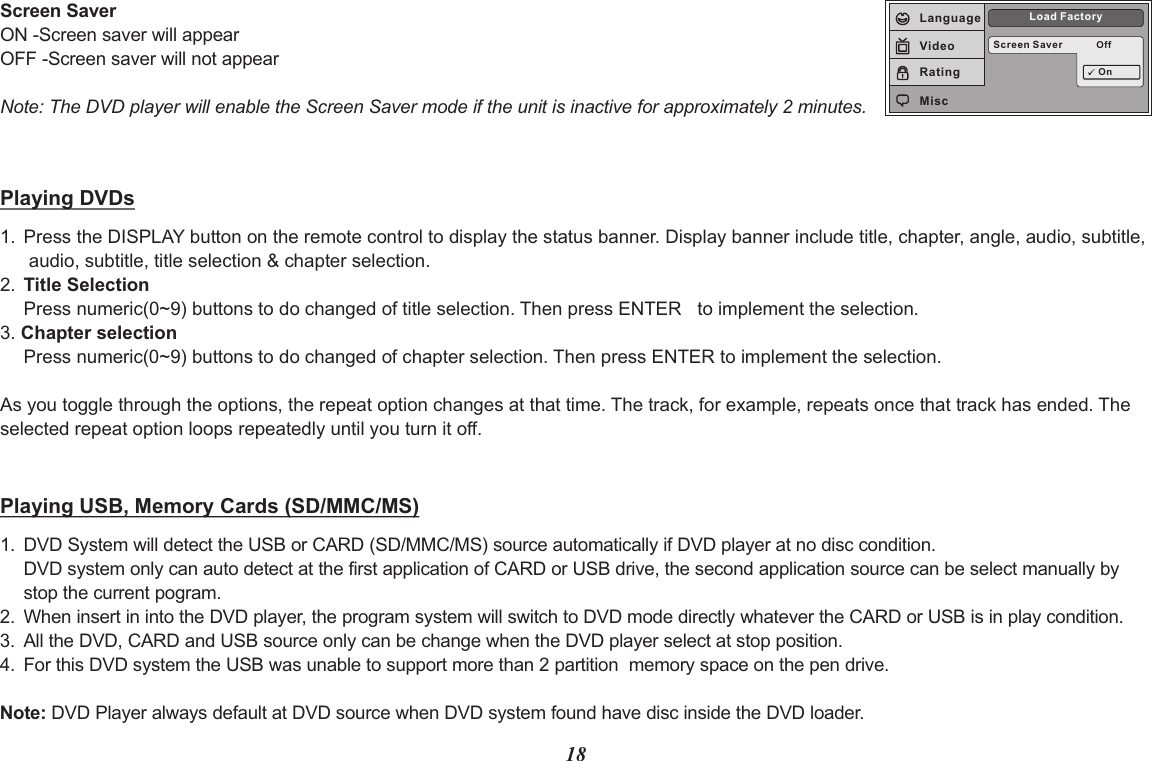
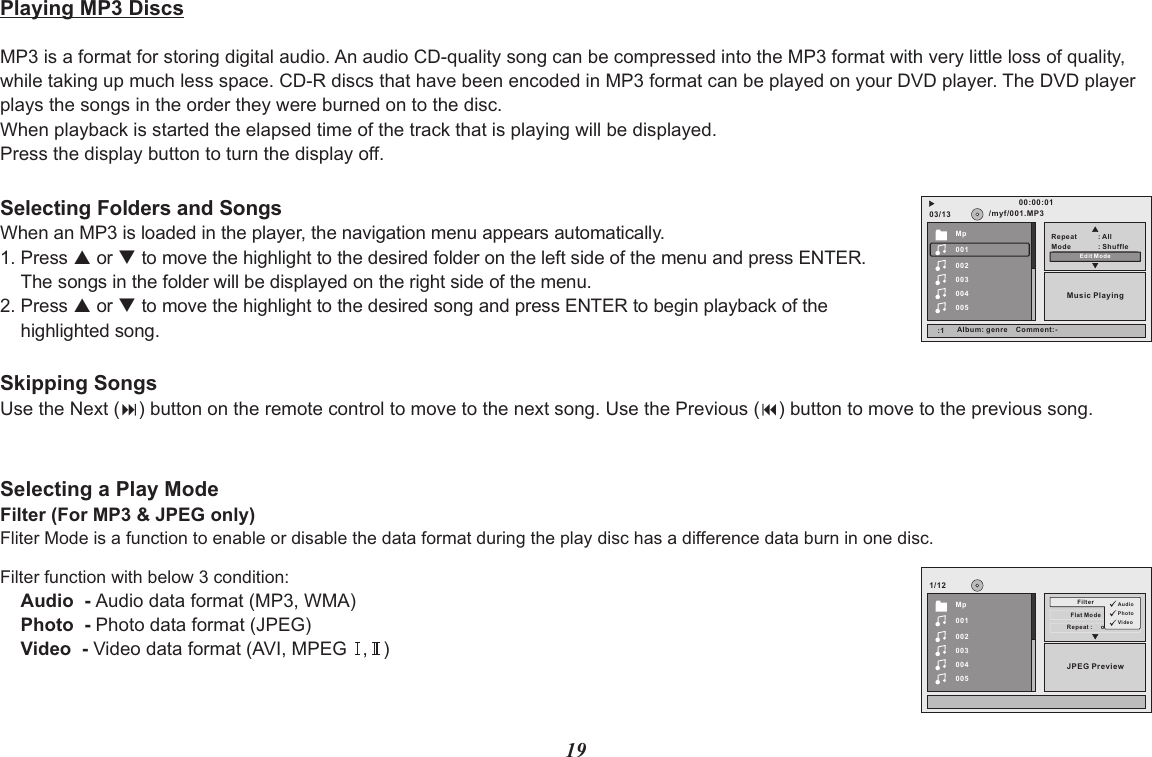
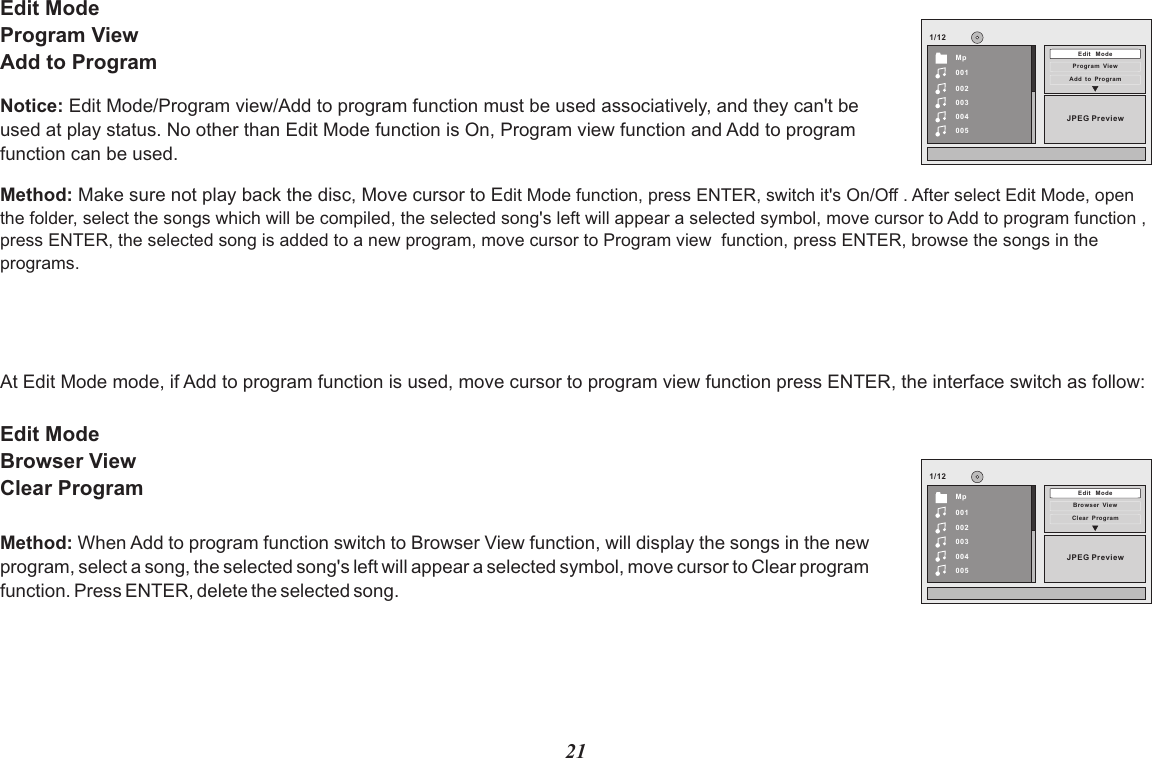
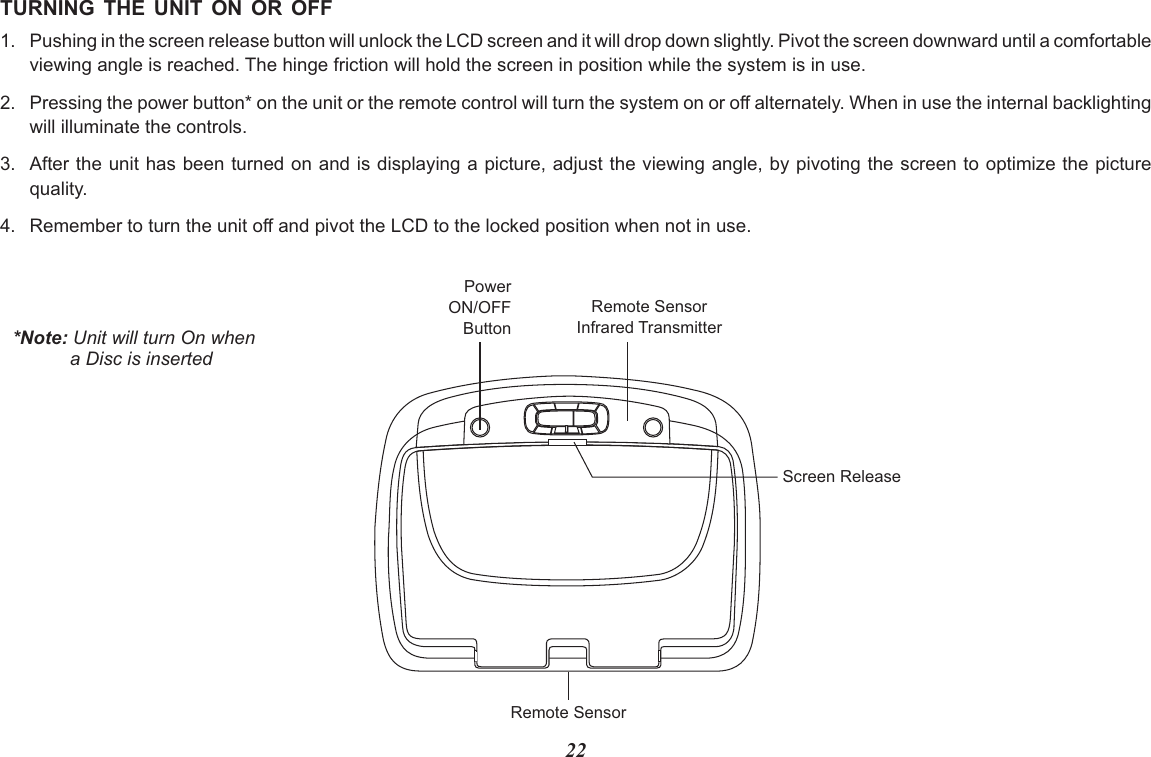
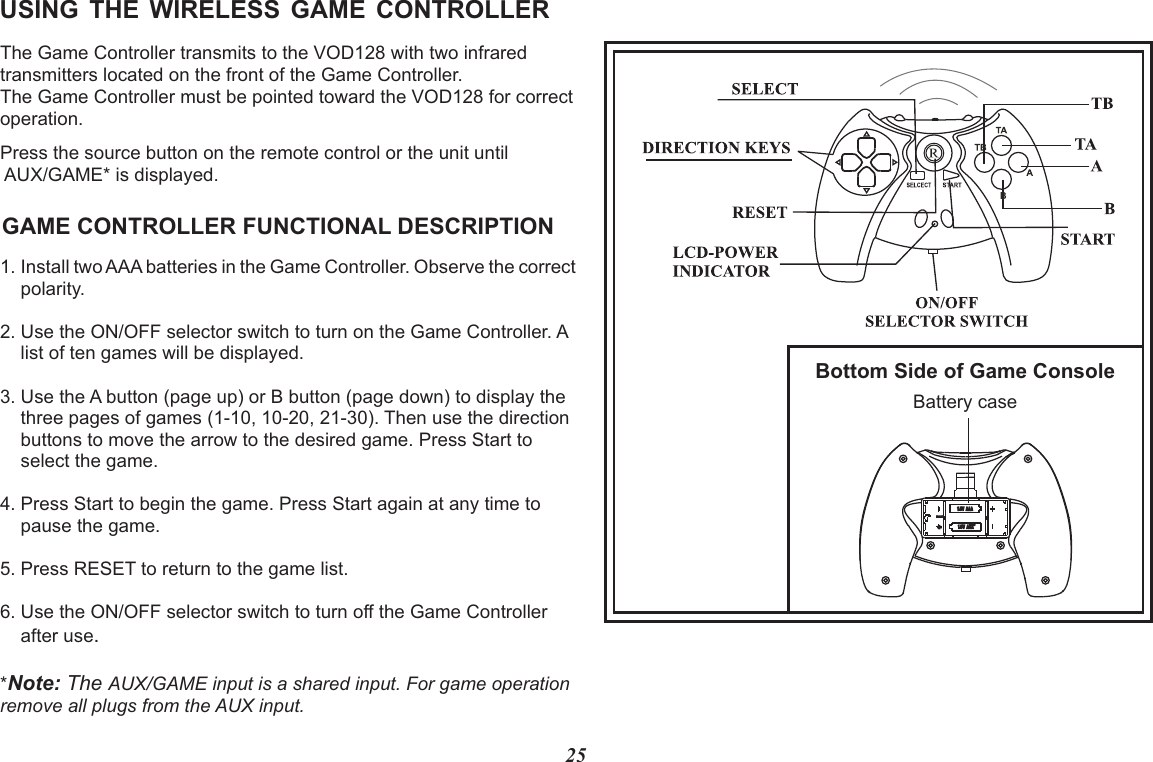
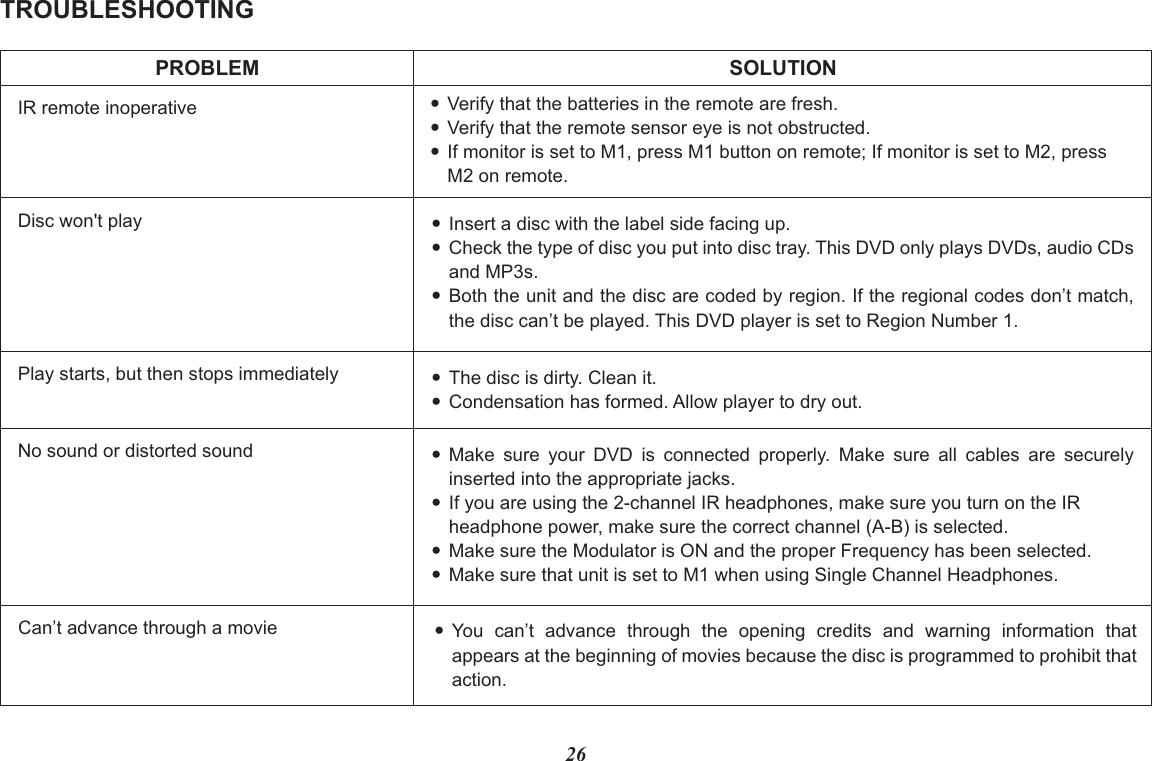
User Manual
Discussion / Help
Navigation