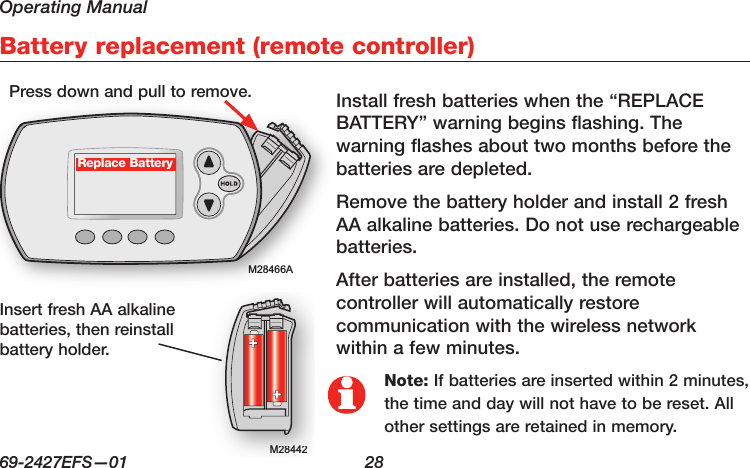
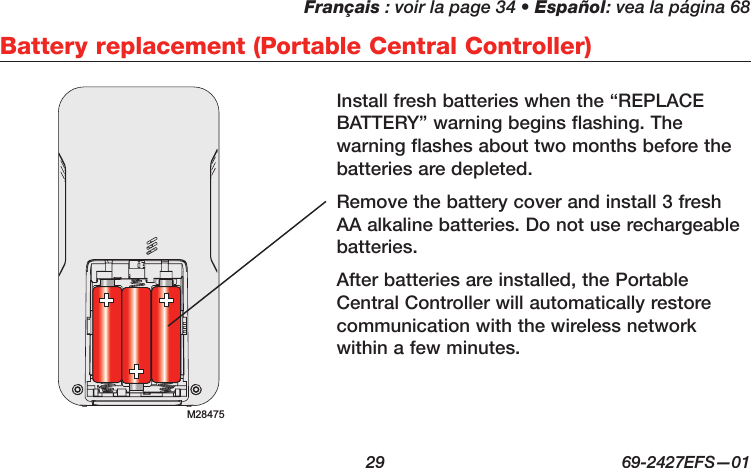
Ademco TH6000R01 Programmable Thermostat User Manual 69 2427EFS 01 MRCH1 Remote Controller
Honeywell International Inc Programmable Thermostat 69 2427EFS 01 MRCH1 Remote Controller
UserManual.wiki
>
Ademco
>
TH6000R01 User Manual
>
Manual 1
Contents
1.
Manual 1
2.
Manual 2
Manual 1
Navigation menu
Upload a User Manual
Namespaces
Wiki Guide
HTML
PDF
Info
Views
User Manual
Discussion / Help
Navigation
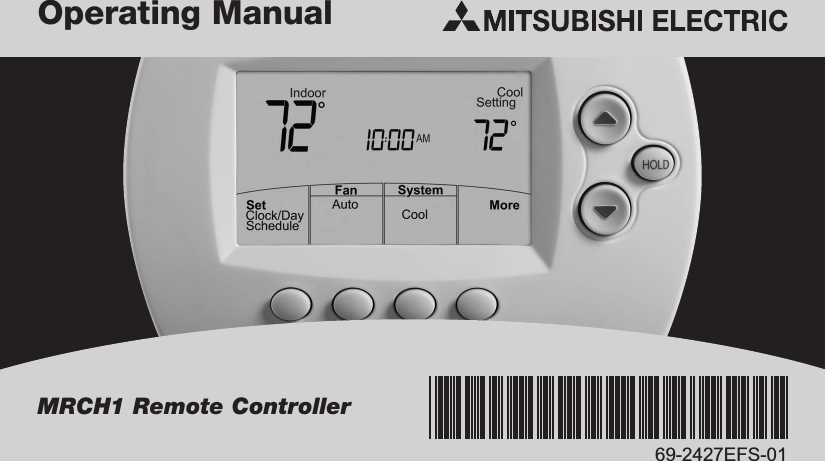
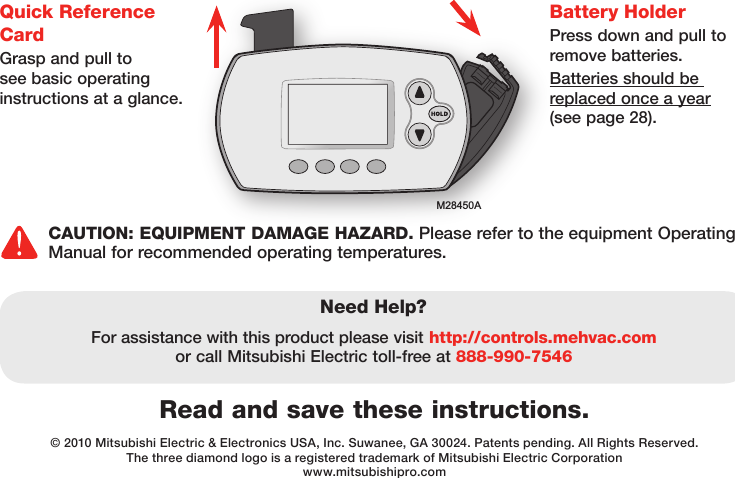
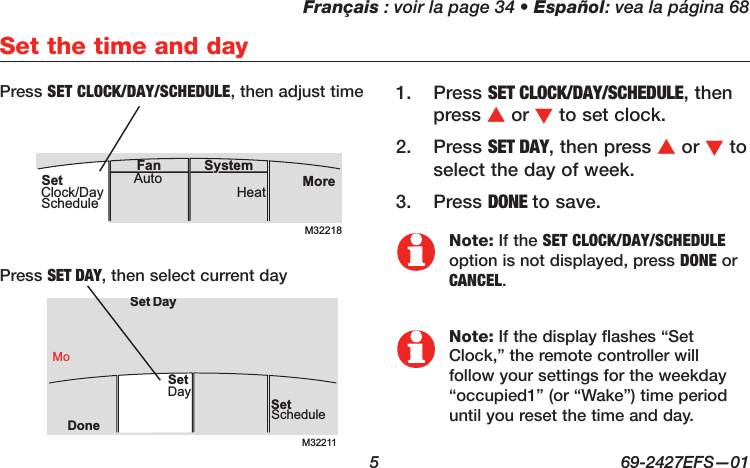
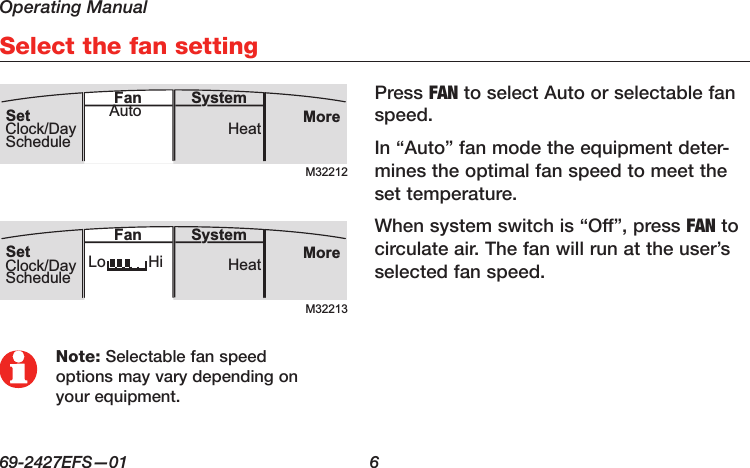
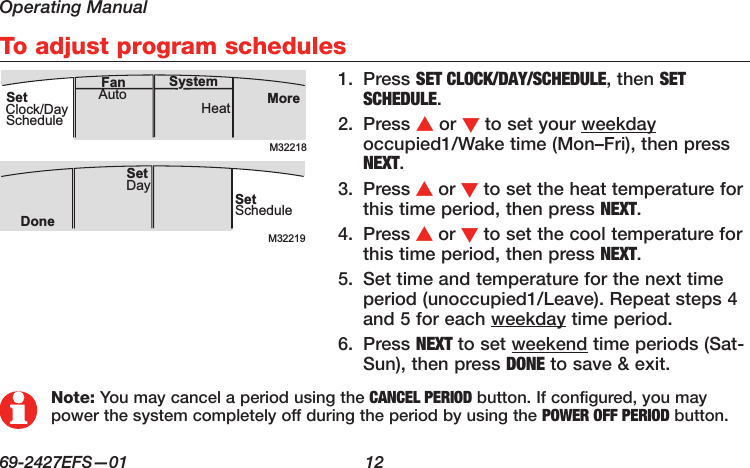
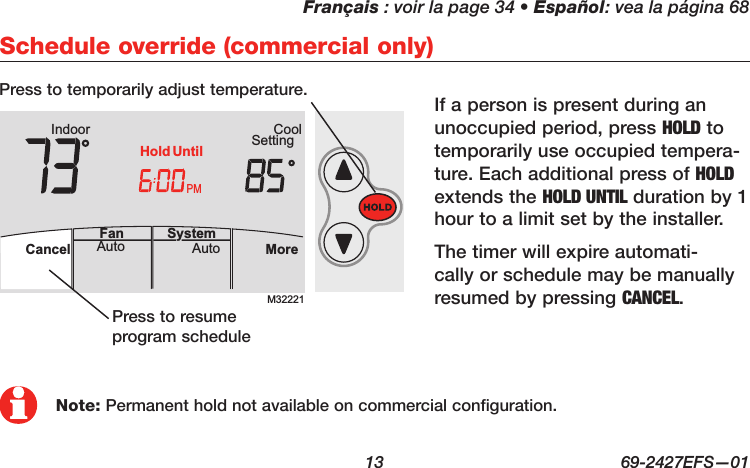
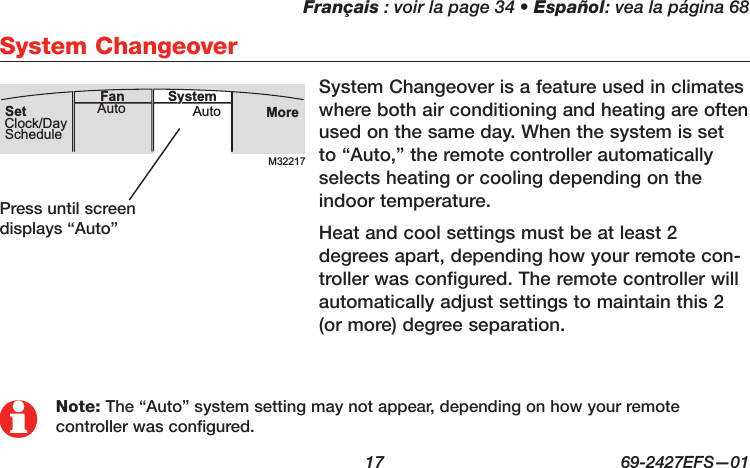
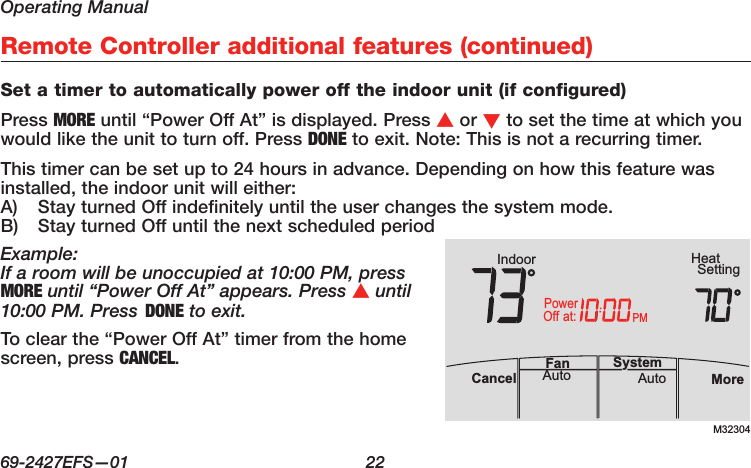
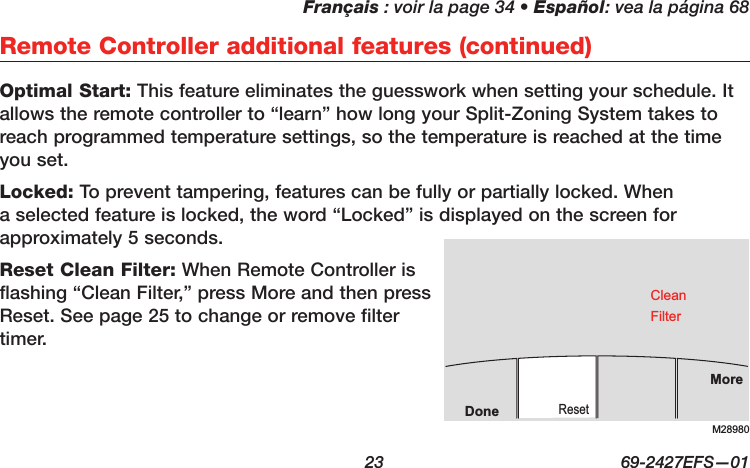
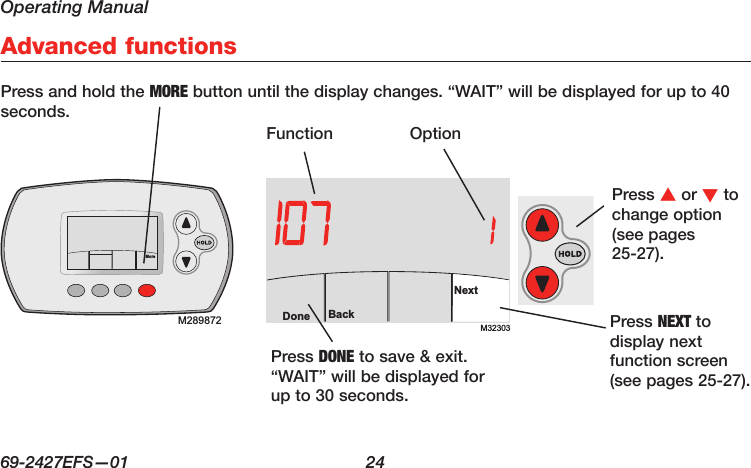
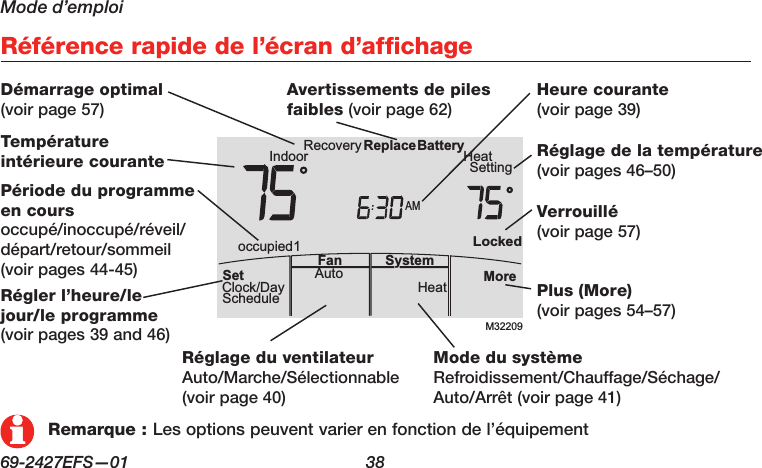
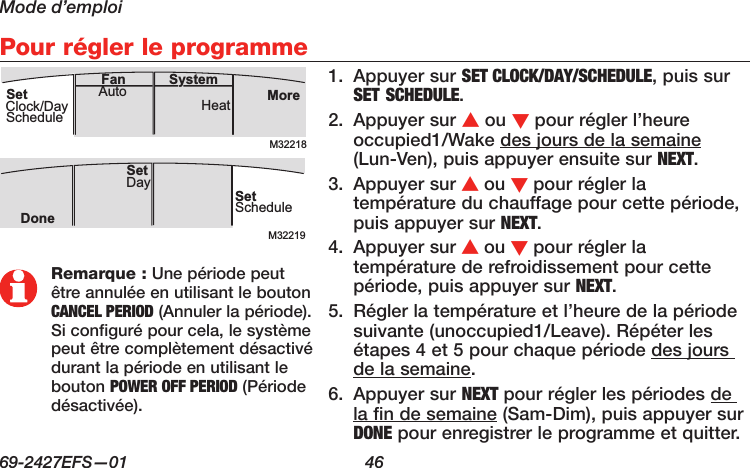
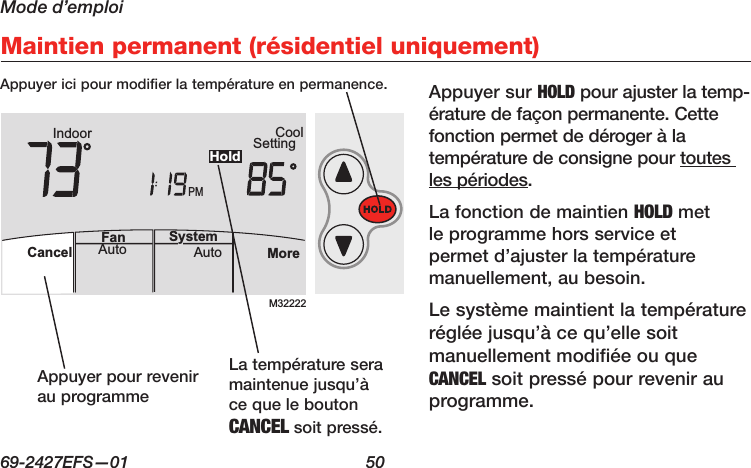
![English: see page 1 • Español: vea la página 68 39 69-2427EFS—01M32218MoreHeatAuto SystemFanSetClock/DayScheduleRégler l’heure et le jourM32211SetScheduleSet DayDoneMoDaySet1. Appuyer sur SET CLOCK/DAY/SCHEDULE puis appuyer sur s ou t pour régler l’heure.2. Appuyer sur SET DAY puis appuyer sur s ou t pour choisir le jour de la semaine3. Appuyer sur DONE (Terminé) pour enregistrer les réglages.Remarque : Si l’option SET CLOCK/DAY/SCHEDULE n’est pas affichée, appuyer sur DONE (Terminé) ou CANCEL (Annuler).Remarque : Si les mots Set Clock (Régler l’heure) clignotent à l’écran, le régulateur à distance respectera les réglages prévus pour la période « occupied1 » (occupé1) (ou « Wake » [Réveil]) jusqu’à ce que l’heure et le jour soient réglés.Appuyer sur SET CLOCK/DAY/SCHEDULE (Régler heure/jour/calendrier), puis régler l’heure.Appuyer sur SET DAY (Régler le jour), puis sélectionner le jour en cours.](https://usermanual.wiki/Ademco/TH6000R01.Manual-1/User-Guide-1418527-Page-41.png)