Advance Multimedia Internet Technology WL541M Router with Wireless Card User Manual Pages 60 to 100
Advance Multimedia Internet Technology Inc. Router with Wireless Card Users Manual Pages 60 to 100
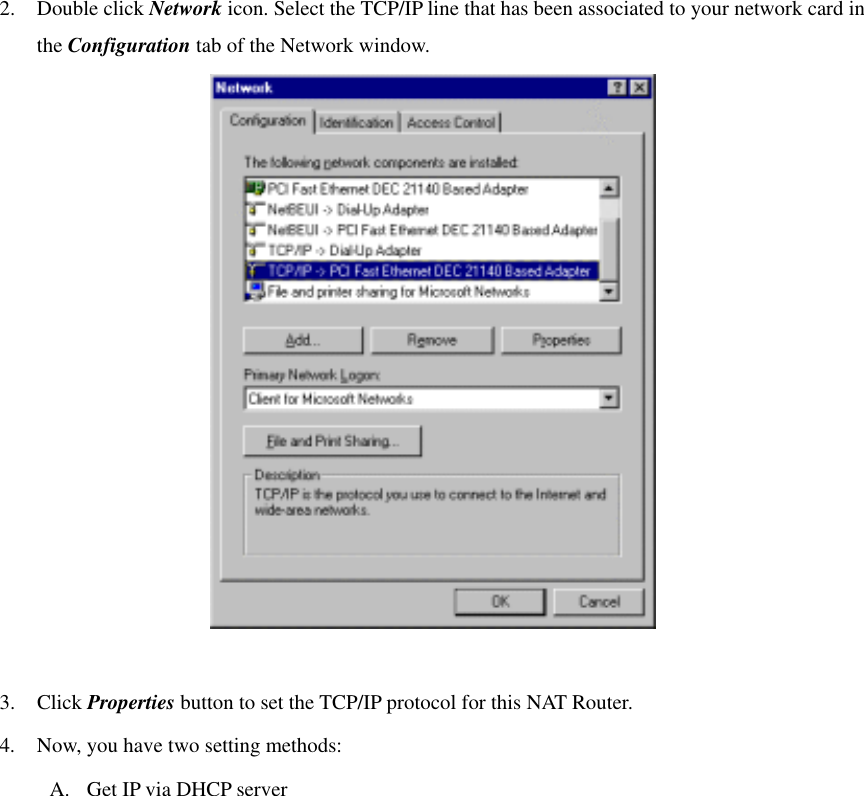
Contents
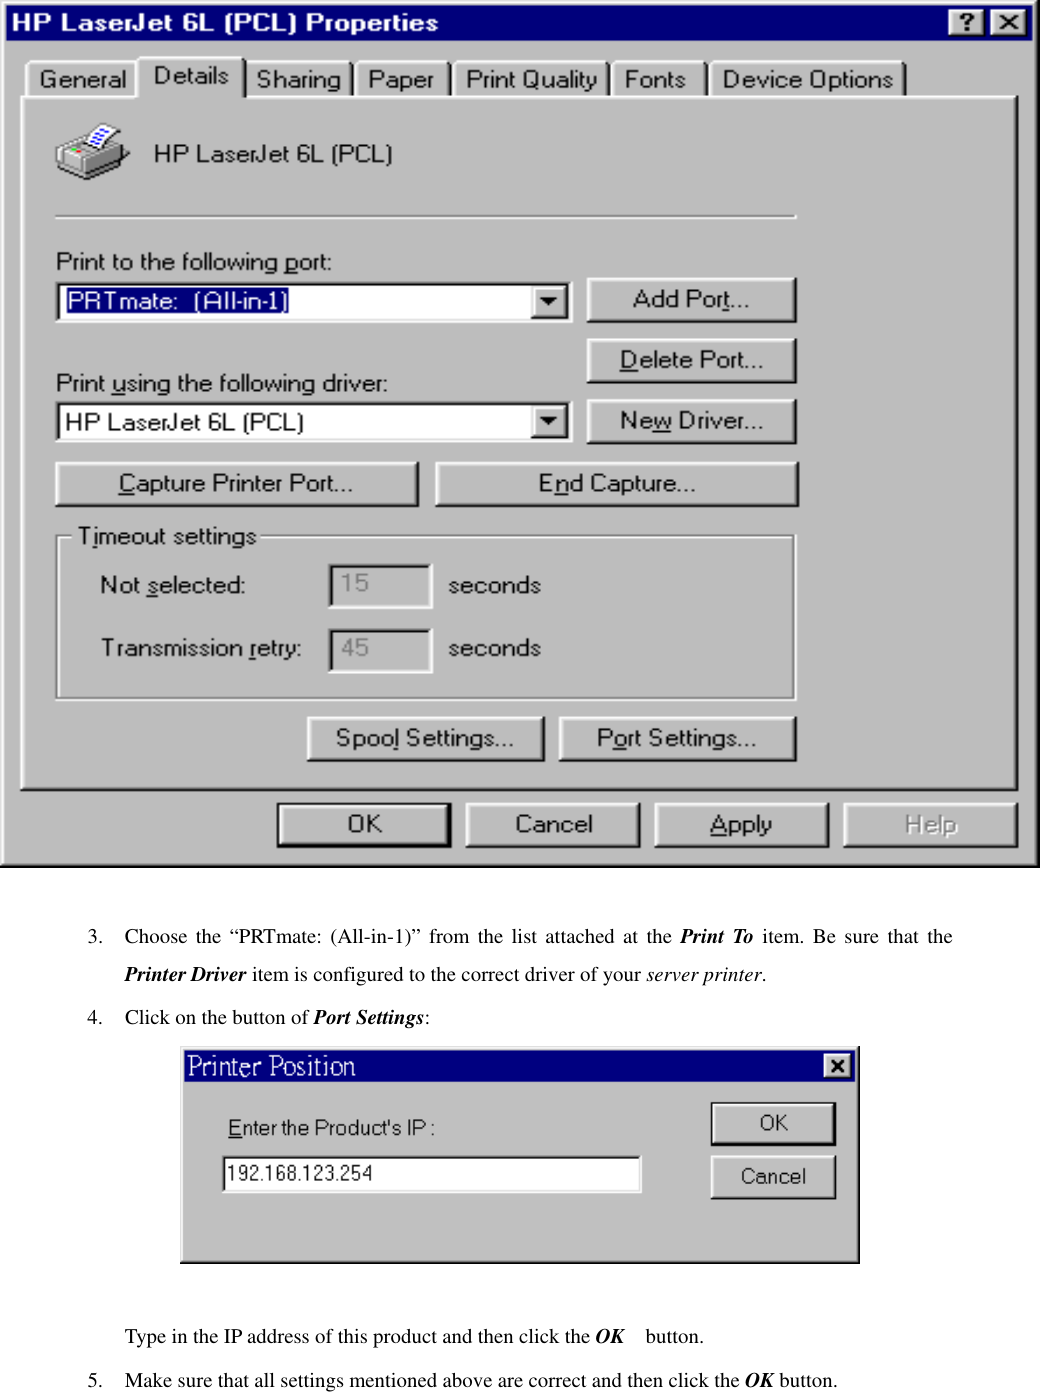
- 1. Users Manual Pages 1 to 60
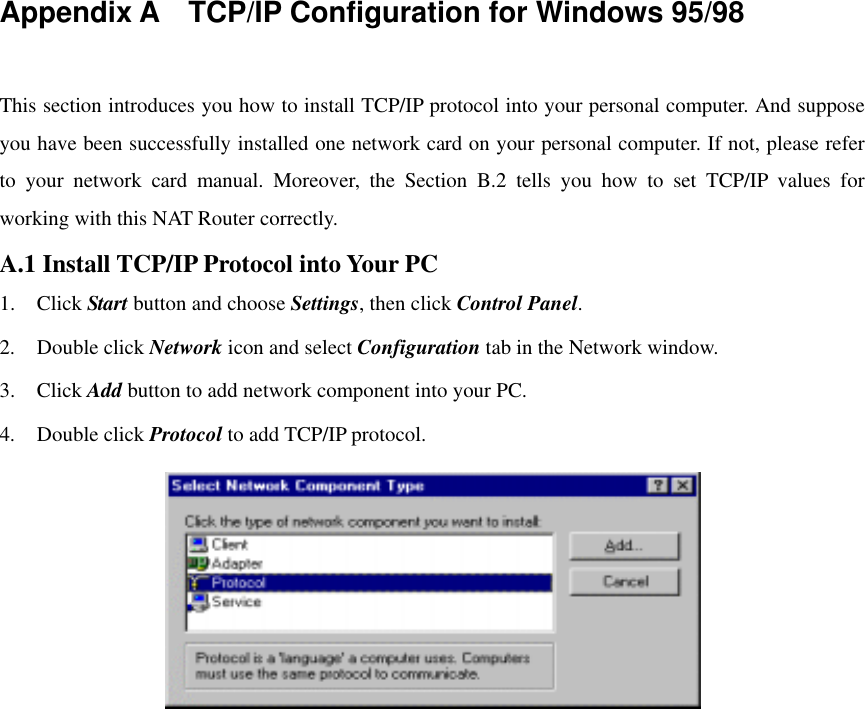
- 2. Users Manual Pages 60 to 100
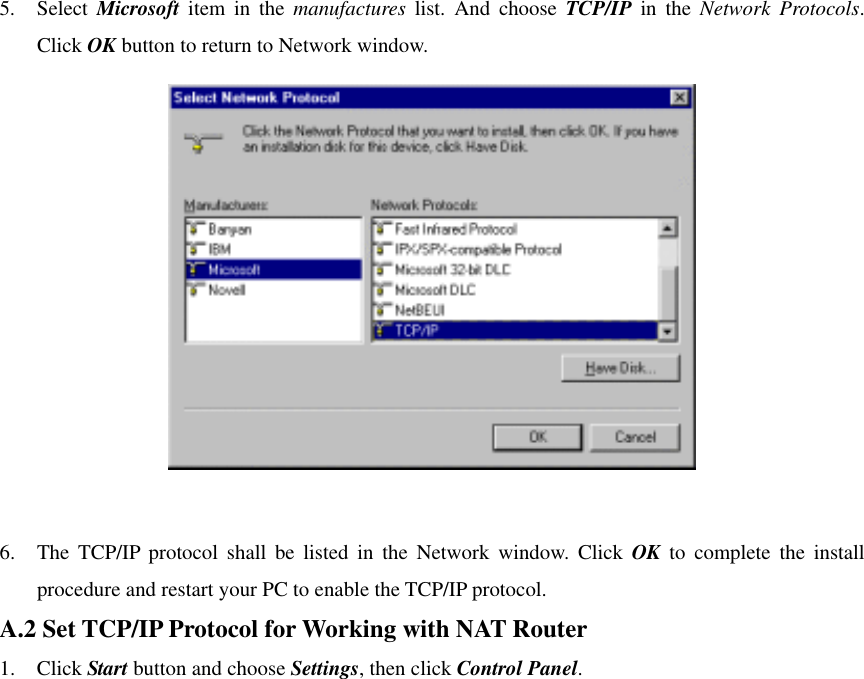
- 3. Users Manual Pages 101 to 133
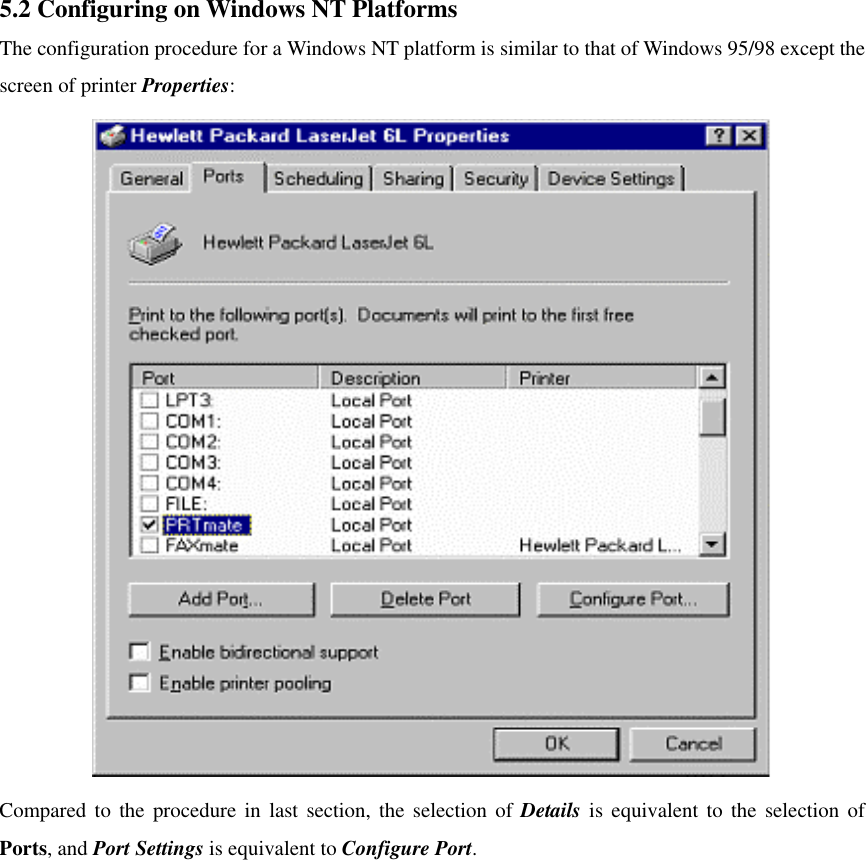
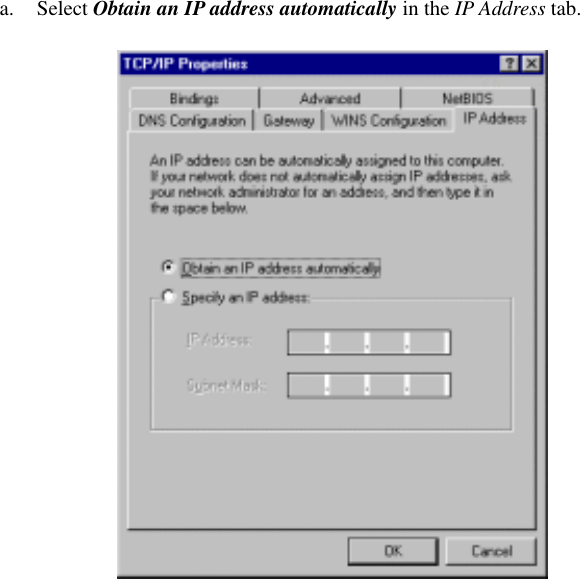
Users Manual Pages 60 to 100