Agfa NV 5367A Drystar Axys /xxx Medical tabletop printer User Manual manual part 1
Agfa Gevaert N V Drystar Axys /xxx Medical tabletop printer manual part 1
UserManual.wiki
>
Agfa NV
>
5367A User Manual
>
manual part 1
Contents
1.
manual part 1
2.
manual part 2
manual part 1
Navigation menu
Upload a User Manual
Namespaces
Wiki Guide
HTML
PDF
Info
Views
User Manual
Discussion / Help
Navigation


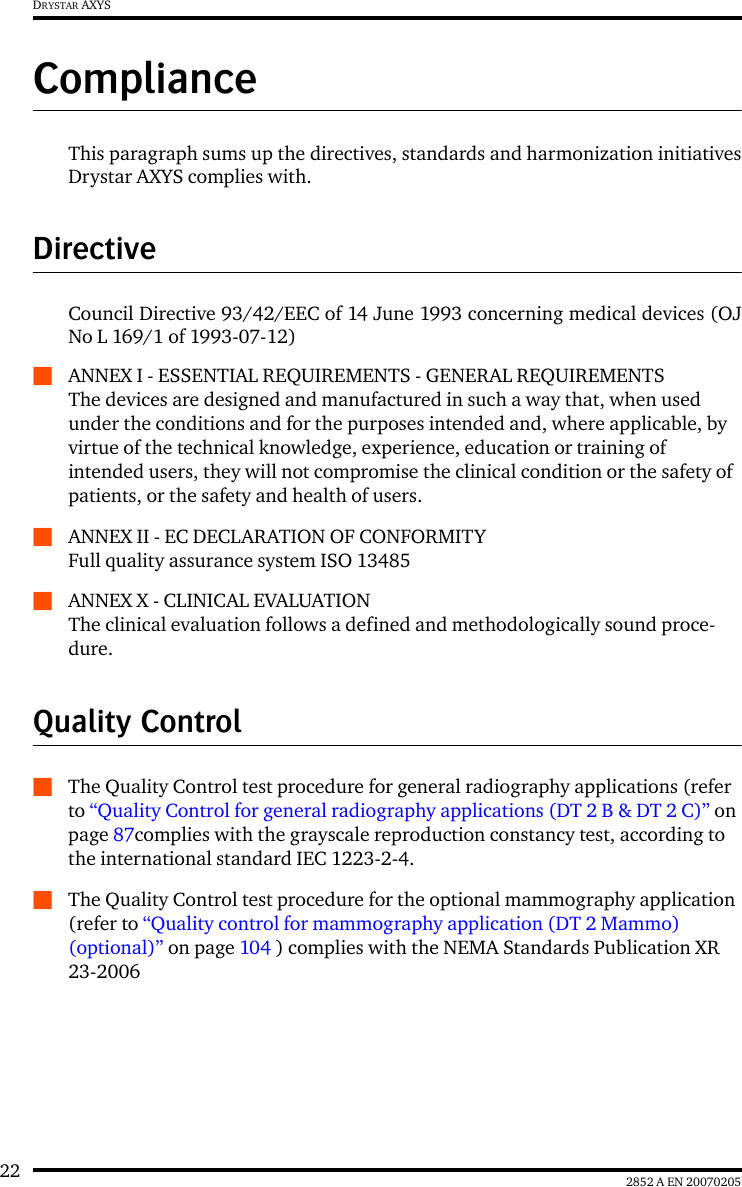


![36 2852 A EN 20070205DRYSTAR AXYSLabels[The following samples illustrate some of the warning labels (ISO 3864 SafetySigns define the design principles for international safety signs) that mayappear on the medical equipment.]Symbol ExplanationFigure 9: Radiation WarningRadiation Warning Indicates the possibility of increased levels of radi-ation.Figure 10: High Voltage WarningHigh Voltage WarningIndicates the presence of high voltage.Figure 11: Laser WarningLaser WarningIndicates the presence of a laser device.Figure 12: Hot Surface WarningHot Surface WarningIndicates that touching the part indicated cancause burns.Figure 13: Do not sit WarningDo not sit WarningIndicates that sitting on a component can causedamage to the equipment.](https://usermanual.wiki/Agfa-NV/5367A.manual-part-1/User-Guide-1213590-Page-36.png)
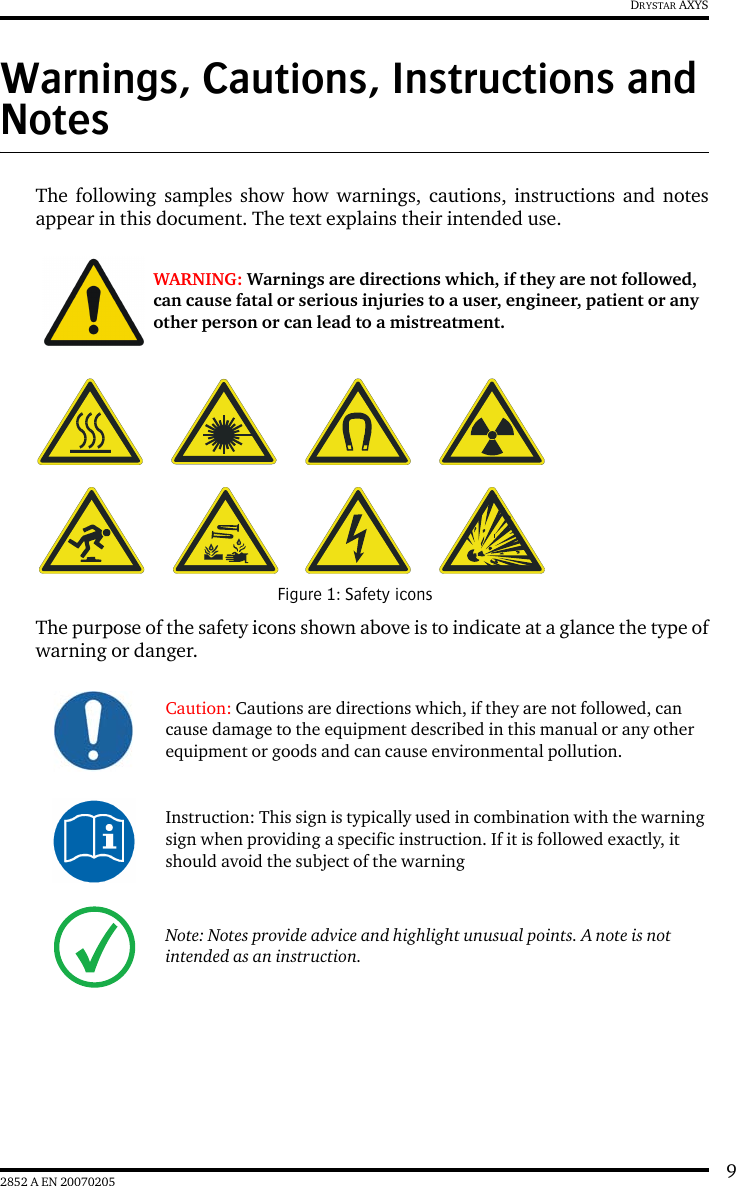
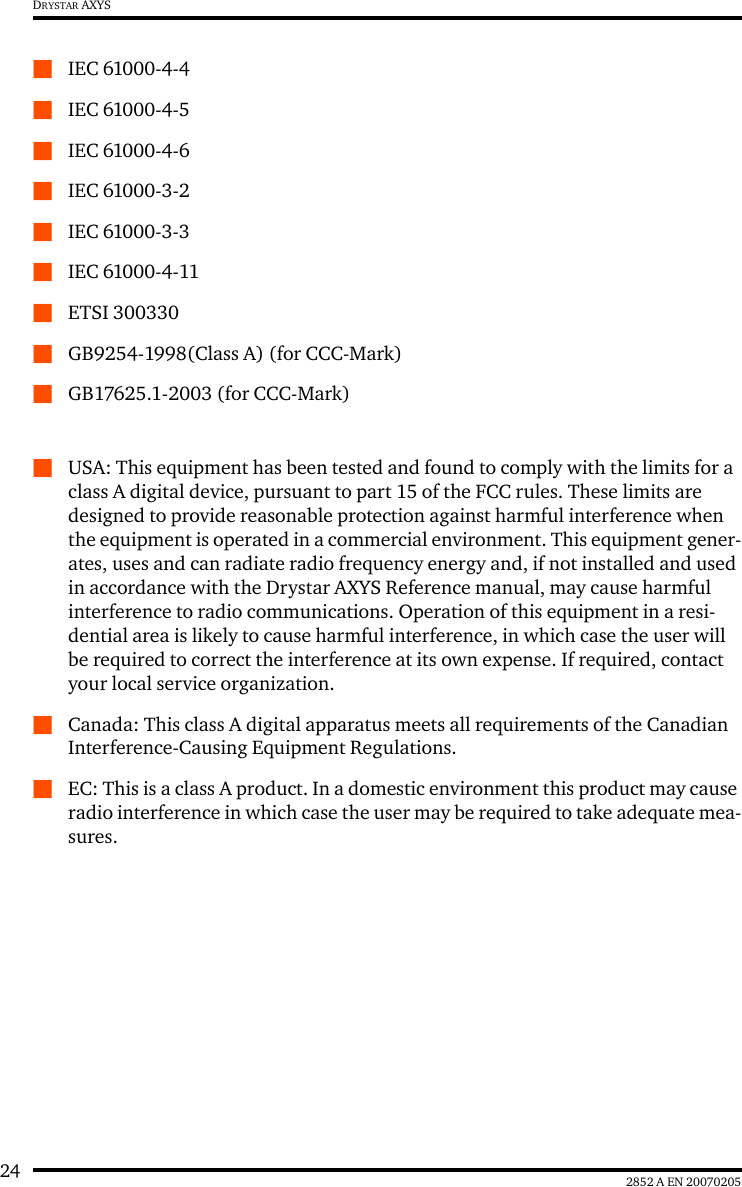
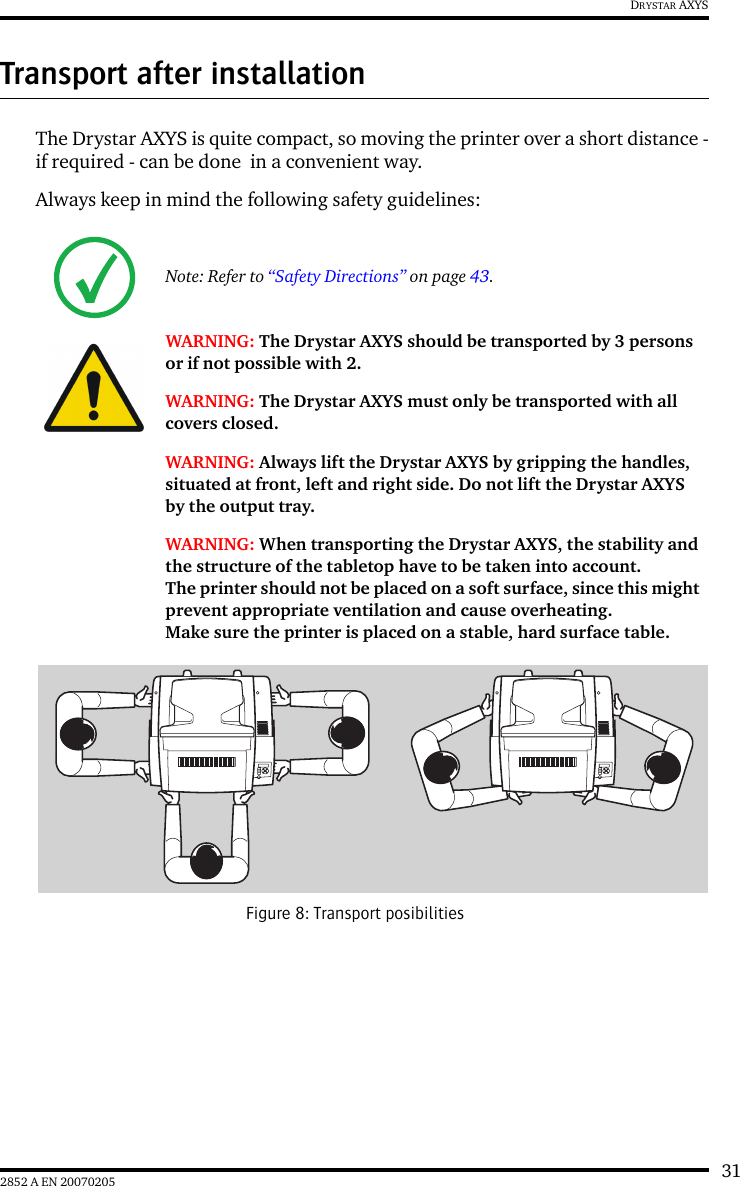
![432852 A EN 20070205DRYSTAR AXYSSafety DirectionsQObserve the following general safety guidelines:QWhen operating or maintaining the Drystar AXYS, always observe the following safety guidelines:WARNING: Strictly observe all warnings, cautions, notes and safety markings within this document and on the product.WARNING: Safety is only guaranteed when trained personnel have installed Drystar AXYS.WARNING: All Agfa medical products must be used by Agfa trained and qualified personnel.WARNING: [The user is responsible for judging image quality and controlling environmental conditions for diagnostic softcopy or print viewing.]WARNING: [Any error (crash/ lock up) leading to an image processing failure can cause loss of diagnostic information.]Caution: Position the Agfa product so that it is possible to disconnect the mains power connection if required.Caution: Changes, additions or maintenance to the Agfa products carried out by persons without appropriate qualification and training as well as using unapproved spare parts may lead to serious risk of injury and damage to the equipment as well as making the warranty void.WARNING: The Drystar AXYS must only be operated according to its specifications and its intended use. Any operation not corresponding to the specifications or intended use may result in hazards, which in turn may lead to serious injuries or fatal accidents (for example electric shocks). AGFA will not assume any liability whatsoever in these cases.WARNING: All images created using any image technology can show artifacts, which could be mixed up with diagnostic relevant information. If there is any doubt that the diagnostic information could not be absolutely true, additional investigations must be performed to get a clear diagnostic.WARNING: Have electrical or mechanical defects repaired by qualified personnel only!WARNING: Always switch off the Drystar AXYS and disconnect the power cord from the outlet before carrying out any maintenance work.](https://usermanual.wiki/Agfa-NV/5367A.manual-part-1/User-Guide-1213590-Page-43.png)
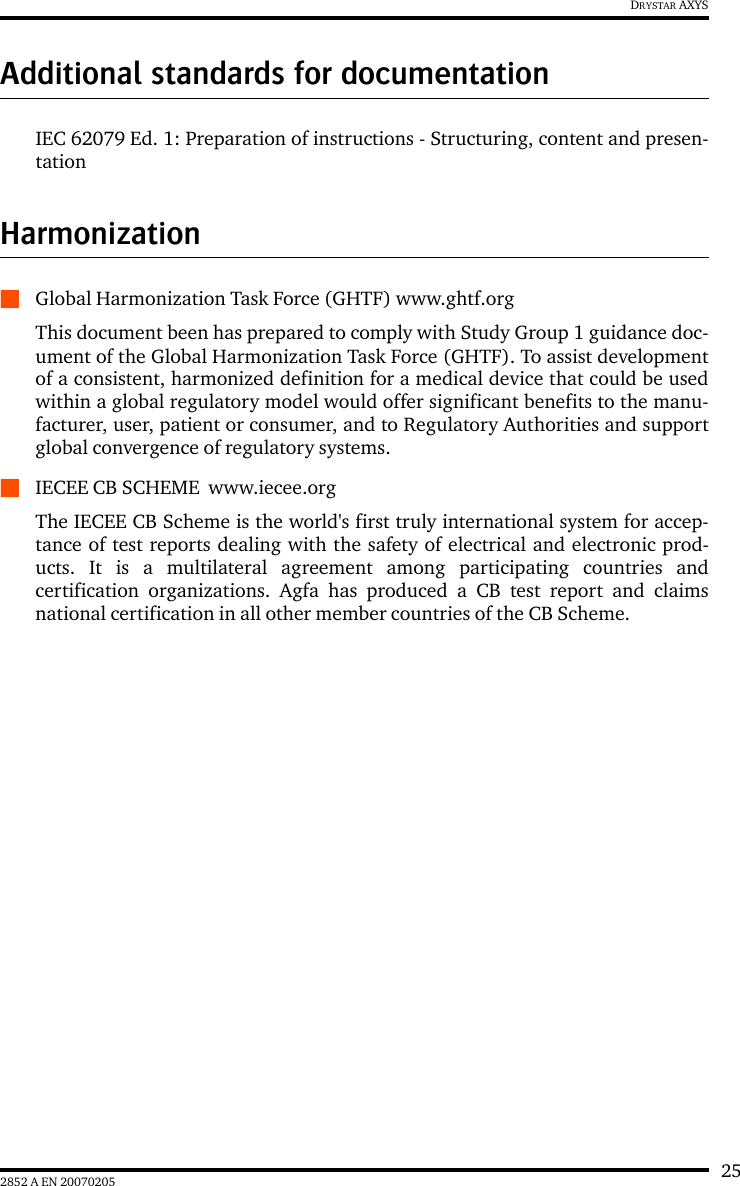
![44 2852 A EN 20070205DRYSTAR AXYSQ[In the United States, Federal law restricts this device to sale, distribution and use by, or on order of, a licensed physician.]WARNING: Do not override or disconnect the integrated safety featuresCaution: Ventilation openings should not be covered.WARNING: (U.S.A. only): In accordance with U.S. Law, this device can only be sold to or ordered by a licensed physician.WARNING: Printed images should be treated as patient records and should only be viewed by authorized personnel.WARNING: It is advisable to do a reprint when film artifacts are present in the image.In case of general image quality degradation, please refer to “Maintaining image quality and resolving image quality problems” on page 258 (Reference manual).Caution: (USA only): Make sure that the circuit is single-phase center-tapped, if the printer is connected to a 240 V/60 Hz source instead of a 120 V/60 Hz source.](https://usermanual.wiki/Agfa-NV/5367A.manual-part-1/User-Guide-1213590-Page-44.png)