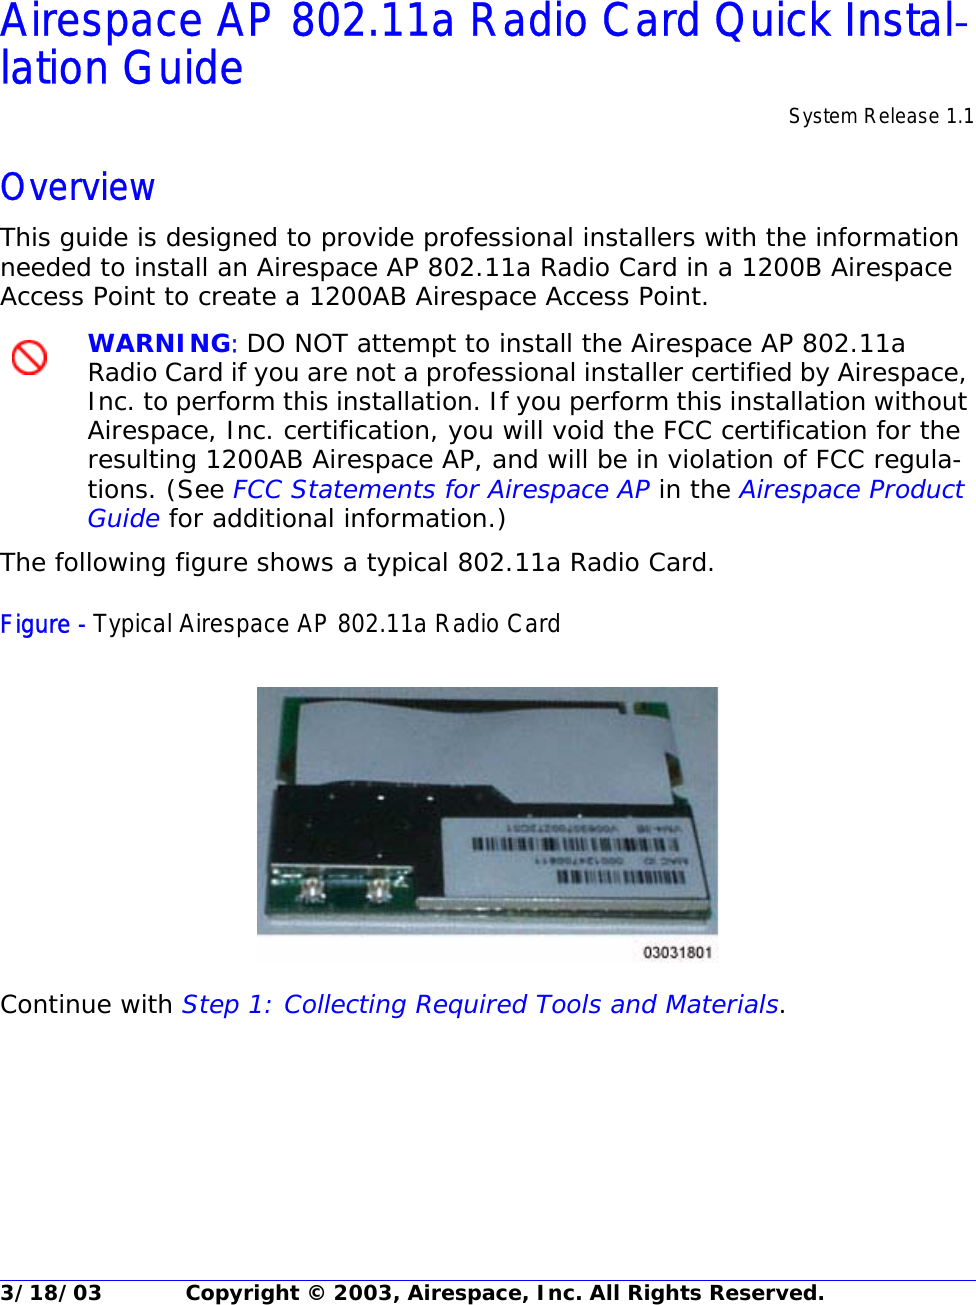
Airespace WNAP1200B 2.4 GHz 802.11 Access Point User Manual Airespace AP 802 11a Radio Quick Install Guide
Airespace 2.4 GHz 802.11 Access Point Airespace AP 802 11a Radio Quick Install Guide
UserManual.wiki
>
Airespace
>
WNAP1200B User Manual
>
Install Guide
Contents
1.
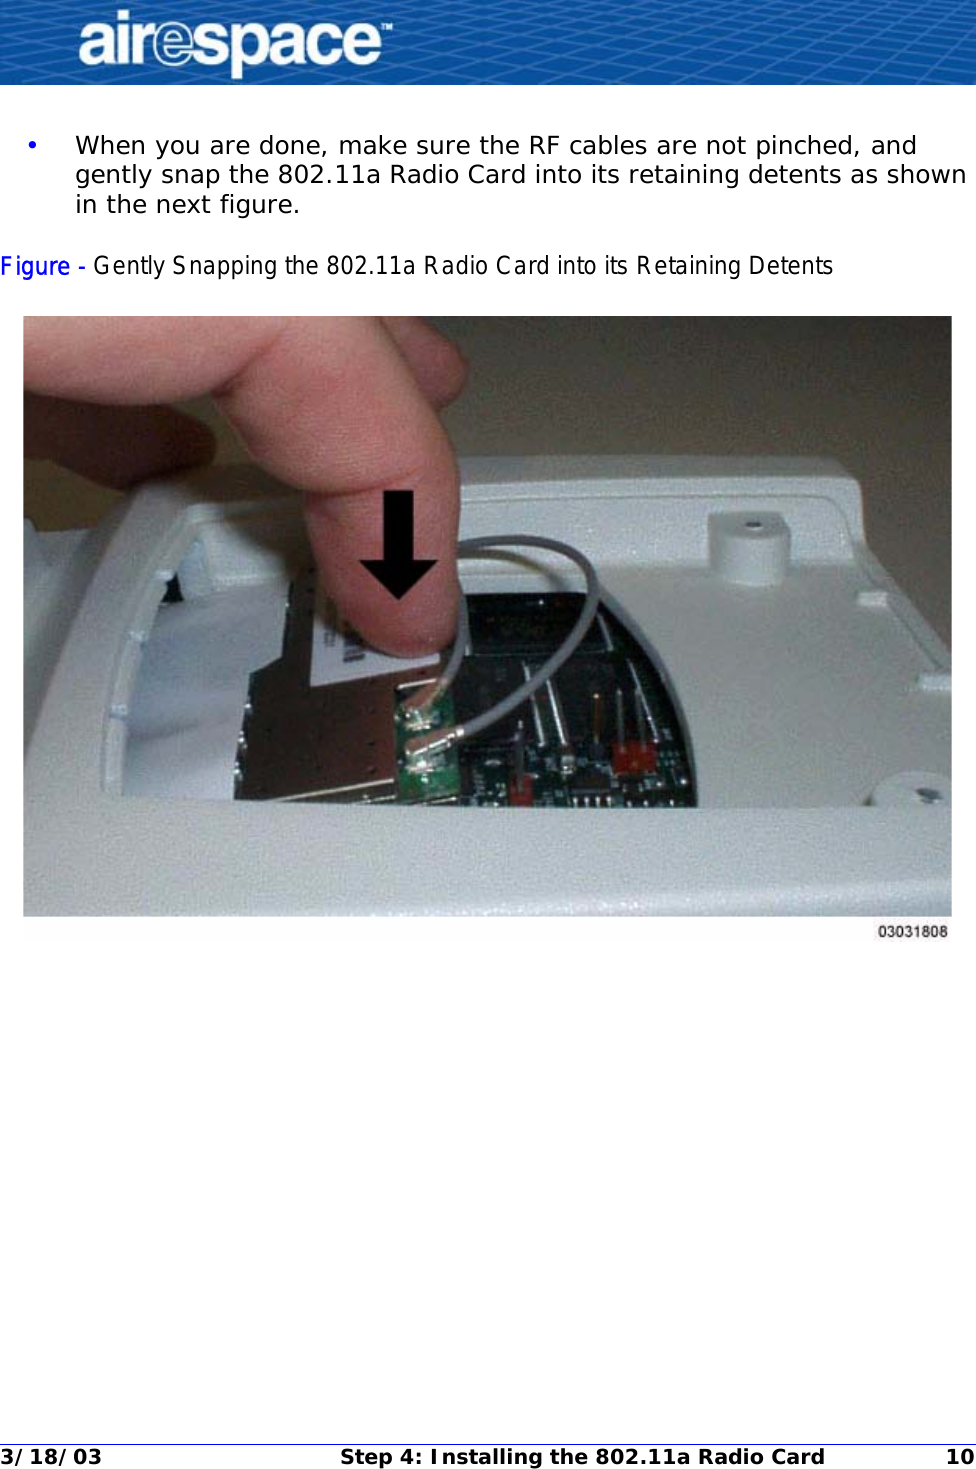
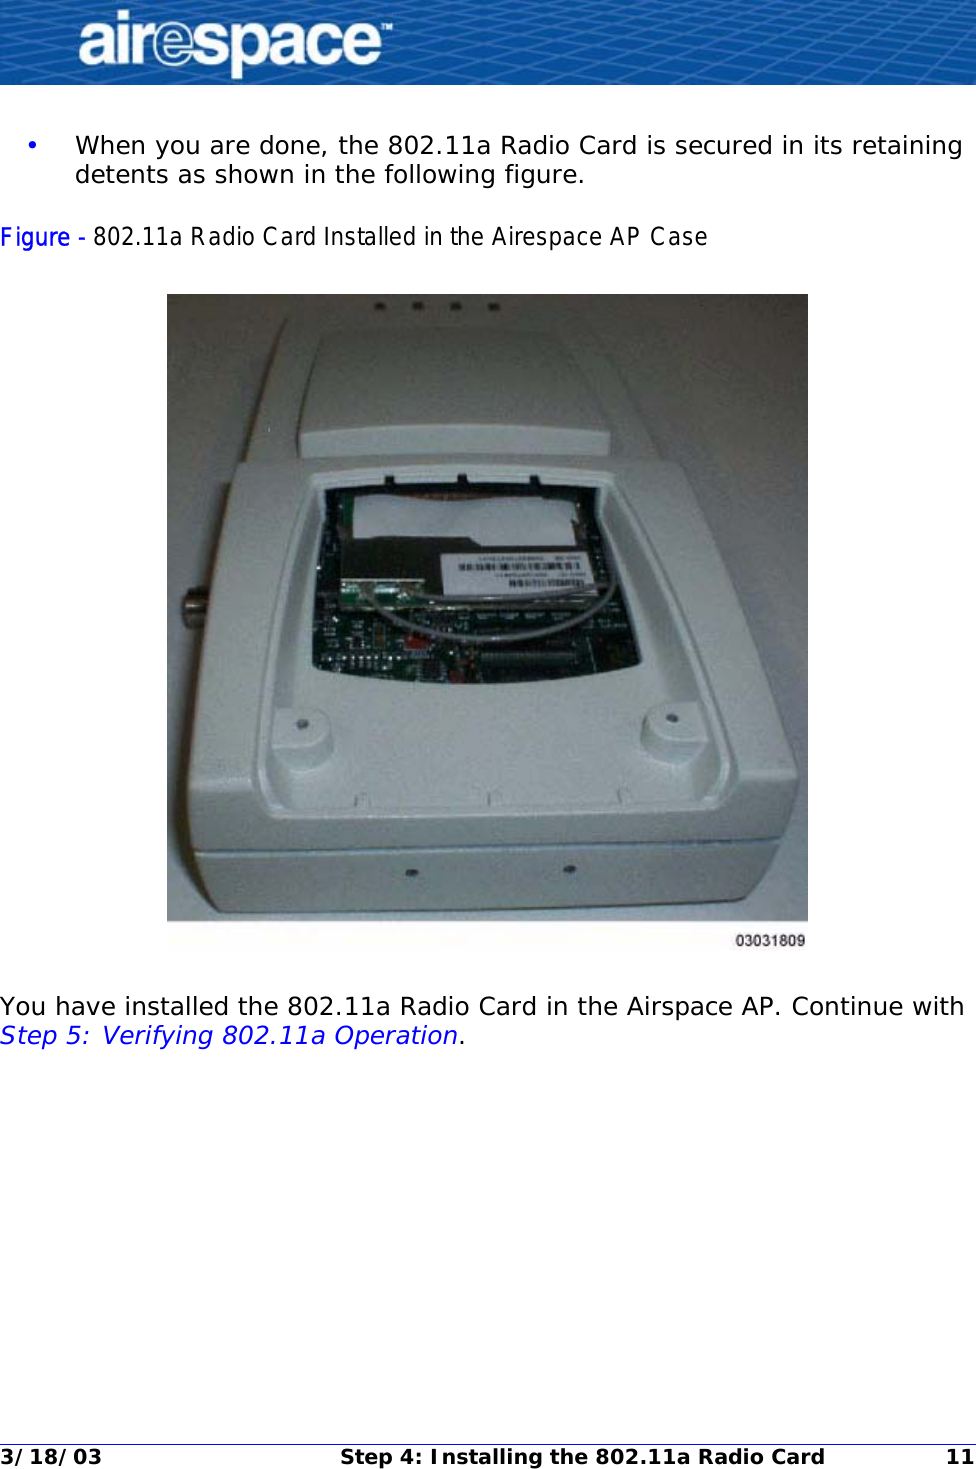
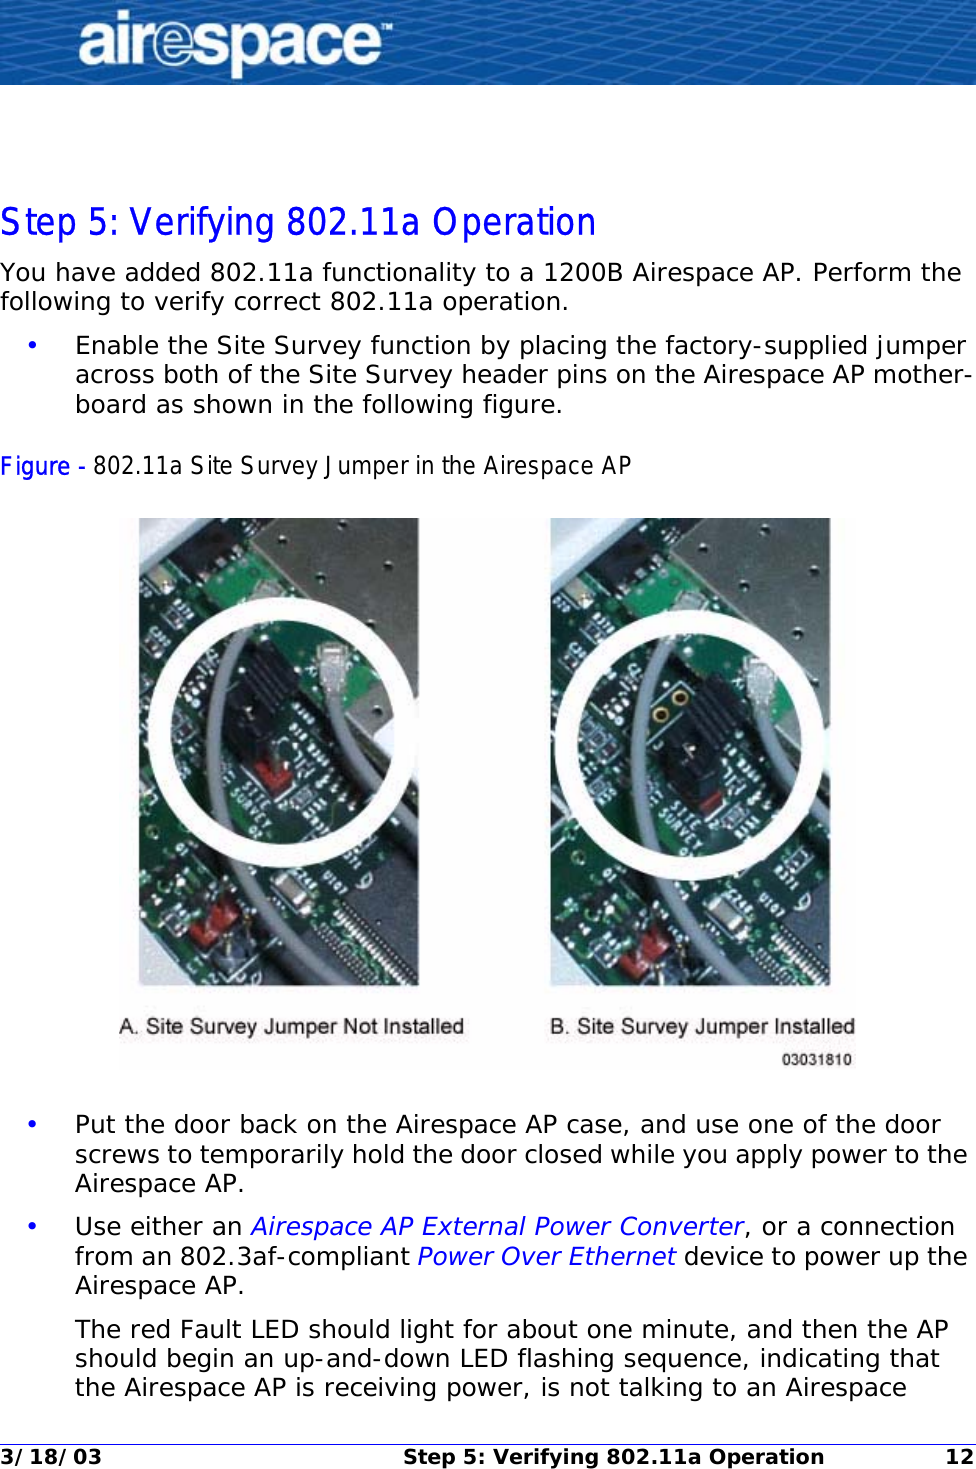
Install Guide
2.
Users Manual
Install Guide
Navigation menu
Upload a User Manual
Namespaces
Wiki Guide
HTML
PDF
Info
Views
User Manual
Discussion / Help
Navigation