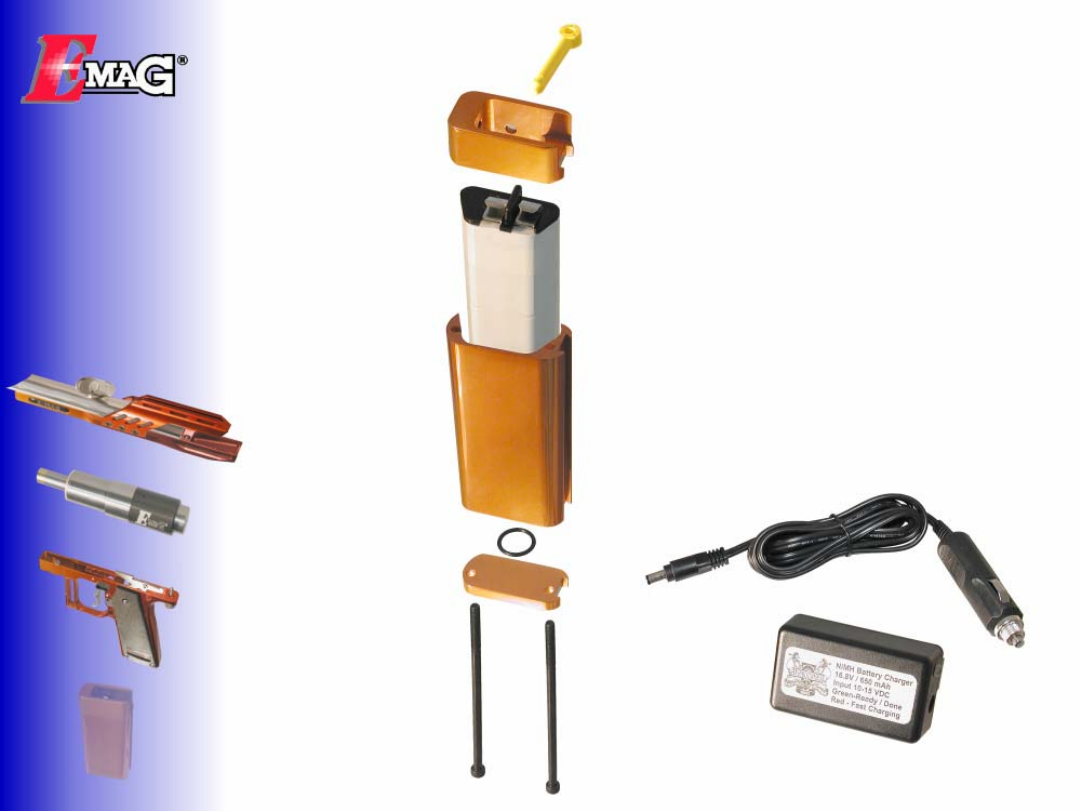
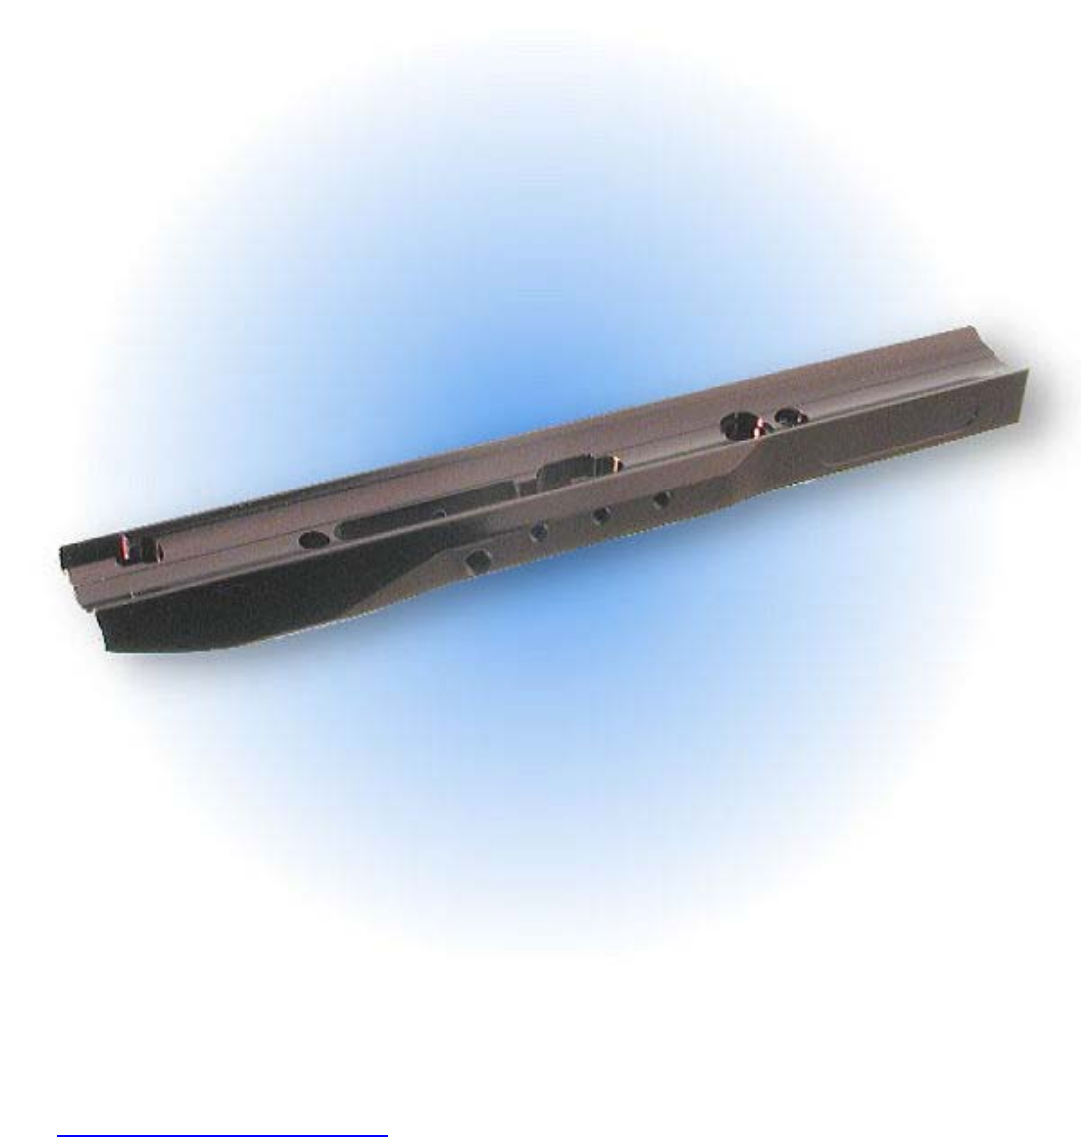
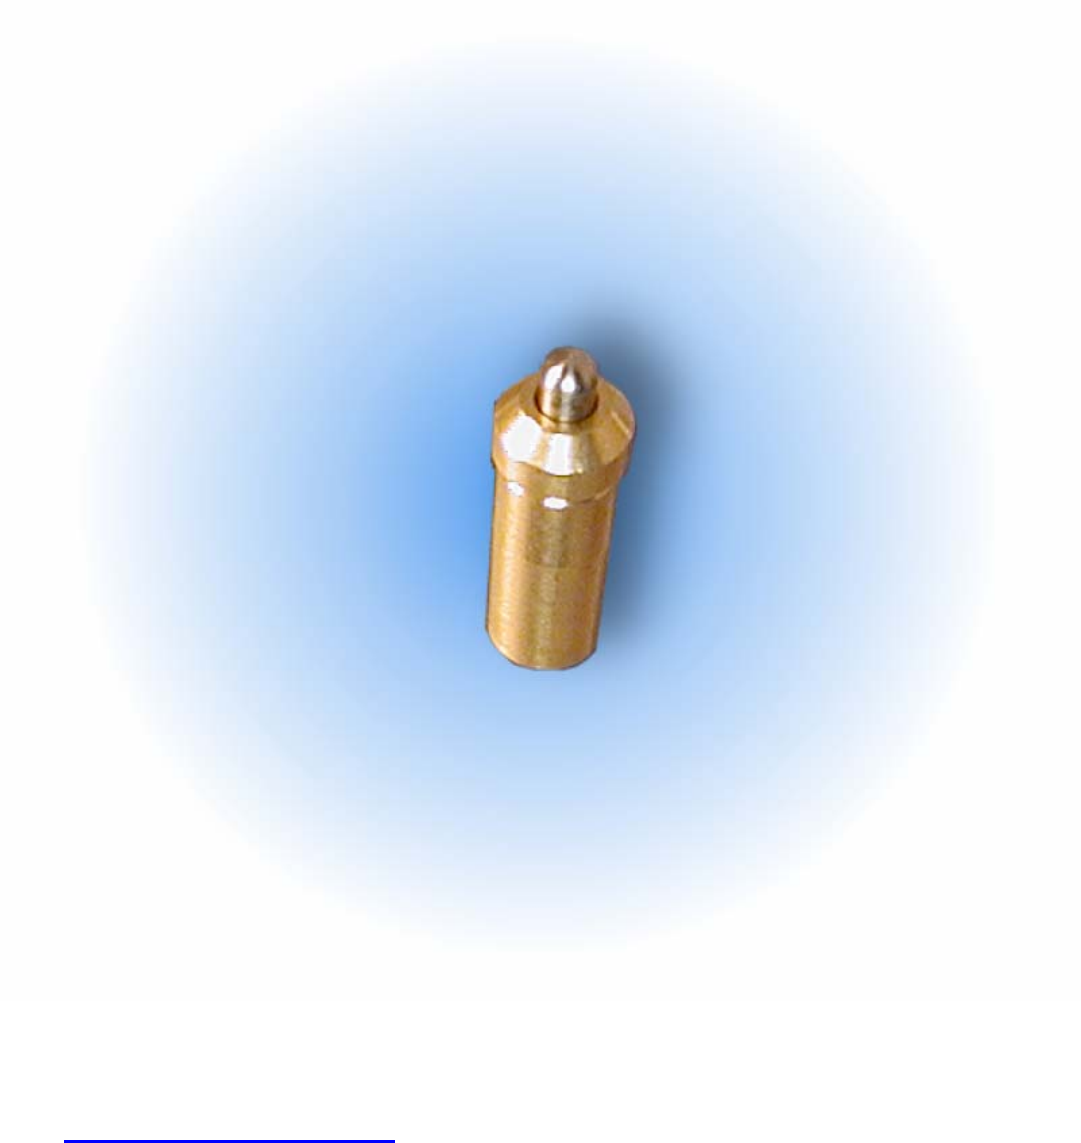
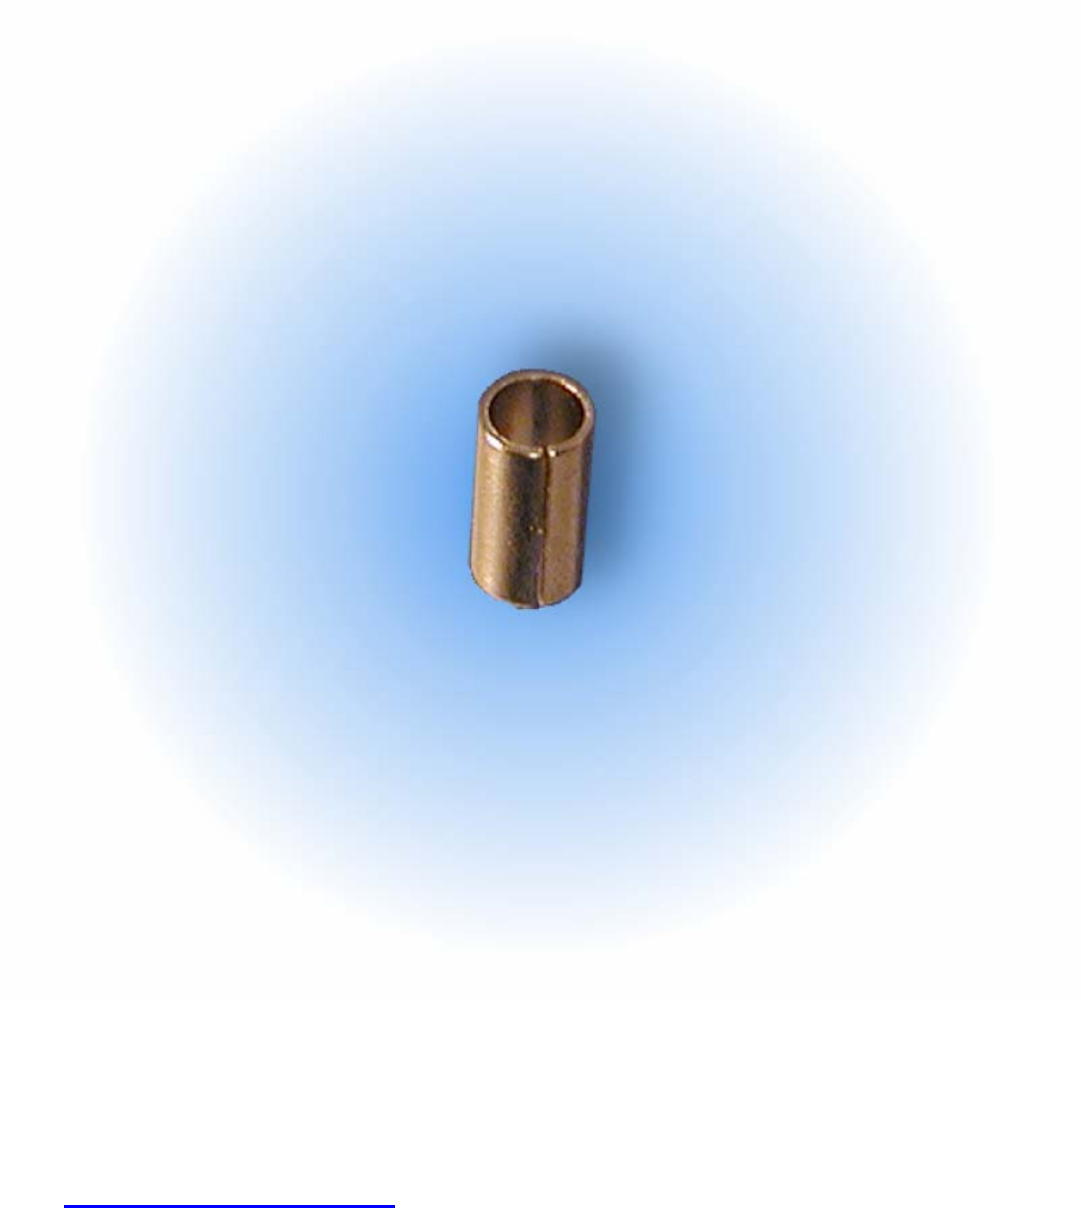
Airgun Designs E Mag Users Manual

2015-09-01

: Airgun-Designs Airgun-Designs-E-Mag-Users-Manual-804348 airgun-designs-e-mag-users-manual-804348 airgun-designs pdf

Open the PDF directly: View PDF PDF.
Page Count: 49

E-Mag Exploded View
click on image
Rail and Main Body
Valve, Bolt, and Spring
Frame and Electronics
Battery and Charger
E-Mag Rail
Part #1410
Available in black only.
Order Online Now! Back to Top
Twist Lock Assembly
Part #223
Assembly that holds the barrel in.
Order Online Now! Back to Top
Rail Bushing
Part #129
The grip frame and rail are held in alignment with this
bushing. It goes in the field strip screw hole.
Order Online Now! Back to Top
Sear Assembly
Part #1386
The entire sear assembly for the E-mag. Comes pre-
adjusted for trigger rod length and solenoid plunger position.
Order Online Now! Back to Top
Sear Axle Pin
Part #775
Screws in the side of the marker into the sear bushing.
Order Online Now! Back to Top
Sight Rail
Part #1392
Comes in black only.
Order Online Now! Back to Top
Sight Rail Screw
Part #770
Very short flat head screws. Do not use hardware store
screws; they might hit the sear.
Order Online Now! Back to Top
Main Body (Hopper Left)
Part #1414
See the Main Body page under Upgrades for a complete
selection.
Order Online Now! Back to Top
Grips
Part #1297
Rubber E-mag grips, sold by the pair.
Order Online Now! Back to Top
Grip Screw/ Solenoid Mount Screw
Part#1307
Grip screws, three per side. Also used to hold the solenoid
mount in place.
Order Online Now! Back to Top
PCB and Solenoid Assembly
Part #1639
PC board and solenoid as one ready to go assembly. Comes
pre programmed too!
Order Online Now! Back to Top
Extender Button
Part #1394
The little buttons in the back of the grip frame that are used
to change the program settings.
Order Online Now! Back to Top
Field Strip Screw
Part #432
The screw that holds in the entire valve assembly.
Order Online Now! Back to Top
Hall Harness
Part #1304
This is the sensor that detects the magnet in the back of the
trigger to fire the marker. Comes as a complete assembly.
Order Online Now! Back to Top
Hall Holder/ Bottom
Part #1320
The bottom half of the holder for Hall Effect Sensor.
Order Online Now! Back to Top
Selector Lever Bolt
Part #1309
This bolt holds the selector lever on its shaft.
Order Online Now! Back to Top
Hall Holder/ Top
Part #1422
The top half of the sensor holder.
Order Online Now! Back to Top
LED Window
Part #1316
Window inside of rubber grip that protects the LED display.
Order Online Now! Back to Top
Selector Switch Lever
Part #1321
Selector lever that switches between electronic and manual
modes. Connects to selector switch.
Order Online Now! Back to Top
Hall Mount Bolt
Part #1310
Bolt that holds the Hall Effect sensor mounts.
Order Online Now! Back to Top
Selector Switch
Part #1287
This switch controls if the marker is in electronic or manual
mode. Be careful when removing this part; there are springs
and ball detents under this piece.
Order Online Now! Back to Top
Nylon Bushing
Part #1328
Insulator bushing for the battery contact screw in the front of
the E-mag grip frame.
Order Online Now! Back to Top
Nylon Washer
Part #1327
This is the other half of the insulator for the battery terminal
mounting in the front of the grip frame.
Order Online Now! Back to Top
Wire Lead
Part #1594
The power wire from the battery contact bolt in the front of
the grip frame to the PC board.
Order Online Now! Back to Top
Positive Terminal Nut
Part #1312
This nut is part of the positive battery contact.
Order Online Now! Back to Top
Positive Terminal
Part #1311
This bolt is part of the positive battery contact and uses the
nylon insulators to isolate it from the grip frame.
Order Online Now! Back to Top
Sear Lock
Part #1462
If you are able to see the red line the marker is off safe and
will fire. Be careful when removing this shaft; there are
springs and ball detents in the frame.
Order Online Now! Back to Top
Safety Ball
Part #195
Hard steel ball bearing used as the safety detent.
Order Online Now! Back to Top
Safety Spring
Part #197
Spring that goes under the ball detent in the safety.
Order Online Now! Back to Top
Solenoid E Clip
Part #1470
This clip holds in the solenoid plunger.
Order Online Now! Back to Top
Solenoid Mount
Part #1325
Solenoid screws into this mount and the whole thing slides
into the grip frame.
Order Online Now! Back to Top
E-Mag Trigger
Part #1411
Entire ready-to-go trigger assembly. Includes magnets. Does
not come in colors.
Order Online Now! Back to Top
Magnet (Five Pack)
Part #1313
Super strong rare earth magnet that is used to adjust trigger
tension. Take them out for less, add them for more tension.
Order Online Now! Back to Top
Trigger Pin
Part #1314
The axle for the sear. The original pin needs to be pressed
out from the right side of the marker (side without the E-mag
logo on valve). The new pin gets pressed in from the left
side.
Order Online Now! Back to Top
Battery Pack Housing Complete
Part #1393
Complete housing assembly; battery not included. Comes in
black only.
Order Online Now! Back to Top
Battery Pack
Part #1223
This is the complete NiMh battery pack including contacts.
Don't forget to recharge before use and remember to put the
spacer o-ring back in the bottom of the housing.
Order Online Now! Back to Top
Battery Saver Plug
Part #1319
This is the pin that turns the battery on and off. Make sure you
remove before flight!
Order Online Now! Back to Top
E-Mag O-ring Battery Bottom
Part # 1646
This o-ring goes under the battery pack inside the battery
housing so the battery makes good contact and does not
rattle.
Order Online Now! Back to Top
Battery Housing Screws
Part #1220
These are the bolts that hold the battery case
together.
Order Online Now! Back to Top
Battery Charger Cord
Part #1388
Standard cigarette lighter adapter cord. Plugs into battery
recharger.
Order Online Now! Back to Top
Charger Assembly
Part #1487
Battery charger for E-mag. Does not have the cigarette
lighter adapter. Takes 12VDC input.
Order Online Now! Back to Top
Solenoid
Part #1237
Solenoid that pulls the sear to fire the marker. Must be
soldered to the PC board.
Order Online Now! Back to Top
www.airgun.com
www.automags.org
Airgun-UK
Email to: office@airgun.com
Office hours:
9:00 am - 5:00 pm
(Central Time)
Monday through Friday
Office Tel: (847) 520-7507
Office Fax: (847) 520-7848
-------------------------------------
Tech Support hours:
10:00 am to 11:30 am,
1:00 pm - 4:00 pm
(Central Time)
Monday through Friday
Tech Support Tel:
(847) 520-7225
Back to Top

Navigation menu