Airtech Information and Communication ARH-465 GMRS Transceiver User Manual User Instructions
Airtech Information & Communication Co., Ltd. GMRS Transceiver User Instructions
User Instructions

INDEX
GENERAL FEATURES....................................................................1
UNPACKING......................................................................................2
GETTING READY ............................................................................2
DESCRIPTION ..................................................................................2
OPERATION......................................................................................3
FUNCTION MODE ...........................................................................4
RECHARGING THE BATTERY......................................................5
SPECIFICATIONS.............................................................................5
GENERAL FEATURES
General Features
! Ultra compact design & size
115x53x28mm, 138g only
! 38 CTCSS
! Button Lock
! Scan & Priority Scan
! Beep on/off
! Talking range to 4 miles
! Transferable by cloning
! Clear voice transmission and reception
! Rugged construction
UNPACKING
Unpack and check that all items have been enclosed.
Packing contents: 1. Radio/Antenna, 2. Battery, 3. Belt
clip, 4. Hand strap, 5. Charger, 6.
User’s manual
GETTING READY
1. Installation, Removal the Belt Clip
Installation: align the belt clip with the plastic slots of
backside of unit. Slide the belt clip onto the unit,
pushing firmly until a click heard.
Removal: hold up the belt clip release tab with fingernail or
coin (or like instrument). While holding up the release
tab, slide the belt clip out and away from the unit.
2. Installation the Battery Pack
Installation: turn off the radio. Unscrew the battery pack
cover lock screw by rotating counterclockwise with
coin (or like instrument). Open the cover and insert the
battery pack in right position. Close the cover and
screw the cover lock screw.
3. Charging the Battery
Before your starting operation, make sure the battery
is fully charged. (Refer to charging method next page)
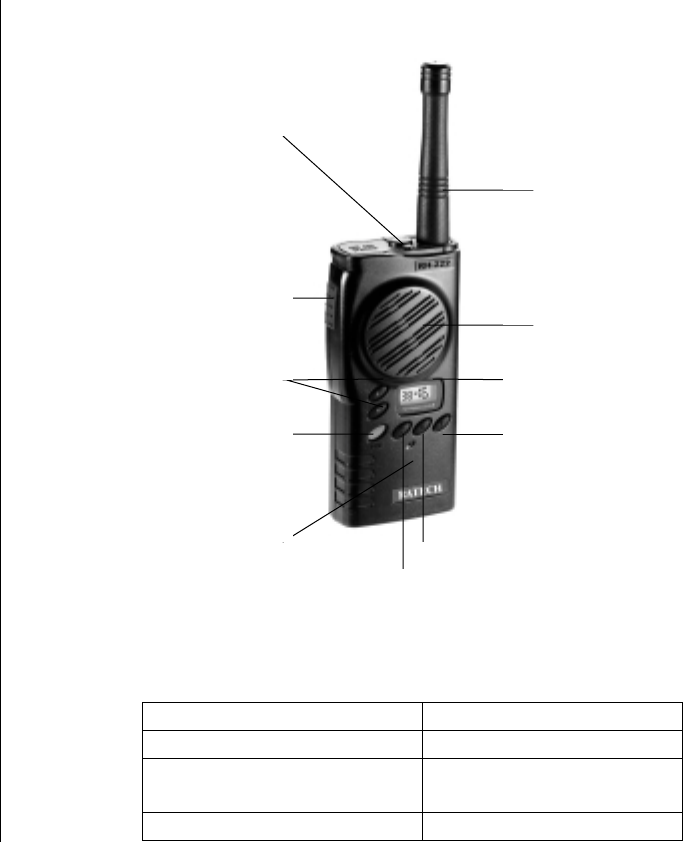
DESCRIPTION
•power on/off button and indicate LED
Push 0.5 second to turn power on, push 0.5 second again
to turn power off.
Indicate LED
Red on Transmitting, charging
Blinking Low battery alert
Green on Receiving, recharging
finished
Blinking Different sub-tone when
•external audio/microphone and
adapter socket
•antenna
•speaker
•PTT(push to talk)
button
•up/down button
•function button
•monitor button
•LCD display
panel
•enter button
•power on/off button
and indicate LED
•microphone

receiving
Red, green both on Abnormal charging
•up/down button
You can select the audio volume (0~15), the channel and
the function mode on or off with this button.
•function button
Press to go function mode (refer to next page).
•monitor button
Press to monitor. Holding down over 2 seconds keeps
monitoring on. Press monitor button again to stop.
•enter button
Press to finalize setting.
•PTT(push to talk) button
Hold down to transmit, release to receive.
•LCD display panel
•speaker
•microphone
Talk 5• in distance during transmitting.
•antenna
•external audio/microphone and adapter socket
•belt clip release tab
•battery pack cover
•cover lock screw
•belt clip
•hand strap
OPERATION
1. Power turn on/off and volume control
Press power on/off button• 0.5 second to turn power on,
press 0.5 second again to power off. Press up/down
button• to increase or reduce the audio volume ( 00 ~ 15
). Holding down up/down button• makes to move fast.
2. Transmit
Choose the channel as you desire. Hold down the PTT
button• and talk to microphone• in 5• distance. The
LED•(power button) lights red on transmitting. Release the
PTT button to stop transmitting.
3. Receive
Choose the channel as you desire. The LED• lights green
on receiving. In case the signal doesn’t match sub-tone,
the green light blinks.
4. Monitor
Press the monitor button• to monitor. Holding down
monitor button over 2 seconds keeps monitoring function
on. Press the monitor button shortly again to stop.
FUNCTION MODE
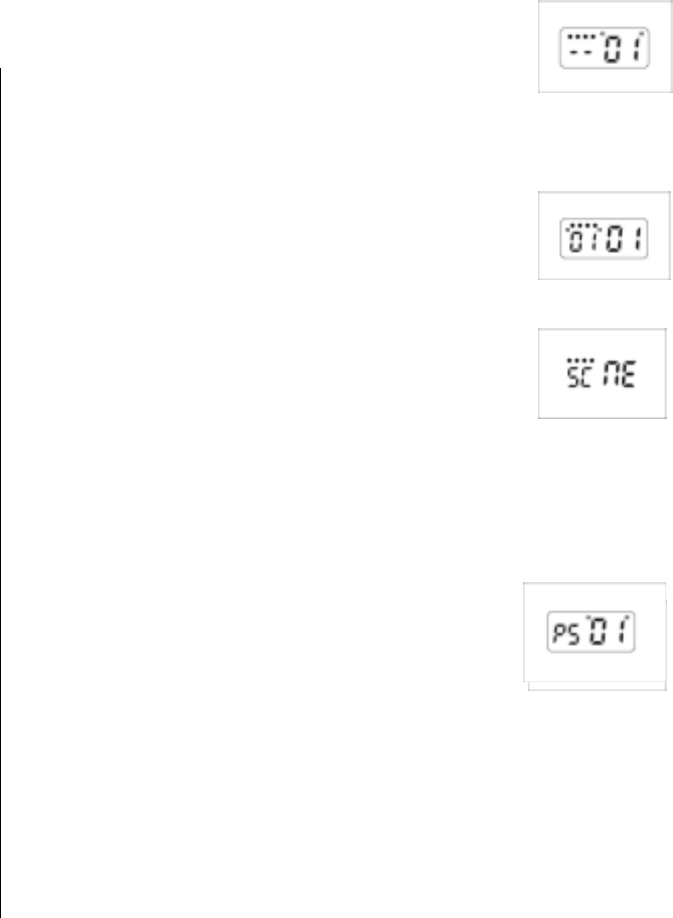
1. Channel select
If you press the function button• once, the channel number
in LCD blinks. Then, select the channel wanted by pressing
up/down button•. Press the enter button•
to finalize or press the function button• to go on next
mode
2. Sub-tone select
During the sub-tone number blinking,
select the sub-tone wanted by pressing
up/down button•. It has from 01 ~ to 38.
3. Scan
During the scan sign blinking, press the up
button• to upward scan or press the down
button• to downward scan. The
transceiver stops scanning after detecting
a signal and remains on the same channel until the signal
drops out for 2 seconds. Press the up/down button• to go
on scanning even if it remains on the same channel for
receiving. Press the PTT button• to stop.
4. Priority scan
During number blinks. Then press the
up/down button• to priority scan sign
blinking, press the up/down button• to
choose on or off. When you choose `on`,
the channel select the channel wanted.
This function scans selected channel when the radio is
standing by on the other channel.
5. Button lock
During button lock sign blinking, press the up/down button•
to choose on or off. This function prevents from changing
the channel by unintended pressing of the up/down button
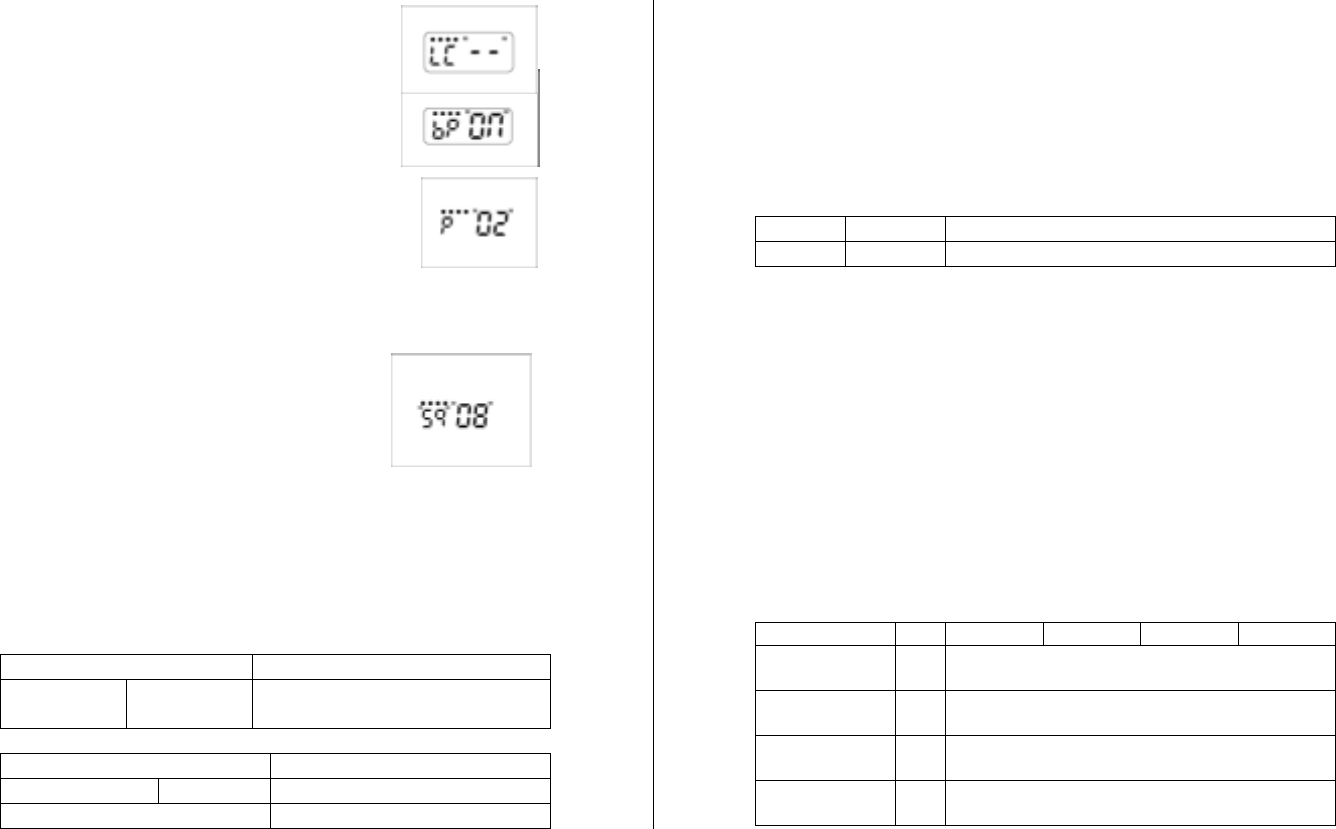
(only PTT button and power button work).
6. Beep tone
During beep tone sign blinking, press the
up/down button• to choose on or off.
7. Power save
During power save sign blinking, press the
up/down button• to choose `00`, `01`, `02`.
00: no power saving, 01: normal power
saving, 02: strong power saving.
8. Squelch level
During squelch level sign blinking, press
the up/down button• to select squelch
level (00 ~ 15). Select the lower number
for easy opening, select the higher
number for hard opening as
circumstance condition (it set 08 in producing)
0RECHARGING THE BATTERY
1. Battery (Ni-MH)
Voltage DC 7.5V
Duty time
(5-5-90) HM-650 Over 8 hrs
2. Charger
Input power Free voltage (AC90~250V)
Charging time HM-650 Appr. 1.5 hrs
Operating temperature 0ºC~55ºC
Connect the charger to electric power supply (free voltage AC
90~250 V). Turn the transceiver off and put into front pod of the
charger. The red light turns on during rapid charging and the
green light turns on during trickle charging. When you put two
batteries at same time, the rapid charging charges first then the
trickle charging starts.
LED
Red On Charging
Green On Fully charged
Low battery alert
LCD shows battery condition (••••).
The indicate LED•(power button) will blink red, if the battery
falls below a low voltage level, LCD shows “oFF”.
SPECIFICATIONS ARH-222 ARH-444 ARH-465 ARH-446
Dimension
(HxWxD) 115x53x28mm (650 mAH Battery)
Weight (With
Battery) 138g (215g)
Operating
Voltage DC 7.5V
Operating
Temp. -20 ~ 60•
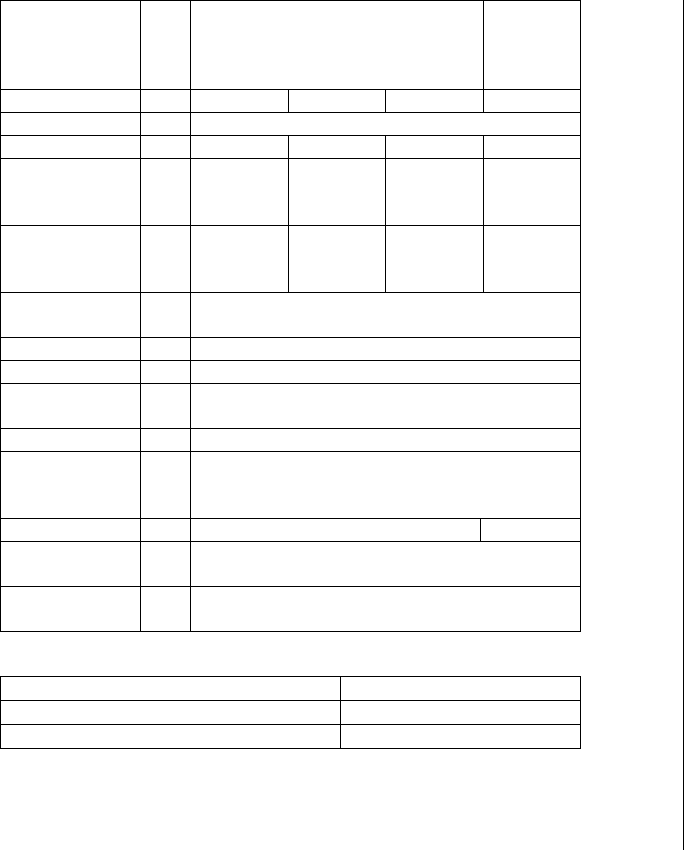
Battery Life
(5:5:90)
650mAH
Battery
8 hrs 10hrs
Channels 22 16 16 8
Privacy Codes 38 CTCSS
Band Width 25KHz 12.5KHz 25KHz 12.5KHz
Frequency
Range Tx 222MHz 444MHz 462.5625
~467.725
MHz
446.0~44
6.1MHz
Rx 222MHz 444MHz 462.5625
~462.725
MHz
446.0~44
6.1MHz
FM Hum &
Noise Tx -40 dB
Rx -40 dB
Rx Sensitivity -119 dBm (0.25uV)
Rx Spurious
Response -60 dB
Rx Selectivity -60 dB
Rx
Intermodulatio
n
-60 dB
Tx Power 2W 0.5W
Tx Spurious
Rejection -60 dBc
Frequency
stability ±5 ppm
Accessories
Desk Rapid / Trickle Charger (SMPS) ACR-650/1.5 hrs
650 mAH Ni-MH Battery HM-650
APE-10 Earpiece with PTT MIC

USER’S MANUAL
ARH Series
ARH-446 (PMR446)
ARH-465 (GMRS)
ARH-444 (Semi LMR)
ARH-222 (Semi LMR)
ARH-448 (FRS)
Airtech Information & Communication Co., Ltd.
#101-807 Techno Park Complex, 364, Samjung-Dong, Ojung-
Gu, Puchon, Korea Zip: 421-150
Tel: 82 32 234 2345 / Fax: 82 32 234 2350
URL: http://www.airtech21.com
E-mail: sales@airtech21.com