Allied Telesis K K TQ5403E 802.11ac wave2 2x2 tri-radio 2.4G/5G/5G wireless AP User Manual
Allied Telesis K.K. 802.11ac wave2 2x2 tri-radio 2.4G/5G/5G wireless AP
UserManual.wiki
>
Allied Telesis K K
>
TQ5403E User Manual
User Manual
Navigation menu
Upload a User Manual
Namespaces
Wiki Guide
HTML
PDF
Info
Views
User Manual
Discussion / Help
Navigation


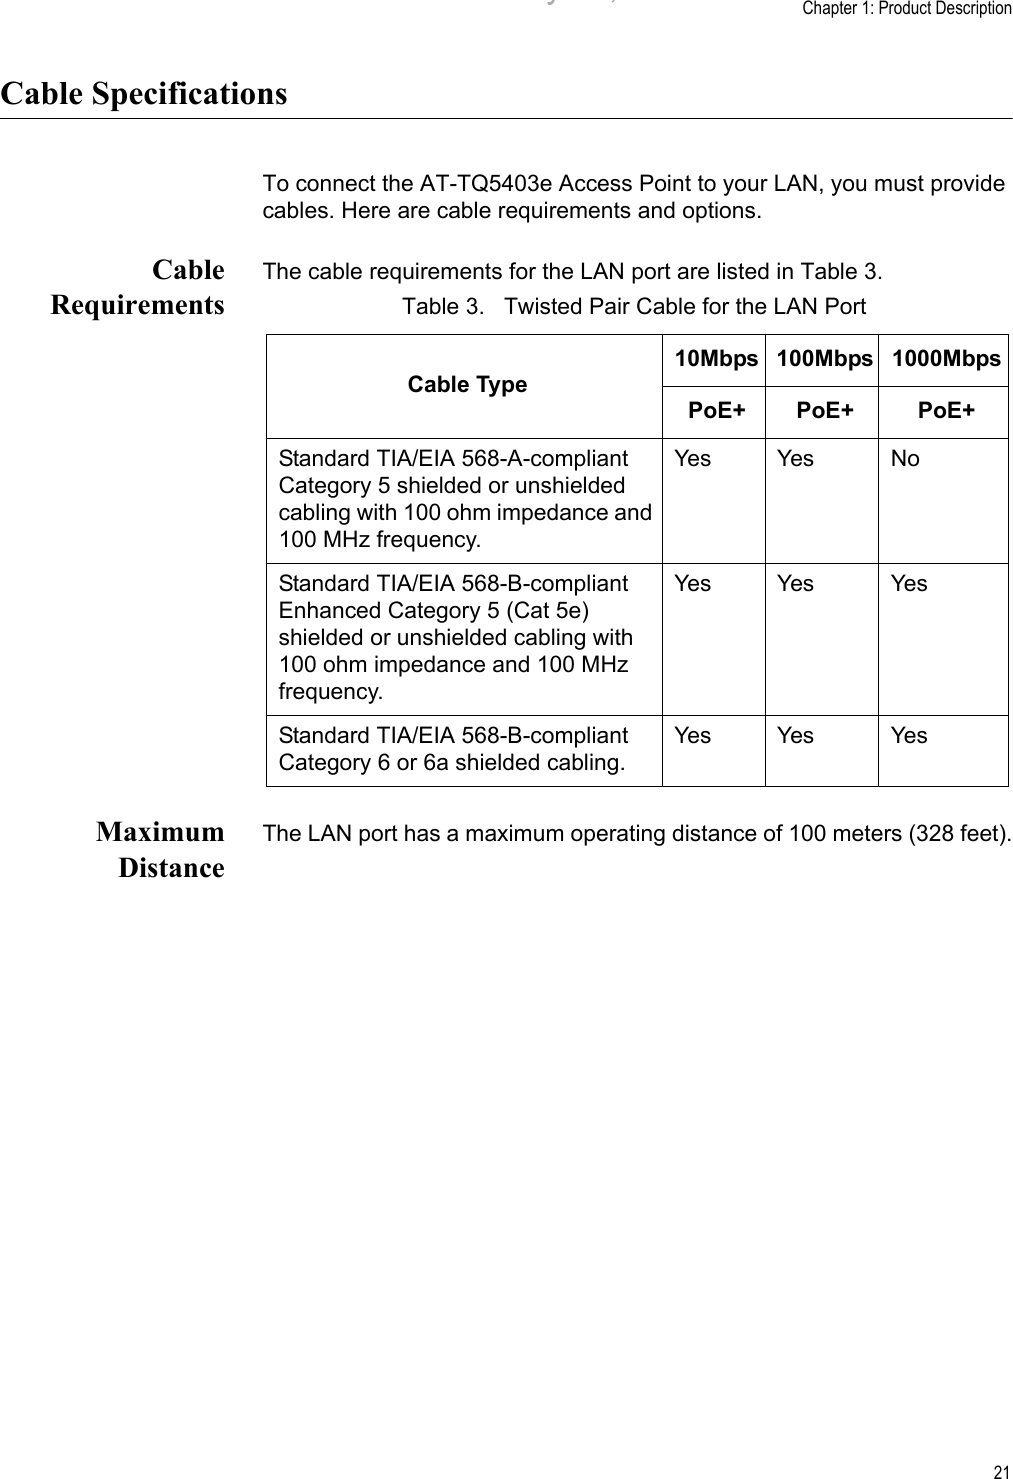


![AT-TQ5403e Outdoor Wireless Access Point Installation Guide48Environmental SpecificationsAntenna SpecificationsThis radio transmitter [3336D-TQ5403E] has been approved by Innovation, Science and Economic Development Canada to operate with the antenna types listed below, with the maximum permissible gain indicated. Antenna types not included in this list that have a gain greater than the maximum gain indicated for any type listed are strictly prohibited for use with this device.Le présent émetteur radio [3336D-TQ5403E] a été approuvé par Innovation, Sciences et Développement économique Canada pour fonctionner avec les types d'antenne énumérés ci dessous et ayant un gain admissible maximal. Les types d'antenne non inclus dans cette liste, et dont le gain est supérieur au gain maximal indiqué pour tout type figurant sur la liste, sont strictement interdits pour l'exploitation de l'émetteur.Table 7. Environmental SpecificationsOperating Temperature of the Access Point-40° C to 65° C (-40° F to 149° F)Storage Temperature -40° C to 80° C (-40° F to 176° F)Operating Humidity 5% to 95% non-condensingStorage Humidity 5% to 95% non-condensingAltitude of operation Up to 3,000m (9,9843 ft)Table 8. Antenna SpecificationsAntenna type DipoleAntenna Connector N-typeTable 9. Frequency and GainFrequency (MHz) 2400 ~ 2483.5 5150~5250 5250~5350 5470~5725 5725~5850Gain (dBi) 5.2 6.91 6.72 6.34 7.08Draft 5 on February 14, 2019](https://usermanual.wiki/Allied-Telesis-K-K/TQ5403E/User-Guide-4191676-Page-46.png)
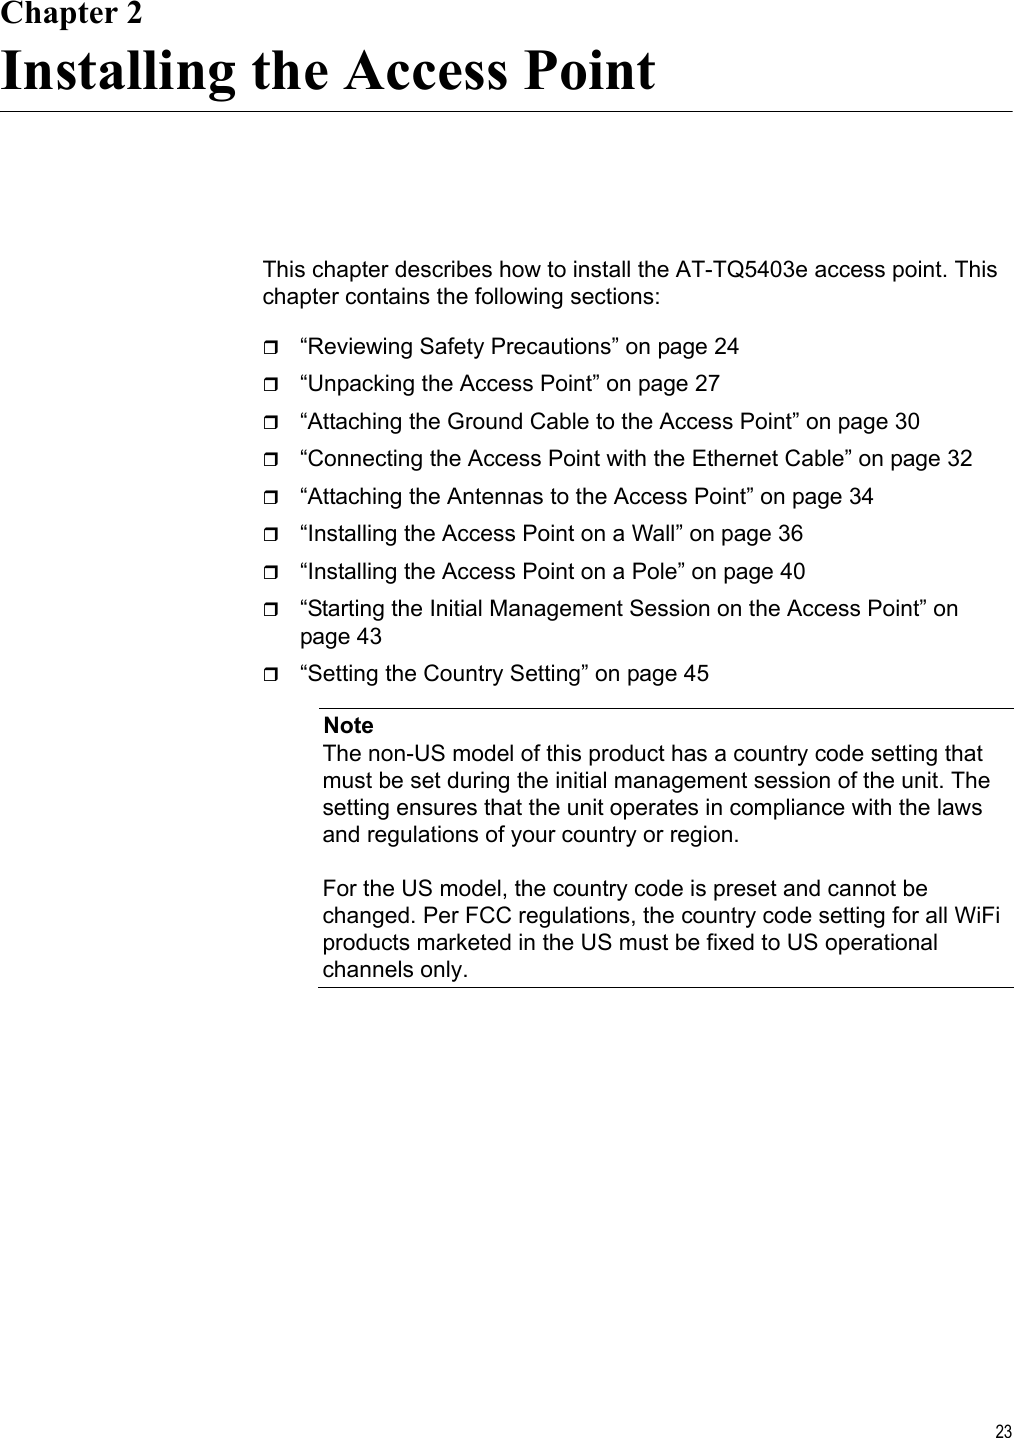
![Appendix A: Technical Specifications and Statements55Europe - EU Declaration of ConformityHereby, Allied Telesis declares that the radio equipment type [AT-TQ5403e] is in compliance with Directive 2014/53/EU.OperatingFrequencies andMaximumTransmissionPower LevelsThe operating frequencies and maximum transmission power levels for wireless devices operated in the EU are listed below:Non-Beamforming:- 2412-2472 MHz: 19.07 dBm (80.81mW)- 5180-5240 MHz: 22.43 dBm (174.82mW)- 5260-5320 MHz: 22.52 dBm (178.79mW)- 5500-5700 MHz: 29.12 dBm (817.50mW)Beamforming:- 2412-2472 MHz: 19.16 dBm (82.44mW)- 5180-5240 MHz: 22.32 dBm (170.75mW)- 5260-5320 MHz: 22.75 dBm (188.33mW)- 5500-5700 MHz: 29.05 dBm (803.06mW)Draft 5 on February 14, 2019](https://usermanual.wiki/Allied-Telesis-K-K/TQ5403E/User-Guide-4191676-Page-53.png)