Amtek System AIRT7XX802UKG Ultra Mobile PC User Manual Users manual
Amtek System Co., Ltd. Ultra Mobile PC Users manual
UserManual.wiki
>
Amtek System
>
AIRT7XX802UKG User Manual
Users manual
Navigation menu
Upload a User Manual
Namespaces
Wiki Guide
HTML
PDF
Info
Views
User Manual
Discussion / Help
Navigation


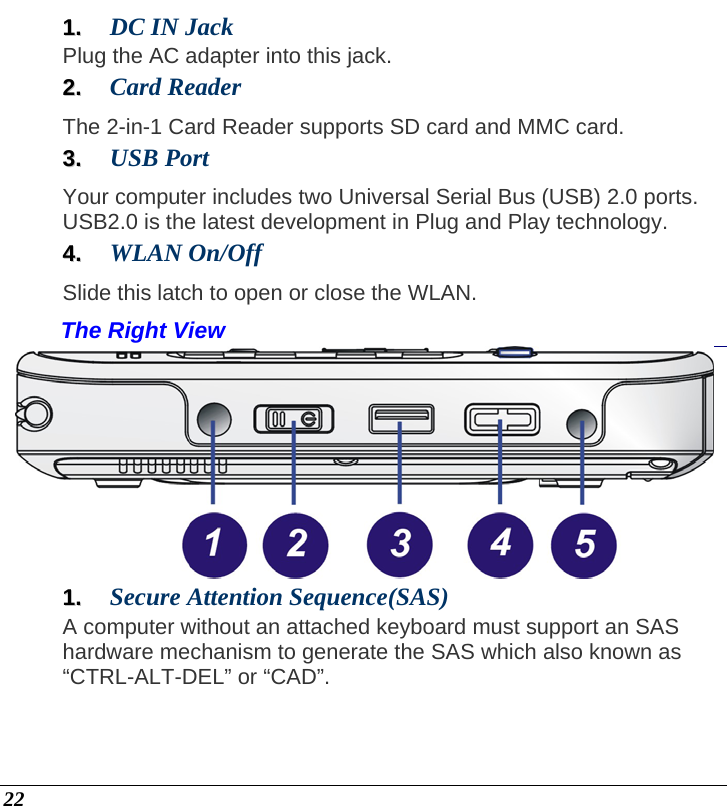
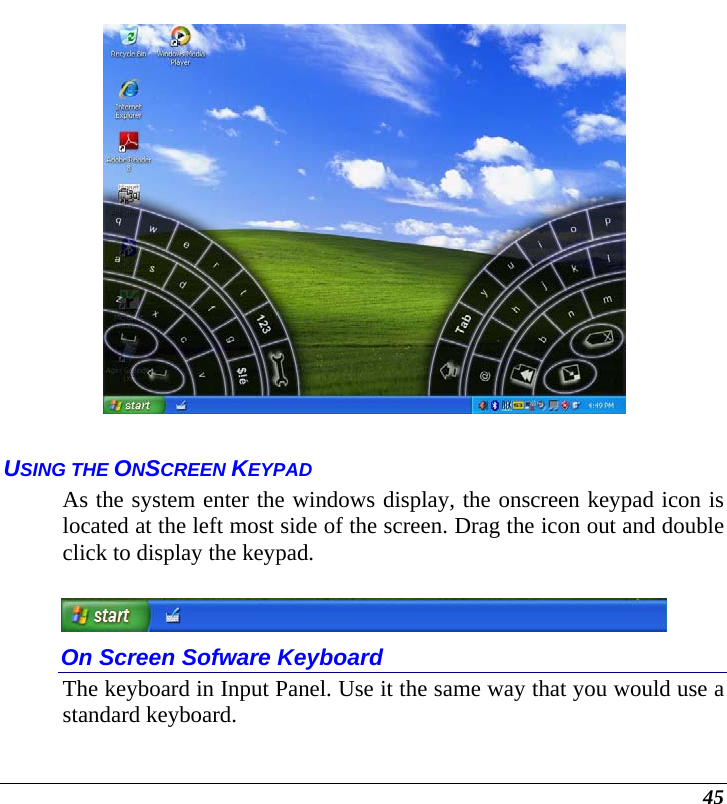
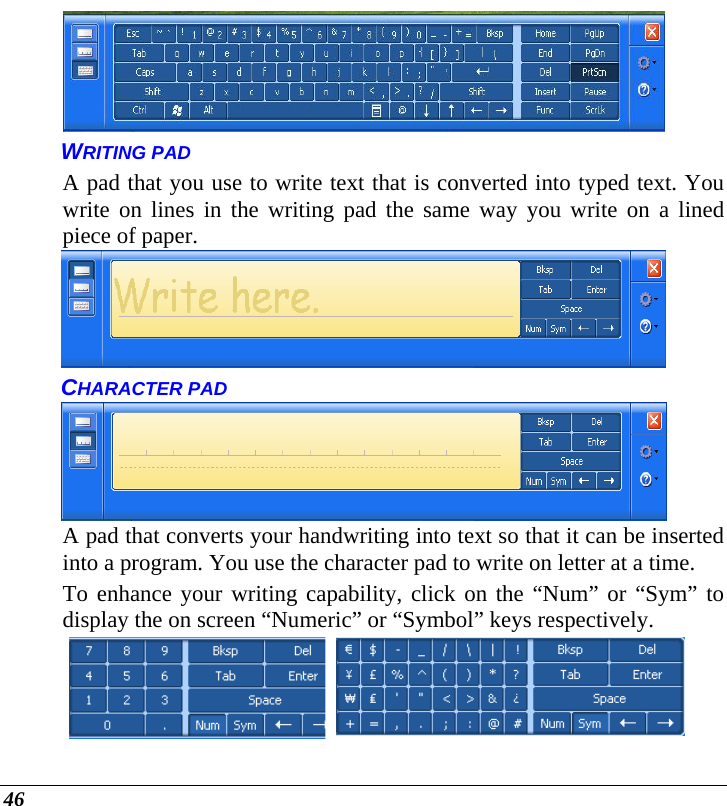
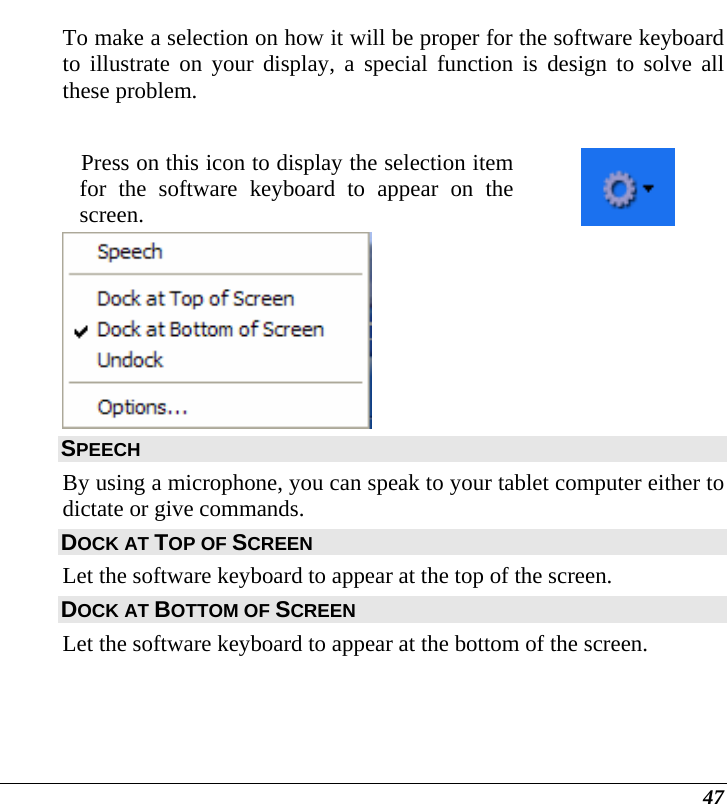
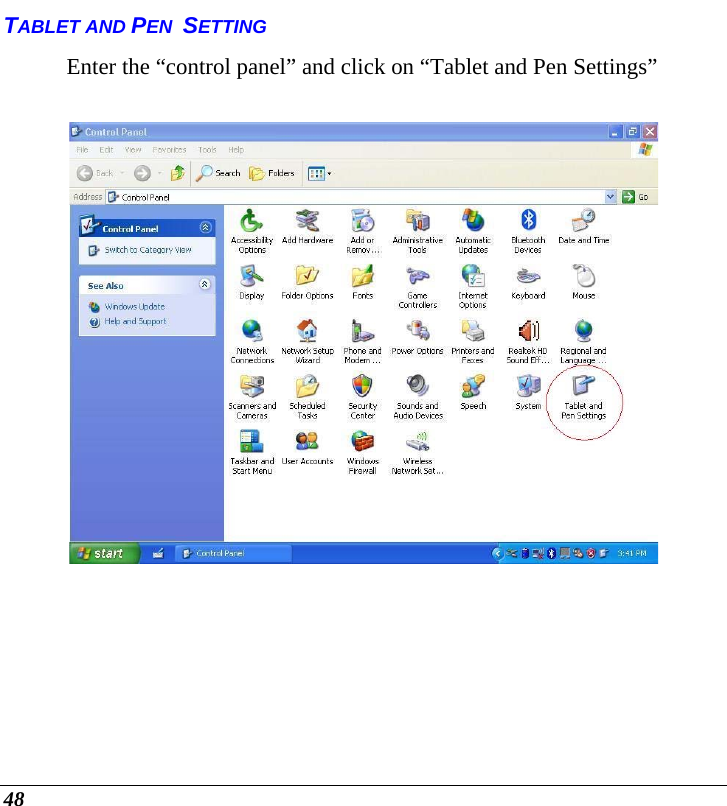
![17 11.. Mouse Left Key This is equivalent to the left key on an average mouse that you are using. 22.. Mouse Right Key This is equivalent to the right key on an average mouse that you are using. 33.. D-Pad [↑]/[↓] Buttons Press on the [↑]/[↓] buttons to scroll down on the item vertically that you wish to execute or run. [←] [→] Buttons Press on the [→] or [←] buttons to scroll down on the item horizontally that you wish to execute or run. 44.. Enter Button This button operates the same as when you are using the enter key on the keyboard. 55.. Origami Button Preset as Origami configurable button. You can set this function to your own preferences.](https://usermanual.wiki/Amtek-System/AIRT7XX802UKG/User-Guide-868804-Page-17.png)