Apple A1954 Tablet Device User Manual iPad User Guide
Apple Inc. Tablet Device iPad User Guide
Apple >
Contents
Users Manual 2
Note: You can use the Move to iOS app only when you first set up iPad. If youʼve already
finished setup and want to use Move to iOS, you must erase your iOS device and start
over, or move your data manually. See the Apple Support article
.
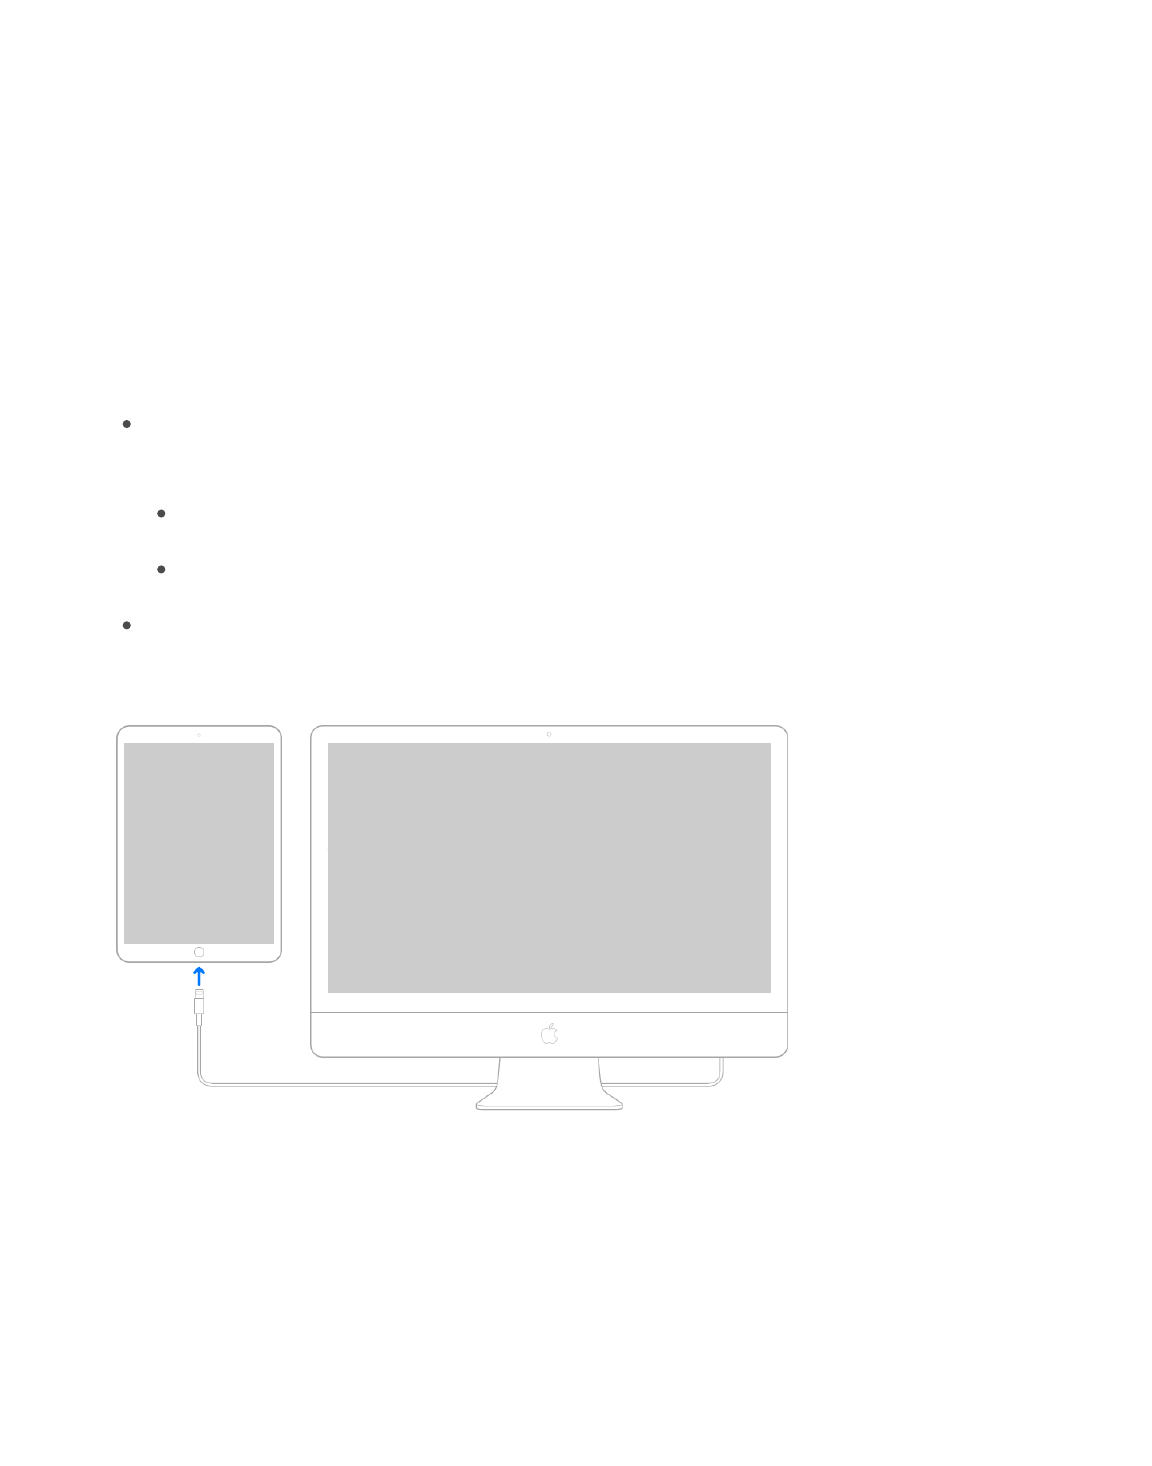
Connect iPad to your computer
By connecting iPad to your computer, you can
and . You can also sync with iTunes wirelessly.
To use iPad with your computer, you need:
A Mac with a USB 2.0 or 3.0 port, or a PC with a USB 2.0 port, and one of the
following operating systems:
OS X 10.9 or later with iTunes 12.5 or later
Windows 7 or later with iTunes 12.5 or later
iTunes, available from the
Connect iPad to your computer. Use the included Lightning to USB Cable.
Unless iPad is actively syncing with your computer, you can disconnect it at any time.
Look at the top of the iTunes screen on your computer or on iPad to see if syncing is in
progress. If you disconnect iPad while itʼs syncing, some data may not get synced until
the next time you connect iPad to your computer.
Sync iPad
You can transfer information and files between iPad and your other iOS devices and Mac
computers, using either iCloud or iTunes.
Move content manually
from your Android device to your iOS device
sync content from your computer using
iTunes back up with iTunes
iTunes download website

iCloud stores your photos and videos, documents, music, calendars, contacts, and
more and keeps them up to date on all your iOS devices and Mac computers where
youʼre signed in with the same Apple ID. See .
With iTunes, you can sync music, videos, photos, and more between your computer
and iPad. After you sync, the content on your iPad matches the content in your iTunes
Library on your computer. iTunes is available from the . For more
information, see the Apple Support article
.
You can use iCloud or iTunes, or both, depending on your needs. For example, you can
use iCloud to automatically keep your contacts and calendars up to date on all your
devices, and use iTunes to sync music from your computer to iPad.
Note: If you use iCloud for features such as music, photos, calendar, and contacts, you
canʼt use iTunes to sync their associated media and data.
Back up iPad
You can back up iPad using iCloud or iTunes. To decide which method is best for you, see
.
Tip: If you replace your iPad, you can use its backup to transfer your information to
the new device. See .
Back up iPad with iCloud Backup
When you first sign in with your Apple ID, iCloud Backup turns on automatically. iCloud
backs up iPad daily over Wi-Fi, when iPad is connected to a power source and locked. (To
lock iPad, press the Sleep/Wake button. iPad also locks automatically if you donʼt touch
the screen for a minute or so.)
iCloud backups are encrypted automatically so that your data is protected from
unauthorized access both while itʼs transmitted to your devices and when itʼs stored in
iCloud. Purchased content, iCloud Photo Sharing, and My Photo Stream content donʼt
count against your 5 GB of free iCloud storage.
When you back up iPad using iCloud, you canʼt simultaneously use iTunes to
automatically back up iPad to your computer. However, you can use iTunes to manually
back up iPad to your computer. See .
iCloud backups donʼt include:
Data thatʼs already stored in iCloud, such as contacts, calendars, notes, iCloud
Shared Streams, My Photo Stream, iCloud Photo Library, and the contents of
iCloud Drive
iCloud
iTunes website
Sync your iPhone, iPad, or iPod touch with
iTunes using USB
About backups for iOS devices
Restore iPad
Back up iPad with iTunes

Data stored in other cloud services, such as Gmail and Exchange mail
Apple Pay information and settings
Touch ID settings
Content you didnʼt get directly from the iTunes Store, App Store, or iBooks, such as
imported MP3s, videos, or CDs
Content from the iTunes Store, App Store, or iBooks (if itʼs still available, you can tap
to redownload content you purchased)
Stop or resume iCloud backups. Go to Settings > [your name] > iCloud > iCloud
Backup, then turn iCloud Backup off or on.
Back up immediately on iCloud. Go to Settings > [your name] > iCloud > iCloud
Backup, then tap Back Up Now.
View or remove iCloud backups. Go to Settings > [your name] > iCloud > Manage
Storage > Backup, then select a backup from the list.
Important: Previous purchases may not be restored from iCloud Backup if theyʼre no
longer in the iTunes Store, App Store, or iBooks.
Back up iPad with iTunes
Connect to iTunes and back up. Open iTunes on your computer, then connect iPad.
(See .) Click the iPad button, then click Summary in the
sidebar. To create a manual backup, click Back Up Now (below Backups). To turn on
automatic iTunes backups, click “This computer” (below Backups). iTunes automatically
backs up iPad when you connect it to your computer.
iTunes backups donʼt include:
Content from the iTunes Store and App Store, or PDFs downloaded directly to iBooks
Content synced from iTunes, such as imported MP3s or CDs, videos, books, and
photos (see )
Photos already stored in the cloud, such as in iCloud Shared Streams, My Photo
Stream, and iCloud Photo Library
Touch ID settings
Apple Pay information and settings
Keychain data—to back up this content, select “Encrypt local backup” in iTunes
Connect iPad to your computer
Sync iPad

Encrypt iPad backup. In the Summary pane, select “Encrypt iPad backup” if you want to
encrypt the information stored on your computer when iTunes makes a backup.
Encrypted backups are indicated by , and a password is required to restore the backup.
If you donʼt select this option, other passwords (such as those for mail accounts) arenʼt
included in the backup, and you have to reenter them if you use the backup to restore
iPad.
View or remove iTunes backups. Open iTunes on your computer, choose iTunes >
Preferences, then click Devices. Encrypted backups have a lock icon in the list of
backups.
Use Apple Pencil on iPad (6th generation). (iOS 11.3) Use Apple Pencil (available
separately) to write, mark up, and draw in built-in apps and apps from the App Store. See
.
Use Messages in iCloud. (iOS 11.3) Using Messages in iCloud frees up space on your
iPad by storing your messages, and the accompanying photos and other attachments, in
iCloud. All the messages you send and receive on iPad appear on your other Apple
devices where youʼre signed in to iMessage with the same Apple ID. Messages you delete
from iPad are removed from your other Apple devices. See
.
Use Business Chat in Messages. (not available in all regions; beta, iOS 11.3) Using
Business Chat, you can communicate with some businesses in Messages. You can get
answers to questions, resolve issues, get advice on what to buy, make purchases with
Apple Pay, and more. See .
Enjoy more music videos. (iOS 11.3) Apple Music is the new home for music videos.
Stream all the music videos you want ad-free—including playlists with the most popular
videos, classic videos, and videos from your favorite artists. See .
Watch live sports and news. (U.S. only; from certain providers; iOS 11.2) Stream a live
game or watch the latest news in the Apple TV App. Sports events are displayed in Watch
Now with up-to-the-minute scores so you wonʼt miss any dramatic endings. See
.
Pay friends with a message. (U.S. only; iOS 11.2) Use Apple Pay to send and receive
money quickly and easily in Messages. Thereʼs no app to download, and you can use the
cards you already have with Apple Pay. See .
Whatʼs new in iOS 11
Apple Pencil
Set up iMessage and
SMS/MMS
Send and receive messages
Discover new music
Discover
movies, shows, sports, and news
Send and receive money (U.S. only)
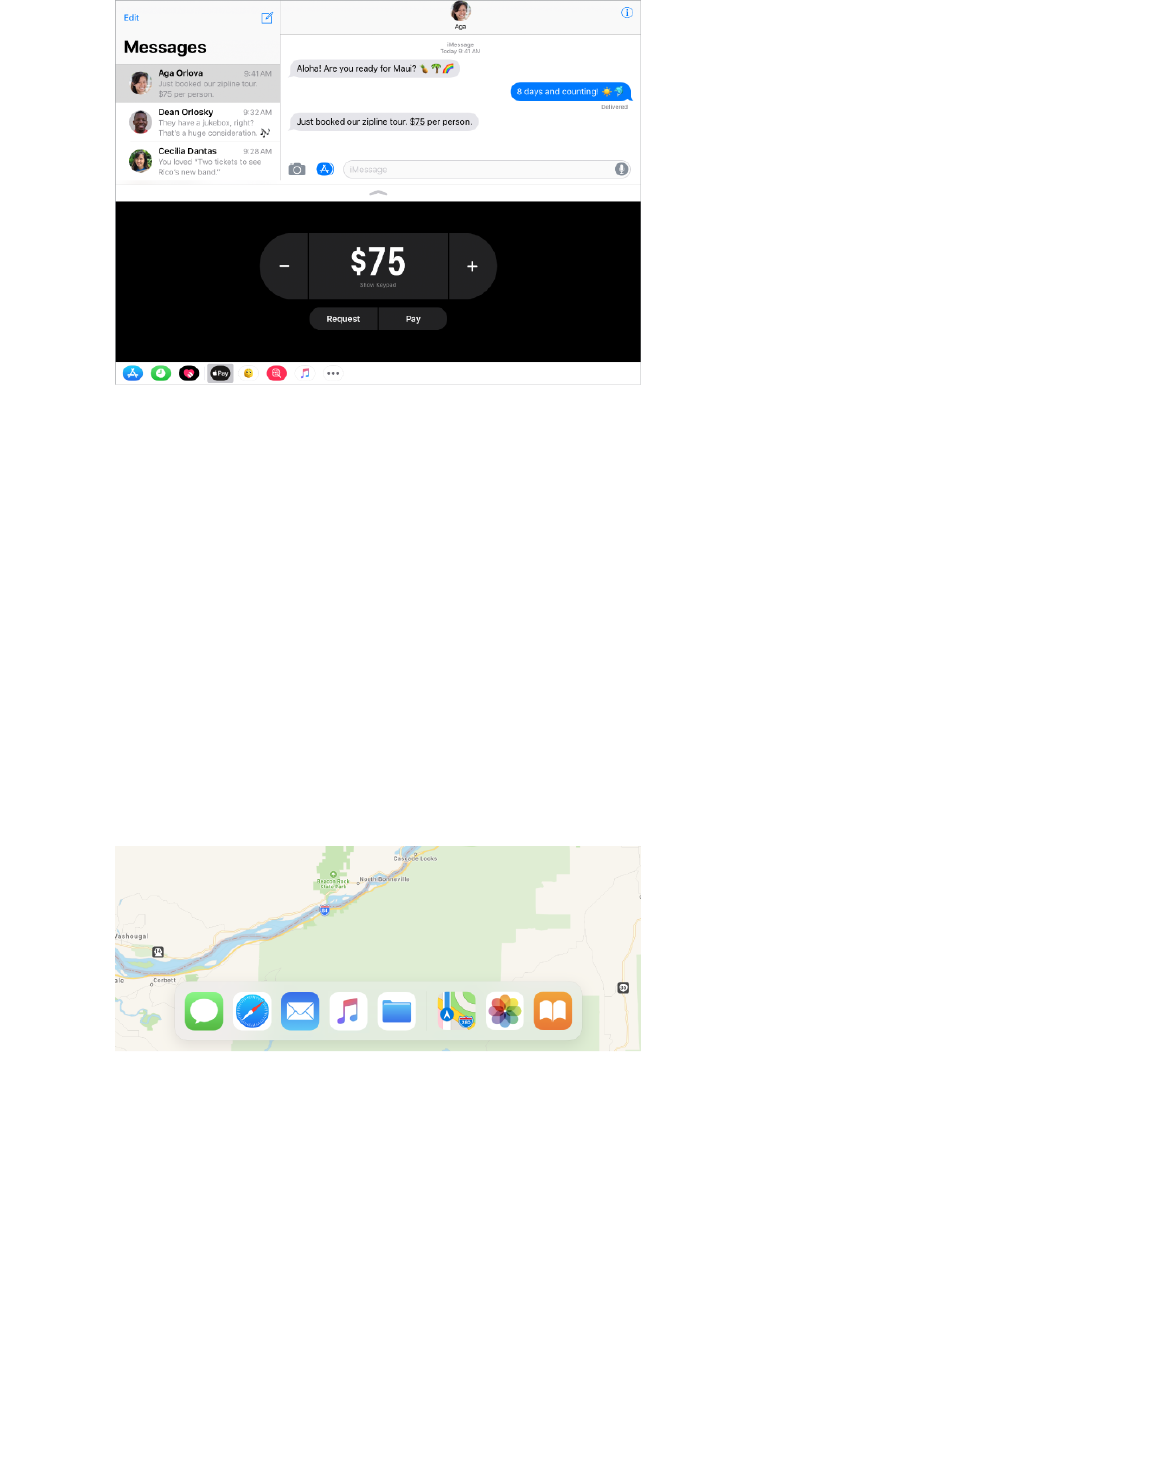
Apple Pay Cash. (U.S. only; iOS 11.2) When you receive money in Messages, itʼs added
to your Apple Pay Cash card. You can use Apple Pay Cash right away to make purchases
using Apple Pay in stores, in apps, and on the web. See
.
Listen to the latest news. (iOS 11.2) Say something like, “Hey Siri, play some news.” You
can also ask for business, sports, or music news. (Not available in all regions.)
Use the Dock any time. With a swipe up from the bottom of the screen, the Dock is
available while youʼre using any app. And you can customize it with more of your favorite
apps. Favorite apps appear on the left side of the Dock, and suggested apps—like ones
you opened recently and ones open on your iPhone or Mac—are on the right side. See
.
Work with more apps simultaneously. The Dock makes it easy to work with multiple
apps at the same time. Drag an app out of the Dock to make a Slide Over, or drag it to the
right or left edge of the screen to make a Split View. You can even work on one app in
Slide Over, view two apps in Split View, and watch a movie or use FaceTime in Picture in
Picture, all on the same screen. See .
Set up and manage Apple Pay
Cash (U.S. only)
Switch between apps
Use multiple apps at the same time
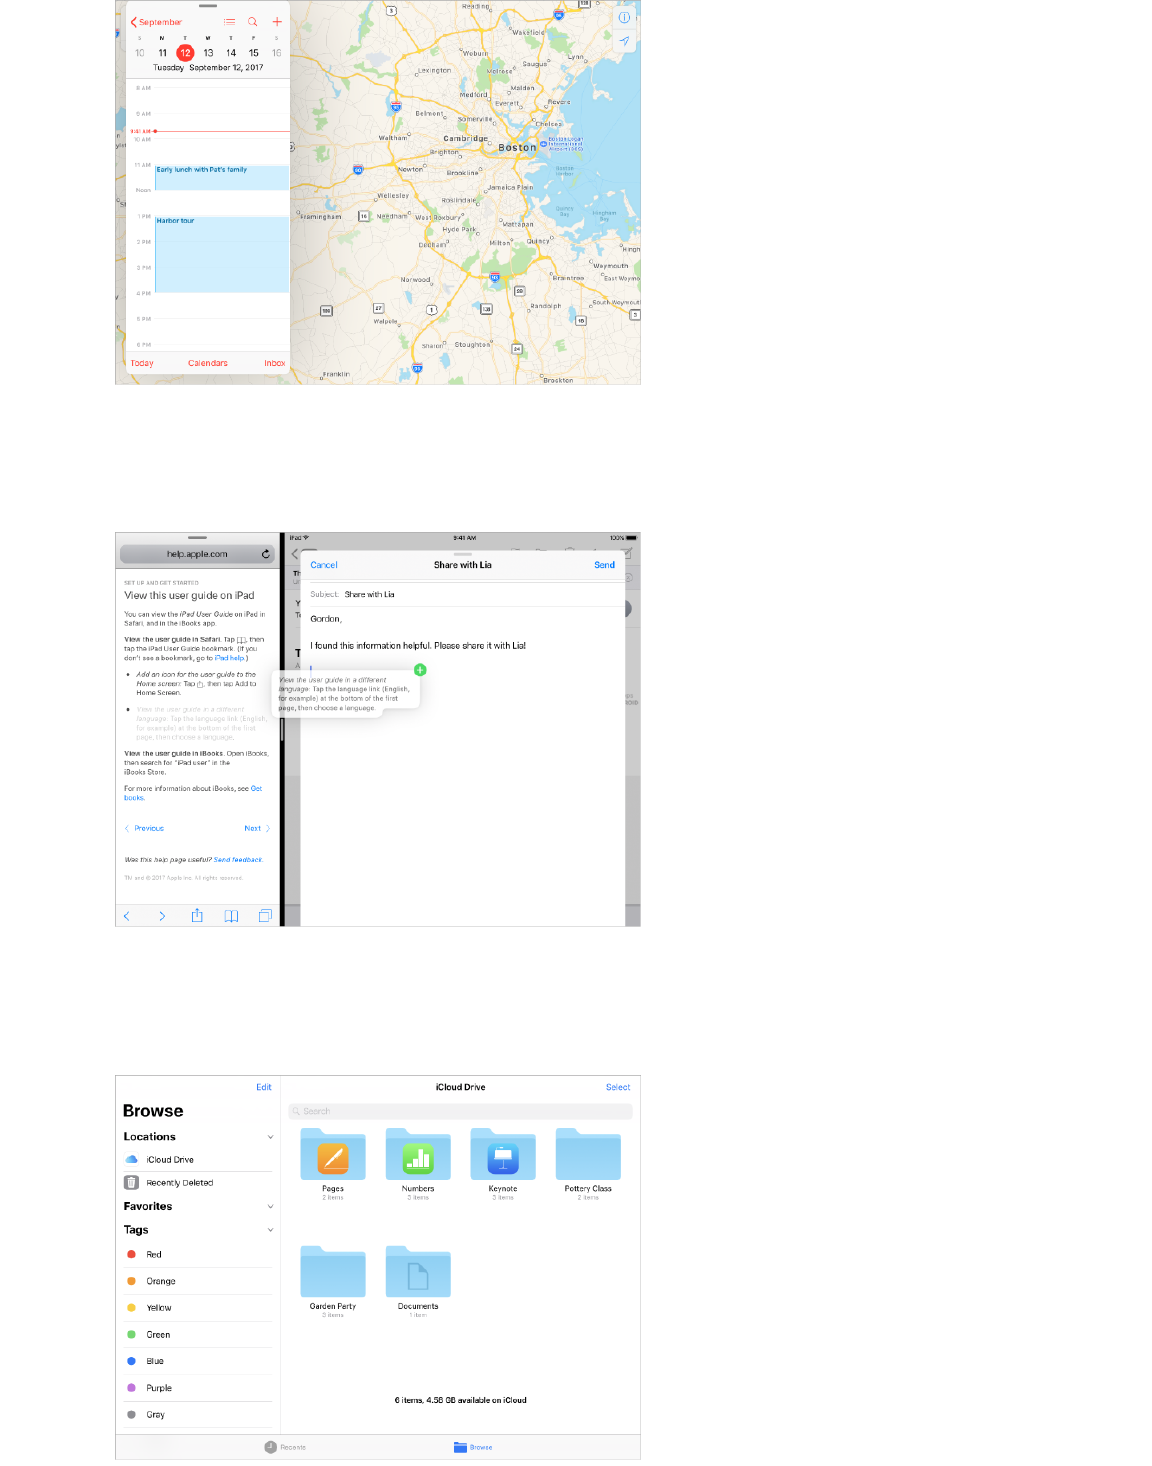
Drag and drop between apps. Move text, photos, and files from one app to another. You
can touch and move just about anything—or things—anywhere on the screen. See
.
Find all your files in one place. In the new Files app, you can easily browse, search, and
organize all your files. Thereʼs even a dedicated place for your recent files. See
.
Drag
and drop items
View files
and folders

Enter numbers, punctuation, and symbols more quickly. Swipe down on a key without
switching back and forth between keyboards. See .
New Live Photo effects. Turn a Live Photo you love into a continuous video loop, play it
back and forth, or simulate a long exposure that blurs movement. See
.
See your photos in a whole new light. Use new filters to make photos more expressive
and skin tones more natural. Take great photos at a smaller file size using next-
generation compression technology. See .
Take a FaceTime Live Photo. During a FaceTime call, capture a special moment of your
conversation. See .
Type and edit text
Edit photos and
trim videos
Edit photos and trim videos
Make and answer calls

A redesigned App Store. See daily stories by experts, a dedicated Games tab, lists for
all kinds of apps, and much more in the redesigned App Store. See .
Ask Siri to do more. Siri is more expressive, with a new, more natural voice. With
Apple Music, Siri can be your personal DJ. And Siri now translates phrases from English
to Chinese, Spanish, French, German, and Italian (beta). See .
Discover music with a little help from your friends. Your friends can now help you
discover new songs and artists. Each of you can have your own profile on Apple Music,
where you can see playlists your friends have shared as well as albums and stations they
frequently listen to. (Apple Music subscription required.)
.
Find apps and games
Make requests
See what your friends are
listening to
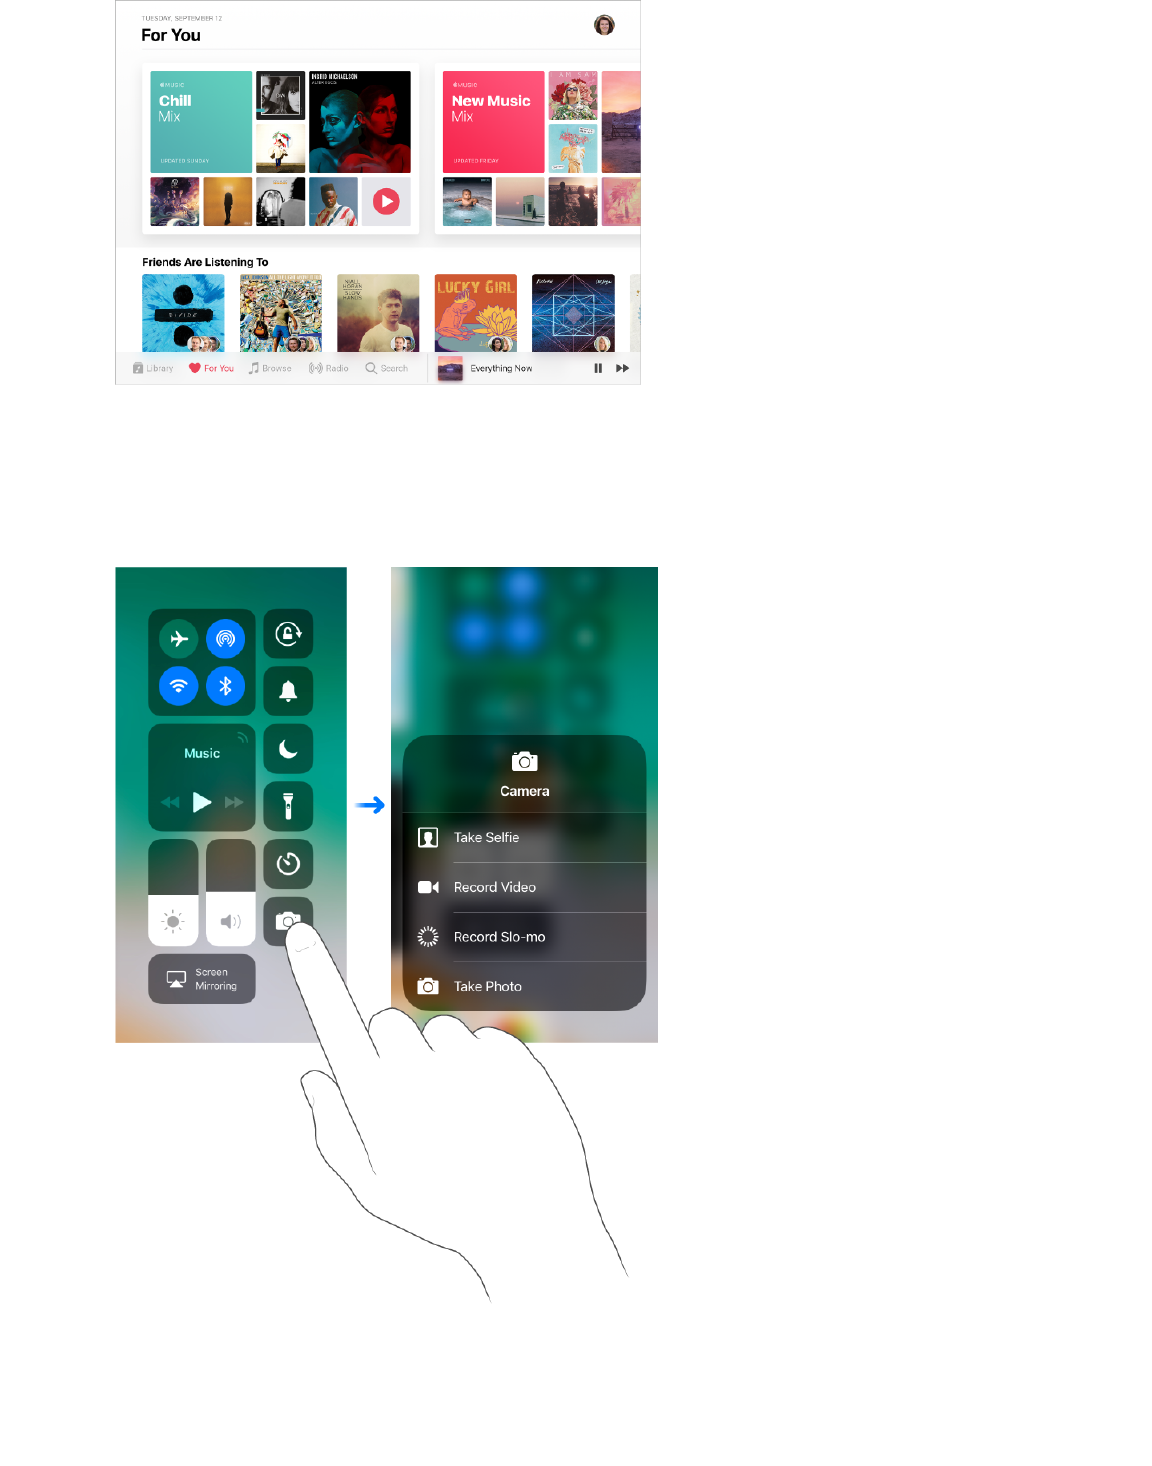
Take control of Control Center. Customize Control Center so you have instant access to
the things you do most. You can add the Apple TV Remote, accessibility shortcuts, and
more. To unlock even more commands, touch and hold items in Control Center. See
.
Scan and sign documents in Notes. The Document Scanner automatically senses and
scans a document in the Notes app, crops the edges, and removes any tilt or glare. On
supported models, you can use Apple Pencil to fill in the blanks or sign the document.
See .
Control Center
Scan a document
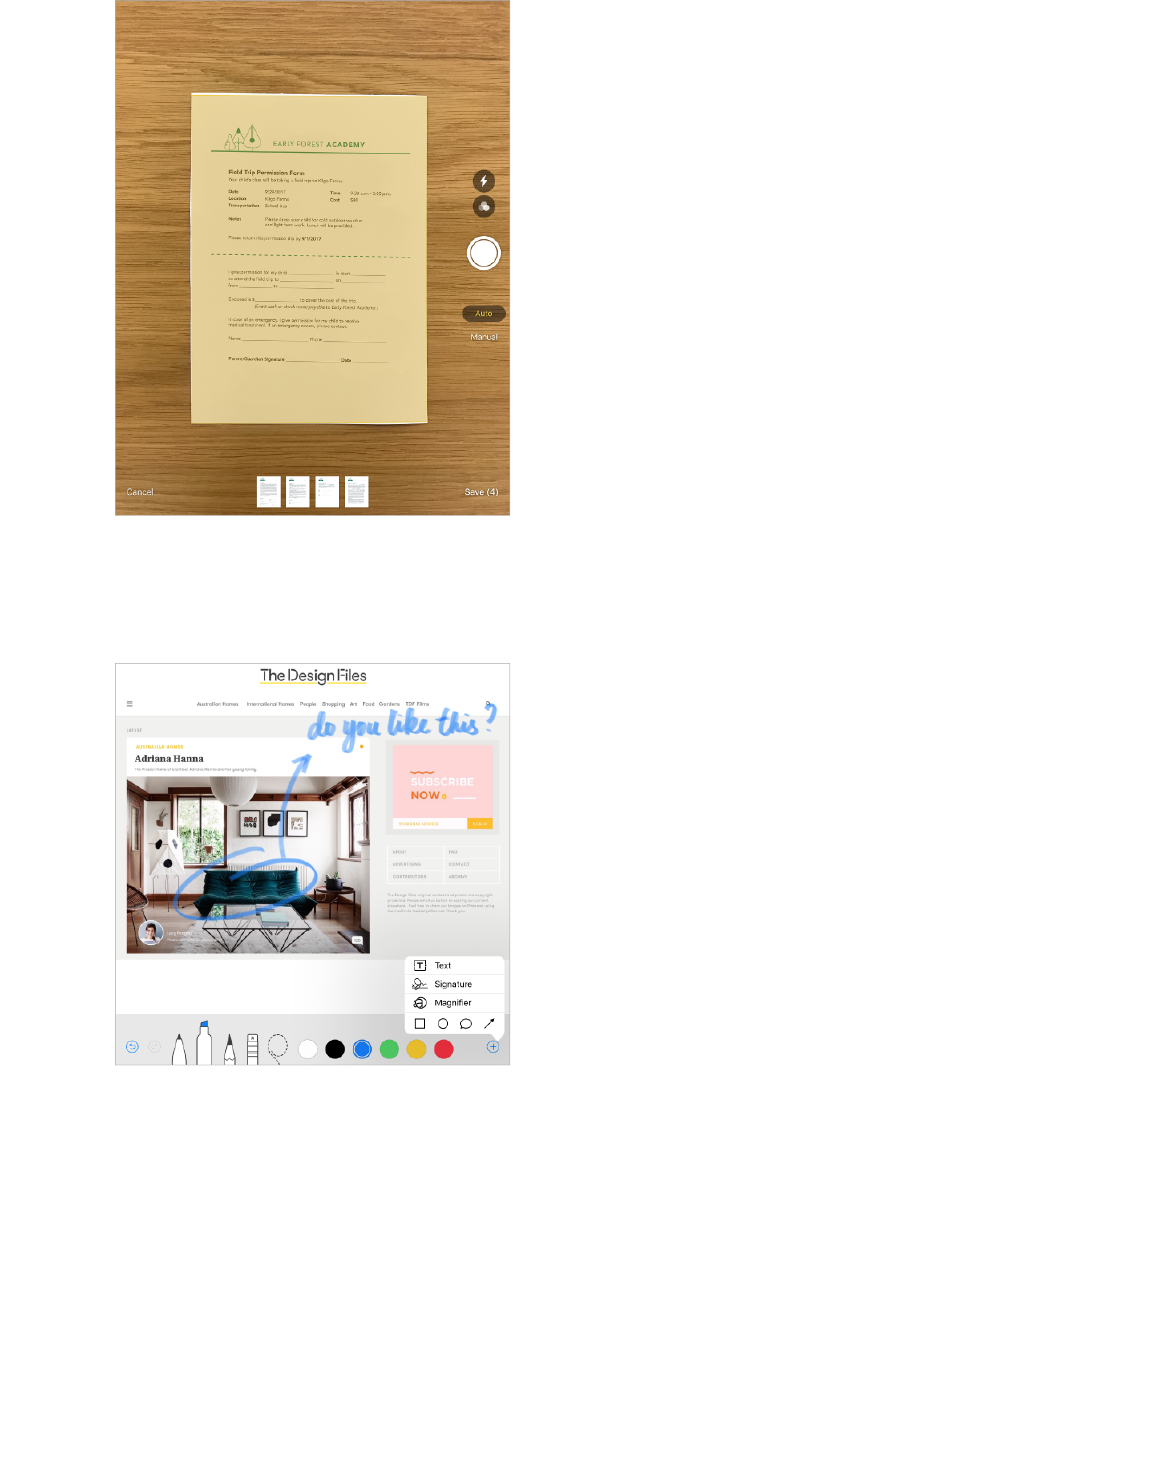
Mark it up. Annotate images, notes, PDFs, screenshots, and more with built-in drawing
tools. In some apps, you can also add text, signatures, and speech bubbles and other
shapes. On supported models, you can draw with Apple Pencil. See .
Use indoor maps to find your way around an airport or mall. Whether youʼre going on
a shopping adventure or just searching for the nearest coffee shop, Maps makes your
journey smoother. See .
News is even more personal. News now shows top stories that are more relevant to you.
Siri learns what interests you and suggests stories you might like. And a new Spotlight
tab features stories related to a timely topic, chosen by Apple News editors. See .
Pencil that in. On supported models, tap Apple Pencil on the Lock screen to start taking
notes immediately. See . And use Apple Pencil to draw and annotate directly
in mail messages and notes. See .
Use Markup
Find places
For You
Lock screen
Use Markup

Quickly set up your new iPad. Hold your new iPad near a device with iOS 11 or later to
quickly and securely import many of your personal settings and iCloud Keychain
passwords. See .
Learn new tricks for iOS 11. The Tips app adds new suggestions frequently so you can
get the most from your iPad. See .
Note: New features and apps may vary depending on the model of your iPad, your region,
language, and carrier.
Set up iPad
Get tips on using iOS 11

Wake and unlock iPad
Wake iPad. Press the Sleep/Wake button. When you wake iPad, the Lock screen appears.
From there, you can check notifications and recent app activity, take photos, and more.
For more information, see .
Unlock iPad. Press the Home button, then enter the passcode (if you set up iPad to
require a passcode). On supported models, you can also use the Touch ID sensor in the
Home button to unlock iPad. If you didnʼt create a passcode or set up Touch ID when you
set up iPad, go to Settings > Touch ID & Passcode (models with Touch ID) or Settings >
Passcode (other models). For more information, see and .
Tip: On models with Touch ID, you can unlock iPad by touching instead of pressing
the Home button. Go to Settings > General > Accessibility > Home Button, then turn on
Rest Finger to Open.
Lock iPad. Press the Sleep/Wake button. iPad locks automatically if you donʼt touch the
screen for a minute or so.
Home screen
The Home screen shows all the apps on your iPad. It consists of multiple pages, added as
necessary when you need space for apps.
Go to the Home screen. Press the Home button at any time.
You can also pinch four or five fingers together. To turn off the multifinger pinch gesture,
go to Settings > General > Multitasking & Dock.
Basics
Lock screen
Passcode Touch ID
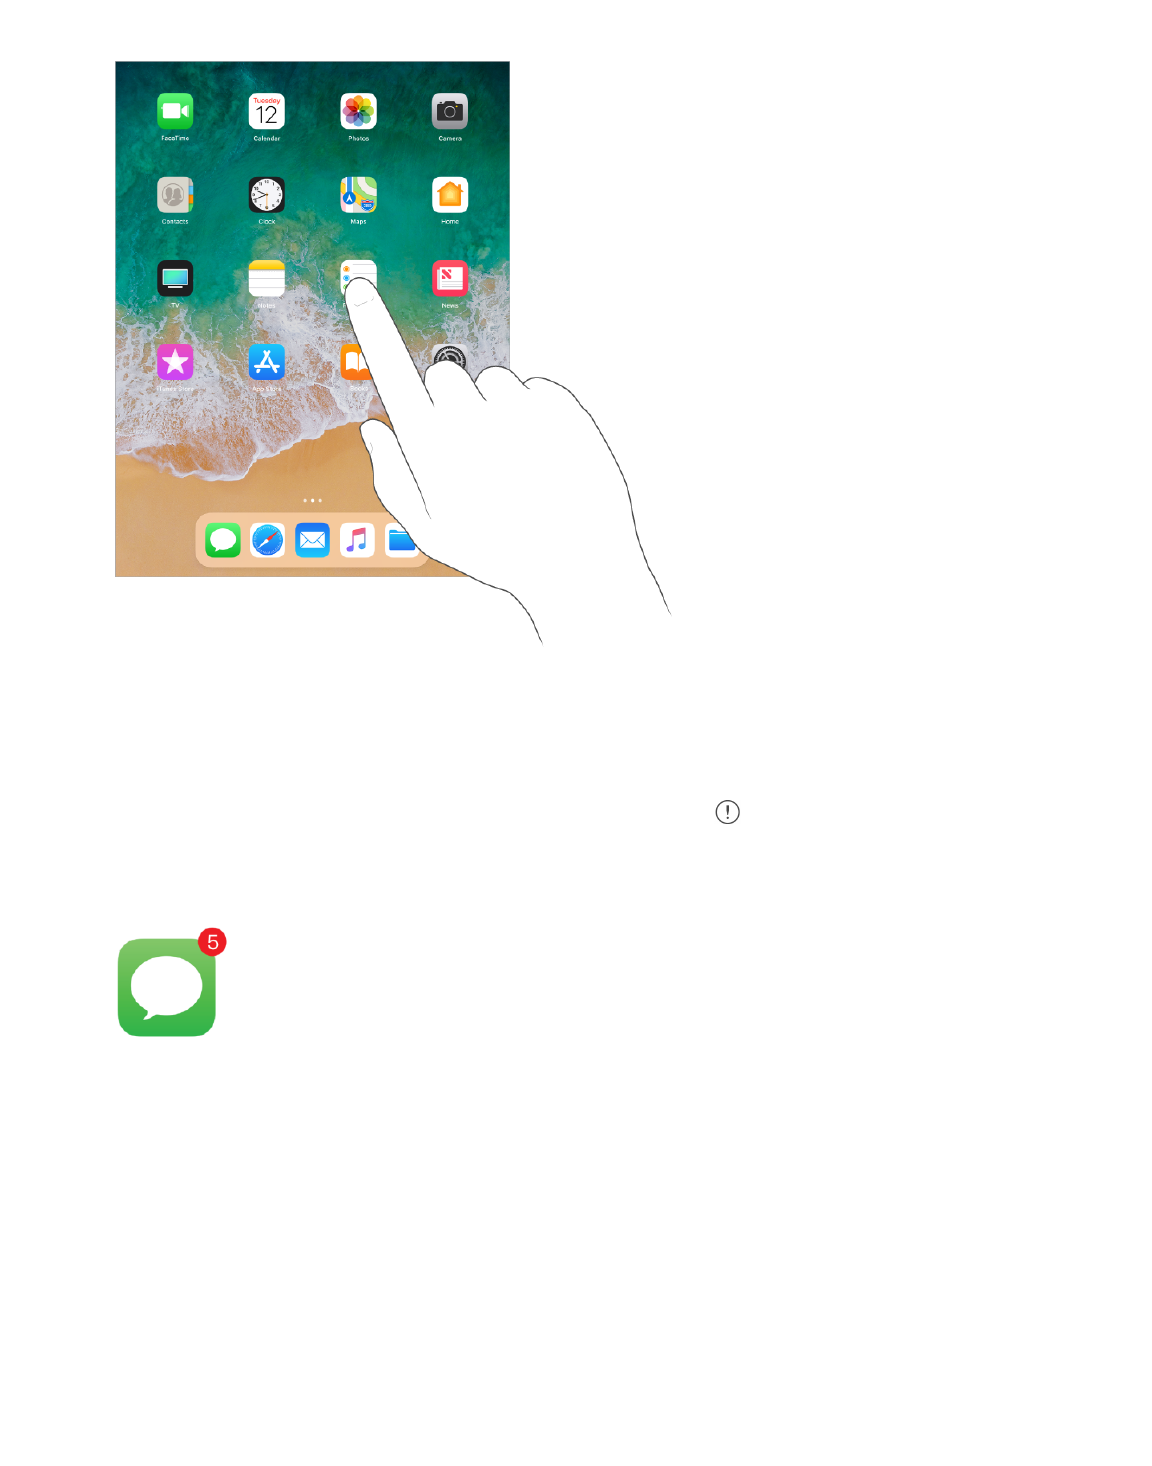
Open an app. Tap the app icon.
See more of your apps. Swipe left or right for additional Home screen pages.
Some apps may include a badge on their Home screen icon, to let you know how many
new items await—for example, the number of new messages. If thereʼs a problem—such
as a message that couldnʼt be sent—an exclamation mark appears on the badge. (On
a folder, a numbered badge indicates the total number of notifications for all the apps
inside.)
Gestures
Use a few simple gestures—tap, drag, swipe, and pinch—to control iPad and its apps.
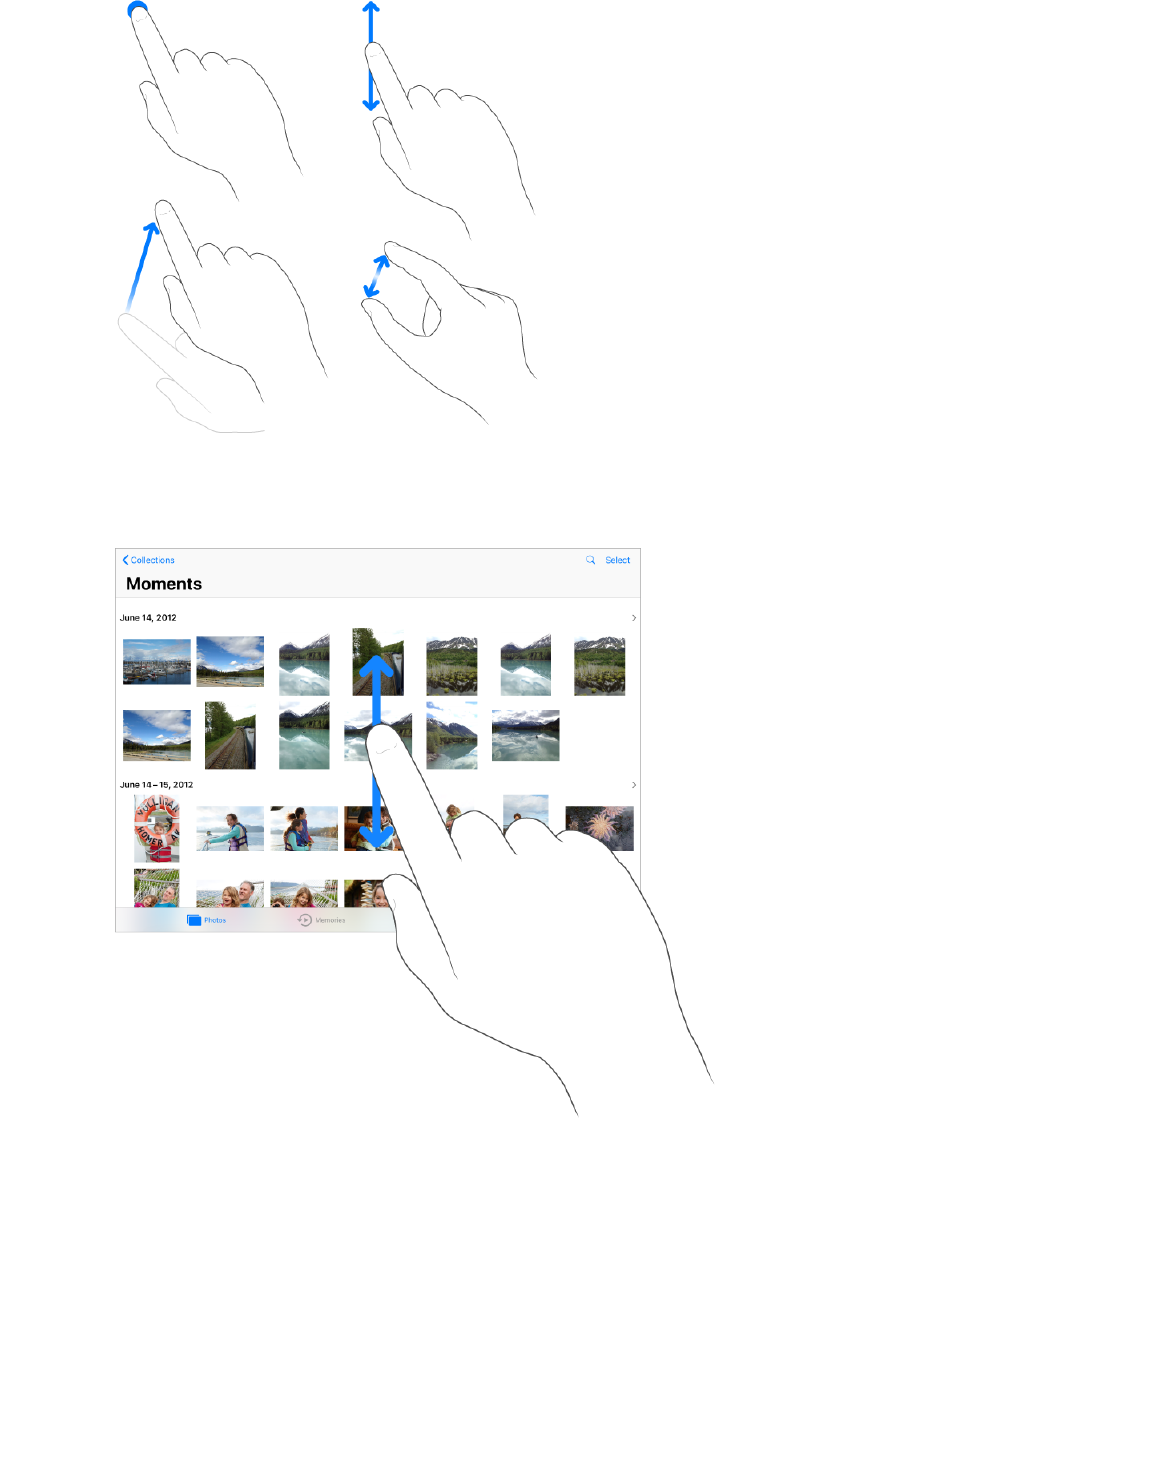
Look around. In an open app, drag a list up or down to see more. Swipe to scroll quickly;
touch the screen to stop scrolling. Some lists have an index—tap a letter to jump ahead.
Drag a photo, map, or webpage in any direction to see more.
To quickly jump to the top of a page, tap the status bar at the top of the screen.
Zoom in and out. Pinch open on a photo, webpage, or map for a close-up—then pinch
closed to zoom back out. In Photos, keep pinching to see the collection or album that
contains the photo.
You can also double-tap a photo or webpage to zoom in, and double-tap again to zoom
out. In Maps, double-tap and hold, then drag up to zoom in or drag down to zoom out.
Switch between apps
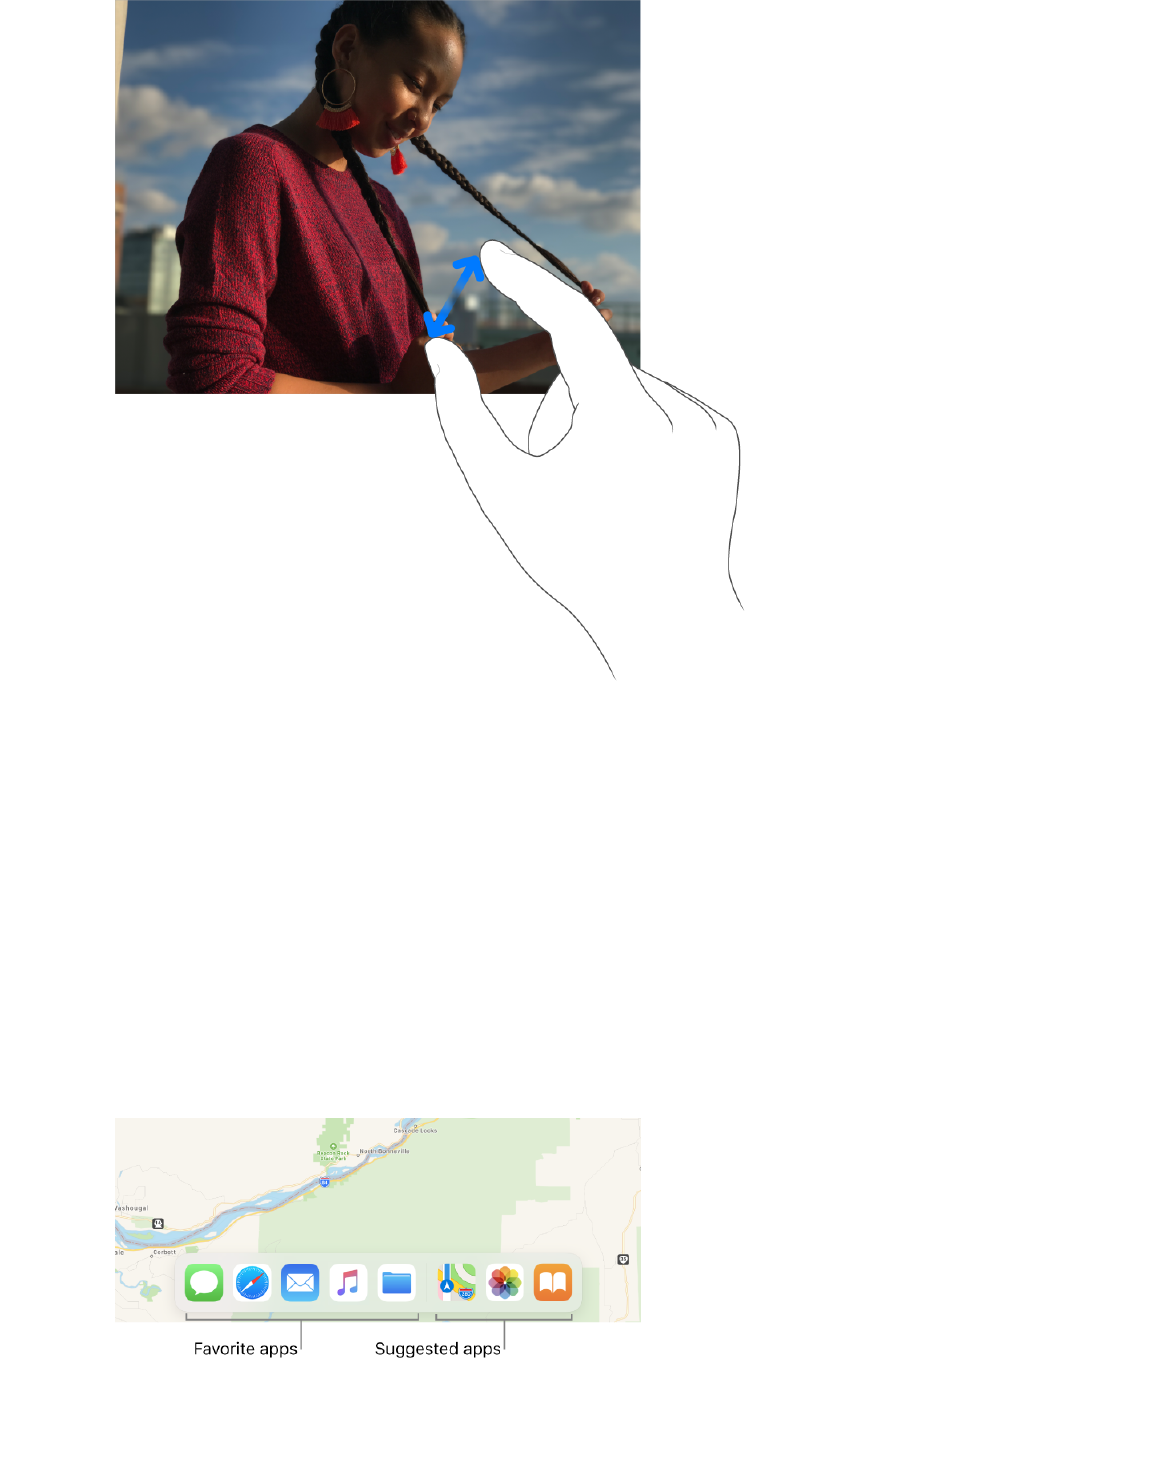
While using one app, you can easily switch to another.
Open an app from the Dock. Swipe up from the bottom to reveal the Dock, then tap an
app. Favorite apps are on the left side of the Dock, and suggested apps—like ones you
opened recently and ones open on your iPhone or Mac—appear on the right side of the
Dock.