Apple E2946A Cellular Phone with Bluetooth and WLAN Radios User Manual 2
Apple Inc. Cellular Phone with Bluetooth and WLAN Radios Users Manual 2
UserManual.wiki
>
Apple
>
E2946A User Manual
>
Users Manual 2
Contents
1.
iPhone_Info
2.
Users Manual 1
3.
Users Manual 2
4.
Users Manual 3
5.
Users Manual 4
6.
Users Manual 5
7.
Users Manual 6
8.
RF exposure statements
Users Manual 2
Navigation menu
Upload a User Manual
Namespaces
Wiki Guide
HTML
PDF
Info
Views
User Manual
Discussion / Help
Navigation
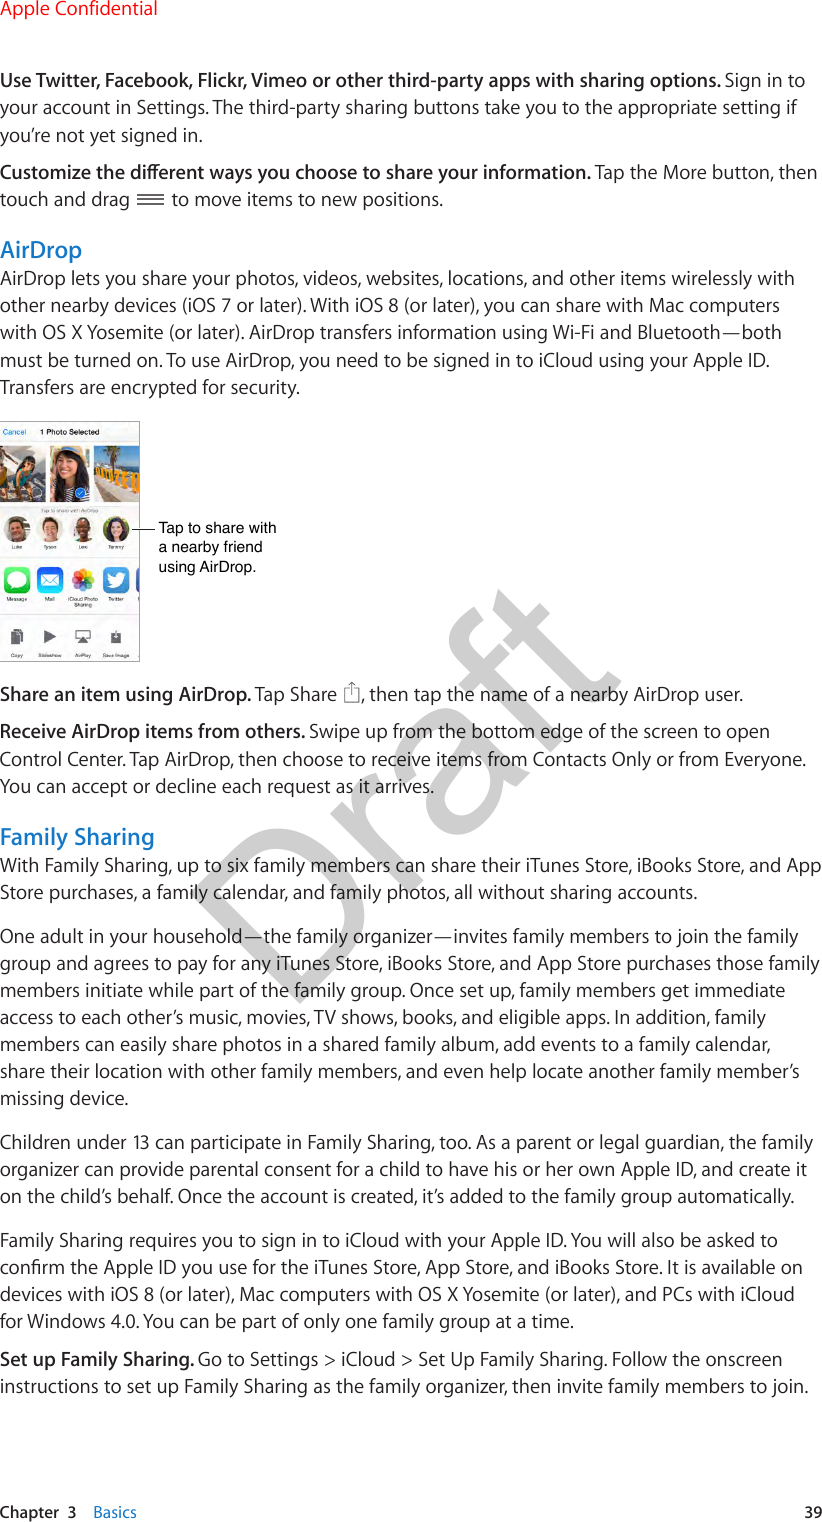
![Chapter 3 Basics 40Create an Apple ID for a child. Go to Settings > iCloud > Family, scroll to the bottom of the screen, then tap Create an Apple ID for a child.Accept an invitation to Family Sharing. Make sure you are signed in to iCloud, and that you can accept a Family Sharing invitation from your iOS device (iOS 8 or later), Mac (OS X Yosemite or later), or PC (iCloud for Windows 4.0 required). Or, if the organizer is nearby during the setup process, he or she can simply ask you to enter the Apple ID and password you use for iCloud.Access shared iTunes Store, App Store, and iBooks Store purchases. Open iTunes Store, iBooks Store, or App Store, tap Purchased, then choose a family member from the menu that appears.When a family member initiates a purchase, it is billed directly to the family organizer’s account. Once purchased, the item is added to the initiating family member’s account and is shared with the rest of the family. If Family Sharing is ever disabled, each person keeps the items they chose to purchase—even if they were paid for by the family organizer.Turn on Ask to Buy. The family organizer can require young family members to request approval for purchases or free downloads. Go to Settings > iCloud > Family, then tap the person’s name.Note: Age restrictions for Ask to Buy vary by area. In the United States, the family organizer can enable Ask to Buy for any family member under age 18; for children under age 13, it’s enabled by default.Hide your iTunes Store, App Store, and iBooks Store purchases. To hide all your purchases from family members, tap Settings > iCloud > Family > [your name], then turn o Share My Purchases. On your computer, you can also hide specic purchases so they aren’t available to other family members. See support.apple.com/en-us/HT201322.Share photos or videos with family members. When you set up Family Sharing, a shared album called “Family” is automatically created in the Photos app on all family members’ devices. To share a photo or video with family members, open the Photos app, then view a photo or video or select multiple photos or videos. Tap , tap iCloud Photo Sharing, add comments, then share to your shared family album. See iCloud Photo Sharing on page 92.Add an event to the family calendar. When you set up Family Sharing, a shared calendar called “Family” is automatically created in the Calendar app on all family members’ devices. To add a family event, open the Calendar app, create an event, then choose to add the event to the family calendar. See Share iCloud calendars on page 87.Set up a family reminder. When you set up Family Sharing, a shared list is automatically created in the Reminders app on all family members’ devices. To add a reminder to the family list, open the Reminders app, tap the family list, then add a reminder to the list. See Reminders at a glance on page 115.Apple ConfidentialDraft](https://usermanual.wiki/Apple/E2946A.Users-Manual-2/User-Guide-2695444-Page-2.png)
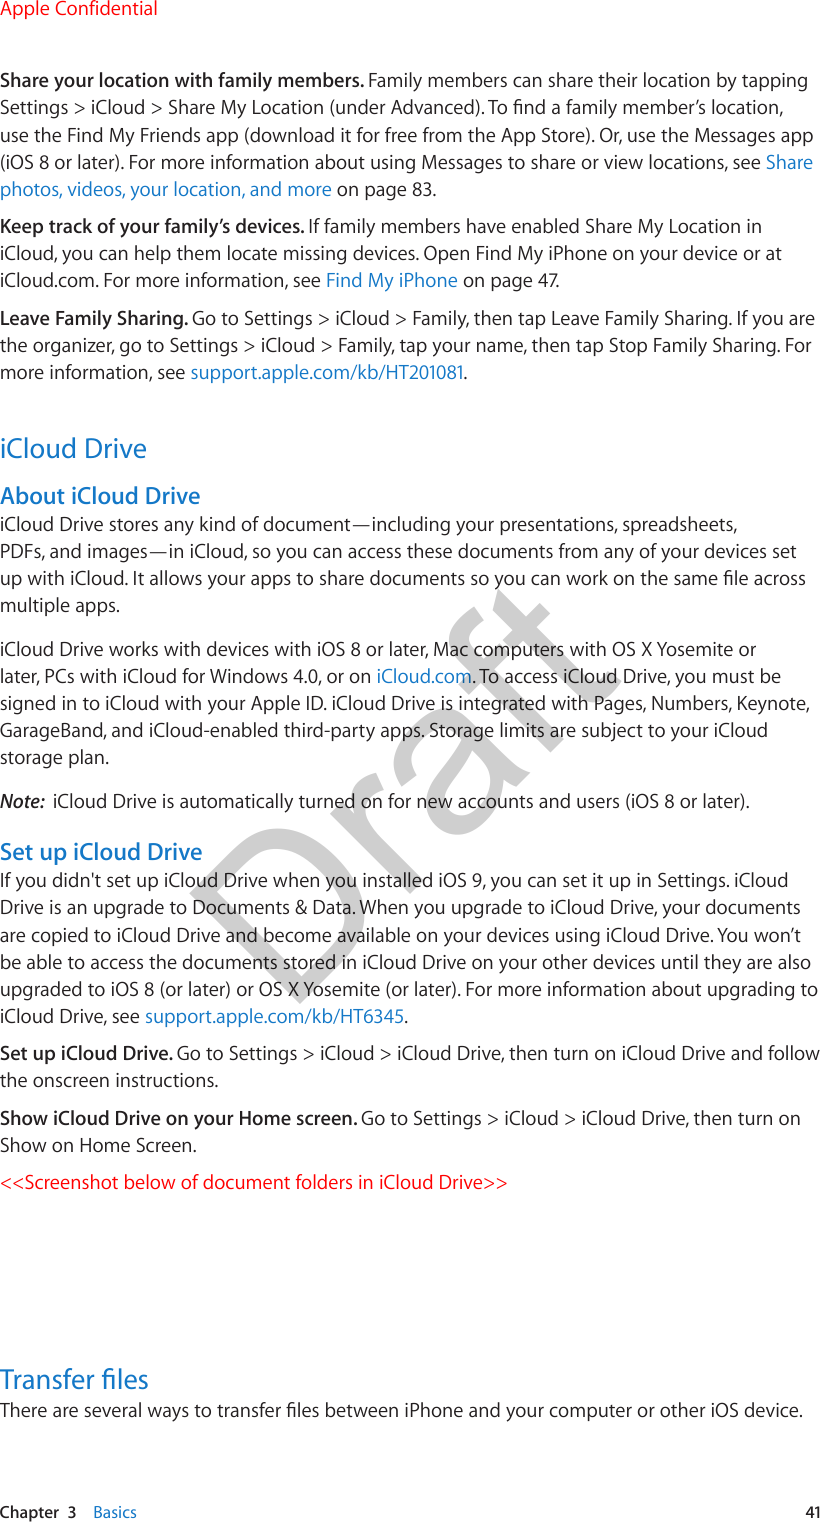


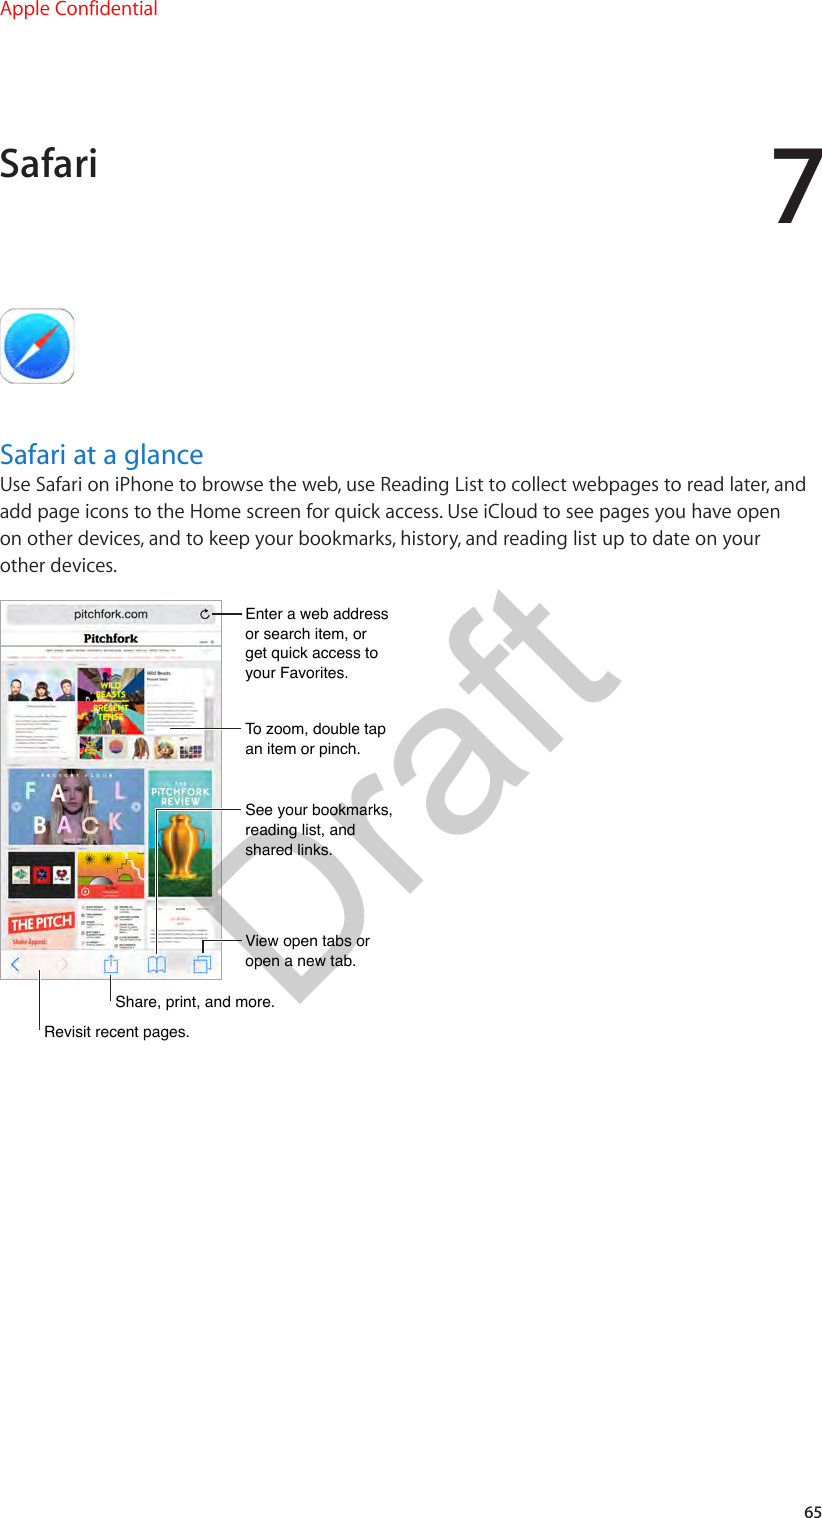
![Chapter 7 Safari 66Search the webSearch the web. Enter a URL or search term in the search eld at the top of the page, then tap a search suggestion, or tap Go on the keyboard to search for exactly what you typed. If you don’t want to see suggested search terms, go to Settings > Safari, then (under Search) turn o Search Engine Suggestions.Enter what you’re searching for, then tap Go.Enter what you’re searching for, then tap Go.Or tap a suggestion.Or tap a suggestion.View selected site.View selected site.Quickly search a site you’ve visited before. Enter the name of the site, followed by your search term. For example, enter “wiki einstein” to search Wikipedia for “einstein.” Go to Settings > Safari > Quick Website Search to turn this feature on or o.Have your favorites top the list. Select them in Settings > Safari > Favorites.Search the page. Scroll to the bottom of the suggested results list, then tap the entry under On This Page. Tap [DownBracket TK] to see the next occurrence on the page.Choose your search tool. Go to Settings > Safari > Search Engine.Browse the webLook before you leap. To see the URL of a link before you go there, touch and hold the link.Touch and hold a link to see these options.Touch and hold a link to see these options.Preview items with a press (some models). On an iPhone that support Force Touch, press an item to preview it.Open a link in a new tab. Touch and hold the link, then tap Open in New Tab. If you’d rather open new pages in the background, go to Settings > Safari > Open Links.Browse open tabs. Tap . To close a tab, tap in the upper-left corner, or swipe the tab to the left.Apple ConfidentialDraft](https://usermanual.wiki/Apple/E2946A.Users-Manual-2/User-Guide-2695444-Page-28.png)