Apple E2946A Cellular Phone with Bluetooth and WLAN Radios User Manual 3
Apple Inc. Cellular Phone with Bluetooth and WLAN Radios Users Manual 3
UserManual.wiki
>
Apple
>
E2946A User Manual
>
Users Manual 3
Contents
1.
iPhone_Info
2.
Users Manual 1
3.
Users Manual 2
4.
Users Manual 3
5.
Users Manual 4
6.
Users Manual 5
7.
Users Manual 6
8.
RF exposure statements
Users Manual 3
Navigation menu
Upload a User Manual
Namespaces
Wiki Guide
HTML
PDF
Info
Views
User Manual
Discussion / Help
Navigation
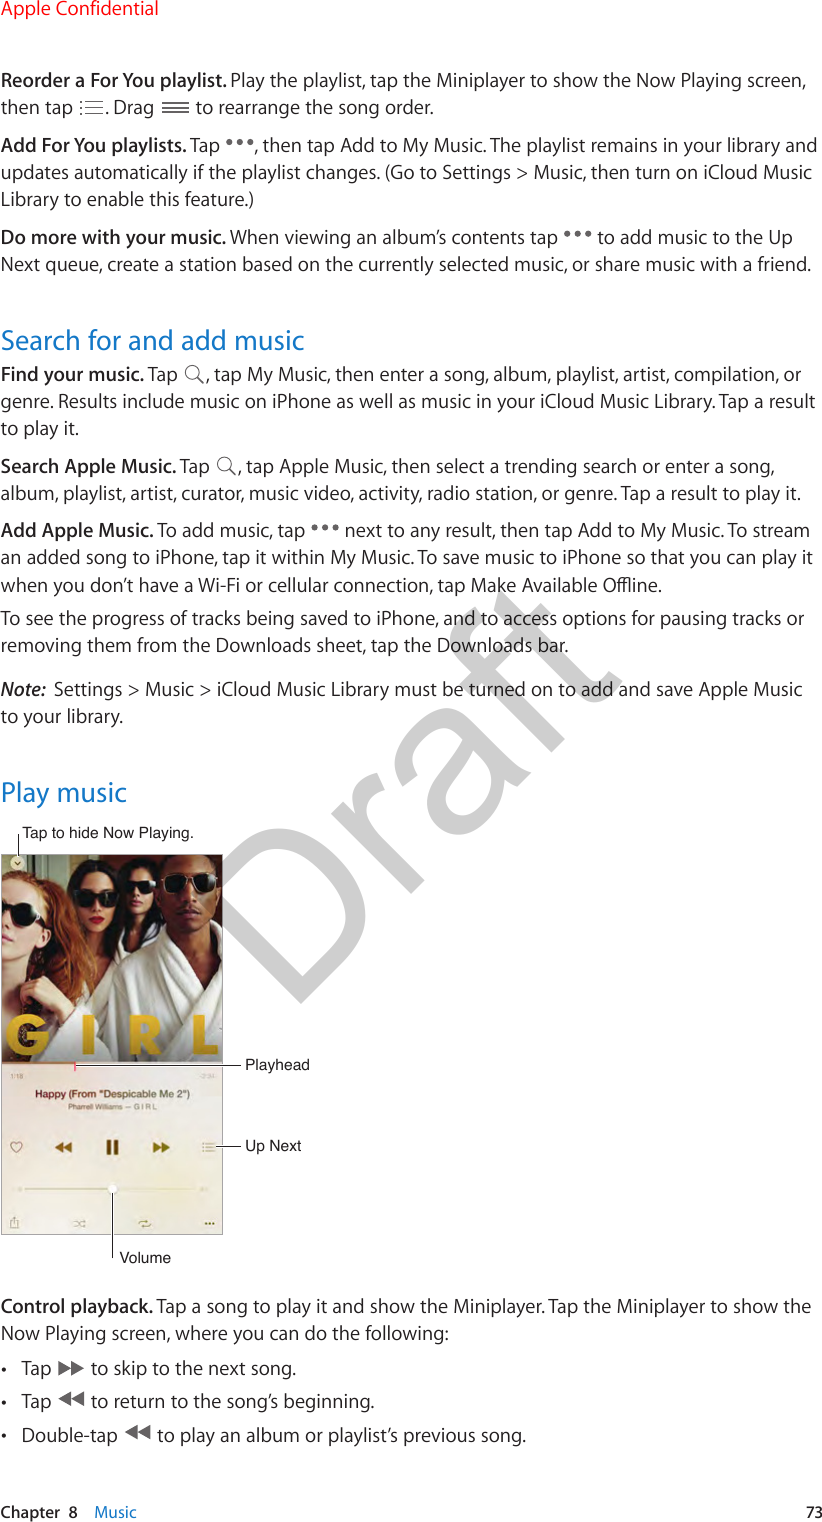

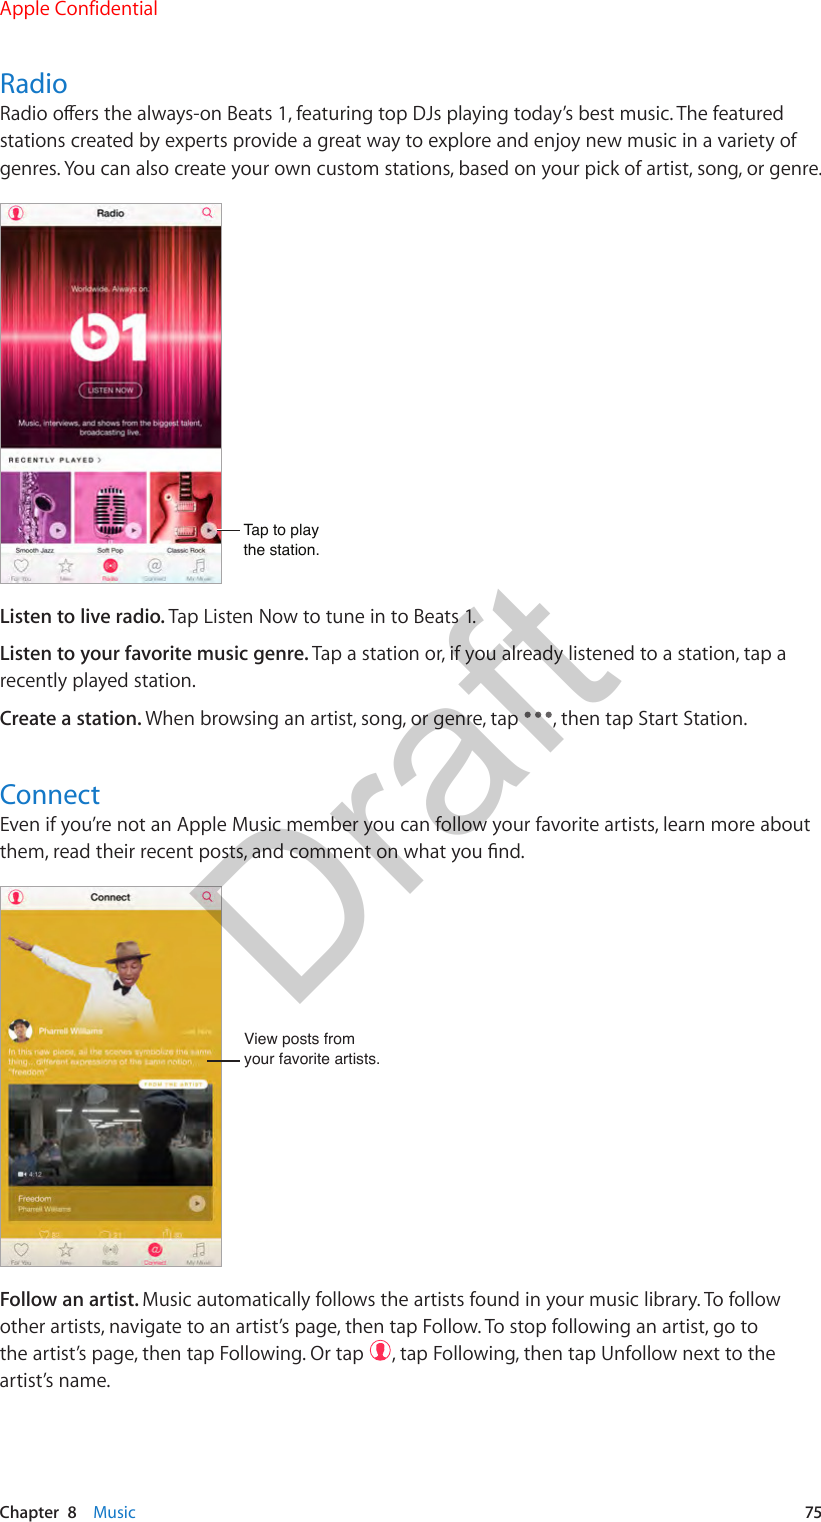
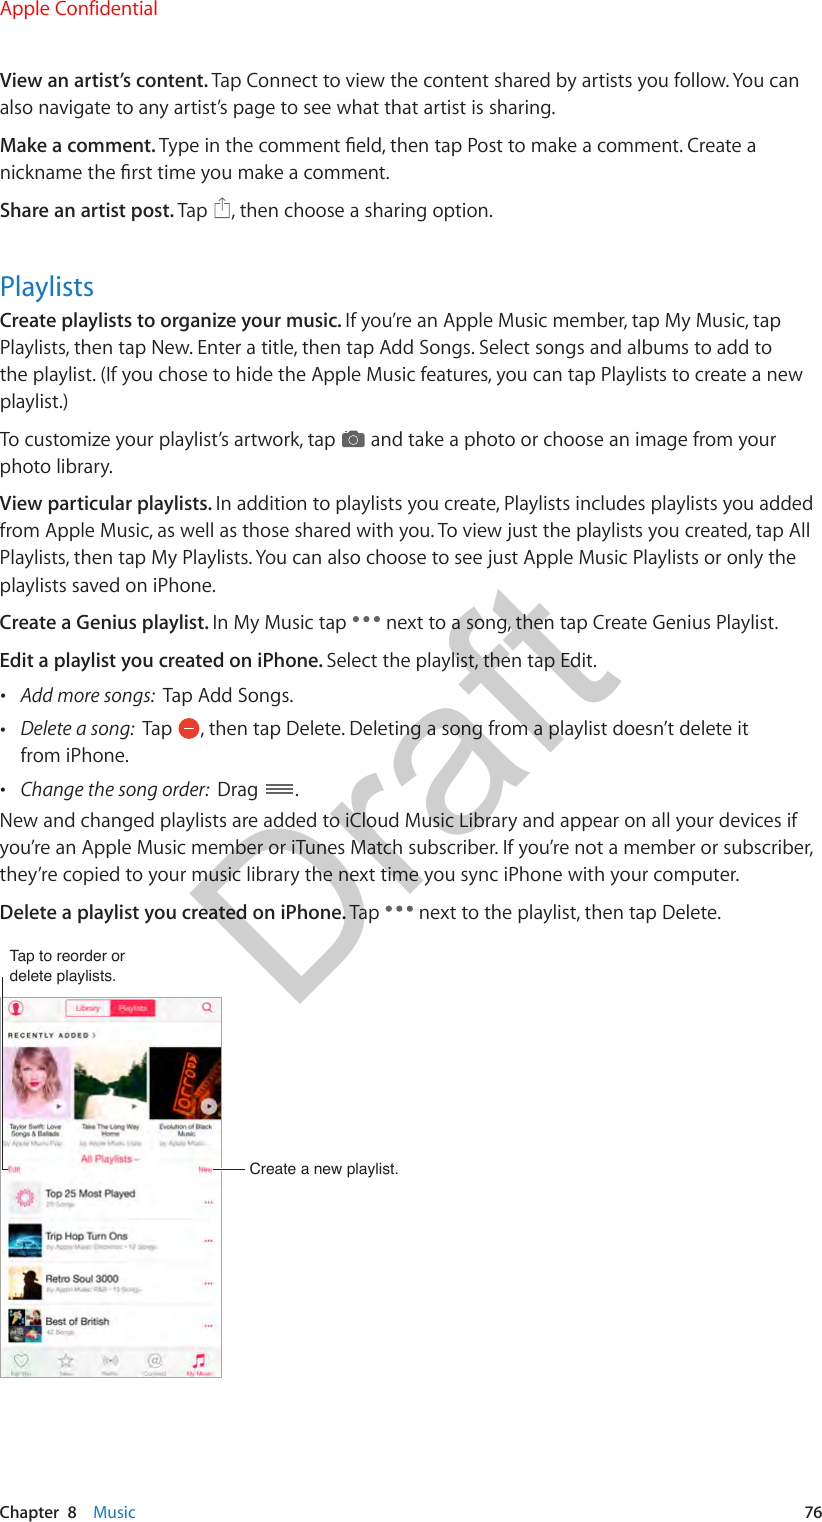
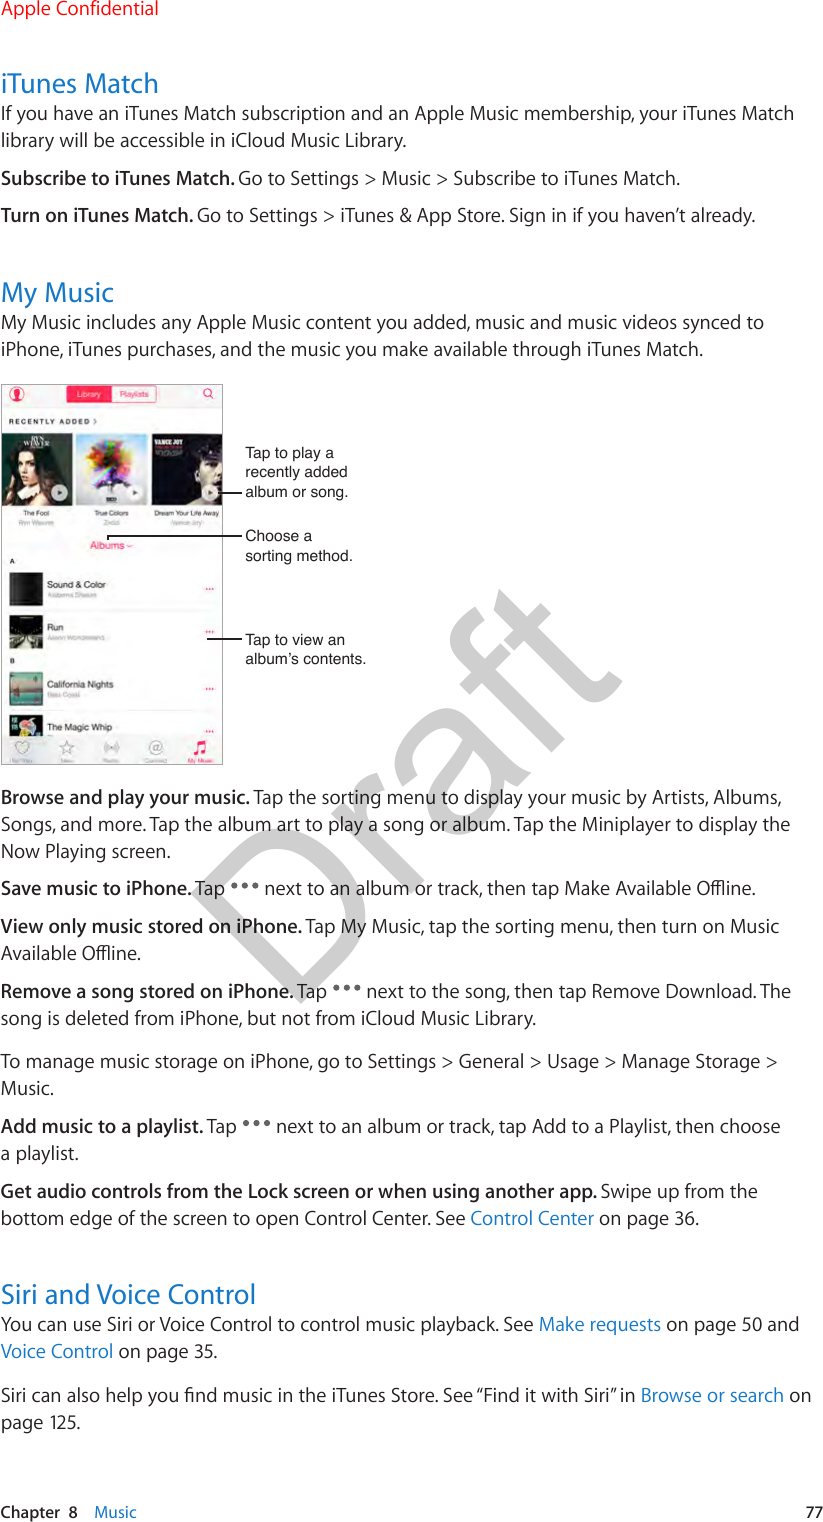
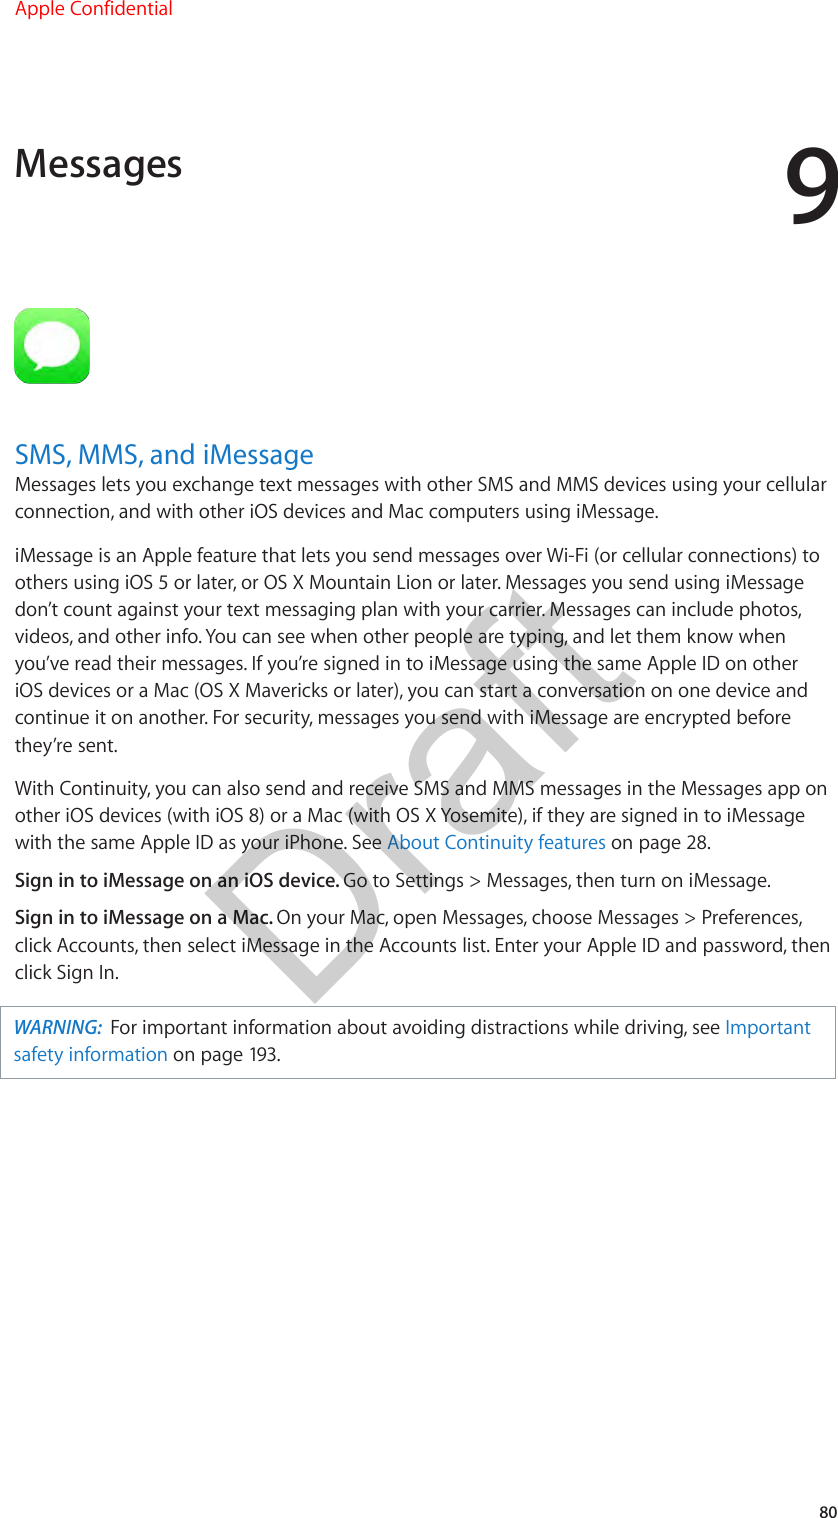
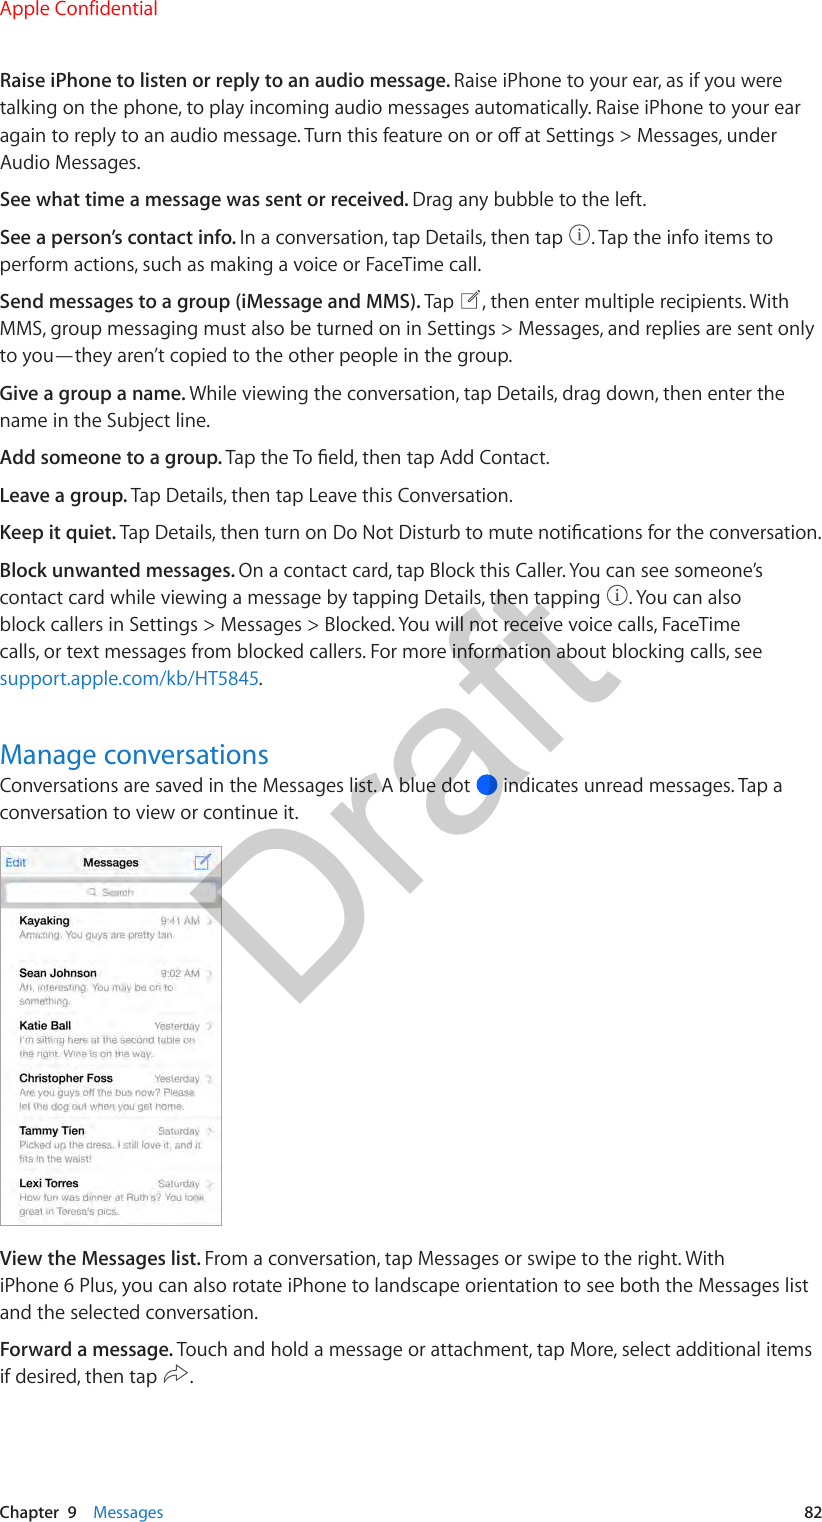
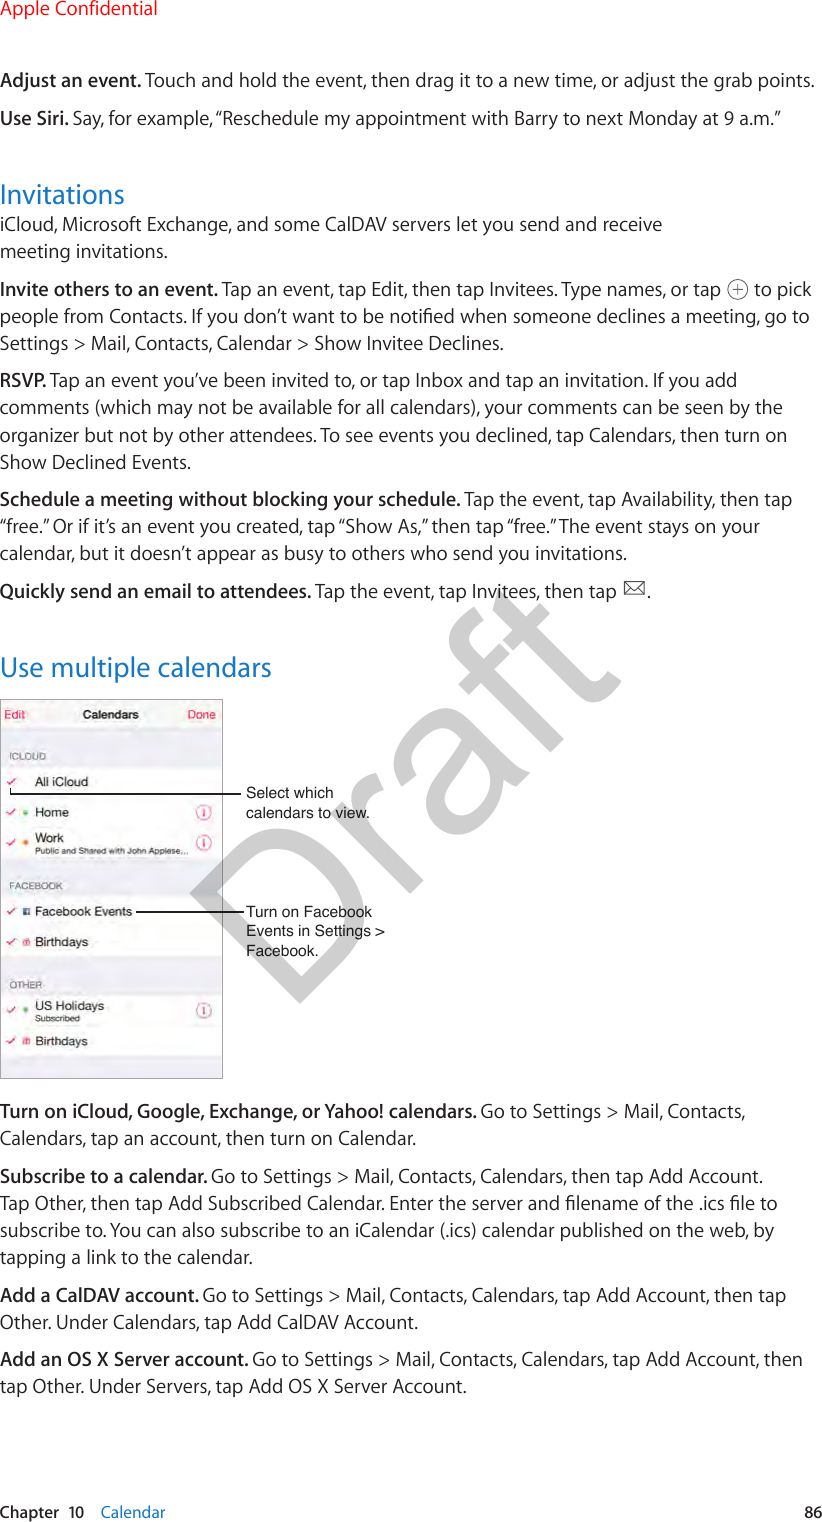
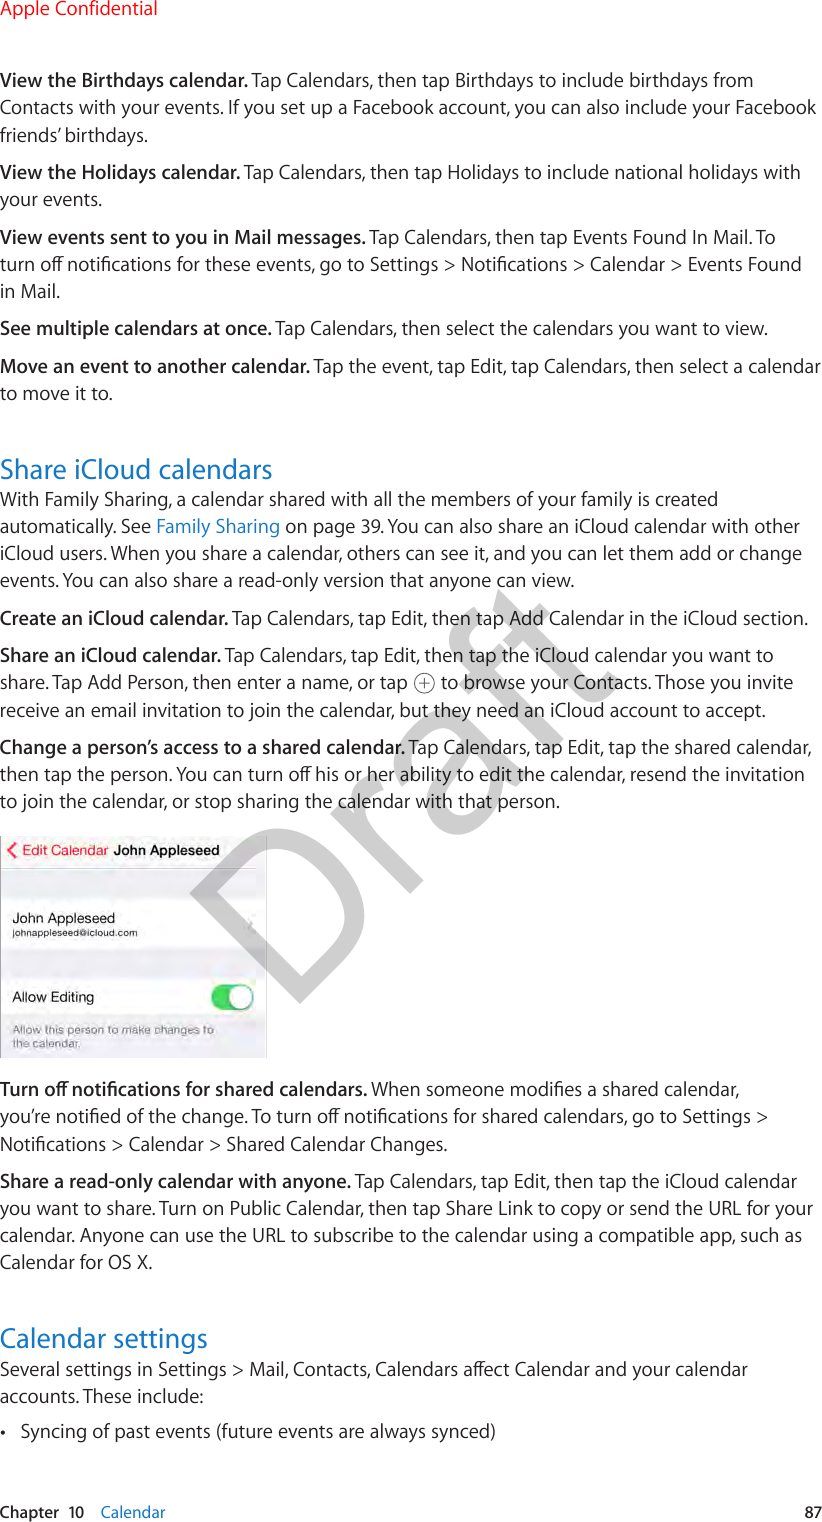
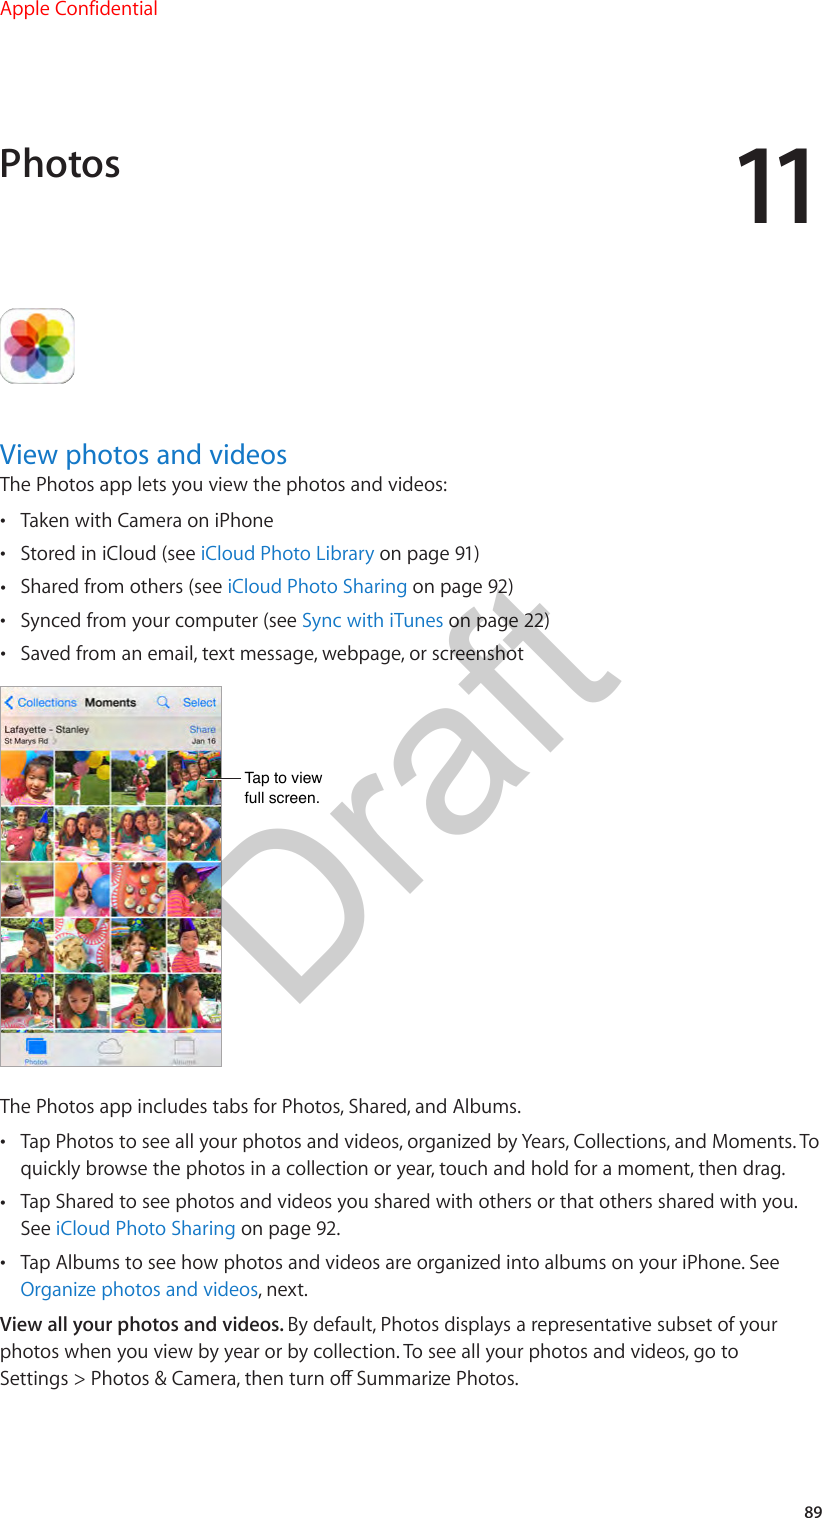
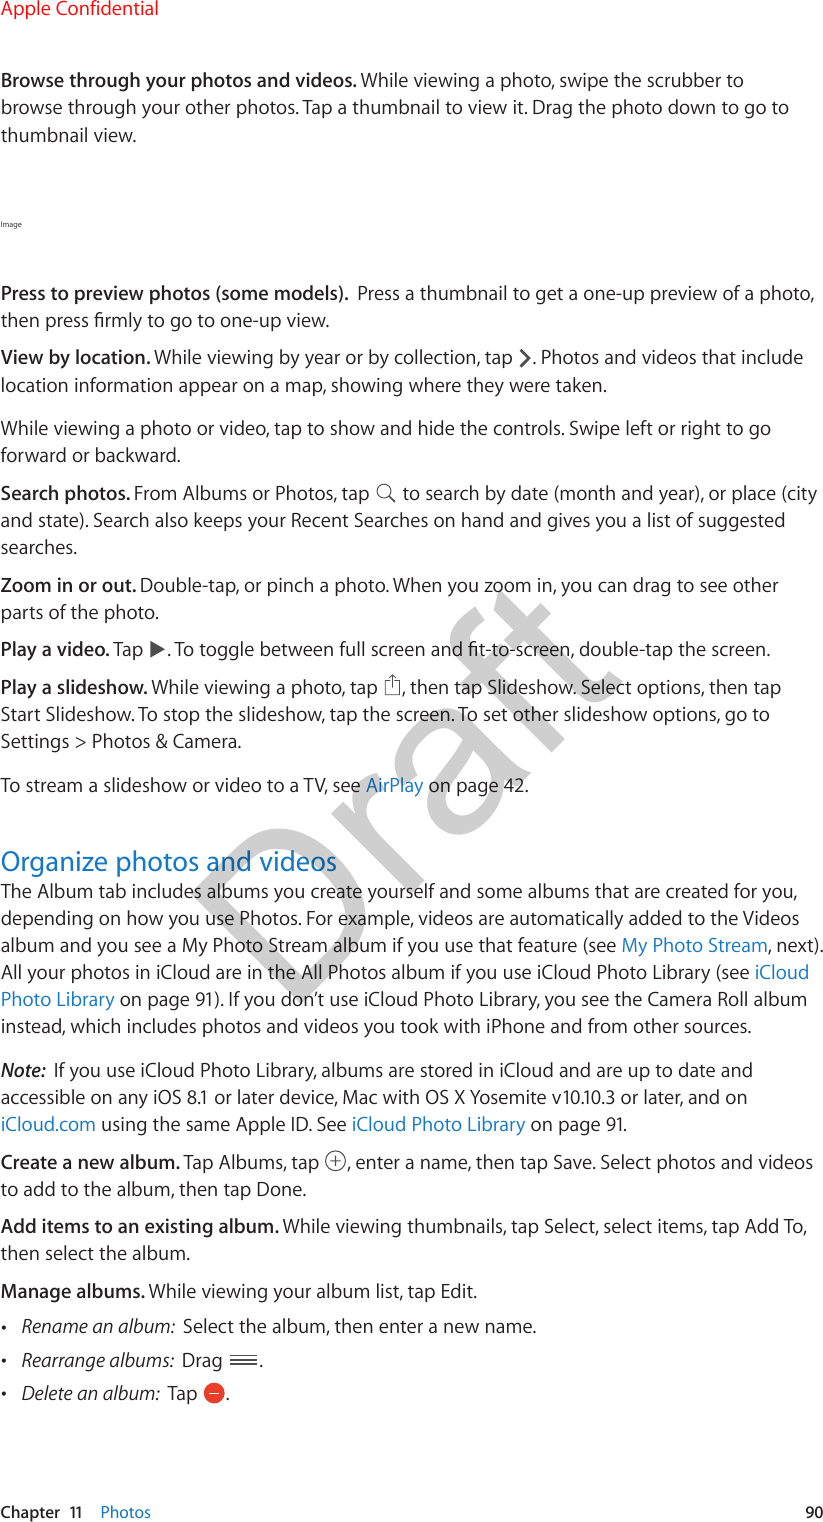
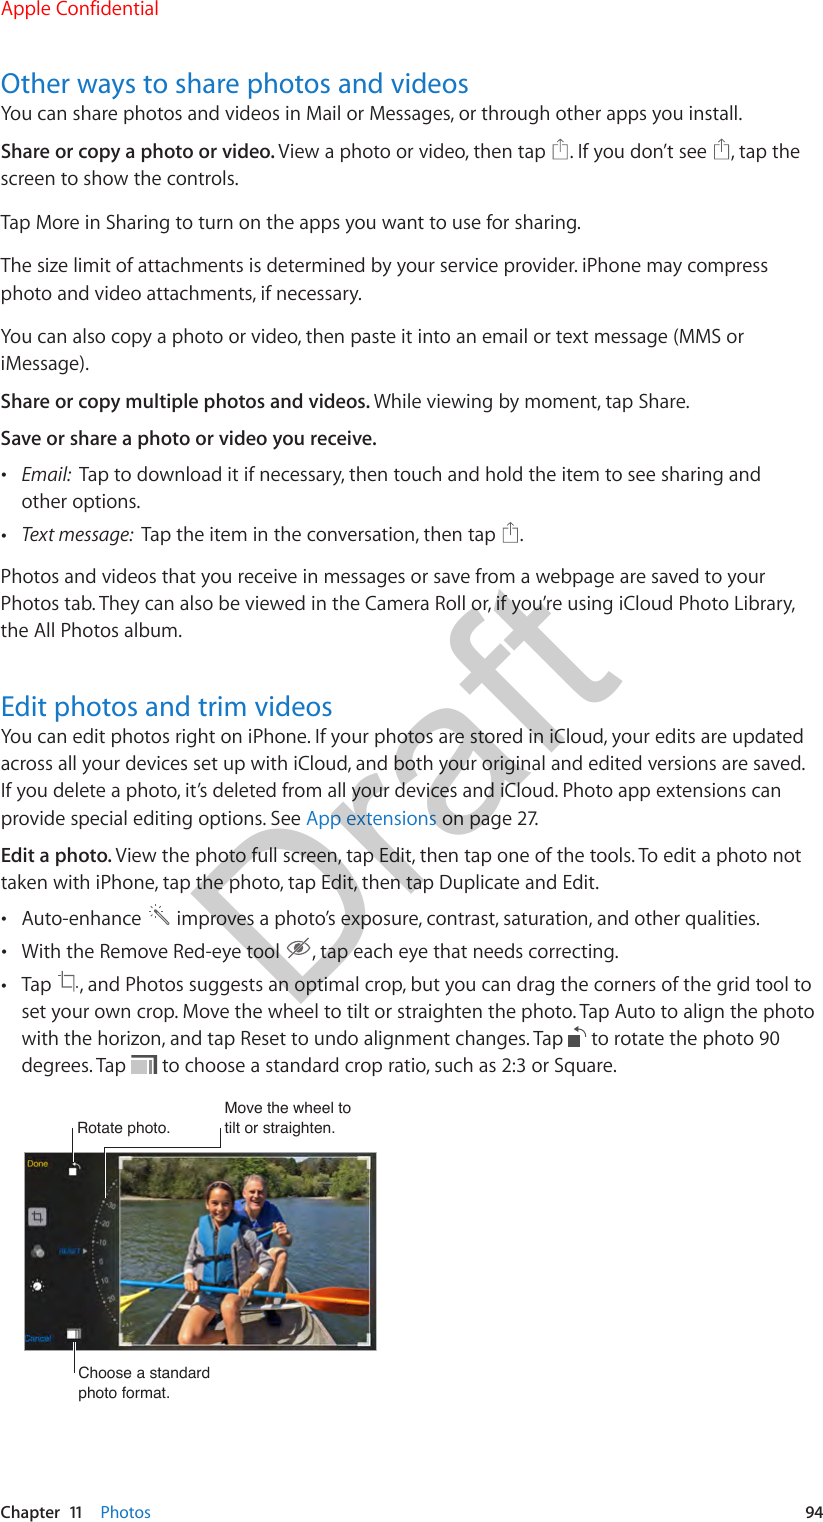
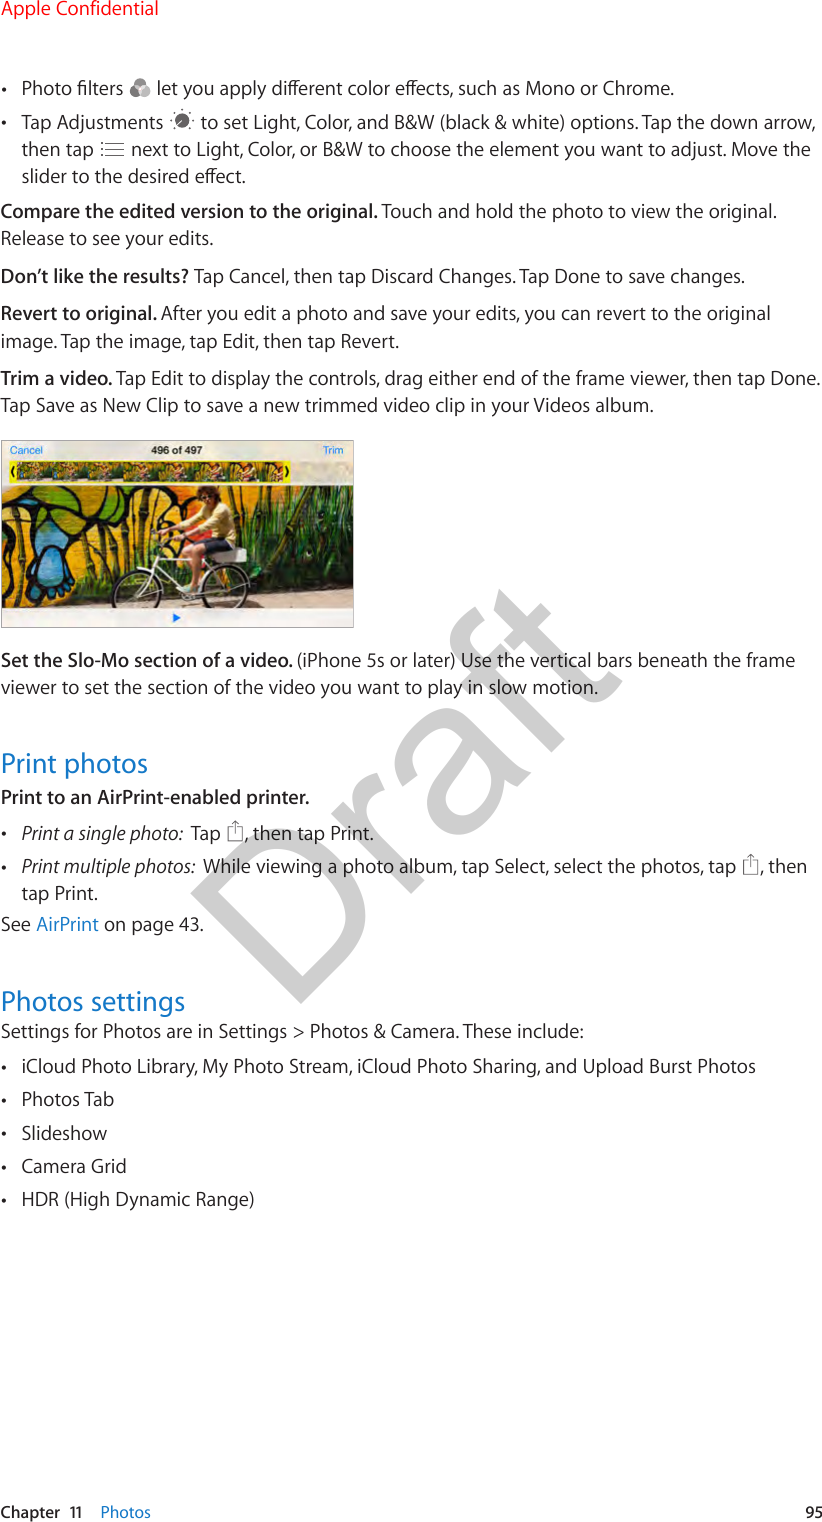
![Chapter 9 Messages 81Send and receive messagesSend a photo or video.Send a photo or video.Add your voice to the conversation.Add your voice to the conversation.Get info, make a voice or FaceTime call, share your location, or mute notifications.Get info, make a voice or FaceTime call, share your location, or mute notifications.Blue indicatesan iMessageconversation.Blue indicatesan iMessageconversation.Start a conversation. Tap , then enter a phone number or email address, or tap , then choose a contact. You can also start a conversation by tapping a phone number in Contacts, Calendar, or Safari, or from a recent or favorite contact in the multitasking screen.Note: An alert appears if a message can’t be sent. Tap the alert in a conversation to try sending the message again. Use Siri. Say something like: •“Send a message to Emily saying how about tomorrow” •“Read my messages” •“Read my last message from Bob” •“Reply that’s great news”Preview a conversation. With iPhones that support Orb (TK), press a conversation in the Messages list to preview it. Press rmly to open the conversation.Resume a conversation. Tap the conversation in the Messages list.Use picture characters. Go to Settings > General > Keyboard > Keyboards > Add New Keyboard, then tap Emoji to make that keyboard available. When you type a message, tap to change to the Emoji keyboard. See Special input methods on page 186.Tap to Talk. Touch and hold to record a message, then swipe up to send it. Tap [play icon] to listen before you send it. To delete it, swipe left.To save space, Tap to Talk audio messages that you receive are deleted automatically two minutes after you listen to them, unless you tap Keep. To keep them automatically, go to Settings > Messages > Expire (under Audio Messages), then tap Never. Apple ConfidentialDraft](https://usermanual.wiki/Apple/E2946A.Users-Manual-3/User-Guide-2695445-Page-9.png)