Arcade Shell Game Manual REV A 5 4 2011 User
2013-11-25
User Manual: Arcade Shell Game Manual
Open the PDF directly: View PDF ![]() .
.
Page Count: 18
OWNERS AND SERVICE MANUAL
INNOVATIVE CONCEPTS IN ENTERTAINMENT INC.
10123 MAIN STREET, CLARENCE, NY 14031
SERVICE: 1-716-759-0360
FAX: 1-716-759-0884
E-MAIL: service@icegame.com
WEBSITE: www.icegame.com
2
3
Table of Contents
Setup
Programming
Cabinet Access
Monitor:
Controls
Power
Removal
I/O Board replacement
Assemblies
Spares
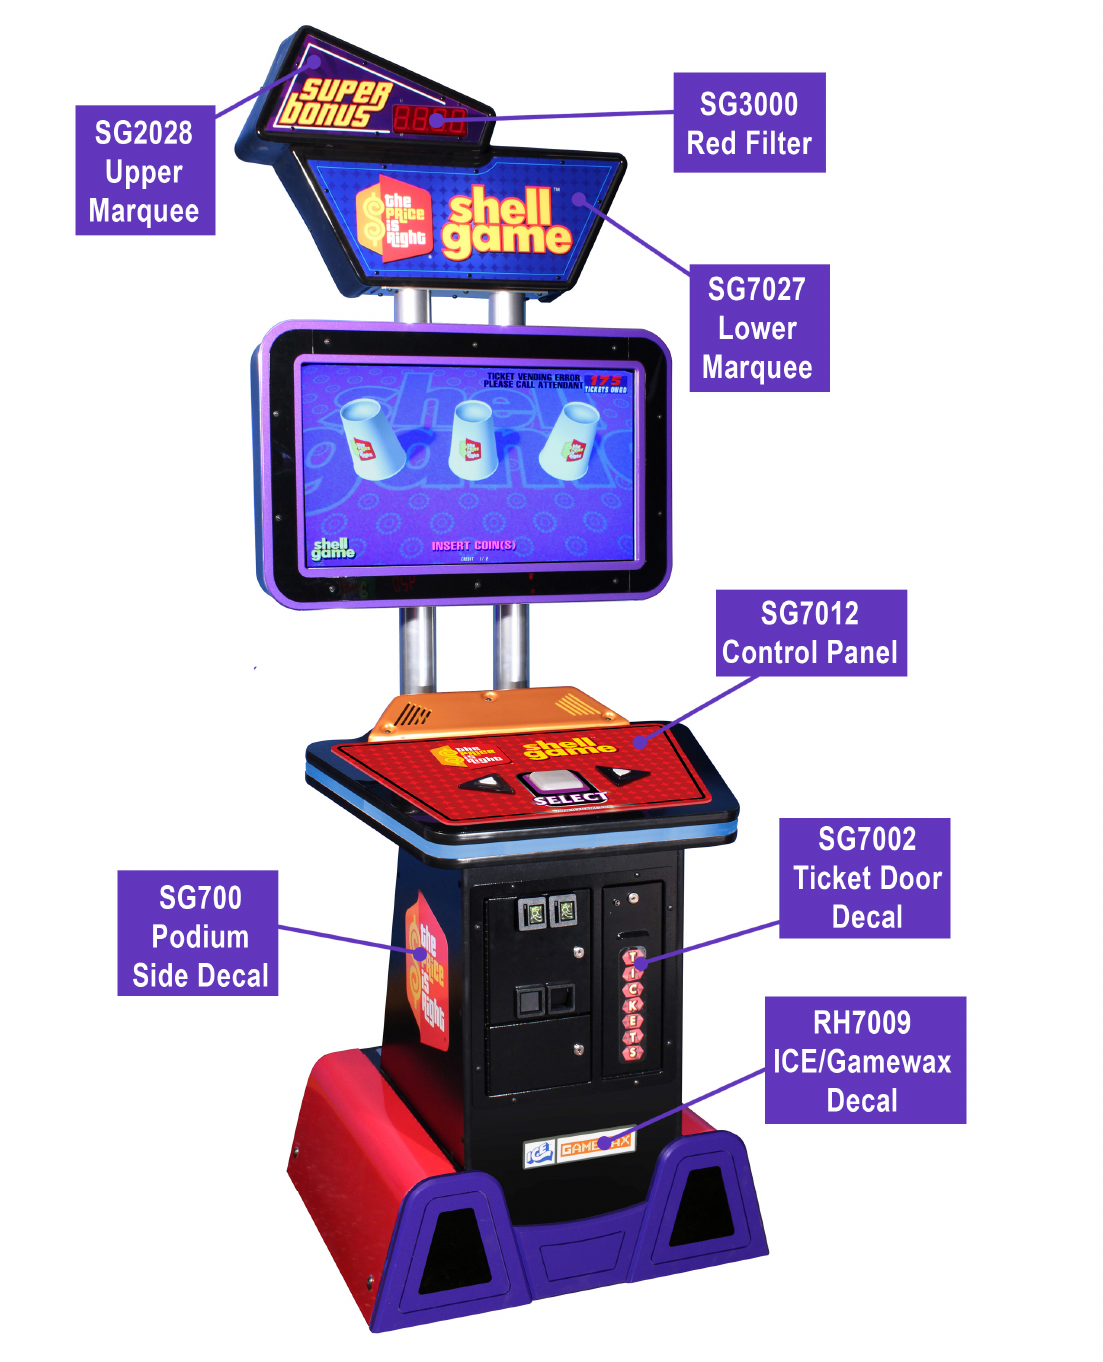
Decal Layout
Warranty
4
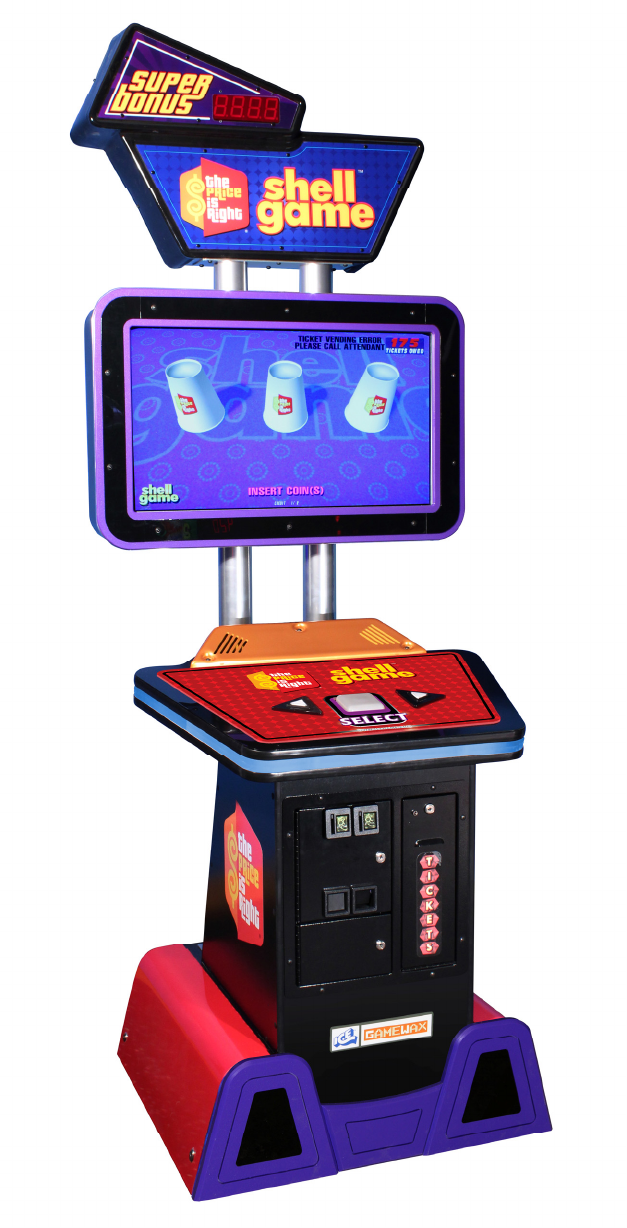
Setup
Place the marquee on top of the cabinet as shown below. Attach using the pro-
vided hardware found in the cash box. A 3/16 Allen wrench has been included
to tighten the hard ware. Remove the center back cover to access the two wire
harnesses that will need to be attached to the marquee. The AC harness is lo-
cated to the left, upper hole. The display harness is located in the middle and
goes up the left side access hole. See below for pictures.
The game is ready for location use. Please proceed to programming to config-
ure your game for your location.
5
SEE
PROGRAM
INSERT
FOR
PROGRAMMING
INFORMATION.
6
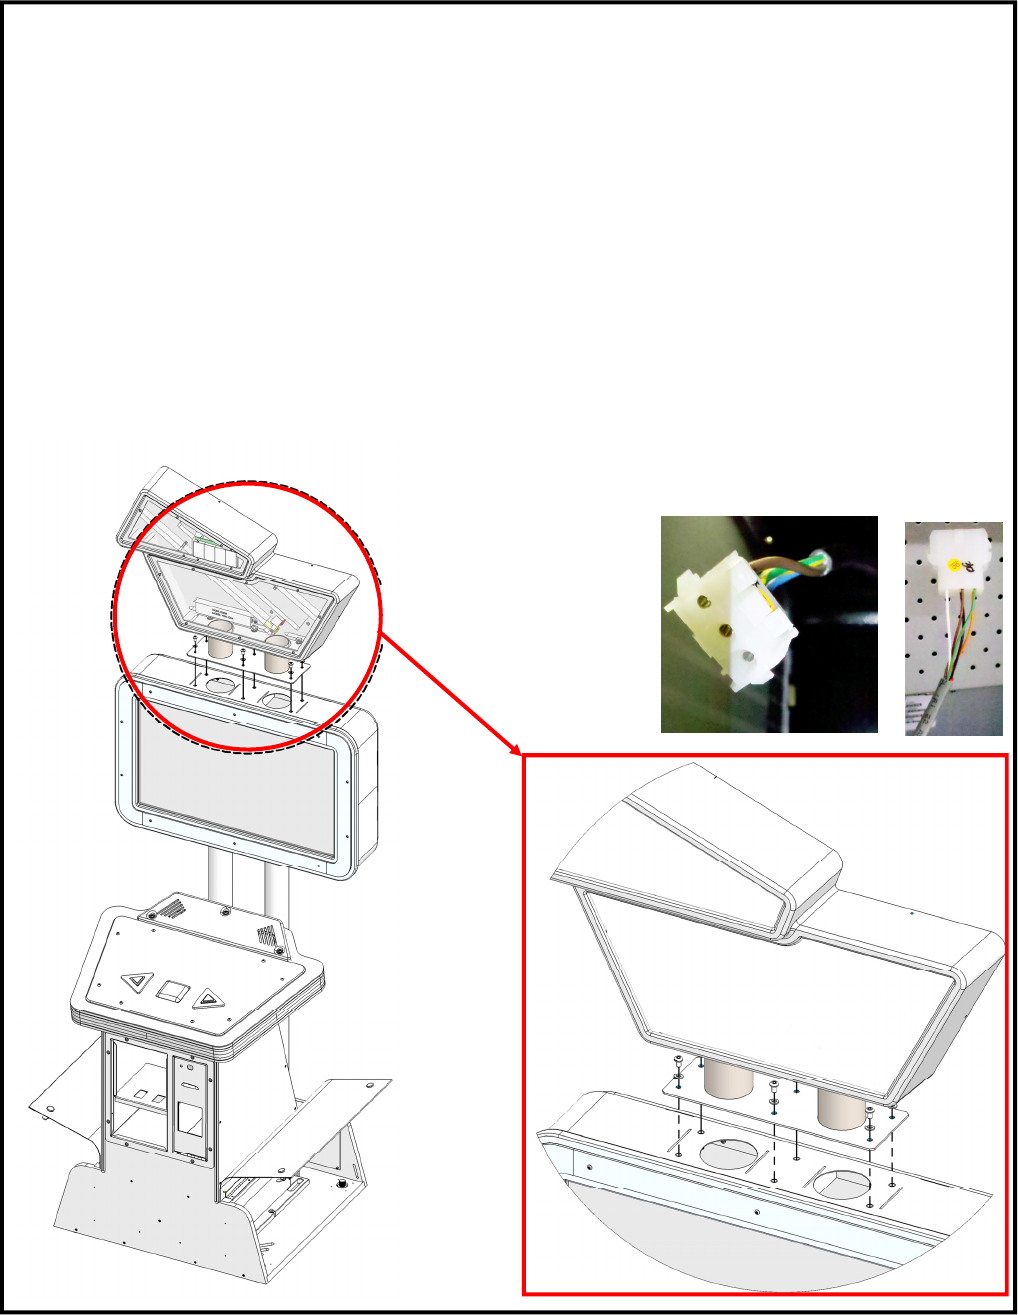
Lower Door Access
Located at the bottom of the cabinet are two access doors. Standing from the front of the cabi-
net, the right door is used to gain access to the front of the computer along with the USB I.O
board. The left door is used to gain access to the back of the computer and the A/C power
module. Use the “Prop bar” to keep the doors open while you work inside the cabinet.
Control Panel Access
To open the control panel, open the front coin door and located the two
latches at the side of the cabinet. They are circled below. Now you
can clip the control panel up.
7
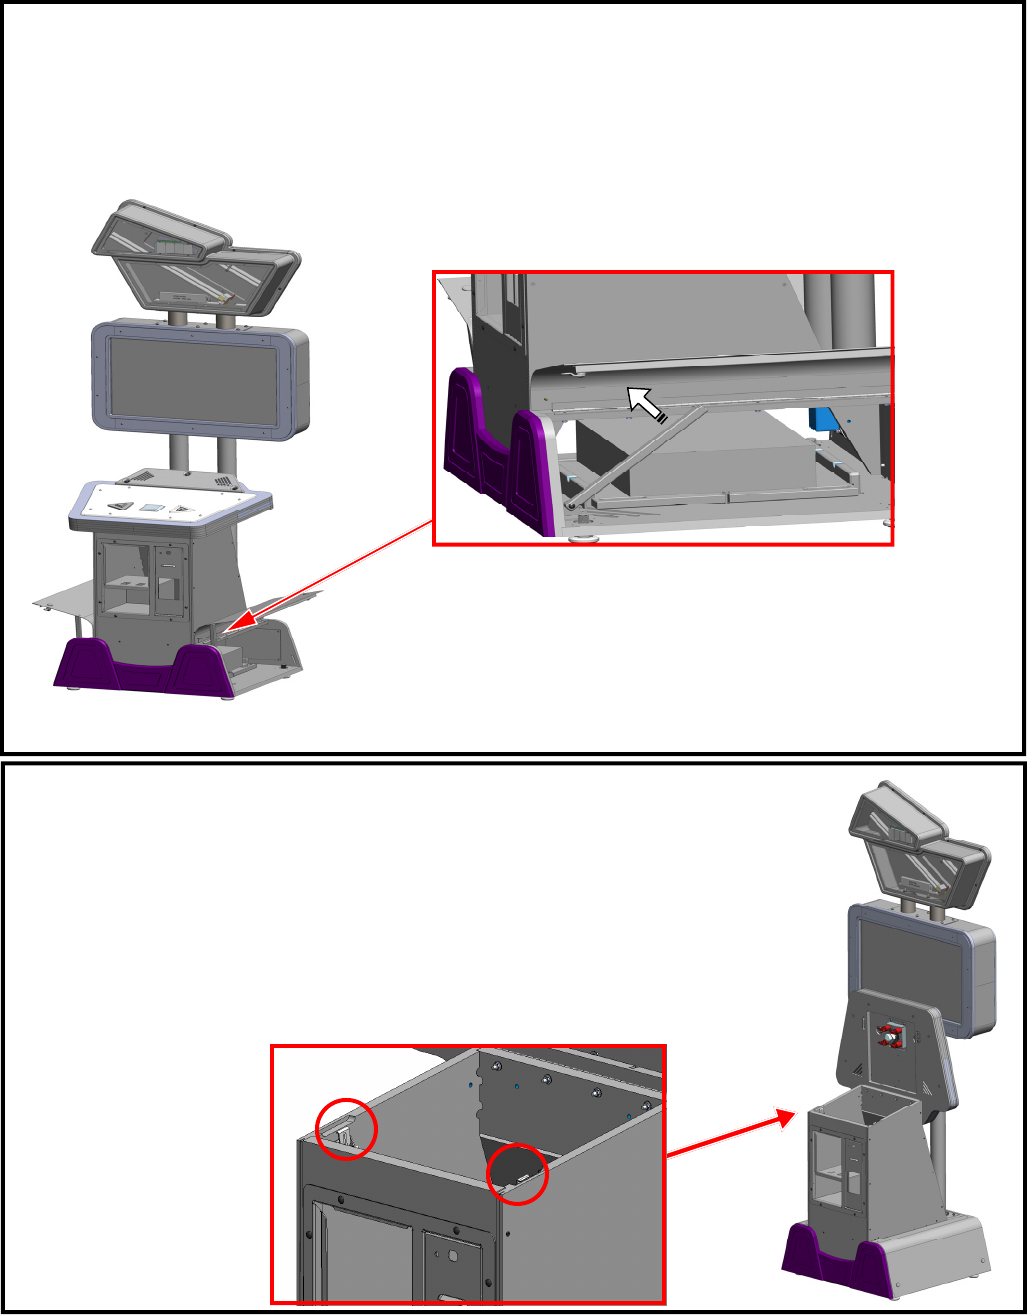
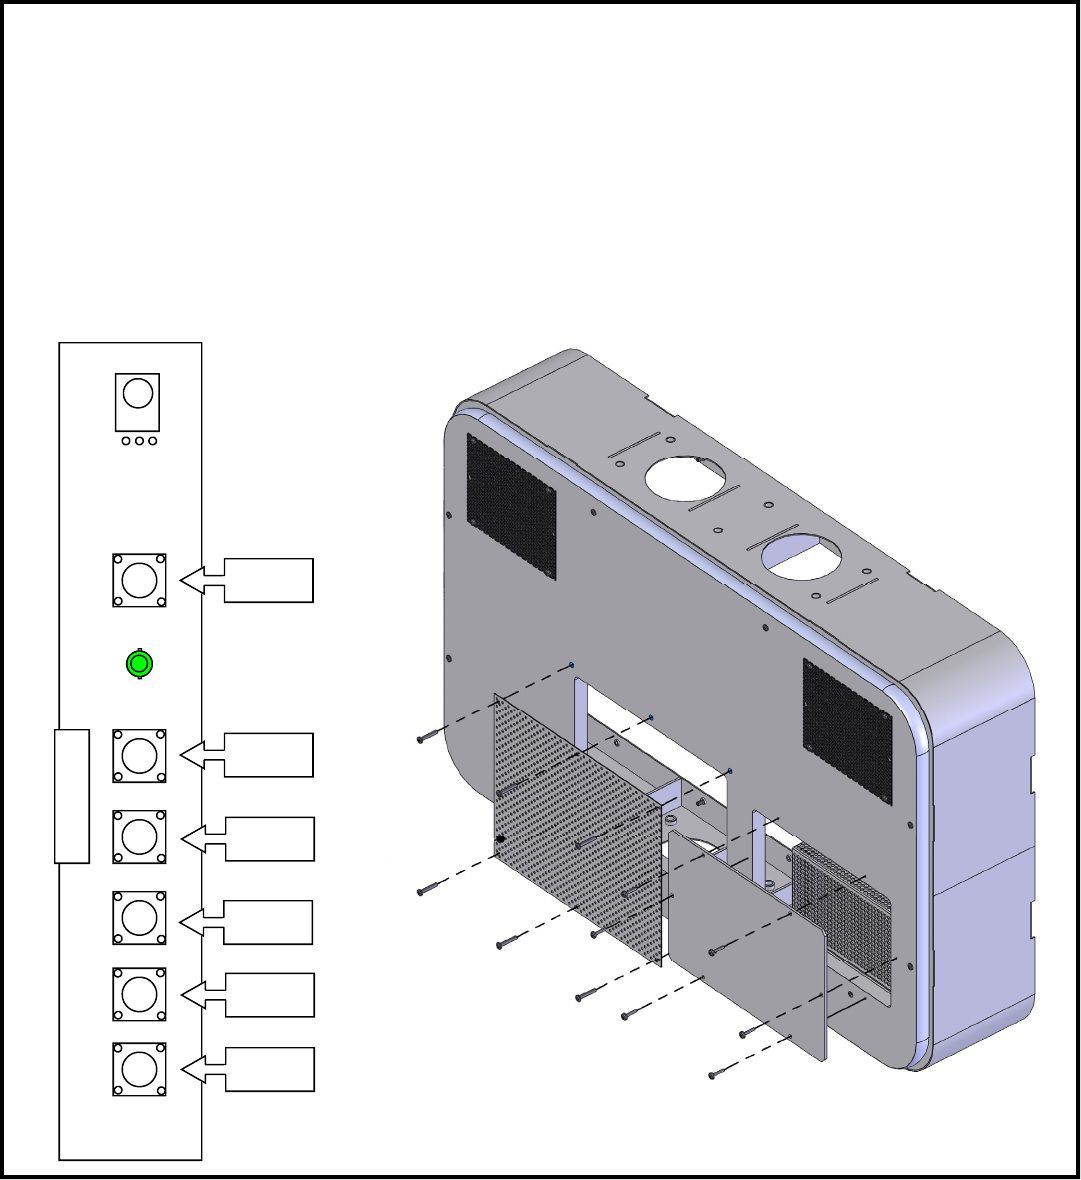
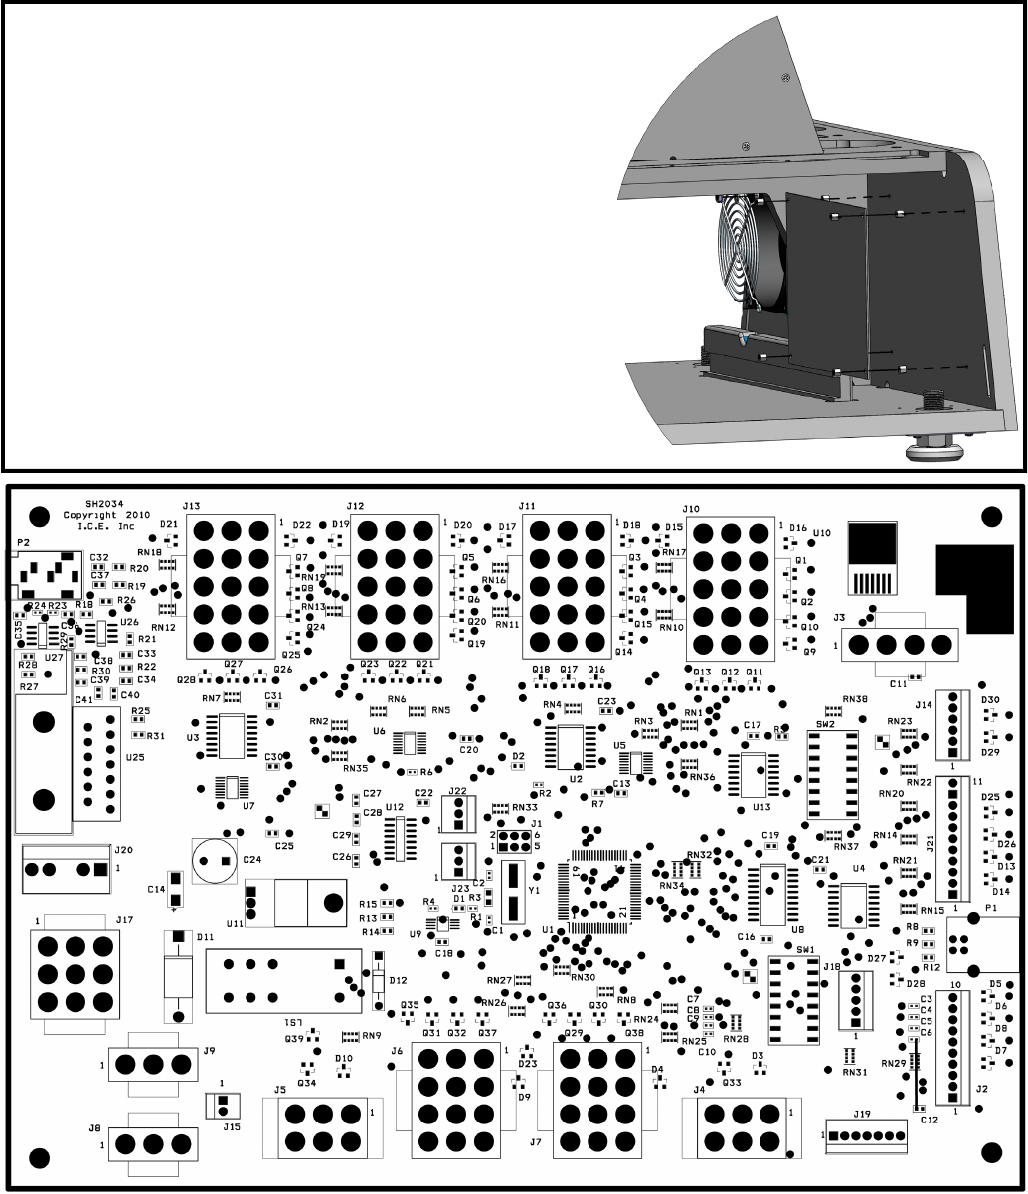
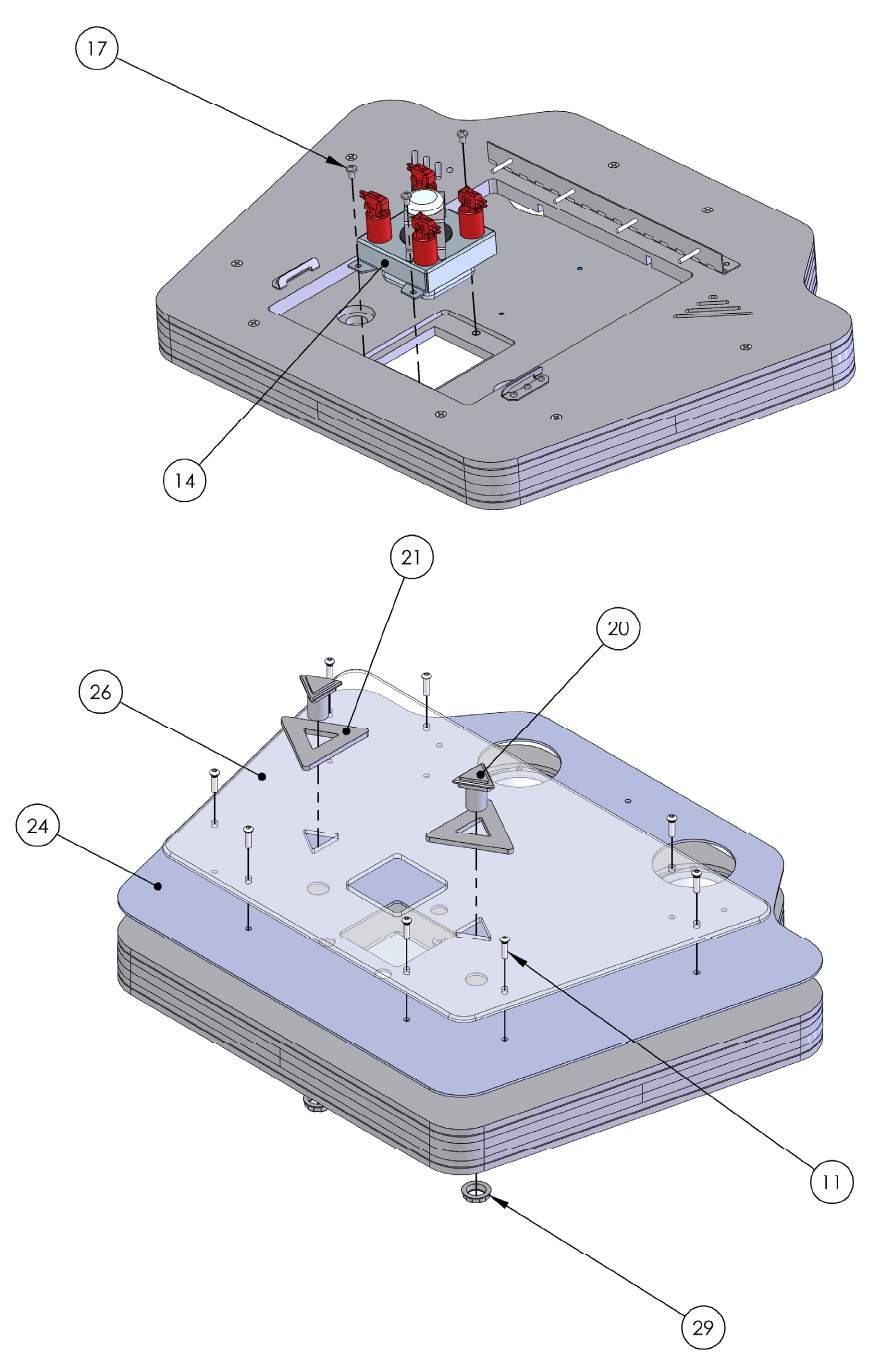
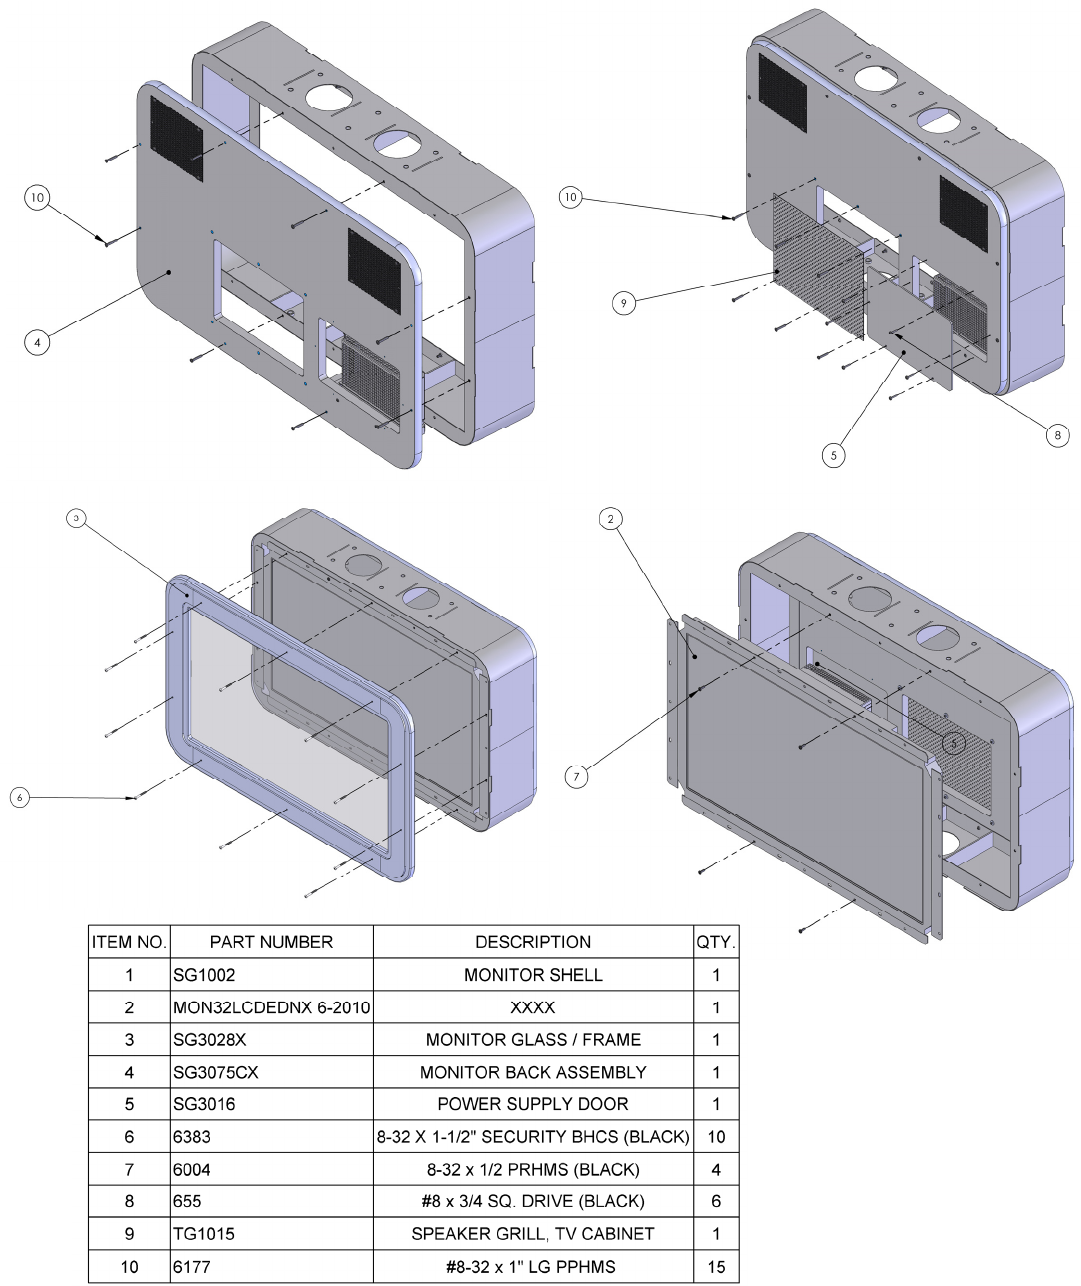
Monitor: Controls & Power supply Access
At the back of the monitor housing are two access panels. The center access panel will give you
access to the monitor control board located at the left of the monitor. See below for the monitor’s
remote board layout.
The right access panel will give you access to the monitor’s power supply. This power supply is
+24 volts DC at 10 amps or higher.
Menu
Down
Decrease
Increase
Source
Power
8
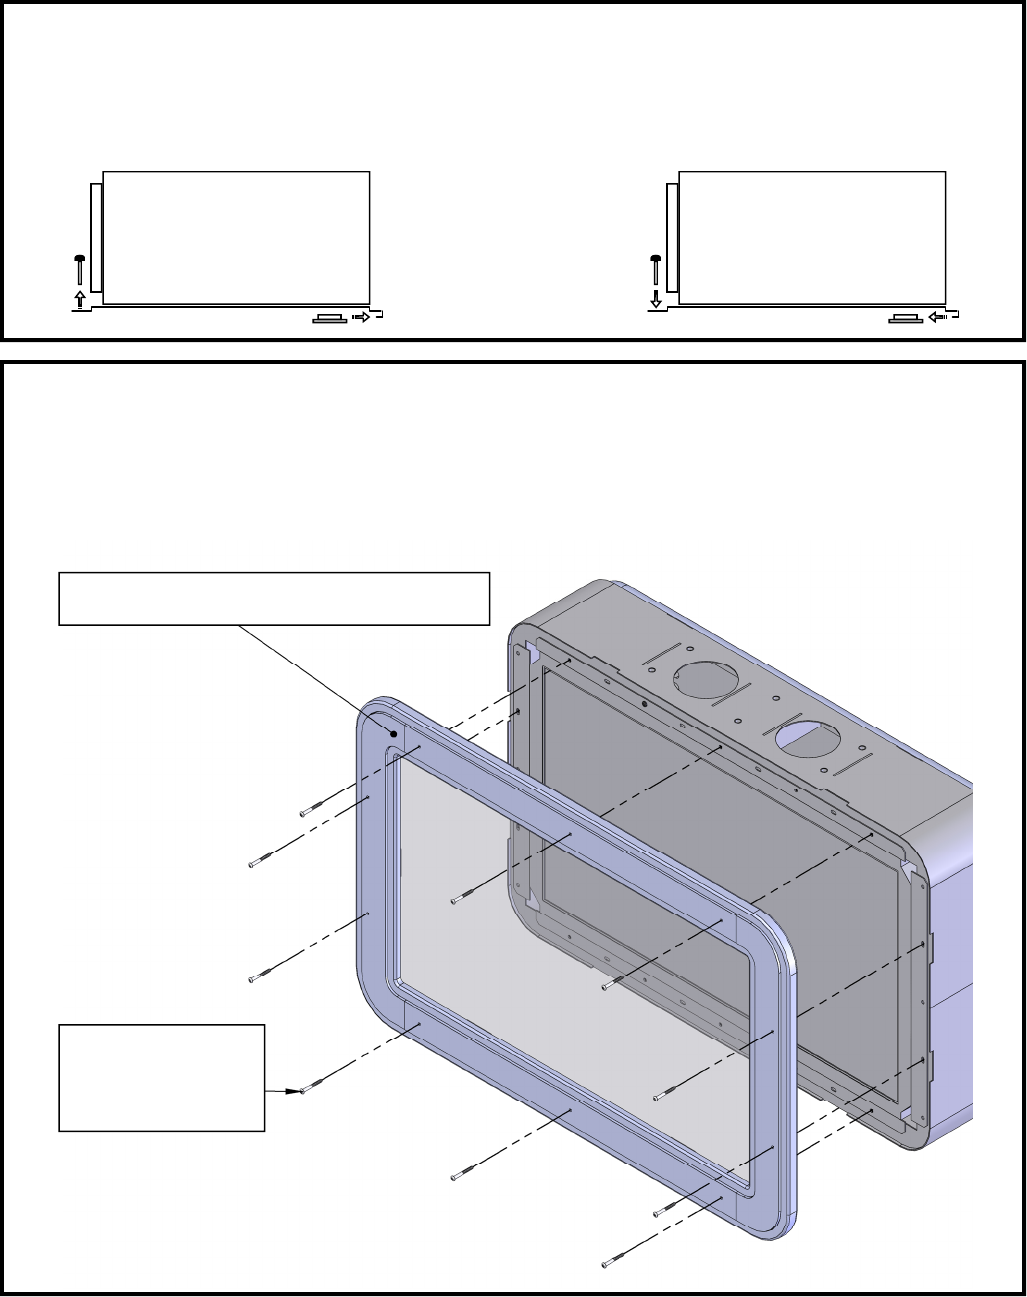
You only remove this cover to replace monitor.
Remove only these
screws shown to re-
move front assembly
Monitor Removal
Remove only the screws shown below to remove front glass assembly. Once the front glass
assembly has been removed, you can remove the mounting screws that hold the monitor to
the cabinet. Disconnect both the power input and video cable before removing monitor.
Monitor Power Supply Removal
Refer to “Monitor: Controls & Power supply Access” to gain access to the power supply. Re-
move the left mounting bolt and slide the power supply right to remove. Slide the supply to the
left and reattach left mounting bolt to install.
REMOVE INSTALL
9
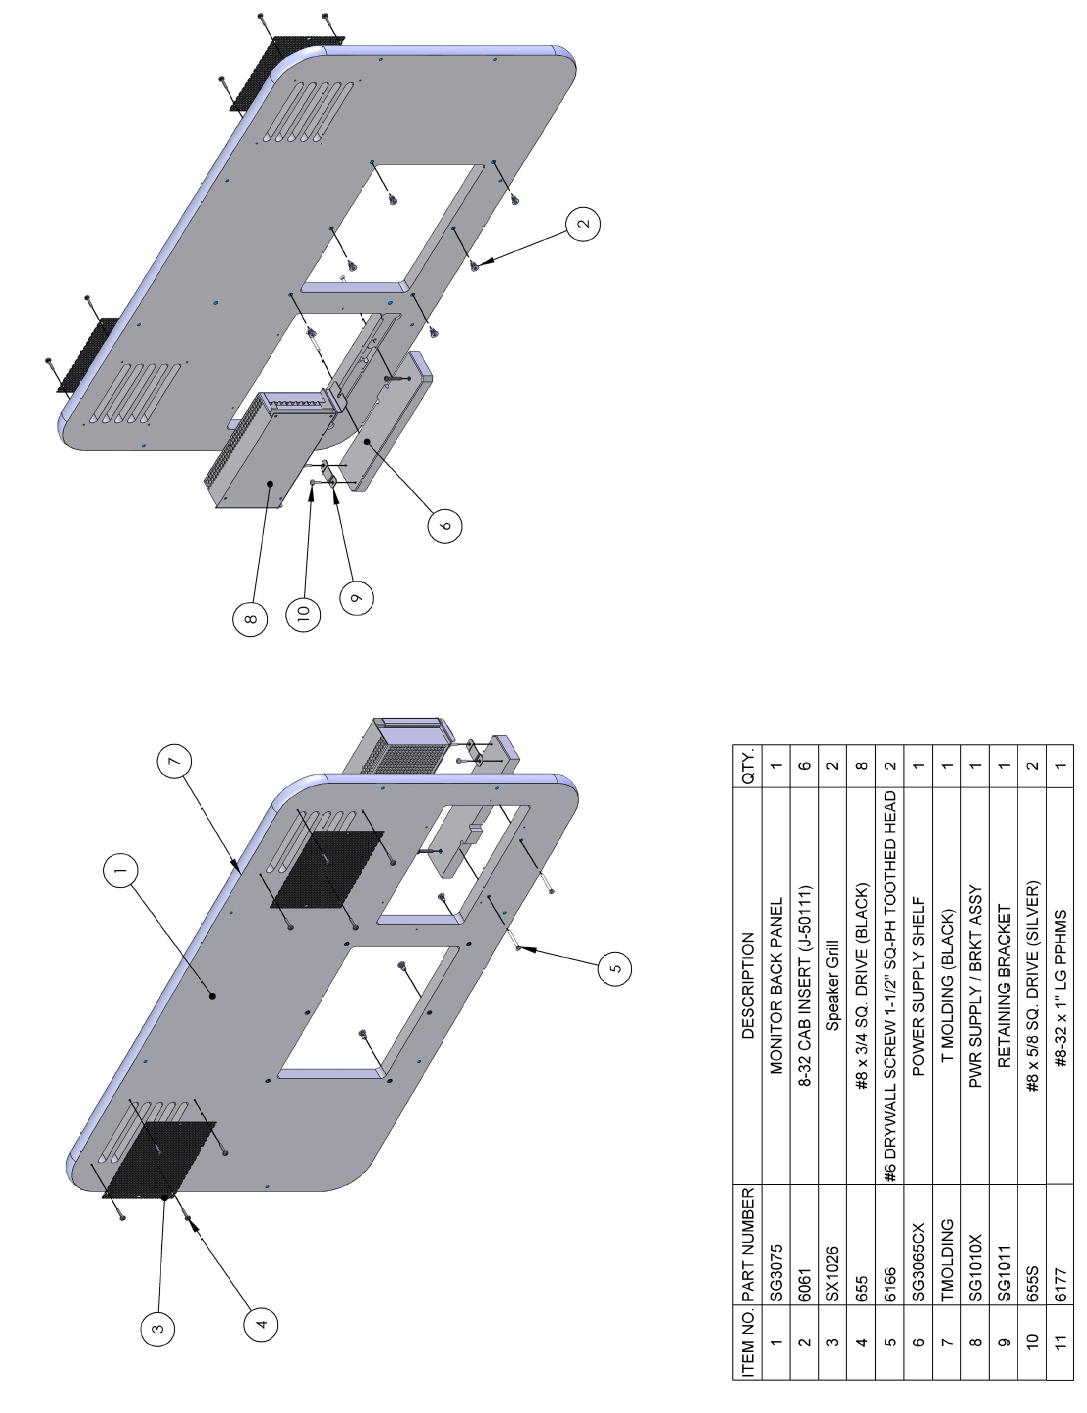
I/O Removal
The I/O board is held to the back of the lower part of
the cabinet by four plastic standoffs shown to the left.
To access this, open the lower right side door and prop
with prop arm. See “Lower Door Access” for more in-
formation. Remove the four plastic standoffs.
10
11
12
13
14
15
16
SPARES GO HERE
17

18
WARRANTY POLICY
I.C.E. Inc warrants all components in new machines to be free of defects in materials and workmanship for the
period listed below:
■ 180 days on Main PCB’s, Computers & Motors
■ 1 year on all LCD monitor panels
■ 90 days on all other electronic and mechanical components
■ 30 days on all I.C.E. repairs and parts purchases
I.C.E. Inc shall not be obligated to furnish a warranty request under the following conditions:
■ Equipment or parts have failed through normal wear and tear
■ Equipment has been subjected to unwarranted stress, abuse or neglect
■ Equipment has been damaged as a result of arbitrary repair/modification
Products will only be covered under warranty by obtaining an I.C.E. authorized RMA #. To obtain an RMA #
please provide I.C.E. tech support with the game serial # or original I.C.E. invoice # and a detailed description of
the failure or fault symptoms.
I.C.E. Inc will assume no liability whatsoever for costs associated with labor or travel time to replace defective
parts. All defective warranty covered components will be replaced with new or factory refurbished components
equal to OEM specifications.
I.C.E. Inc will cover domestic UPS ground, or comparable shipping costs during the warranty period. Interna-
tional or expedited shipments are available for an additional charge. To obtain credit defective parts must be
returned to I.C.E. Inc, at the customer’s expense, within 30 days. After 30 days a 15% re-stocking fee will apply
to all returns.
ICE distributors are independent, privately owned and operated. In their judgment, they may sell parts and/or
accessories other than those manufactured by I.C.E. Inc. We cannot be responsible for the quality, suitability or
safety of any non-I.C.E. part or modification (including labor) that is performed by such a distributor.
Innovative Concepts in Entertainment
10123 Main St.
Clarence, NY 14031
Phone #: (716) - 759 – 0360
Fax #: (716) – 759 – 0884
www.icegame.com
