Arcadyan Technology WN4501CARC OfficeConnect Wireless 11g USB Adapter User Manual 802 11g WLAN USB Stick QSG Manual
Arcadyan Technology Corporation OfficeConnect Wireless 11g USB Adapter 802 11g WLAN USB Stick QSG Manual
UserManual.wiki
>
Arcadyan Technology
>
WN4501CARC User Manual
User Manual
Navigation menu
Upload a User Manual
Namespaces
Wiki Guide
HTML
PDF
Info
Views
User Manual
Discussion / Help
Navigation


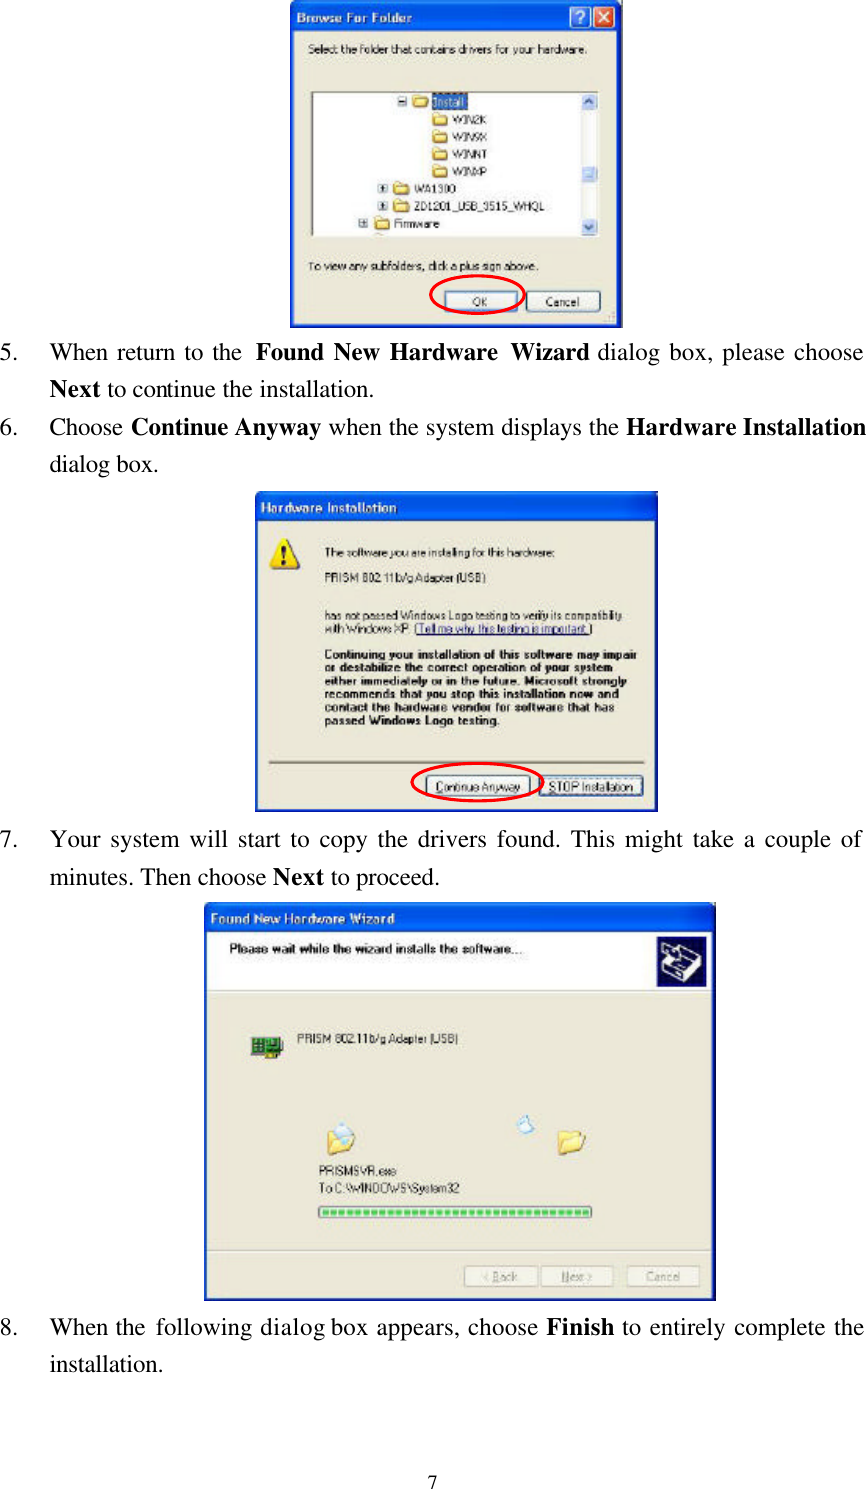
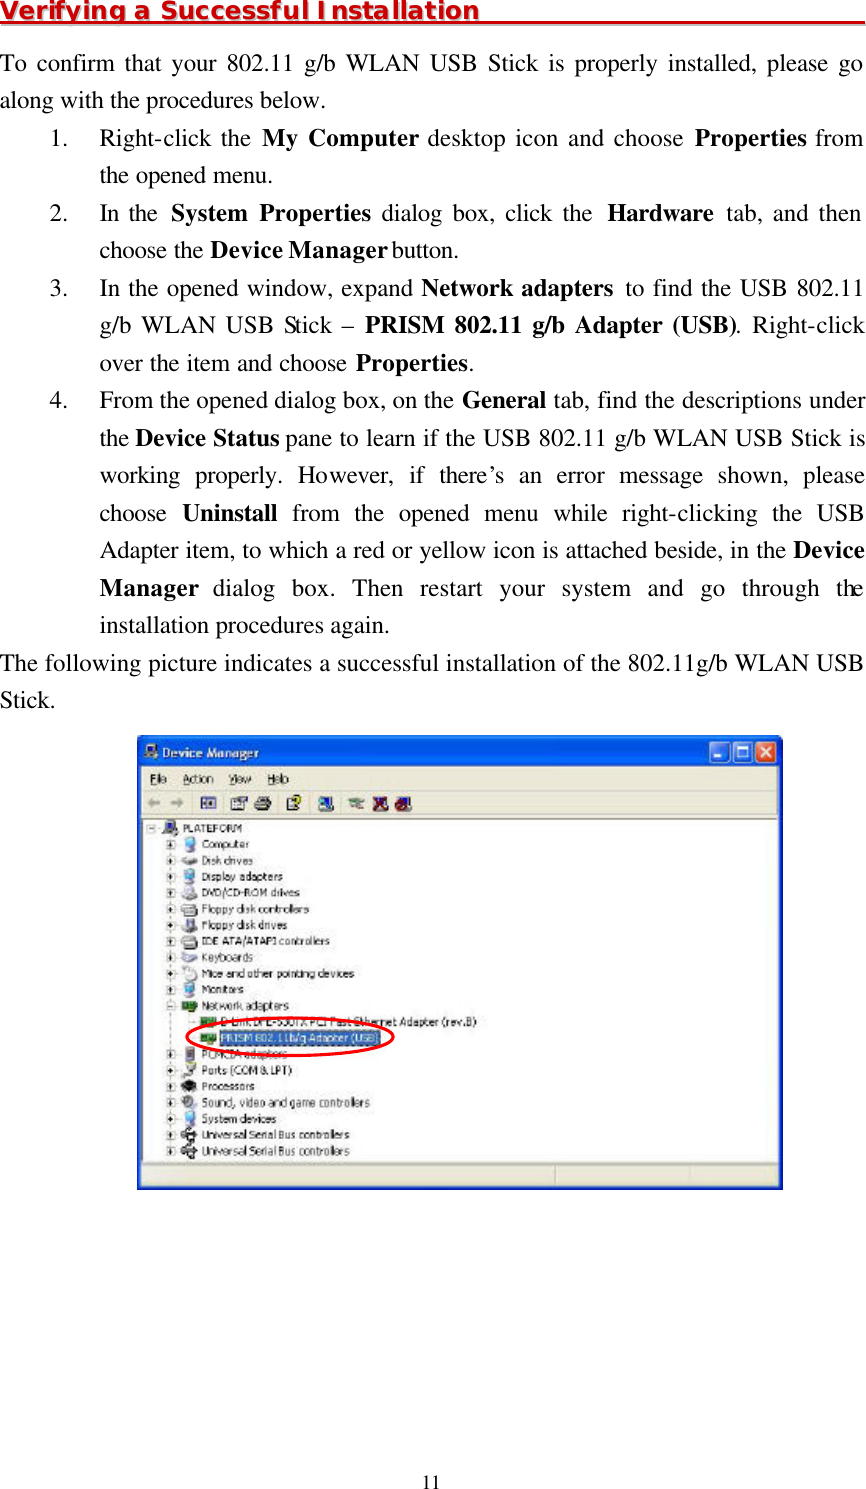
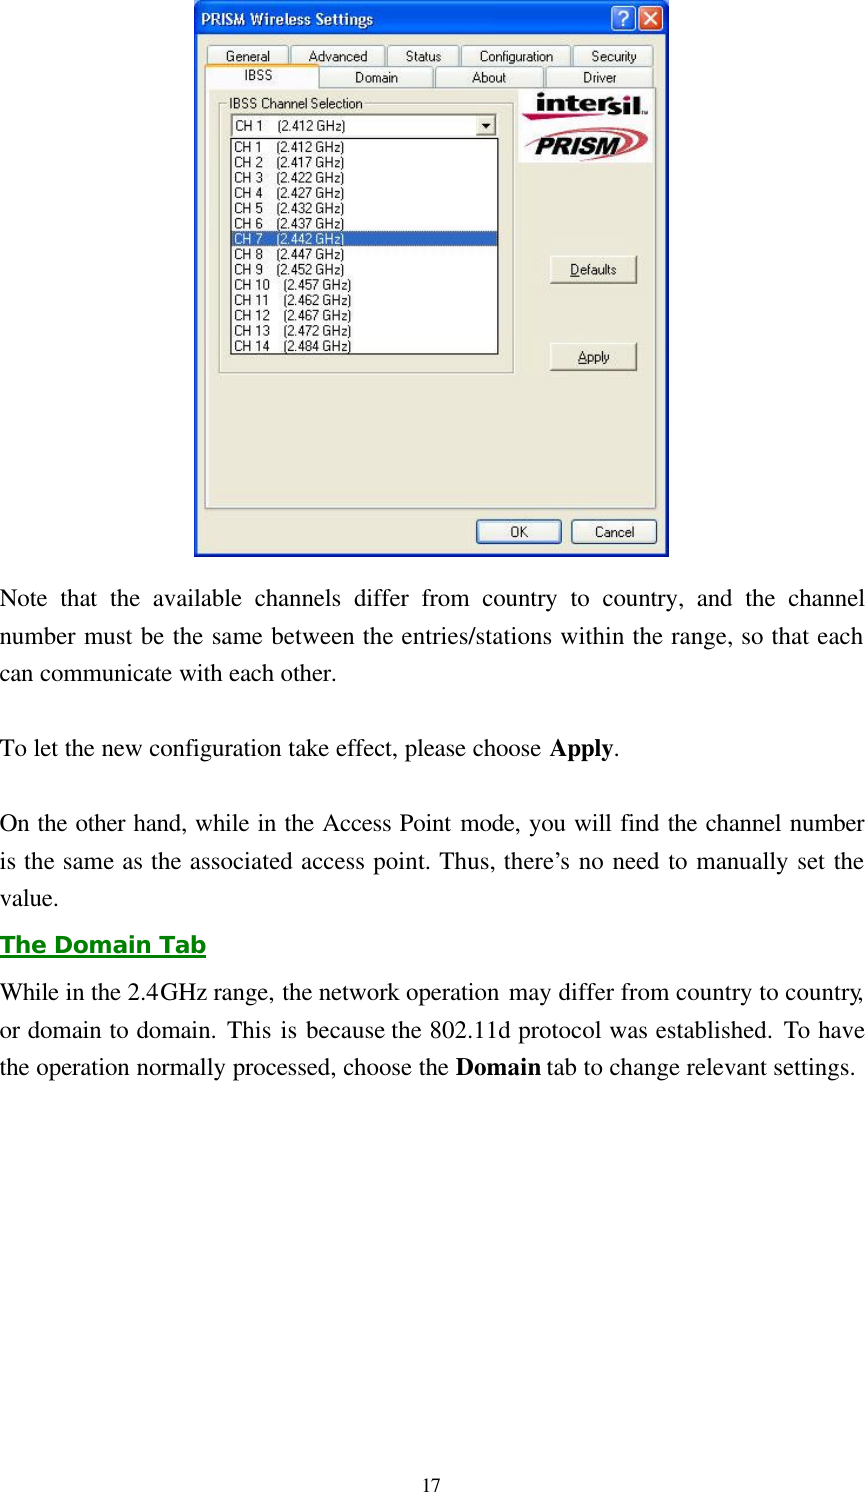
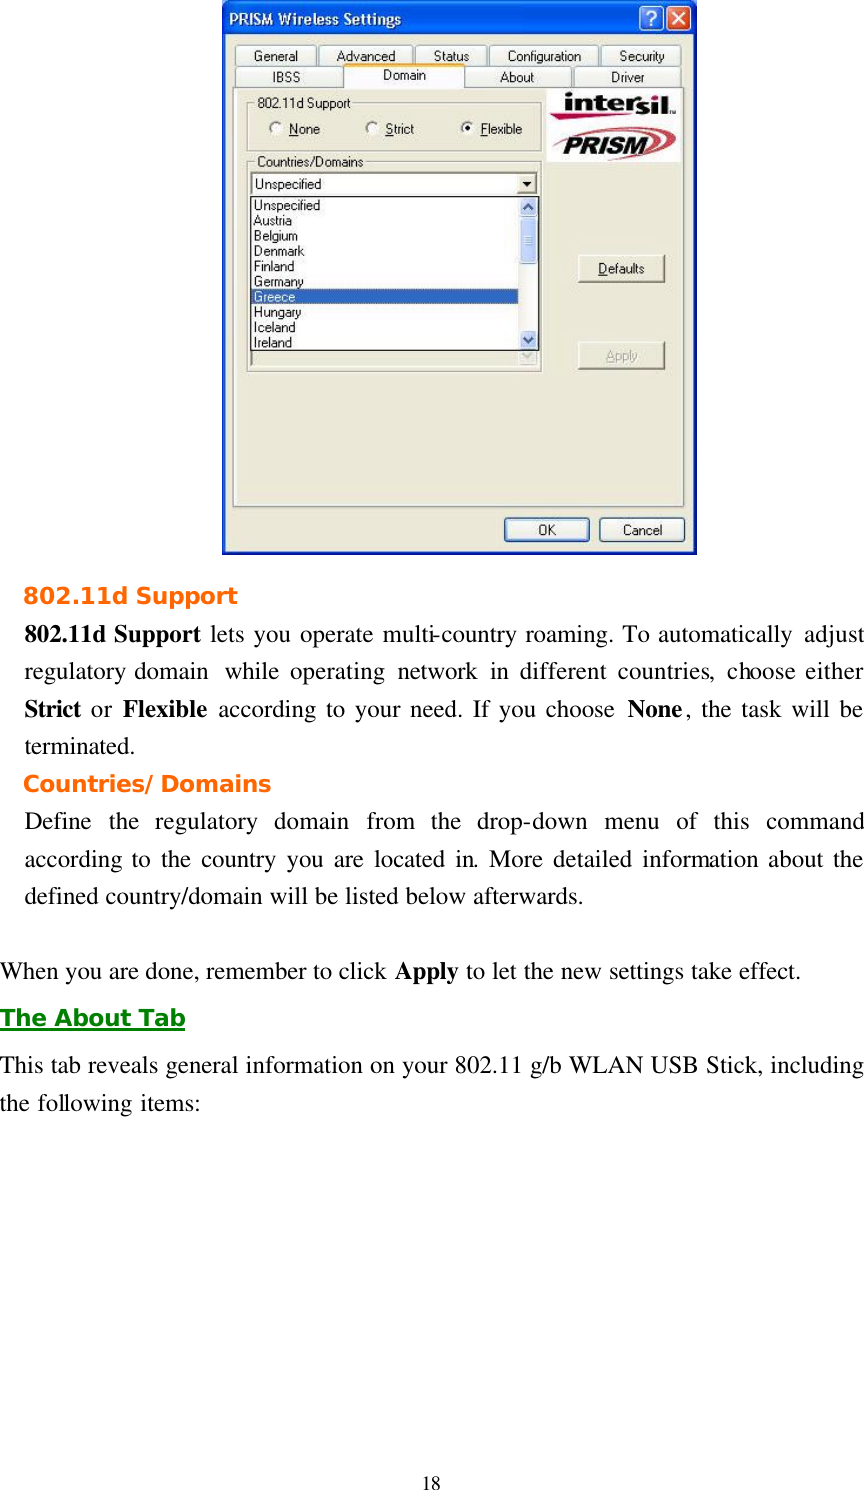
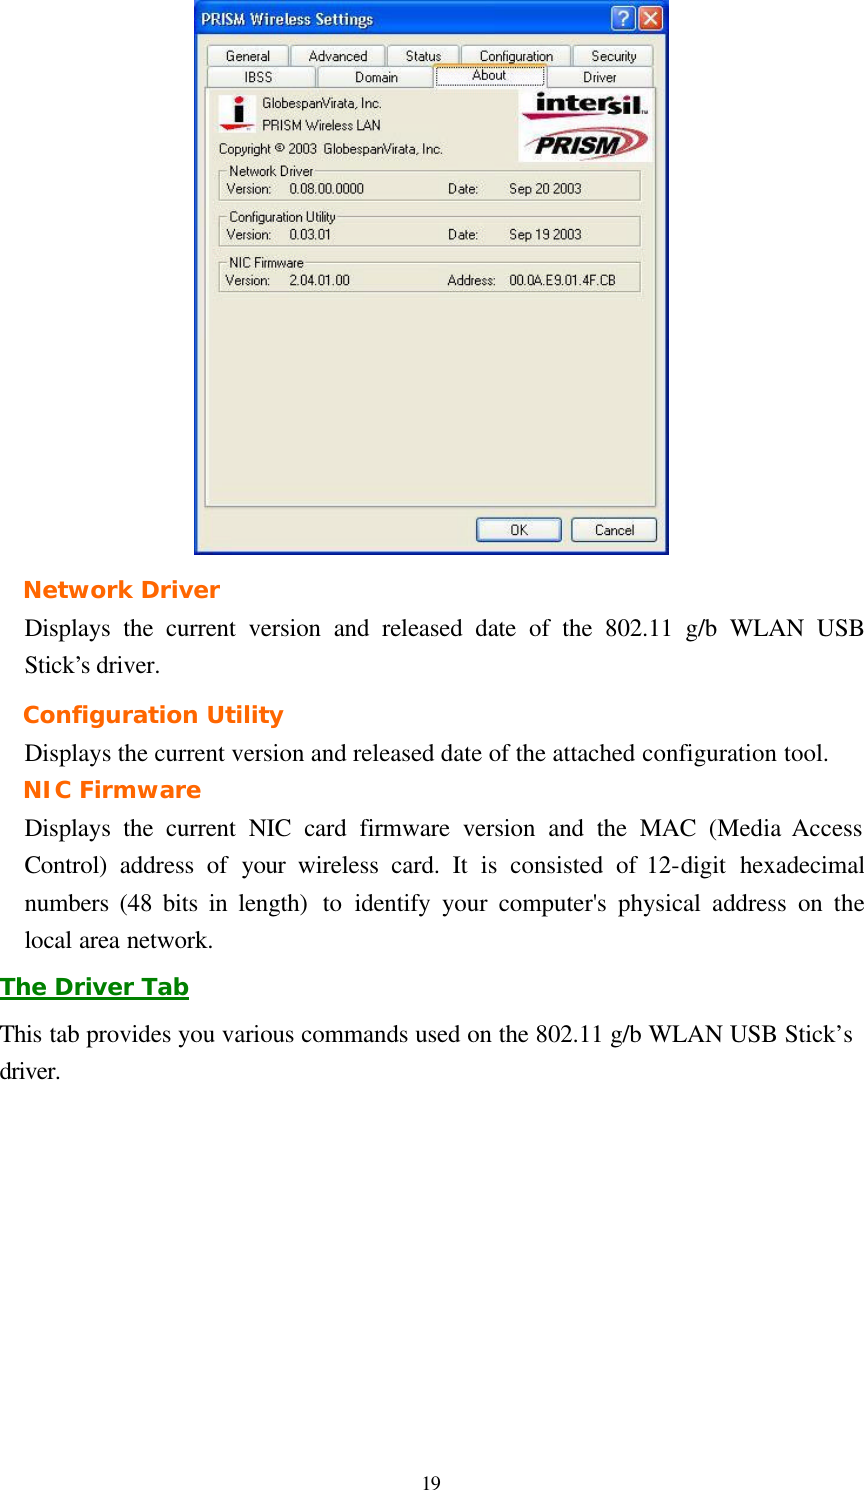
![6IInnssttaallllaattiioonn PPrroocceedduurreess To have the 802.11g/b WLAN USB Stick operated appropriately, please read and go along with the instructions below carefully. Here we take Windows XP as an example. 1. Plug your 802.11 g/b WLAN USB Stick into a USB 2.0 port on your PC. 2. Your system will detect the device, and the Found New Hardware Wizard dialog box will appear. Choose Install from a list or specific location [Advanced], and then click Next to proceed. 3. From the next dialog box, before choosing Include this location in the search under Search for the best driver in these locations, insert the supplied Setup CD into your CD-ROM drive. Then choose Browse. 4. In the opened Browse for Folder dialog box, specify a directory named Install from the CD for the system. Then click OK.](https://usermanual.wiki/Arcadyan-Technology/WN4501CARC/User-Guide-380448-Page-6.png)