Axesstel PG131N Fixed Wireless Phone User Manual Manual PG13xN x1
Axesstel Inc Fixed Wireless Phone Manual PG13xN x1
UserManual.wiki
>
Axesstel
>
PG131N User Manual
User Manual
Navigation menu
Upload a User Manual
Namespaces
Wiki Guide
HTML
PDF
Info
Views
User Manual
Discussion / Help
Navigation

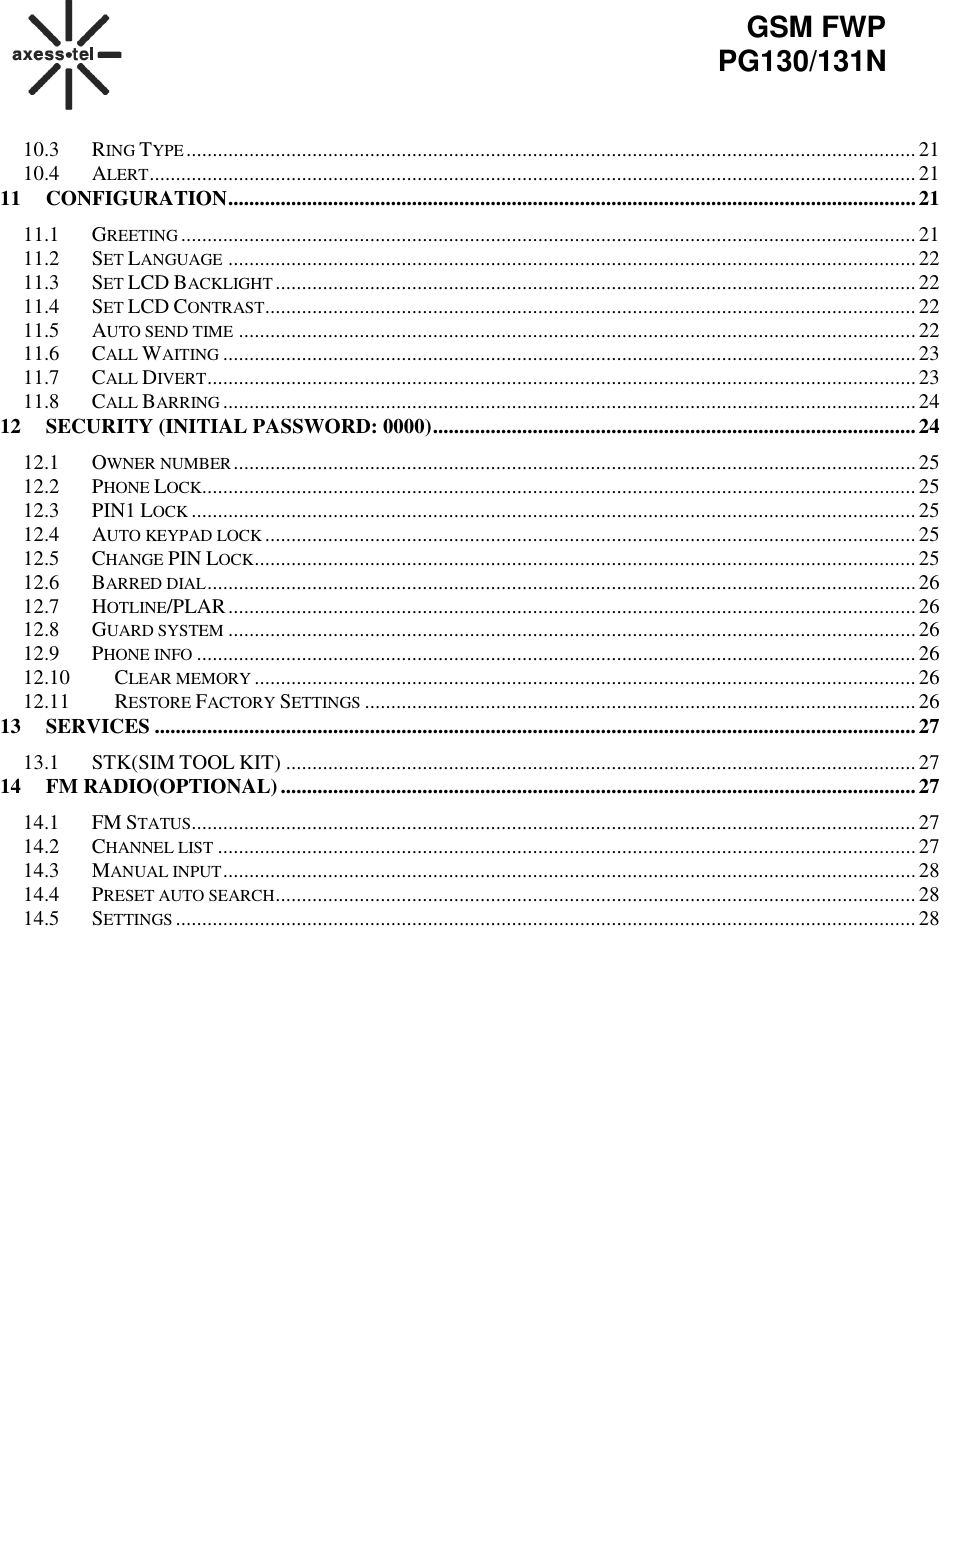

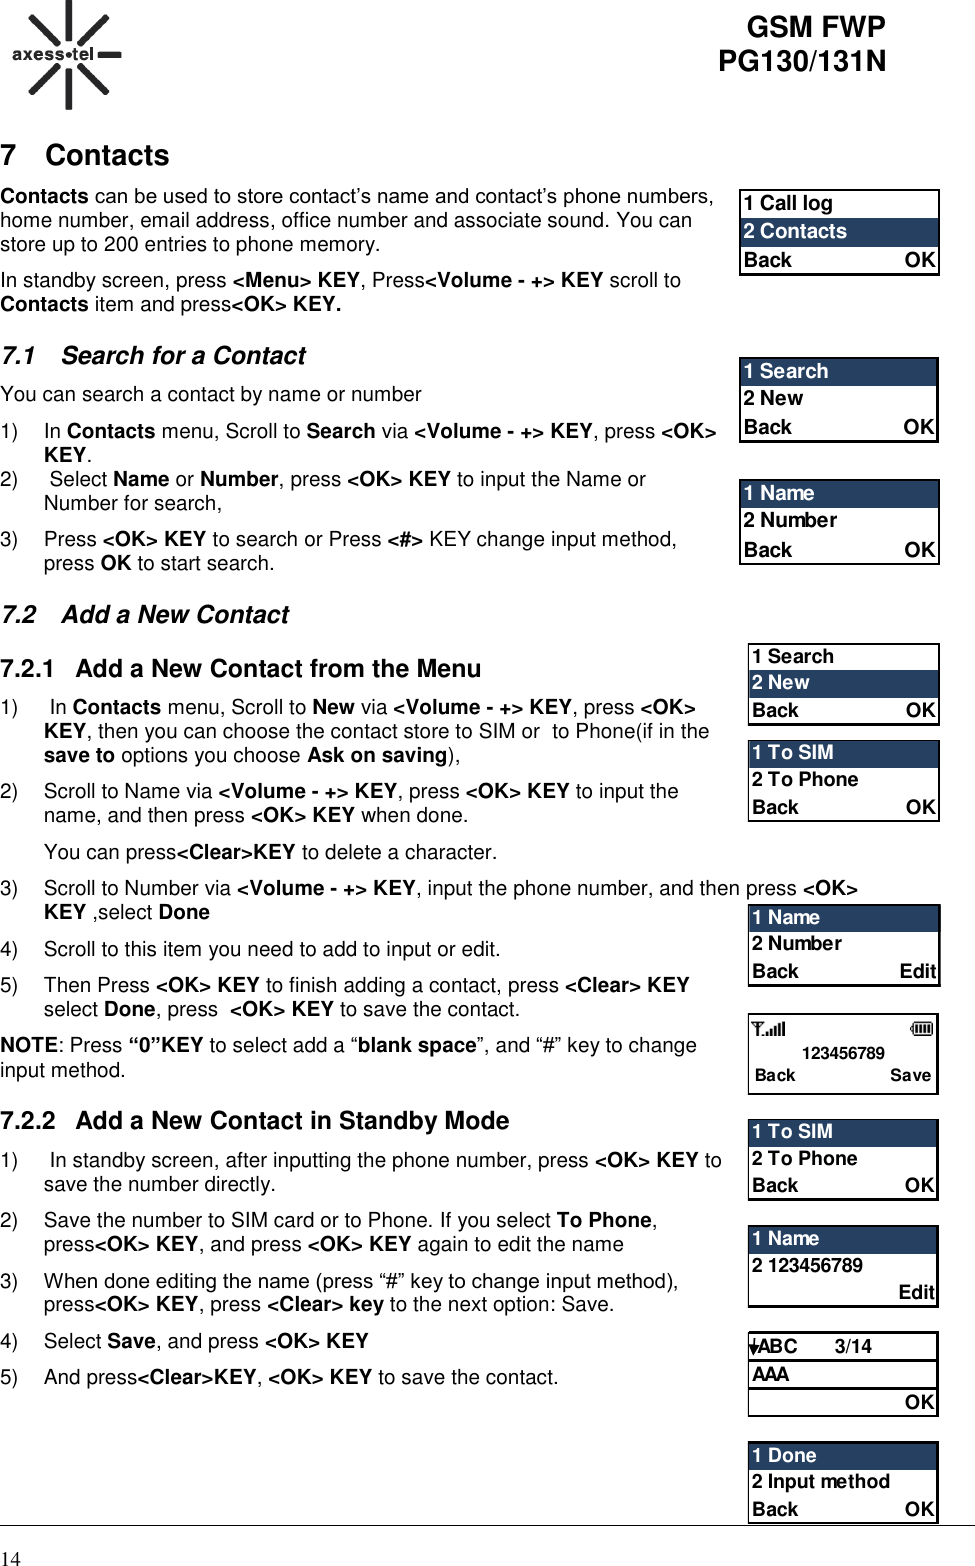


![18 GSM FWP PG130/131N 6. Use Number: get all numbers in the message includes the sender’s number. You can dial directly, or Send SMS directly, or save the number to phone book. 8.3 View Sent Messages 1) In Messages, scroll to Outbox via and press <OK> KEY to view the outbox 2) Scroll to the message you want to read, press <OK> KEY to Send, Edit, Delete, Erase All, and Use Number. 8.4 Send a Message by using Templates 1) In Messages, scroll to Templates via <Volume - +> KEY, press <OK> KEY to enter template menu, 2) There are 10 template messages in Templates menu, you could edit the template or delete the template, 1 Please call me, urgently 2 How are you? 3 Call we have lunch today at … 4 Be right back. 5 Please sms me, I am at meeting right now 6 Sorry! 7 Thank you 8 How was the day? 9 Long time no see. 10 Lots of luv 3) Scroll to the template message which is you want to use via <Volume - +> KEY, then press <OK> KEY, scroll to: 1 Edit: Edit the template message 2 Remove: Delete the template message 3 Insert Message: Insert the template message into the message 8.5 SMS Settings In standby screen, press<SMS>KEY , scroll the SMS Settings via <Volume - +> KEY. You can set Delivery report; Delete all, Memory status in Message Settings. 1) Delivery report: scroll via <Volume - +> KEY and press <OK> KEY into this item, Press <OK> KEY marked this option and press <Clear> KEY to Save. is on. is off. 2) Delete All Scroll Delete All via <Volume - +> KEY and press <OK> KEY twice, you can delete all messages. 3) Memory status Back OKBack OptionBack okBack okOptionBack OK2 User Template2 Remove2 Remove3 Write message ABC 136/1urgently1 Done5 Template6 Voice Mail1 Please call me, urgently2 How are you?1 EditBack OKBack OKBack On6 Voice Mail7 SMS settings1 Delivery report2 Delete all[] Delivery reportBack OKBack2 Delete all3 Memory statusSIM : 0/50Phone : 0/200](https://usermanual.wiki/Axesstel/PG131N/User-Guide-1419966-Page-21.png)
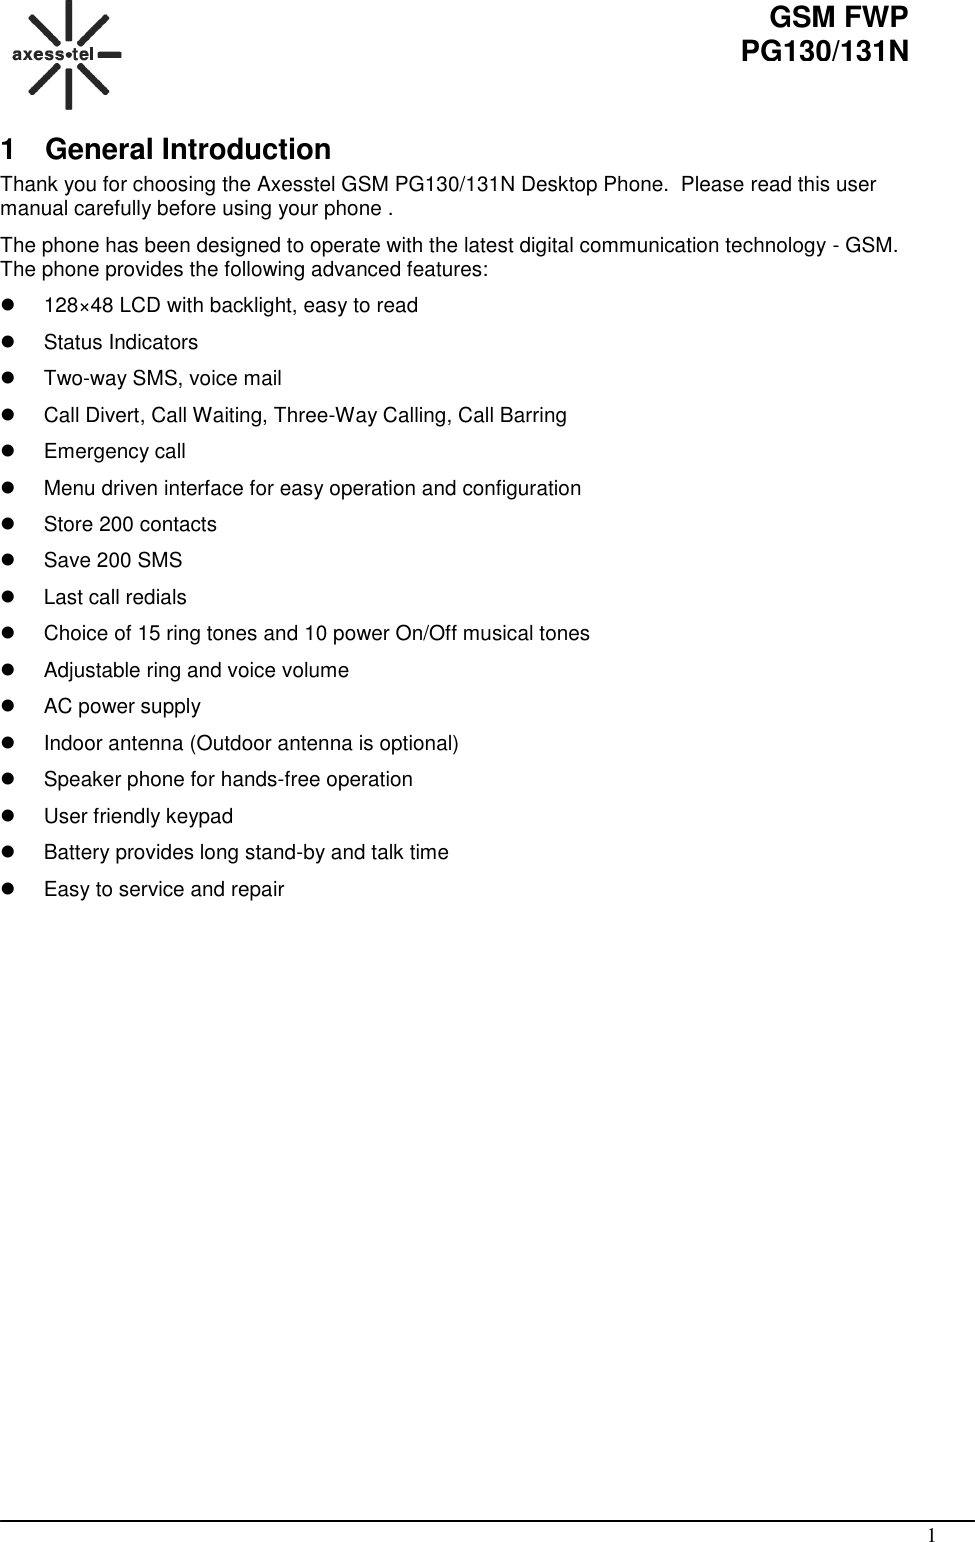
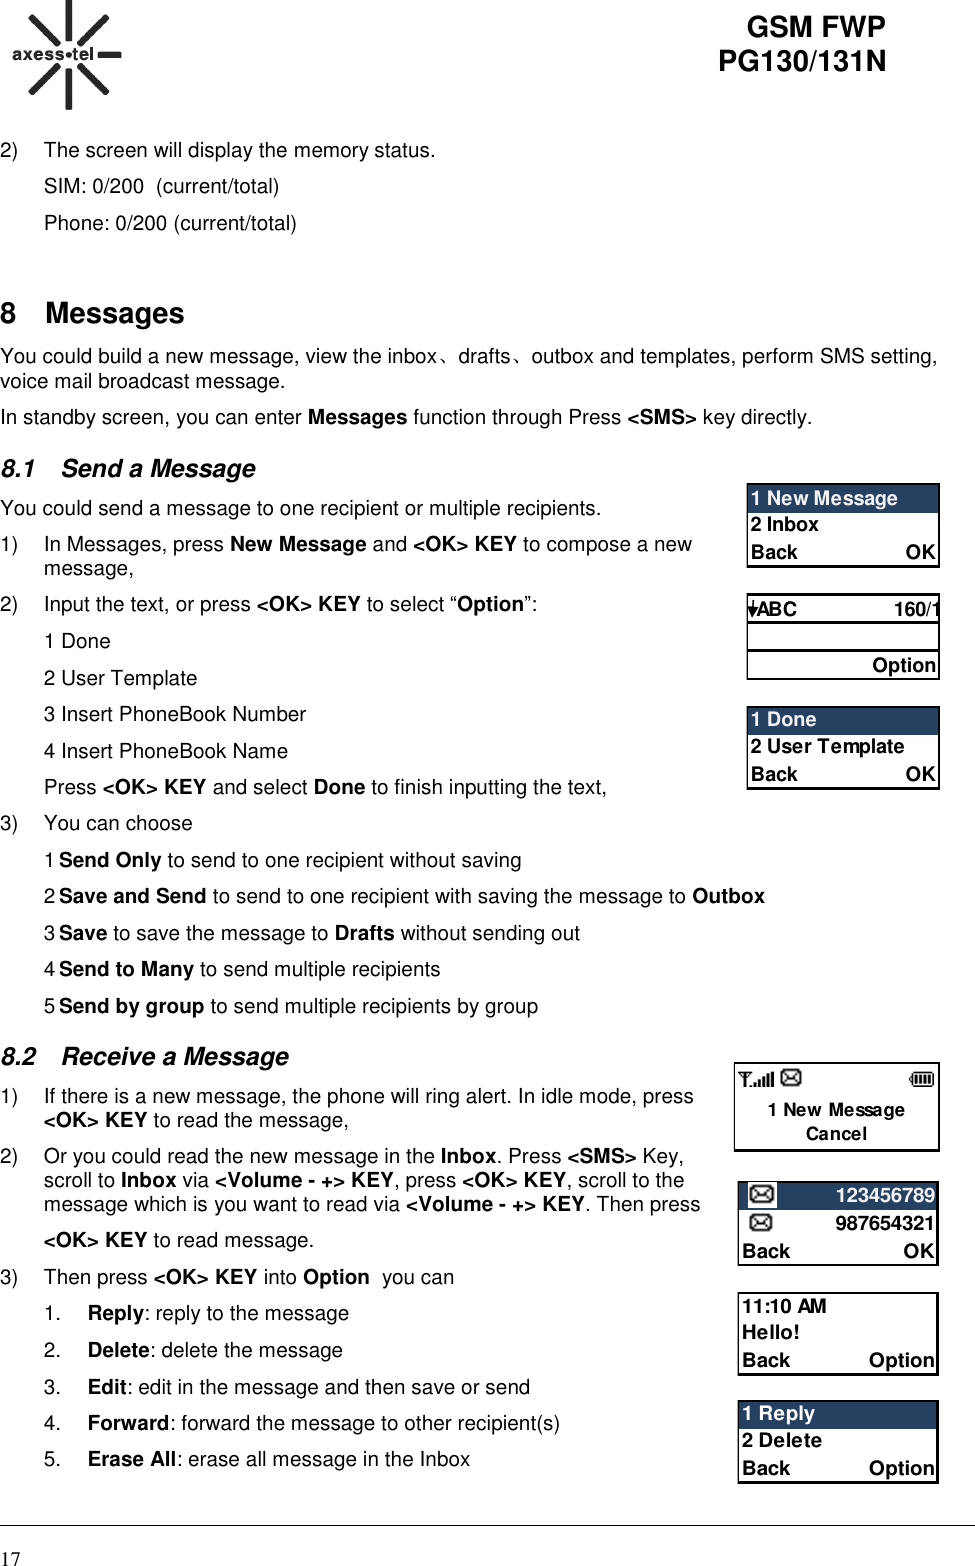
![20 GSM FWP PG130/131N 3) If you want to change the format of time and date, select Set format in Time and alarm, press <OK> KEY. Scroll to Time format and press <OK> KEY to set time format, 12hr or 24hr; scroll to date format via <Volume - +> KEY and press <OK> KEY to set date format, DD/MM/YYYY, MM/DD/YYYY, YYYY/MM/DD, YYYY-MM-DD. Note: If your Language is Spanish, then date format should be: DD/MM/AAAA, MM/DD/AAAA, AAAA/MM/DD, AAAA-MM-DD. 9.2 Set Alarm You can set 5 alarms. 1) In Time and alarm, Select Alarm via <Volume - +> KEY, 2) Select any one from 5 alarms, press <OK> KEY to edit the alarm, 3) Scroll to 1 via <Volume - +> KEY, press <*> KEY or <#> KEY to active/deactivate the alarm, 4) Scroll to 2 to set alarm time via <Volume - +> KEY, 5) Scroll to 3 to set alarm repeat way, press <*> KEY or <#> KEY to switch the alarm repeat way, includes Once, Everyday, Days (If the repeat way is Days, Press to select the days). 10 Sounds In standby screen, press <Menu> KEY, Press<Volume - +> KEY scroll to Sound item and press<OK> KEY. Here you can set the ring tone and volume. 10.1 Ringer In Sound menu, select Ringer, and then press <OK> KEY , you can scroll to the ringer for Incoming Call, Alarm, Power On, Power Off, Message Tone, Keypad Tone. Press <OK> KEY enter the setting screen, select the ringer via <Volume - +> KEY, press <OK> KEY to save. Back OKBack OKBack OKDoneDone1 <Off>2 00:00DaysS M T W T F S3 Repeat<Once>2 Set format3 Alarm[]1# 12:00 AM[]2# 12:00 AMBack OK3 Time and alarm4 SoundBack OKBack OKBack OK1 Incoming call2 Alarm10 Ring 1011 MIDI 111 Ringer2 Volume](https://usermanual.wiki/Axesstel/PG131N/User-Guide-1419966-Page-23.png)
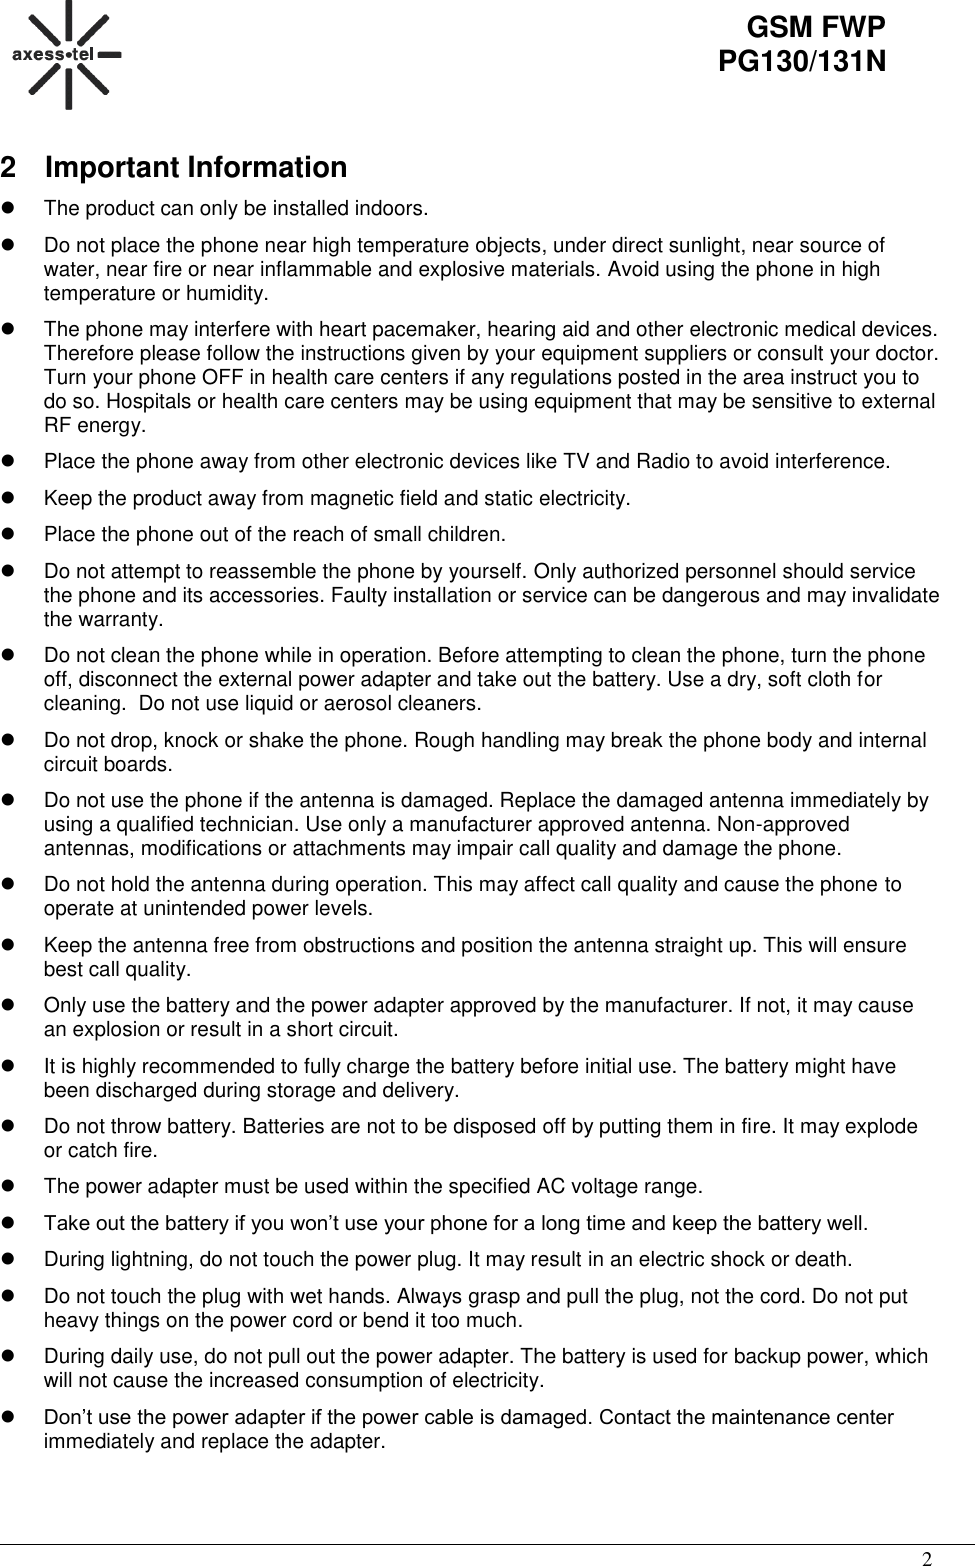
![21 GSM FWP PG130/131N 10.2 Volume In Sound menu, select Volume, and then press <OK> KEY , you can scroll to the volume for Ring Tone, Key Tone via <Volume - +> KEY. Press <OK> KEY enter the setting screen, press <Volume - +> KEY to set the volume, press <OK> KEY to save. 10.3 Ring Type In Sound menu, select Ring Type, and then press <OK> KEY, you can scroll to the ring type as Single, Repeat, Ascending via <Volume - +> KEY, and press <OK> KEY to save. 10.4 Alert In Sound menu, select Alert, and then press <OK> KEY, you can turn on/off the alert of Warning, Error, and Call Connect.. 1) Scroll to any one which you want to alert, press <OK> KEY to on or off . is on. is off. 2) Press <Clear>KEY to done. 11 Configuration In standby screen, press <MENU> KEY, Press<Volume - +> KEY scroll to Configuration item and press<OK> KEY. 11.1 Greeting In Configuration menu, press<Volume - +> KEY scroll to Greeting item and press<OK> KEY. You can on/off the Greeting, and edit it Back OKBack OK2 Volume3 Ring type1 Ring Tone2 Key toneBack OKBack OKo Repeato Ascending3 Ring type4 AlertBack OKBack OKBack OK[]Error[]Call Connect3 Ring type4 Alert[]Warning[]ErrorBack OK4 Sound5 ConfigurationBack OKBack OKEdit1 Status<Off>2Greeting textWelcome1 Greeting2 Language](https://usermanual.wiki/Axesstel/PG131N/User-Guide-1419966-Page-24.png)