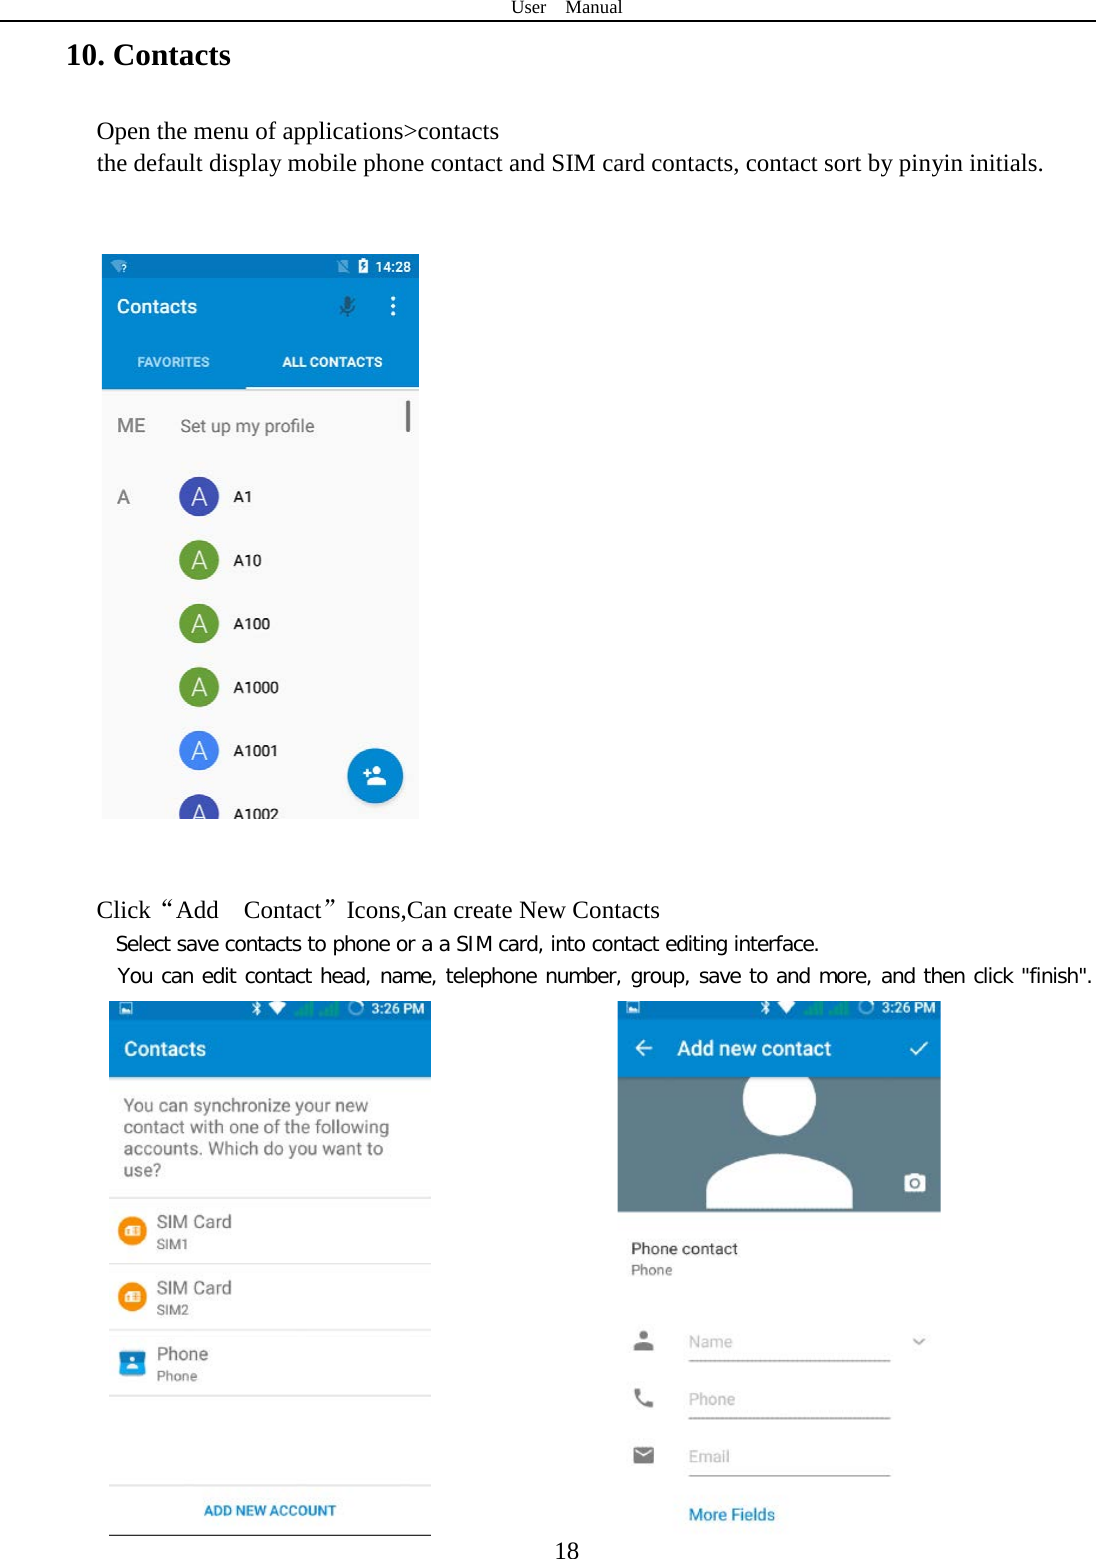
Azumi S A AZUMIIROA4Q WCDMA Mobile phone with GSM/GPRS 850/1900, WCDMA/HSPA FDD II /V, ,802.11 b/g/n, BT and GPS User Manual
Azumi S.A WCDMA Mobile phone with GSM/GPRS 850/1900, WCDMA/HSPA FDD II /V, ,802.11 b/g/n, BT and GPS Users Manual
Users Manual

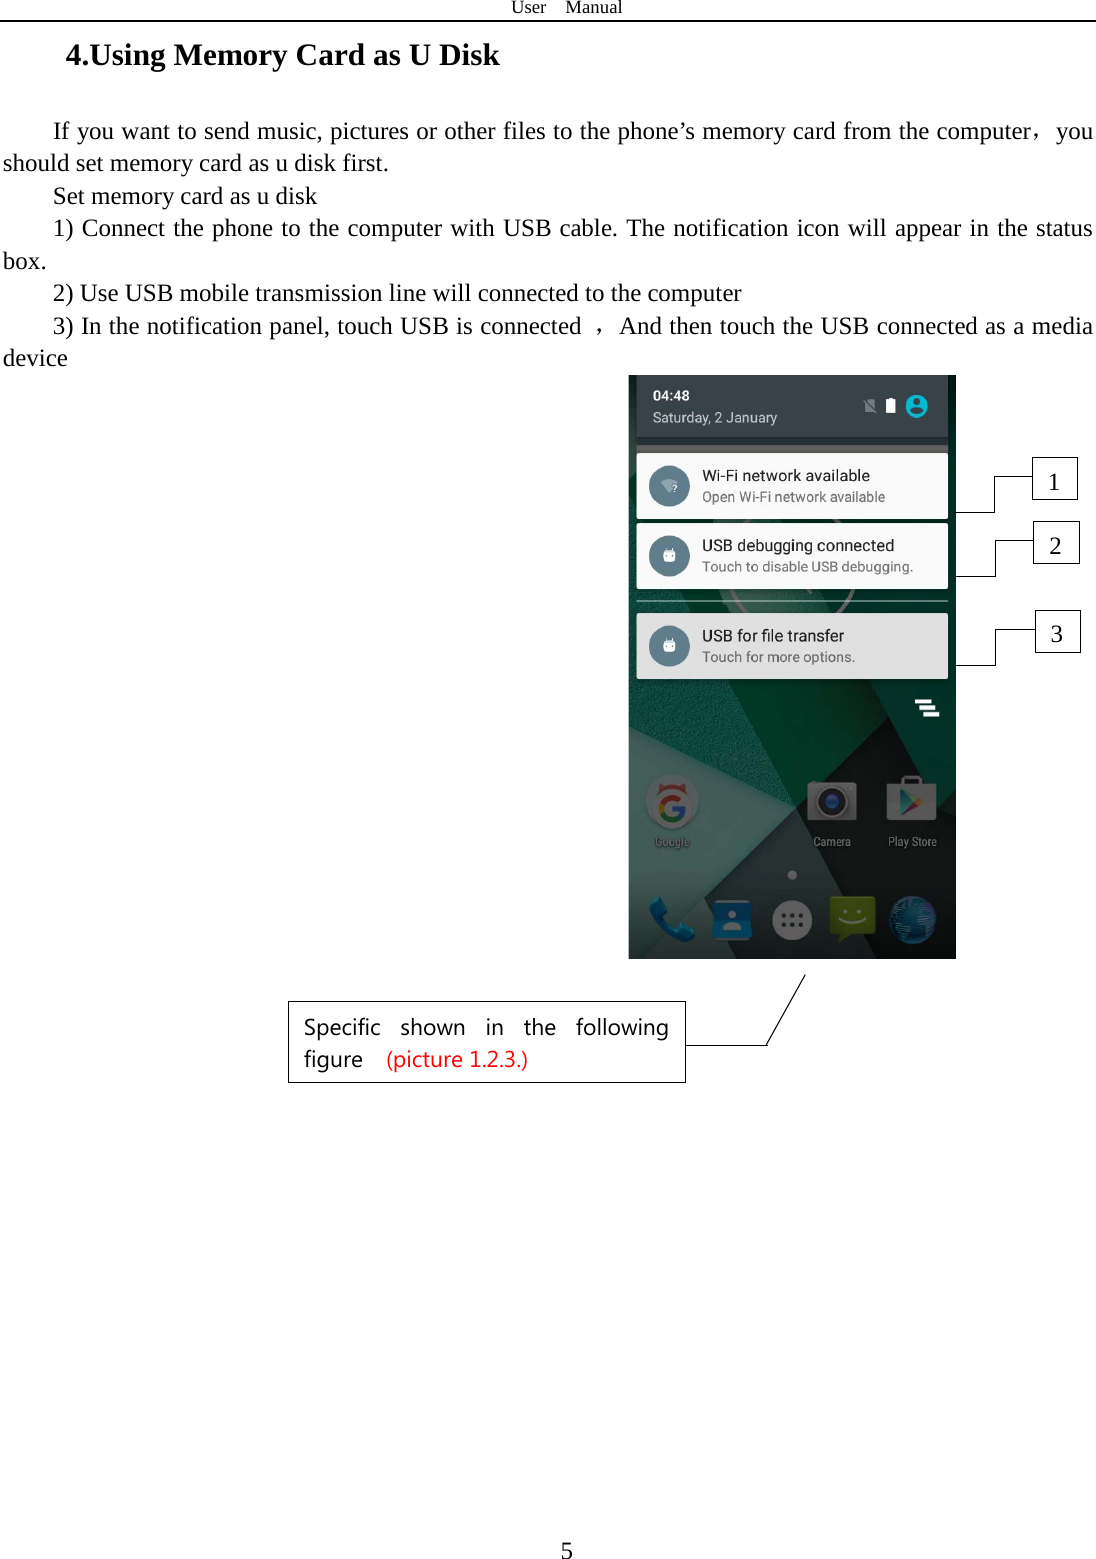
![User Manual 4 3.Appearance and Keypad Operations Keys Functions home Press this button to return home from any application or interface. Menu Press it to open recently opened application window. back Press it to return to the previous interface,or to close dialog box 、options’ menu、notification panel or the keypad. power Long press [Power] key to power on or off mobile phone. Short press [Power] key to turn off the screen when a call is talking. Press it to open the phone’s menu,then you could choose to lock the screen、turn off the phone,or set it to the silent mode . up Press it to increase the volume Press it to turn the phone to vibration mode from the silent mode. down Press it to decrease the volume.](https://usermanual.wiki/Azumi-S-A/AZUMIIROA4Q/User-Guide-3092279-Page-6.png)