AzureWave Technologies CM389NF IEEE802.11 2X2 MIMO a/b/g/n/ac Wireless LAN + Bluetooth + NFC NGFF Module User Manual
AzureWave Technologies, Inc. IEEE802.11 2X2 MIMO a/b/g/n/ac Wireless LAN + Bluetooth + NFC NGFF Module
Contents
User manual

!
!
Chromebook
Quick Guide
1!
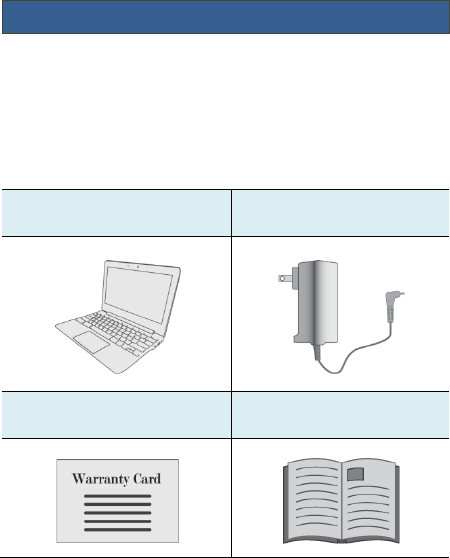
Package contents
Carefully unpack your box and take out the items listed
below. If any of the items are missing or damaged, please
contact your dealer immediately:
• One Chromebook
• One AC adapter
• One warranty card
• This quick guide
2!
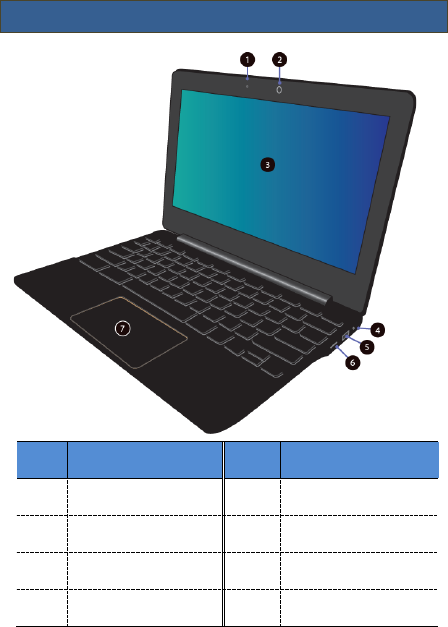
Layout
No.
Name
No.
Name
1
Microphone
5
USB 2.0 port
2
Webcam
6
Micro SD card slot
3
LCD monitor
7
Touchpad
4
Audio combo jack
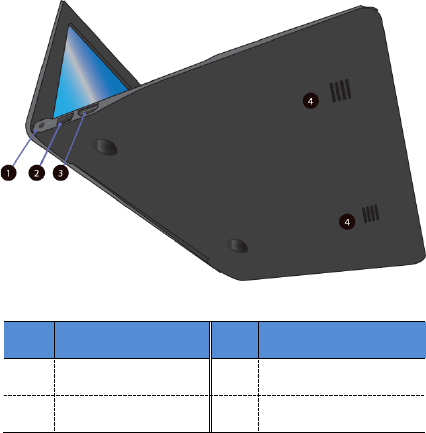
3!
No.
Name
No.
Name
1
DC input jack
3
HDMI port
2
USB 2.0 port
4
Speaker
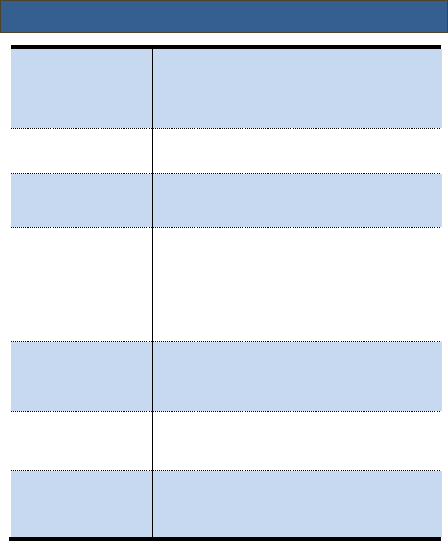
4!
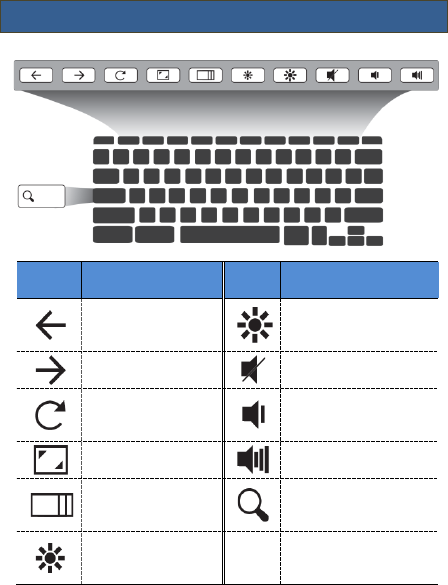
Function keys
Icon
Description
Icon
Description
Previous page
Increase screen
brightness
Next page
Mute
Reload current
page
Decrease audio
volume
Full-screen mode
Increase the volume
Switch to next
window
Search
Decrease screen
brightness
5!
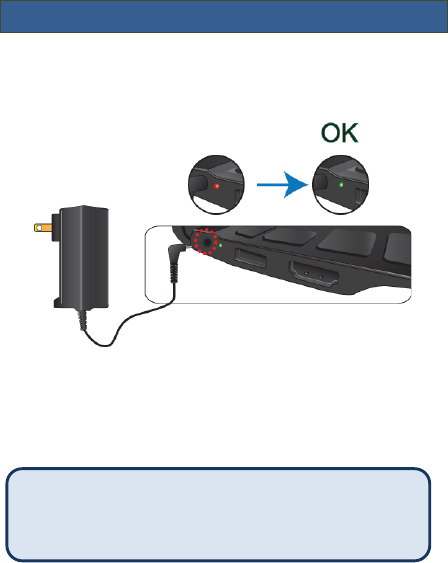
Before powering on for the first time
! Charge the battery with the adapter coming with your
Chromebook until the charging indicator turns from
red to green.
! Make sure there is a wireless network available for
you to connect your Chromebook.
Note: If the only available network is a wired one, you
need to acquire separately a USB internet adapter that
supports Linux systems.)
6!
Getting started
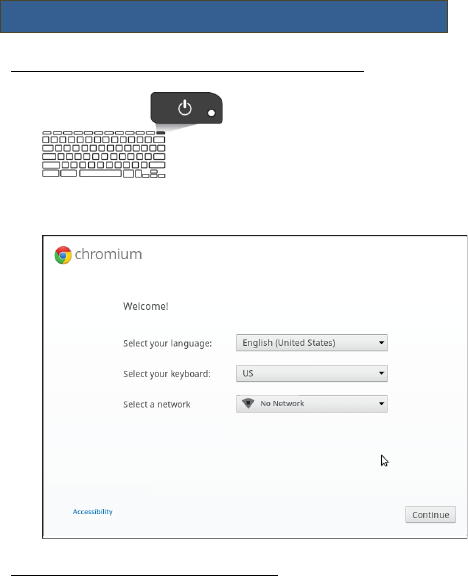
Step1: Turn on your Chromebook for the first time
Press the power button.
For the first time you power
on your Chromebook, a
dialog will appear as shown below.
Step.2: Select your language settings
If there is more than one way to type in your language,
7!
you may be prompted to select a keyboard input method
as well.
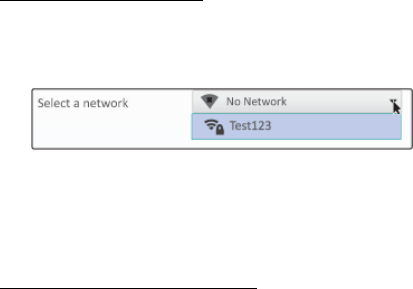
Step3: Connect to a network
Select a wireless network from the "Select a network"
list to connect to the Internet.
If your selected network is a protected one, you will be
prompted to enter your password to connect to it.
Step 4: Accept the Terms of Service
Once connected to a network, accept the Terms of
Service. Your Chromebook will then automatically
download any available system updates to get the latest
Chrome OS features.
8!
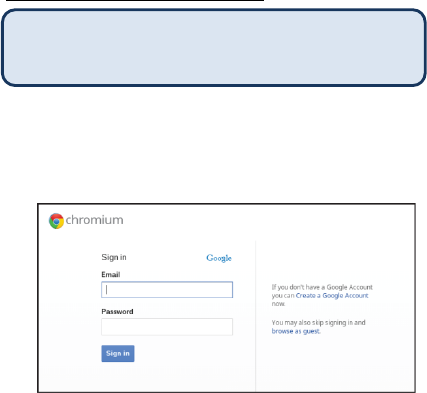
Step 5: Create your Google Account
Note: The first account signed in here will be set as the
owner account and is the only account that will be
allowed to change Chrome settings.
When you reach this step, the dialog shown below will
appear on your screen.!
If you already have a Google Account, enter your
username and password in the sign-in box and click on
the Sign-in button.
If you don’t have one, click “Create a Google Account”
on the right to set up a new account.
9!
Step 6: Set your account picture
You can use the Chromebook’s built-in webcam to take
a photo of yourself, or just choose an icon instead and
change it later.
The desktop will be open as shown below, and you can start
using your Chromebook.
10!
Specifications
Processor
! Rockchip RK3288 Cortex-A17
Quad Core
Memory
! DDR3L SDRAM
! 2G/1600MHz
Storage
! eMMC for V5.0
! 16G
Wireless
! IEEE 802.11 2 X 2 MIMO
a/b/g/n/ac Wireless LAN +
Bluetooth + NFC NGFF Module
Display
! EDP 1366x768 TN
! 11.6" for EDP interface
Webcam
! 720p HDTV and 1.3M
Battery
! Polymer Battery
! 2S1P,7.4V/3400mAh
! >25Wh

11!
Input/Output
! 1 x 12V DC IN
! 1 x 3.6mm combo Jack
! 1 x HDMI (A-TYPE)
! 2x USB2.0 port
! 1xTF slot (Micro SD)
Speaker &
Mic
! 2 x Build-in speakers (Stereo)
! 1 x Internal MIC
AC-Adapter
! DC Output: 12V/2A
! Input Voltage: 100 - 240VAC
! Input Frequency: 50 - 60Hz
Dimension
(mm)
! 204 (W) x 290 (D) x 19.3 (H)
Weight
! < 1,150g (w/o adapter)