AzureWave Technologies GD200 Wireless Digital Media Adapter Module User Manual AW GD200 linux user guide1 1
AzureWave Technologies, Inc. Wireless Digital Media Adapter Module AW GD200 linux user guide1 1
UserManual.wiki
>
AzureWave Technologies
>
GD200 User Manual
Manual
Navigation menu
Upload a User Manual
Namespaces
Wiki Guide
HTML
PDF
Info
Views
User Manual
Discussion / Help
Navigation

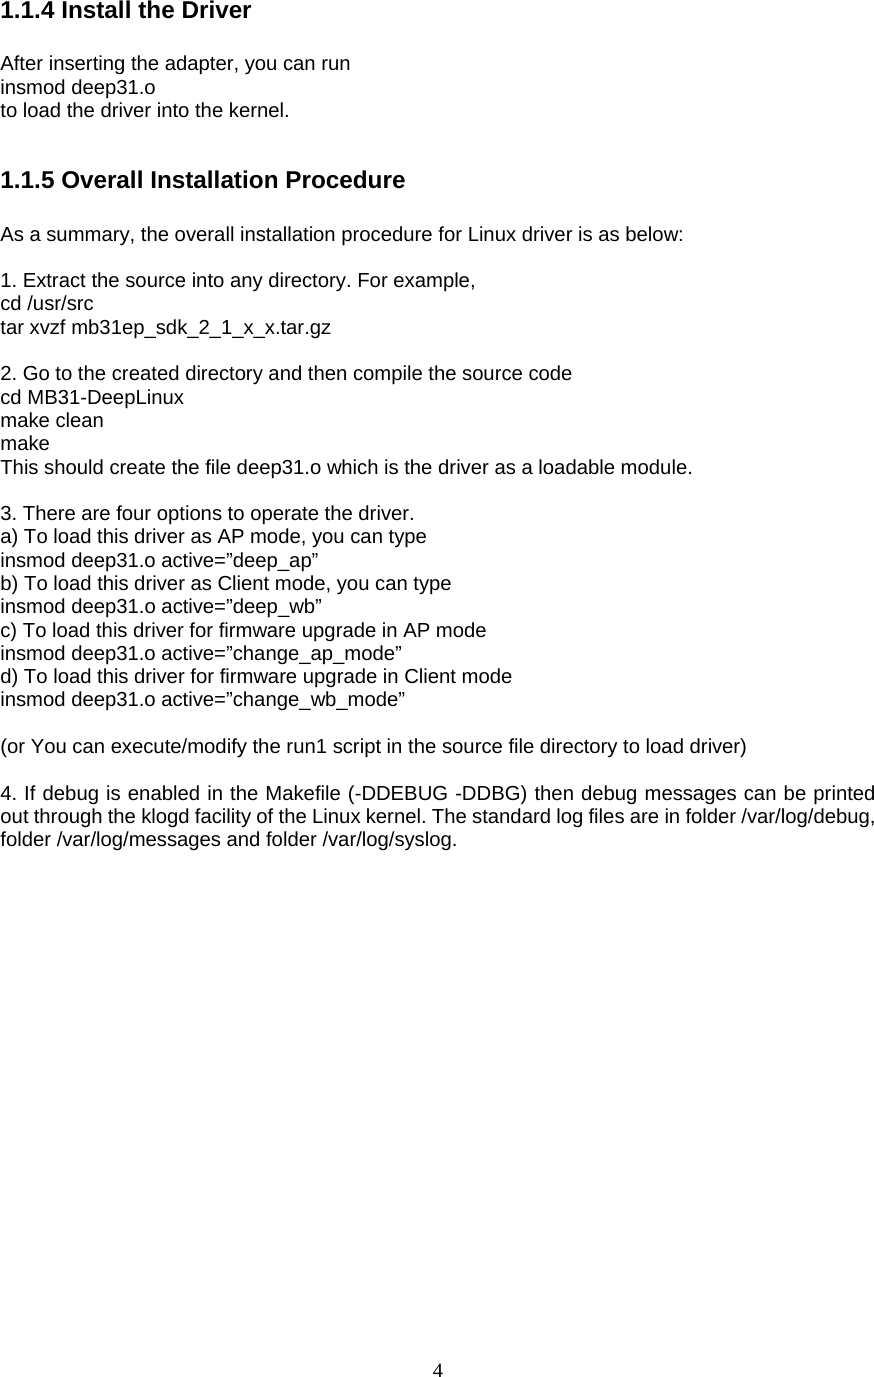
![52.0 Configure a wireless network interface The following describes the configuration of AW-GD200 wireless driver using the wireless extension tools. 2.1 iwconfig iwconfig is dedicated to the wireless interfaces. It is used to set the parameters of the network interface which are specific to the wireless operation (for example: the frequency). iwconfig may also be used to display those parameters, and the wireless statistics. The format of the iwconfig is depicted as following: iwconfig iwconfig -help iwconfig interface iwconfig interface [parameters] Parameters [essid X] [nwid N] [freq F] [channel C] [sens S] [mode M] [ap A] [nick NN] [rate R] [rts RT][frag FT] [txpower T] [enc E] [key K] [power P] [retry R] [commit] Please refer the wireless extension tool manual for more information.](https://usermanual.wiki/AzureWave-Technologies/GD200/User-Guide-617143-Page-5.png)
![2DGT 警語 : 經型式認證合格之低功率射頻電機,非經許可,公司、商號或使用者均不得擅自變更頻率、加大功率或變更原設計之特性及功能。 低功率射頻電機之使用不得影響飛航安全及干擾合法通信;經發現有干擾現象時,應立即停用,並改善至無干擾時方得繼續使用。前項合法通信,指依電信法規定作業之無線電通信。低功率射頻電機須忍受合法通信或工業、科學及醫療用電波輻射性電機設備之干擾。 本模組於取得認證後將依規定於模組本體標示審合格籤,並要求平台上標示[本產品內含射頻模組:ID 編號]](https://usermanual.wiki/AzureWave-Technologies/GD200/User-Guide-617143-Page-8.png)