BLU BLUTATTOOMN GSM Mobile Phone User Manual Tattoo Mini UserMan
CT Asia GSM Mobile Phone Tattoo Mini UserMan
UserManual.wiki
>
BLU
>
BLUTATTOOMN User Manual
>
User Manual
Contents
1.
User Manual
2.
user manual
User Manual
Navigation menu
Upload a User Manual
Namespaces
Wiki Guide
HTML
PDF
Info
Views
User Manual
Discussion / Help
Navigation

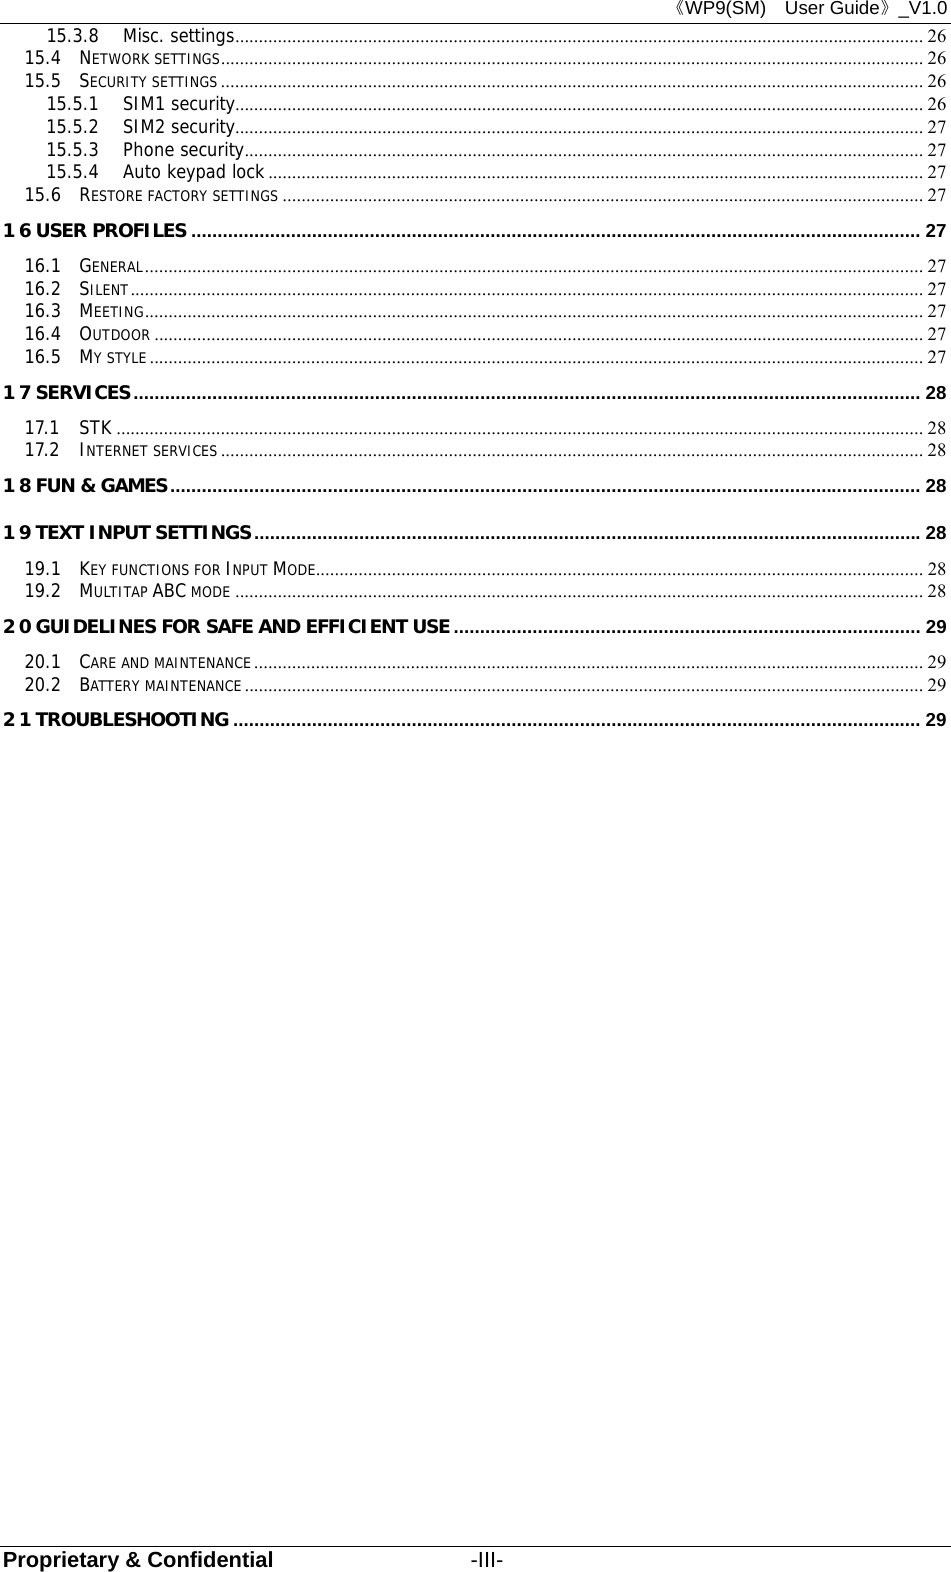
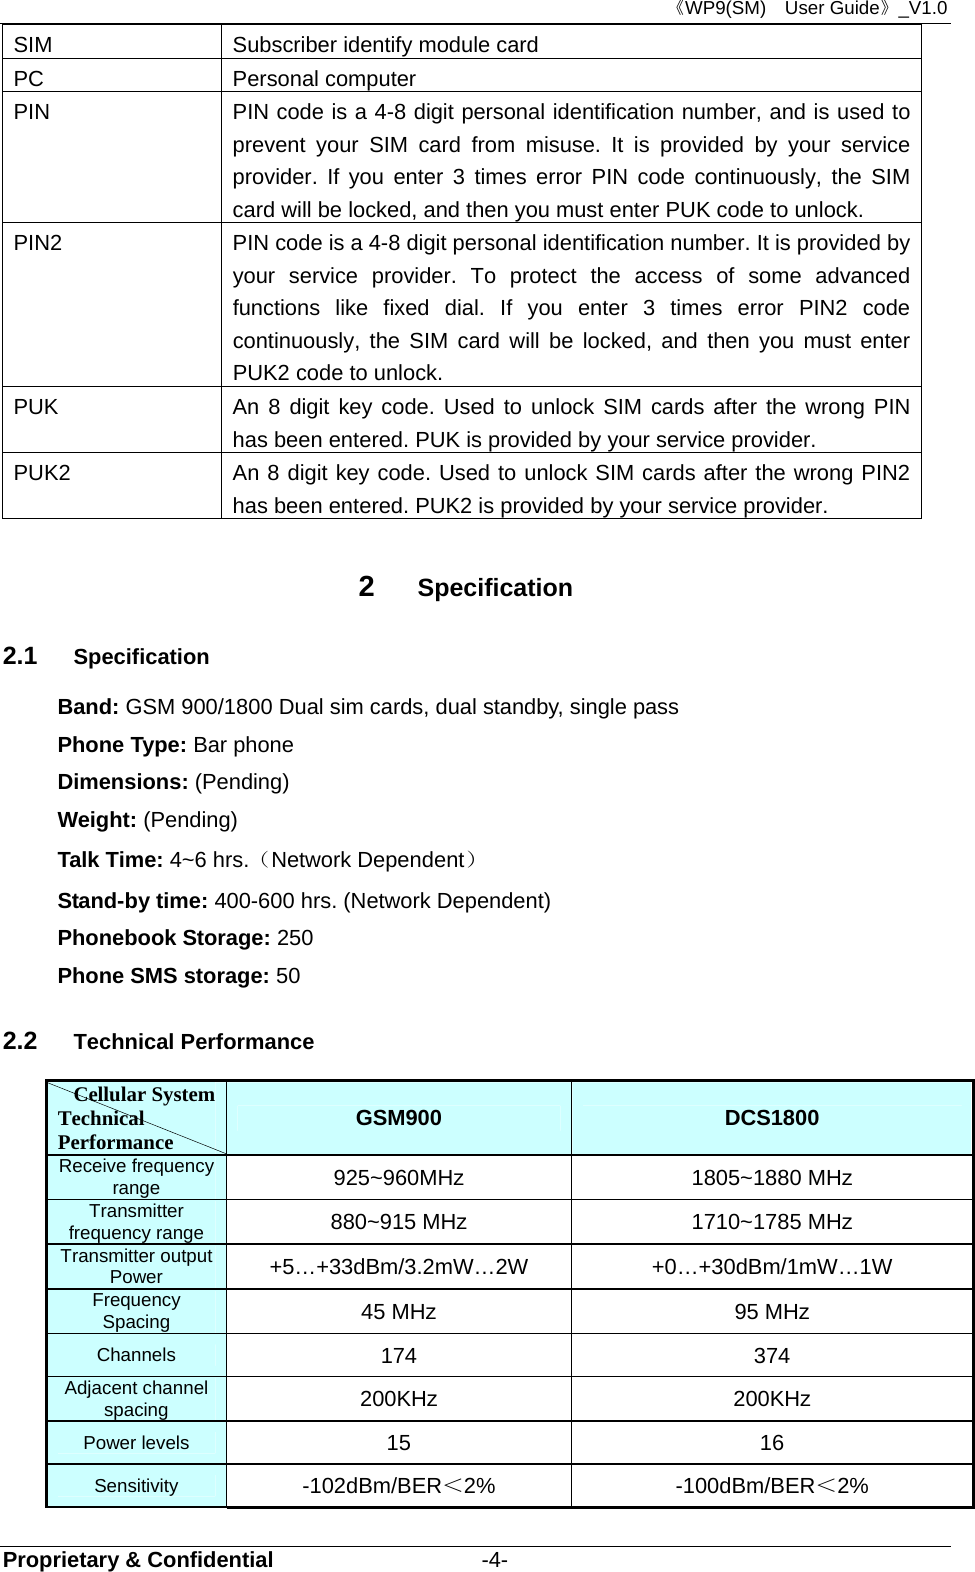
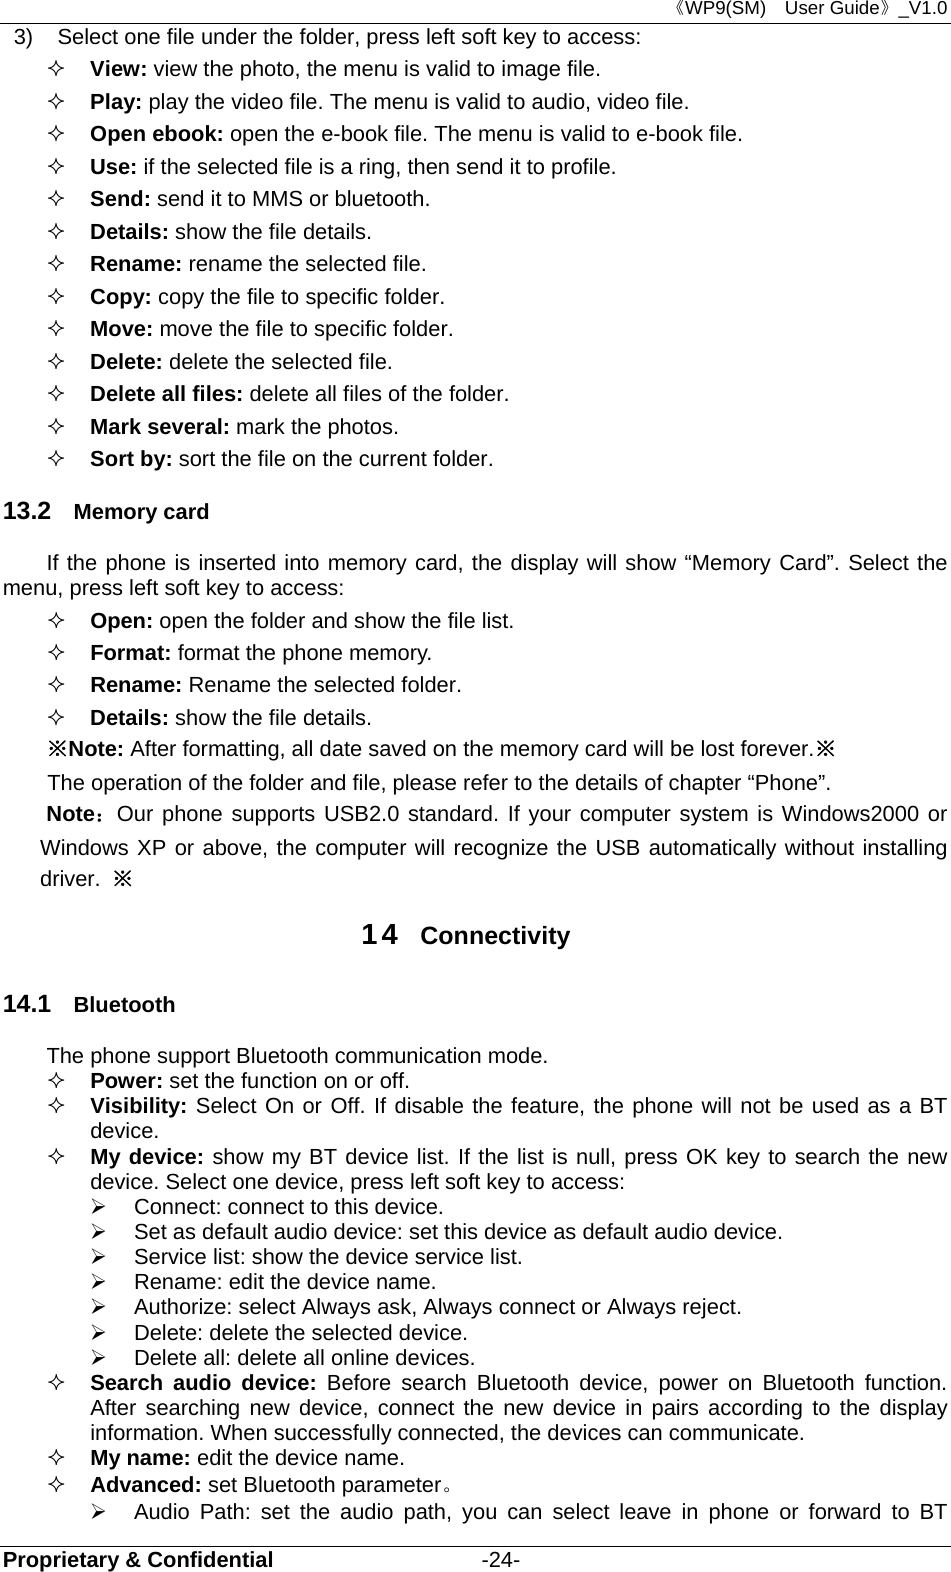
![《WP9(SM) User Guide》_V1.0 Proprietary & Confidential -10- communications like medical emergencies. Check with local service providers to make an emergency call.※ Quick making a call i) Enter [Menu]- [Phonebook], select Browse and find the required number; ii) Enter [Menu]-[Call]-[Call history], select corresponding SIM card, select Missed calls, Dialed calls, Received calls list. Scroll the navigation keys to find the required number; iii) In idle mode, press right soft key to enter phonebook. iv) In idle mode, press dial key to display the last number dialed. v) Press dial key to make a call. ※Note: You can quickly search numbers from [Phonebook] via navigation keys and alphanumeric keys. Use navigation keys to move through pages; Use alphanumeric keys to search by keywords. ※ 6.2 Answering a Call When somebody calls you, the phone rings, and displays the incoming call area. If the caller can be identified, the caller’s phone number (or name if stored in your phonebook) is displayed. When a call is coming, Answer the call by pressing dial keys. The missed incoming calls appear on the display. Press left soft key to check the details of the missed calls or press dial key to call the number. Press end key to end the call. ※Note: To answer a call, the function of call forwarding should be disabled, nor is unconditional divert. ※ 6.3 H-Free/H-Held When you are driving, you can enable the phone hands free function during a call. The phone sound will be heard from the speaker. During a call, press right soft key to select “H-Free”, then the speaker is enabled. To disable the hands free function, press right soft key to select “H-Held”, then the receiver is enabled. ※Note:The speaker sound volume maybe loud, so please not use the speaker beside ear.※ 6.4 Call Waiting You can answer an incoming call while you have a call in progress, if this service is supported by the network and you have set the Call Waiting menu option to activate. You will be notified of an incoming call by a call waiting tone. 6.5 Call Options 6.5.1 During a call Call with one party, press left soft key to select: Hold/Retrieve single call: pause the call, the caller will not be heard the sound. If you want to retrieve the call, select “Retrieve”. End single call: Disconnect the call. New call: input new phone number, press left soft key to save number to phonebook, and press dial key to call the new number. During a call, press middle key to input the number. Phonebook: enter phonebook menu. Call history: enter the call history menu. Messaging: enter message menu. Sound recorder: during the call, record the sound. Mute: turn on/off microphone. DTMF: activate the sending of the DTMF signal, or clean the sending.](https://usermanual.wiki/BLU/BLUTATTOOMN.User-Manual/User-Guide-1547155-Page-15.png)

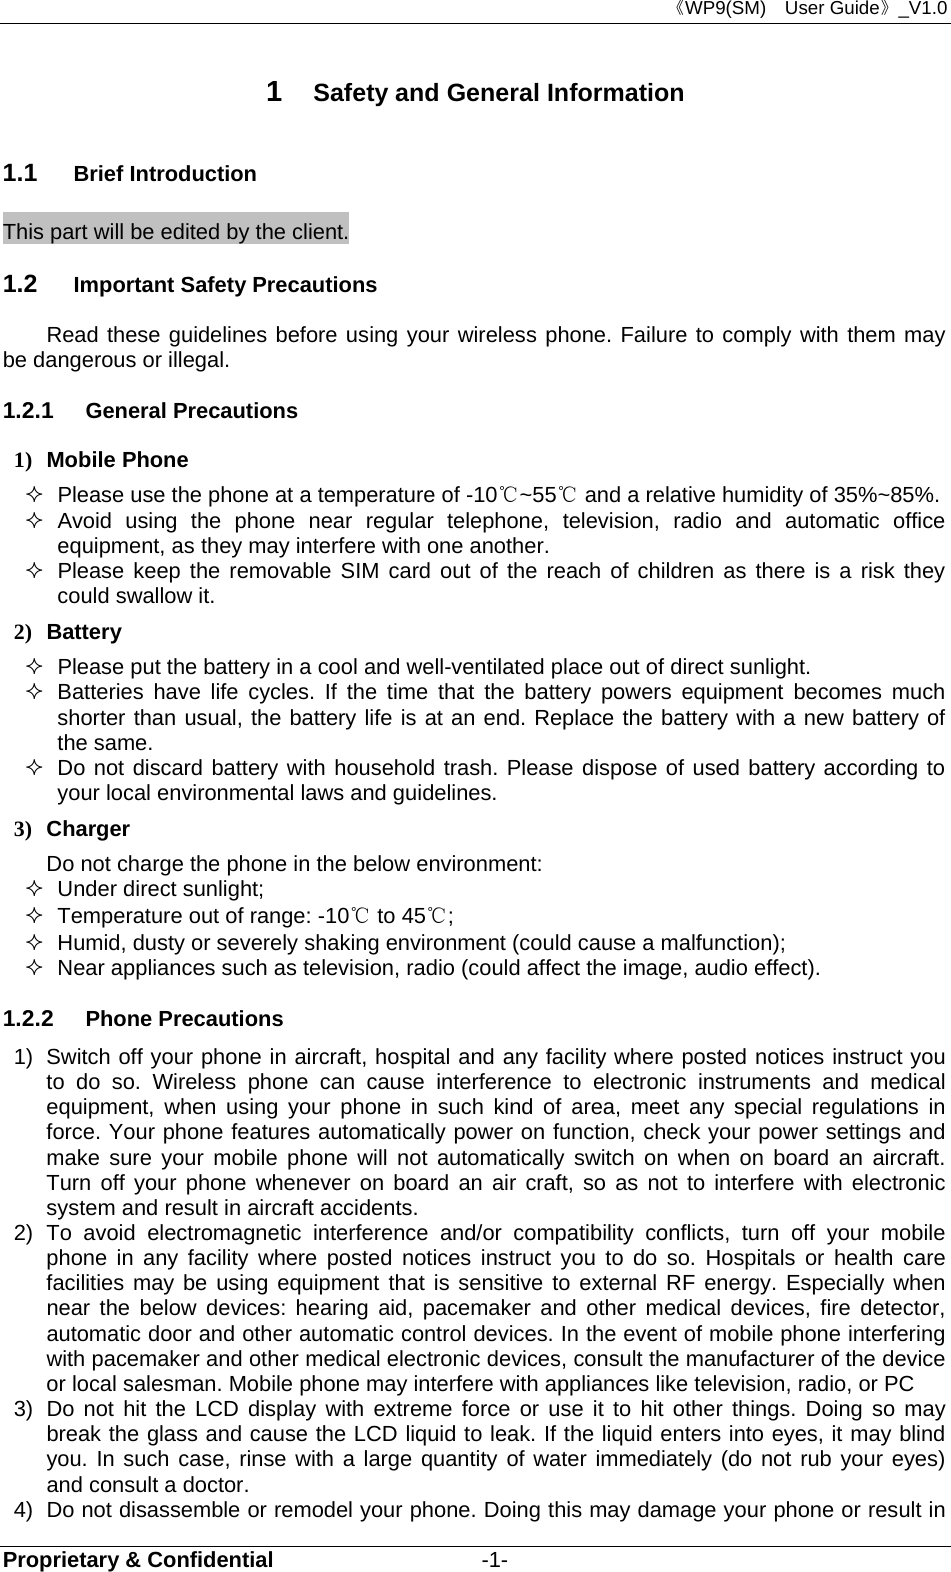
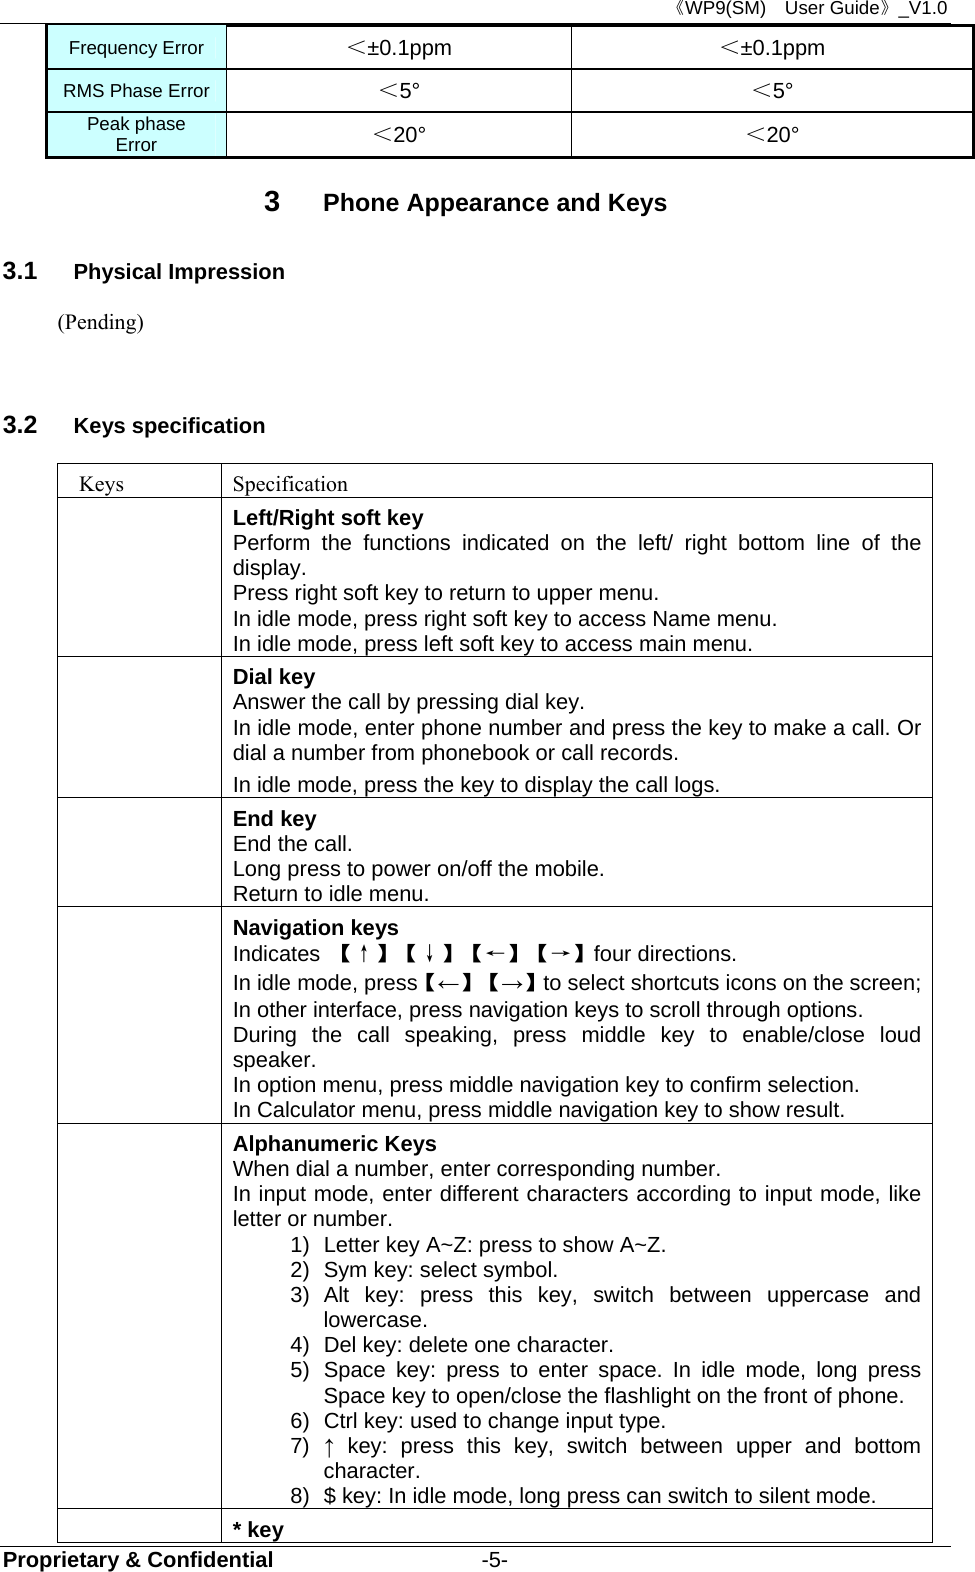
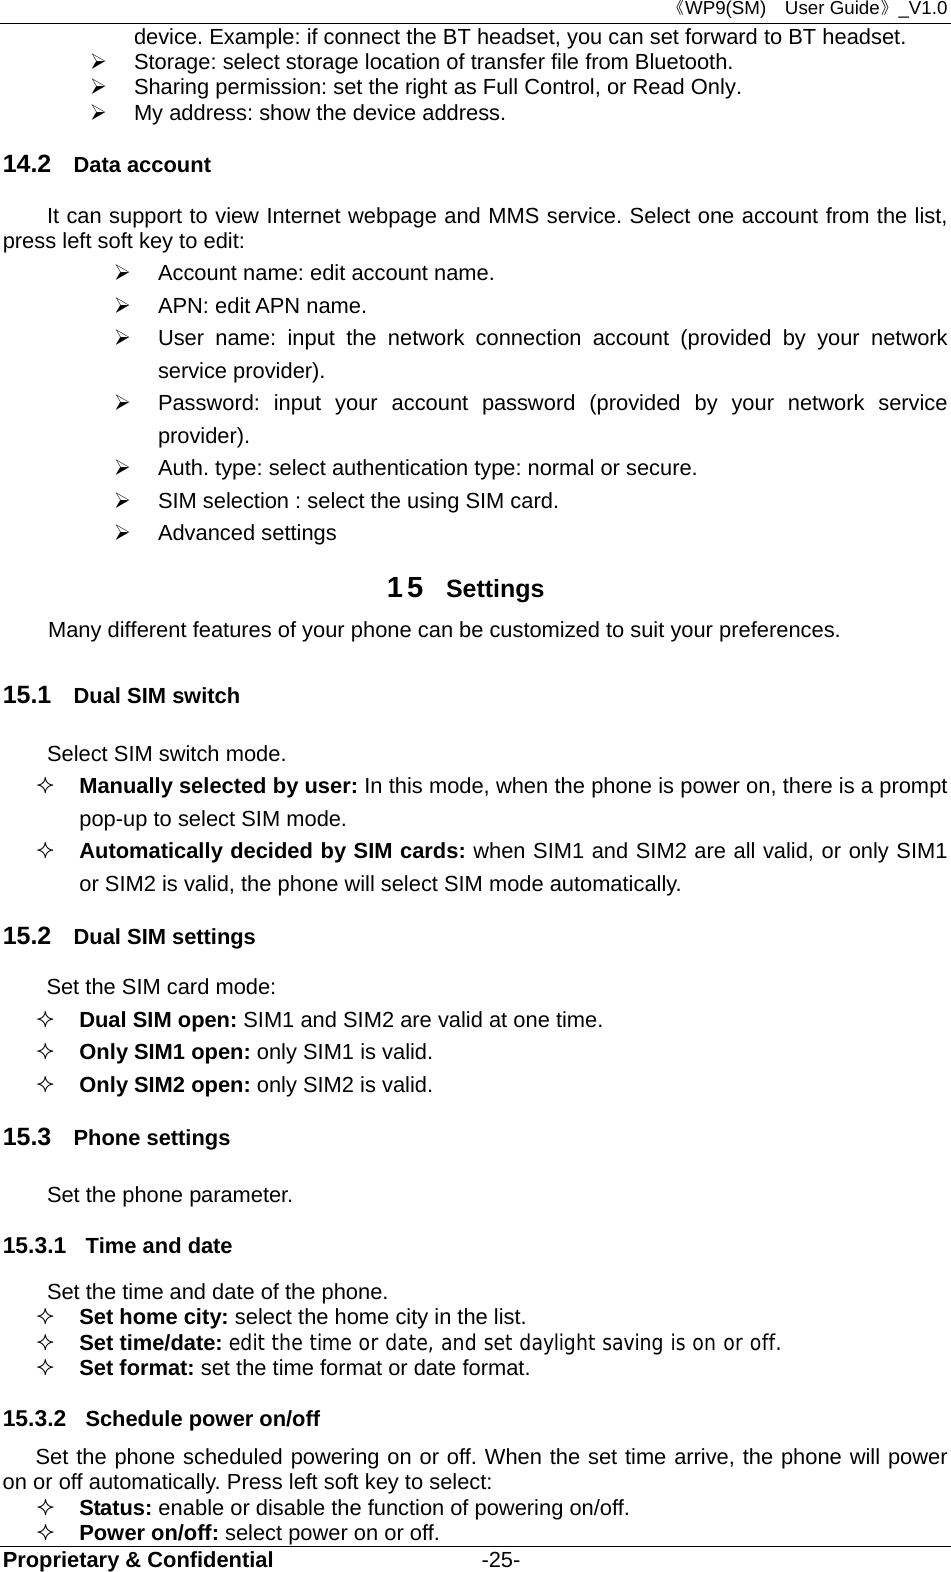
![《WP9(SM) User Guide》_V1.0 Proprietary & Confidential -19- Add subject: input the message subject. After adding the subject, there will show the “Edit subject” after the menu. Preview MMS: view the edited MMS message. Slide options: Add slide before: add new slide before the current slide, and edit new message content. After add the slide, there will show “Delete slide” and “Next slide” after the menu. Add slide after: add new slide after the current slide, and edit new message content. After add the slide, there will show “Delete slide” and “Next slide” after the menu. Slide timing: set the slide time. Advanced: Add attachment: insert the attachment that saved on the phone or memory card into the message. After adding the attachment, there will show the “Edit attachment” and “Remove attachment” after the menu. Add bookmark text: add website address into the message. Save to Drafts: not send the message, and save it on [Drafts] folder. After editing the message, select “Send to” and select the number, press left soft key to access: Send: send the message to the selected numbers. Send options: set the sending parameter, such as validity period, Delivery report, Read report, Priority. Edit recipient: edit the number. Remove recipient: delect this number. Remove all recipients: delect all the numbers. Change to Cc: change the send mode of this number to Cc. Change to Bcc: change the send mode of this number to Bcc. If you input bcc number, the MMS message will send by encryption mode. Save to Drafts: save the message to draft of SIM1 or SIM2. 11.2 Inbox Through the menu you can read received SMS and MMS messages of SIM1 and SIM2. There is “1” or “2” icon displayed on the right side of every messages, it means this message is received by SIM1 or SIM2. To the message list, select one and open it, press left soft key: View: view the message content. Reply by SMS or MMS: replay the message. Call sender: call the number that sends this SMS. Forward: send the message to others. Delete: delete the selected message. Delete all: delete all messages. Save to Phonebook: save this new number to the phone or replace existing. Advanced(SMS): Copy to phone/Copy to SIM: copy the message to phone/SIM1/2. Move to phone/Move to phone: move the message to phone/SIM1/2. Copy all: select the copy mode then copy all the messages. Move all: select the move mode then move all the messages. Move to memory card(MMS): move the MMS message to T-card. Copy to memory card(MMS): copy the MMS message to T-card. Details(MMS): show the details of the MMS message. 11.3 Drafts Select a draft message, press left soft key to select the menu: View, Send, Edit, Delete, Delete all, Advanced. The operation details please refer to [Write message]. 11.4 Outbox The outbox stores any messages that you have failed to delivery. For the messages in this box, you can access options: View, Resend, Edit, Delete, Delete all, Advanced. The details refer to [Inbox].](https://usermanual.wiki/BLU/BLUTATTOOMN.User-Manual/User-Guide-1547155-Page-24.png)
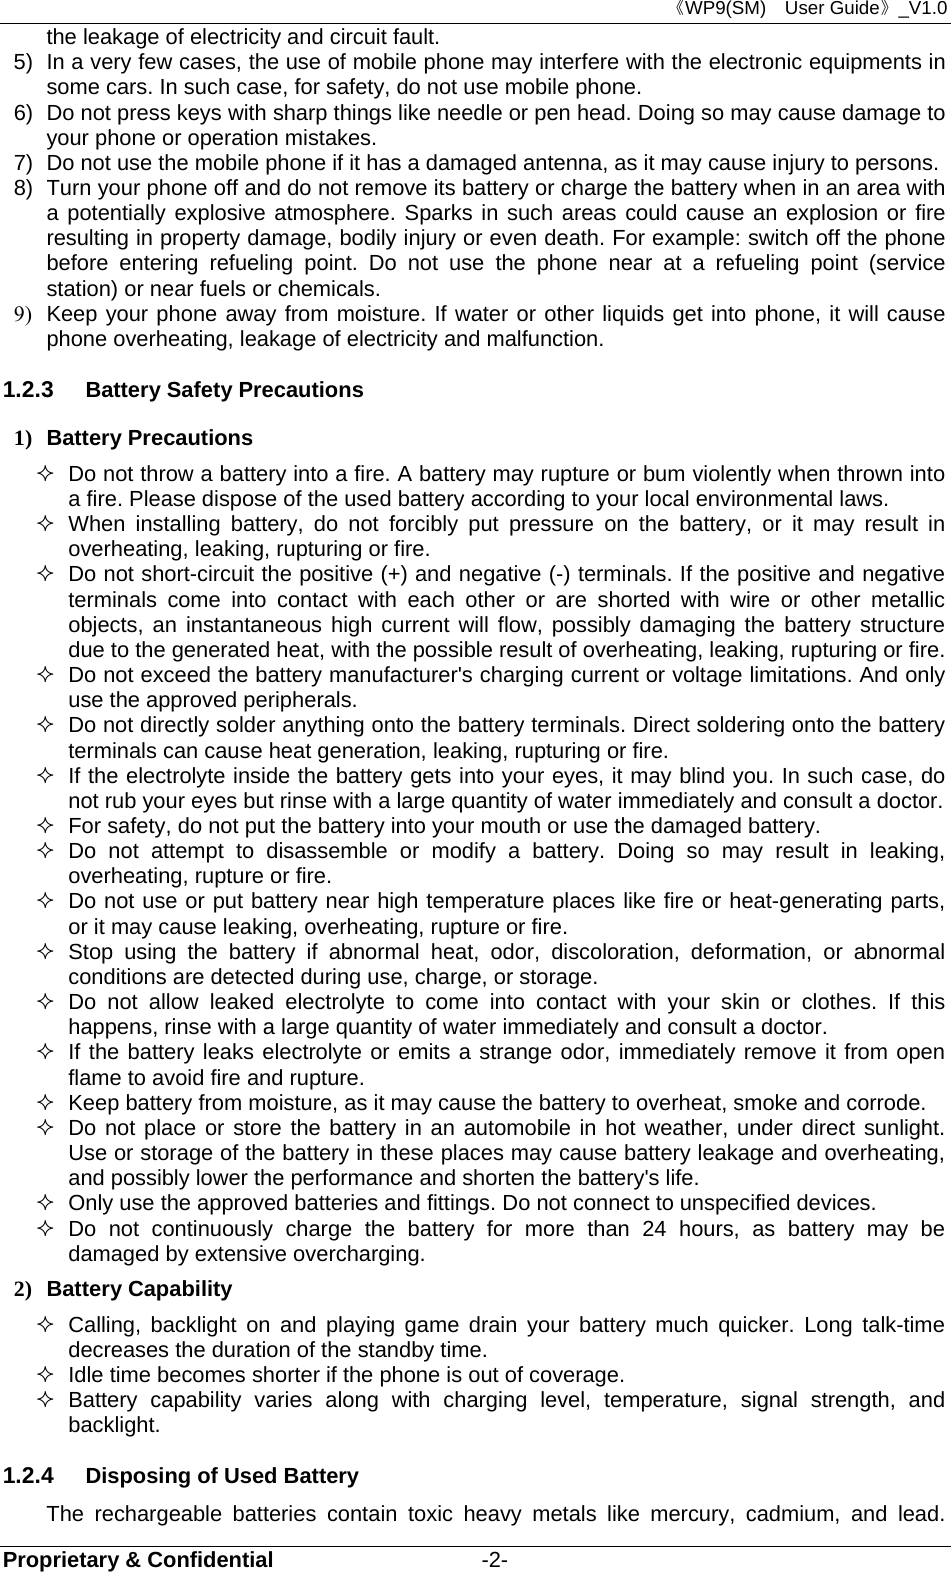
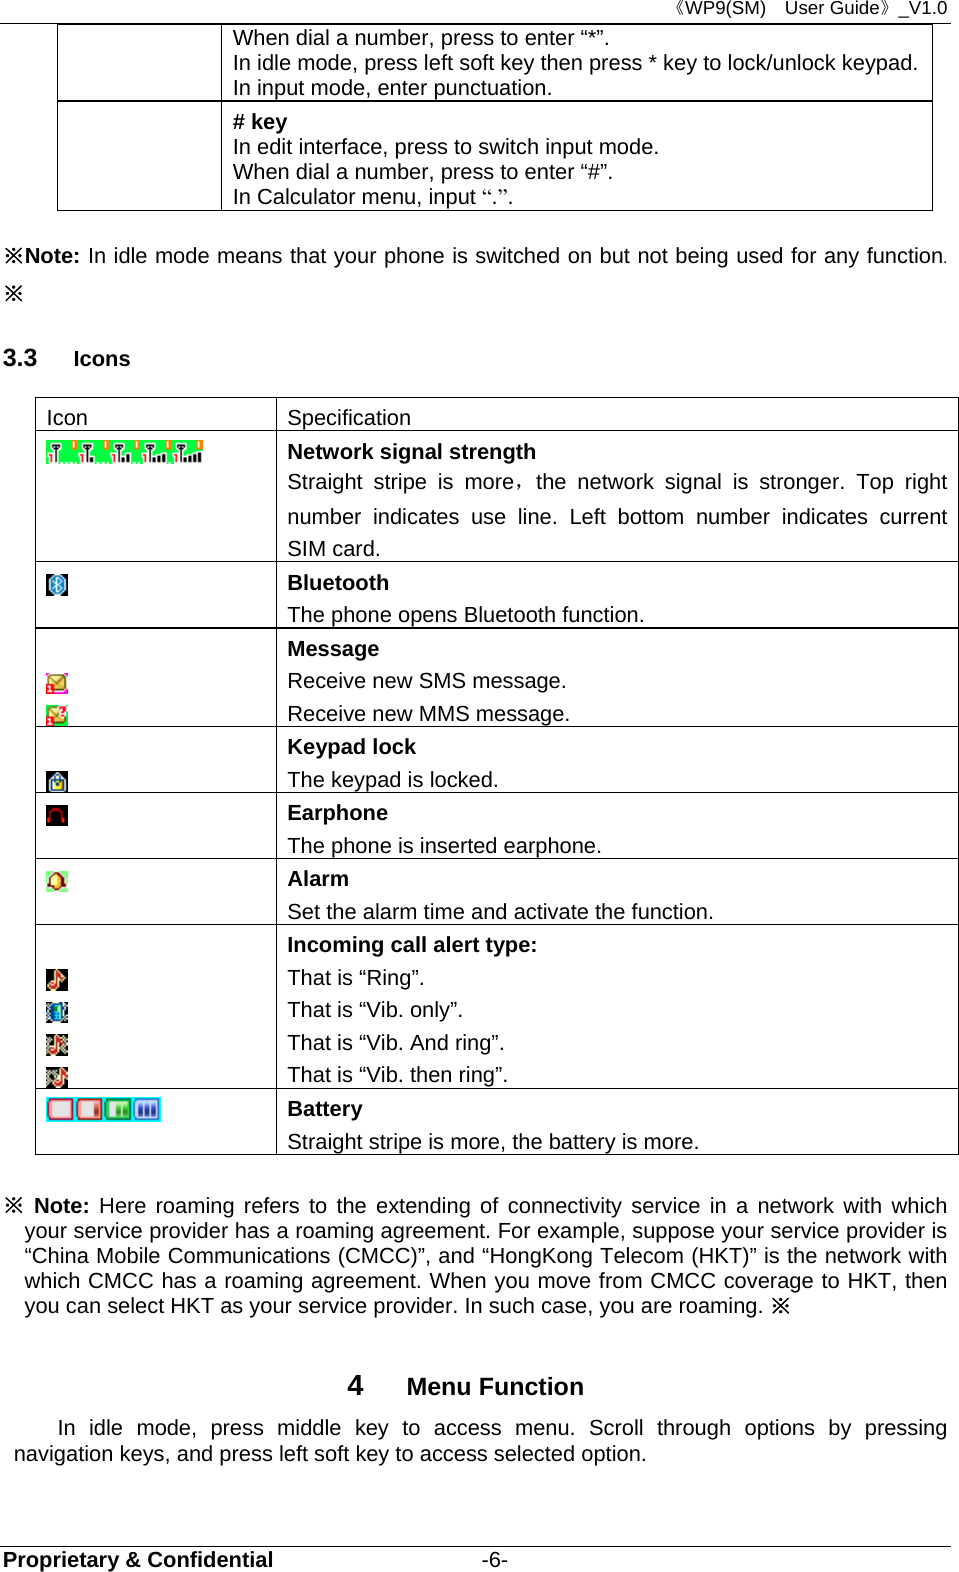
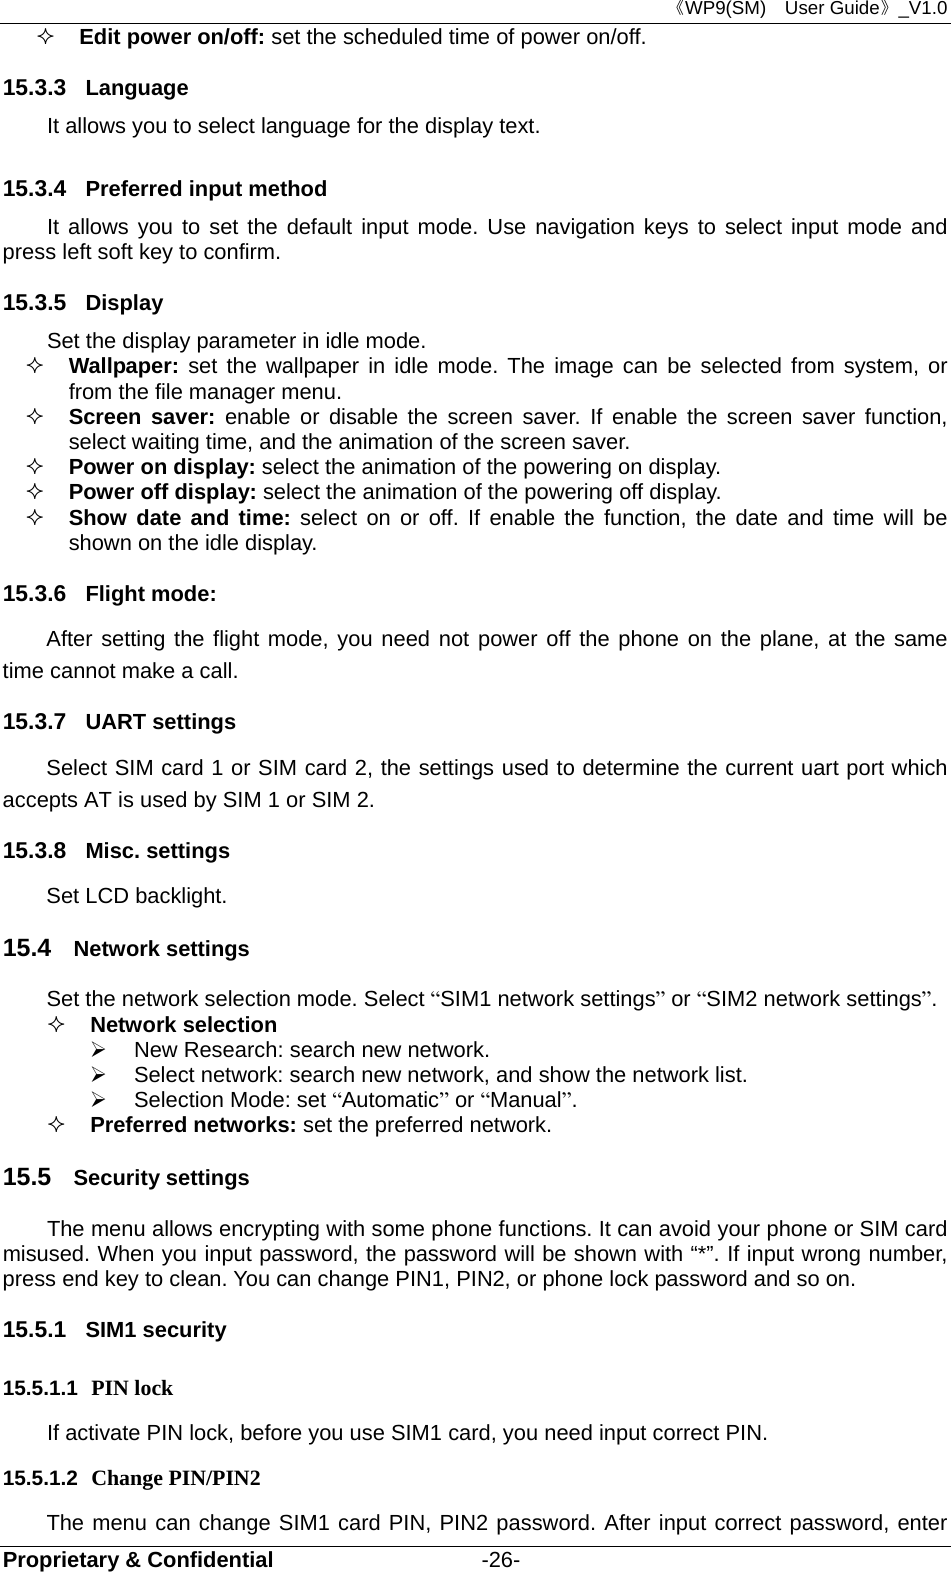
![《WP9(SM) User Guide》_V1.0 Proprietary & Confidential -23- 12.5.6 Ebook reader E-Book Reader supports read e-book files on your phone. You also can set the reader parameter for convenience. Now the phone only supports TXT and PDB format files. 1)If the bookshelf is null, press middle key to access: Cleanup bookshelf: cleanup the bookshelf. Global settings: set the reading parameter. Font style: set font style. Scroll by: select scroll mode: Page, Line. Auto scroll: if set auto scroll, the reader can automatically scroll page/line. Scroll speed: set scroll speed. Full screen: set the reader with full screen display. Encoding: select encoding mode. ※ Note:Before reading, you need select correct encoding mode. Or there is unreadable code.※ Alignment: select left or right aligning mode. Select storage: select memory media to open the e-book. 2)If there is ebook in the shelf, select one, and press middle key to access: Open ebook: open the e-book. Clean up bookshelf: update the e-book file. Global settings: set the reader parameter. Book info: show the file details. Delete: delete selected file. Delete all files: delete all the e-book files. Sort by: sort the files in the same folder, or disable the feature. Apply global settings: execute the system settings. Help: show the help information. 3)Open the ebook file, show the content, and press middle key to access: Find: find the specific character, select find mode: Case Sensitive, Case Insensitive. Jump to: directly jump to specific position. Go to bookmark: go to specific bookmark position. Add bookmark: add a new bookmark in the current position. Delete bookmark: delete bookmark. Book info: show the file details. Settings: set the reader parameter. Apply global settings: execute the system setting. Help: show the help information. Close: close the book. 13 File manager For saving more information, the phone support memory card. The card can be installed at any time. The menu can manage the files on the phone. Enter File Manager menu, show storage media list. Select one, the total storage and used storage will be shown on the up display, and an icon shows use proportion on the left-up. 13.1 Phone 1) Select “Phone”, press left soft key to access [Options]: Open: open the folder and show the file list. Format: format the phone memory. ※Note: After formatting, all date saved on the phone will be lost forever.※ 2) Select one folder, press left soft key to access: Open: open the folder and show the file list. New folder: create a new folder under the current folder. Rename: Rename the selected folder. Delete: delete selected folder. Sort by: sort the selected folder.](https://usermanual.wiki/BLU/BLUTATTOOMN.User-Manual/User-Guide-1547155-Page-28.png)
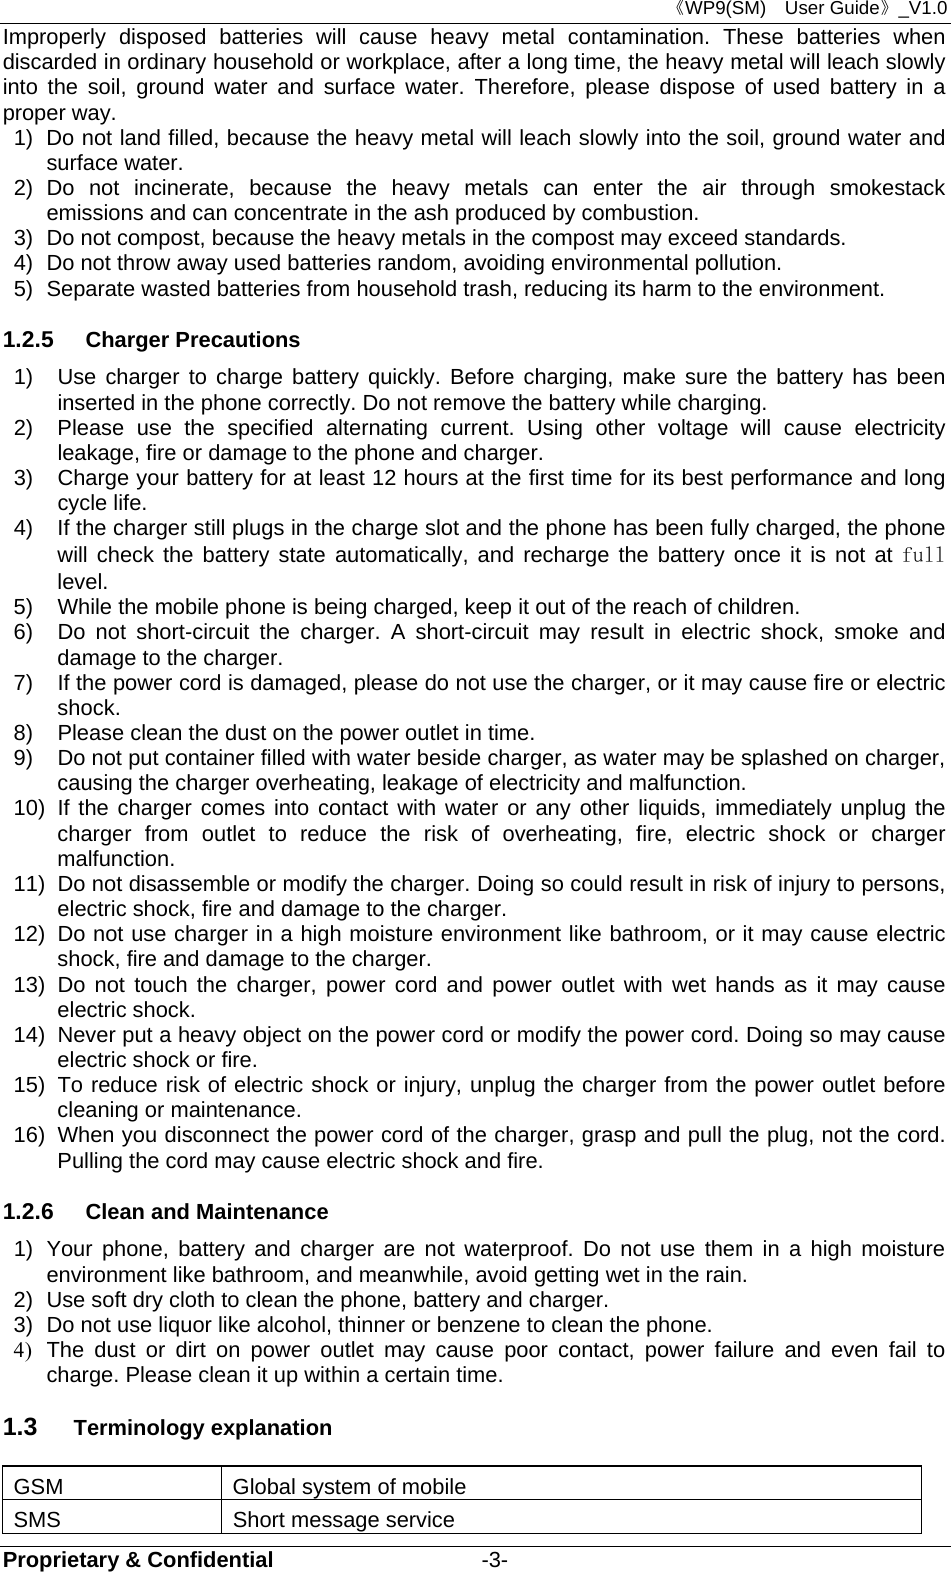
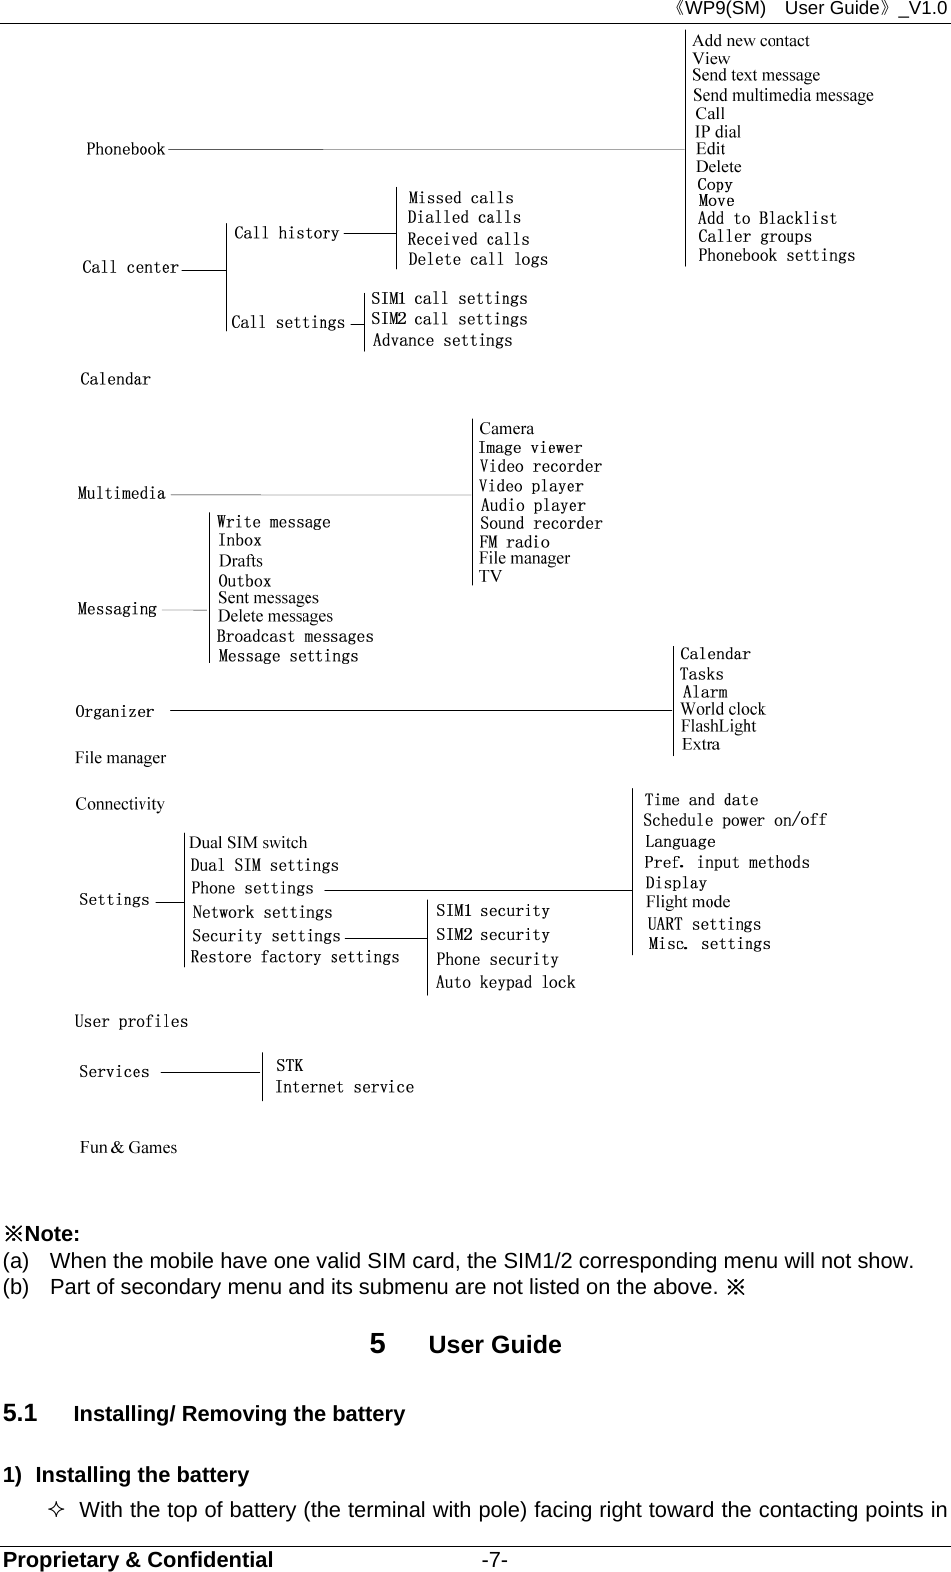
![《WP9(SM) User Guide》_V1.0 Proprietary & Confidential -27- new password for two times. 15.5.2 SIM2 security Please refer to “SIM1 security”. 15.5.3 Phone security 15.5.3.1 Phone lock If activate Phone lock, before you use phone, you need input correct phone password. 15.5.3.2 Change password Change phone password. 15.5.4 Auto keypad lock Set the keypad lock mode. You can activate or disable the function. 15.6 Restore factory settings In this menu enter your phone code (the initial value is 1122) and press <Accept> to reset your phone to its default settings. 16 User profiles The menu allows setting different prompt mode for call and message in different environment. Press left soft key to access, select profile through up/down navigation key. 16.1 General Set the phone ring tone and other prompt mode as your prefer. 1) Activate: activate and set as default mode. 2) Customize: Set Alert type, Ring type, SIM1/2 incoming call, Power on, Power off, SIM1/2 Message tone, Keypad tone and the volume of Ring tone, Key tone. 3) Reset: reset to default settings. 16.2 Silent Activate silent mode. 16.3 Meeting Alert type is “Vib. only”. Operation details are same with [General]. 16.4 Outdoor The ring tone volume is 7 levels, and Ring type is “Repeat”. Operation details are same with [General]. 16.5 My style Set your own style settings, and rename it.](https://usermanual.wiki/BLU/BLUTATTOOMN.User-Manual/User-Guide-1547155-Page-32.png)