BMORN TECHNOLOGY W7421 Tablet PC User Manual W7421 EN
SHENZHEN BMORN TECHNOLOGY CO.,LTD. Tablet PC W7421 EN
UserManual.wiki
>
BMORN TECHNOLOGY
>
W7421 User Manual
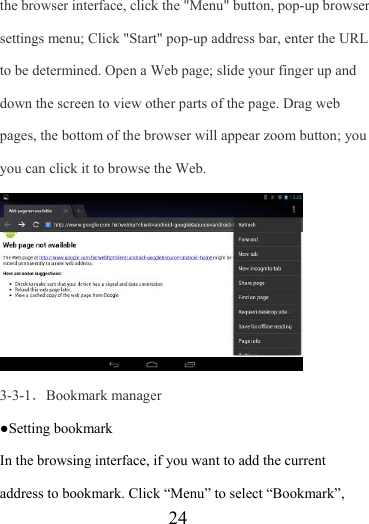
User manual
Navigation menu
Upload a User Manual
Namespaces
Wiki Guide
HTML
PDF
Info
Views
User Manual
Discussion / Help
Navigation

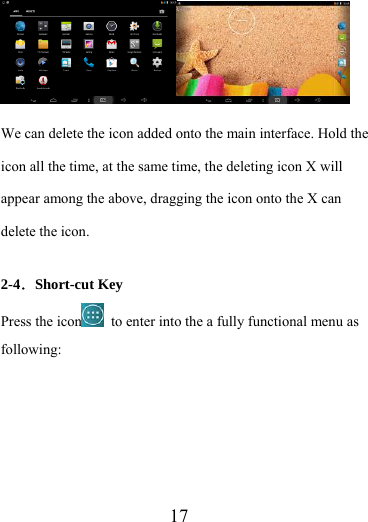

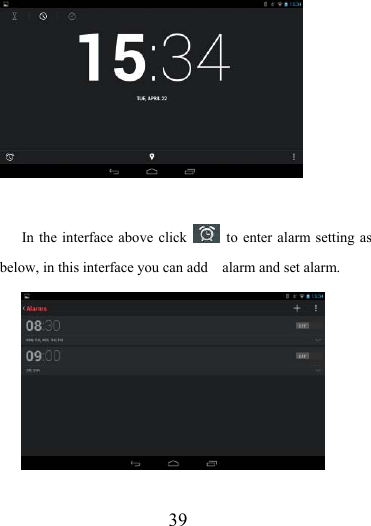
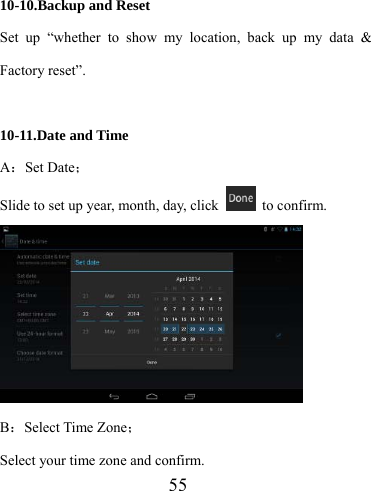
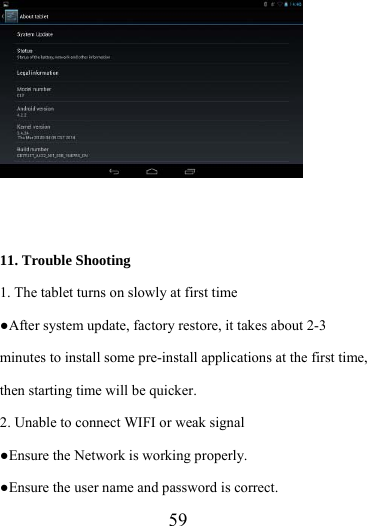
![40 Within the alarm interface can click the display time, set the alarm clock time . click open the alarm clock. 4-8.File Manager In main interface, click file manager icon , select [TF Card] or [Local Disk], [Mobile Disk] to expand the drop-down folders and related files. Here you can copy, move, paste or rename files. Long press a single folder or file, the Edit dialog box will pop up with choices to delete, rename, copy, paste and send E-Mail.](https://usermanual.wiki/BMORN-TECHNOLOGY/W7421/User-Guide-2777454-Page-40.png)