BUFFALO 04600022-0 Wireless LAN 802.11g USB2.0 Adapter User Manual USB KEychainManual indd
BUFFALO INC. Wireless LAN 802.11g USB2.0 Adapter USB KEychainManual indd
BUFFALO >
Contents
- 1. Users Manual Part 1
- 2. Users Manual Part 2
- 3. Manual
Users Manual Part 1

User Manual
Buffalo AirStation™
Wireless USB 2.0 Adapter
WLI-U2-KG54AI
www.buffalotech.com/wireless

2
Installation
Wireless USB 2.0 Adapter
Installation & Configuration
1. Installing the Wireless USB 2.0 Adapter:
◗ Insert the USB Adapter into your Laptop or Desktop PC as shown. USB ports
may be located on the rear, front or side of your PC depending on the design.
If there are multiple ports, choose the port that is free of interference to
maximize antenna reception.
3
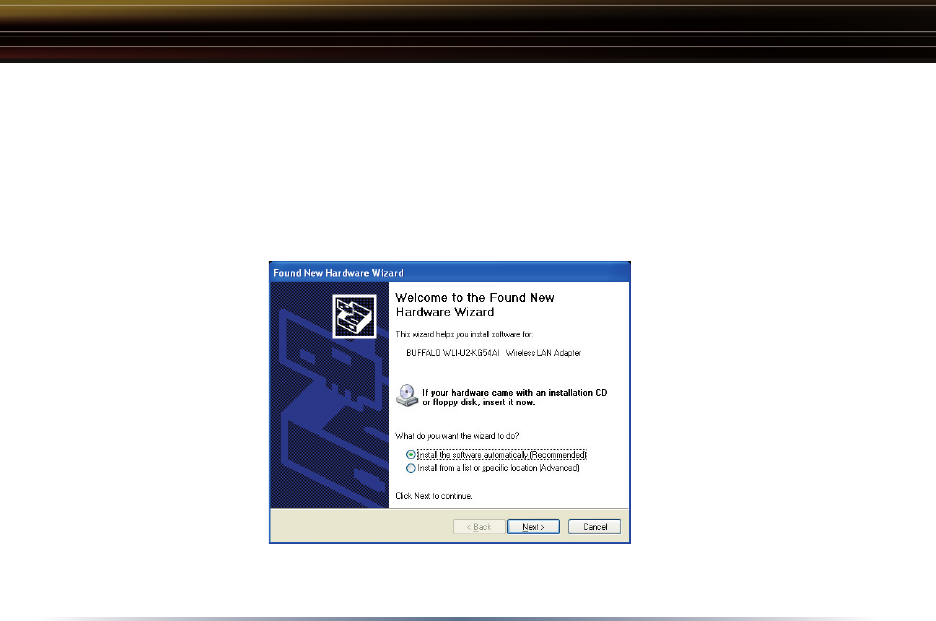
2. Device Discovery:
◗ Once inserted, Windows will automatically discover the presence of new
hardware. Various popup clouds will appear from the Windows taskbar. During
this time, allow Windows and the Wireless USB Adapter to communicate. The
process should take about one minute.
Click Next if the Found New Hardware Wizard appears as shown above.
Installation
4
Installation
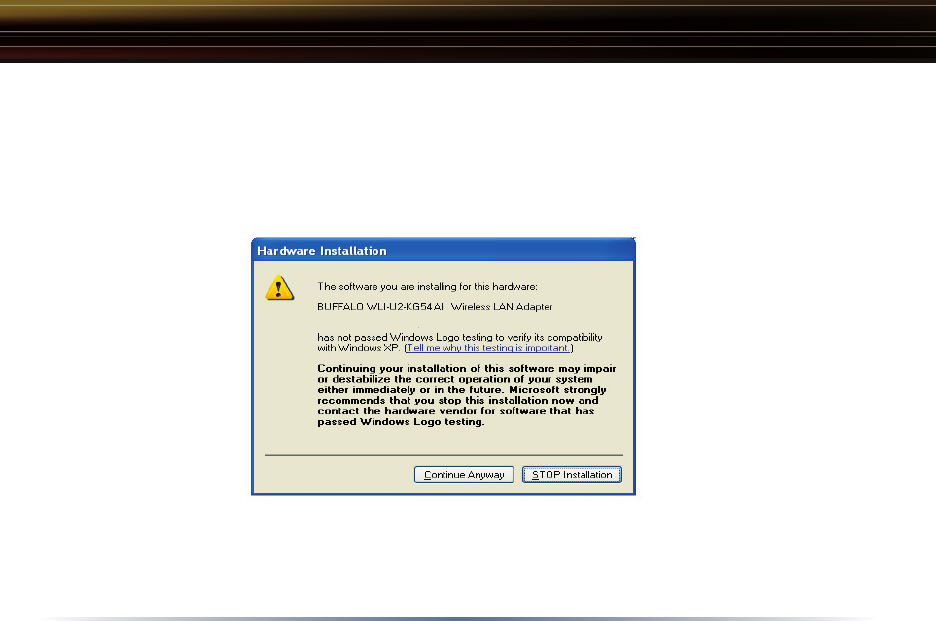
3. Wireless Adapter Driver Installation:
◗ In Windows XP or 2000, the following dialog box may appear as drivers are
installed. If so click Yes or Continue Anyway to finish installing the necessary
drivers.
Windows 98SE/ME/2000 users should skip to page 9.
5
Completing Installation on Windows XP
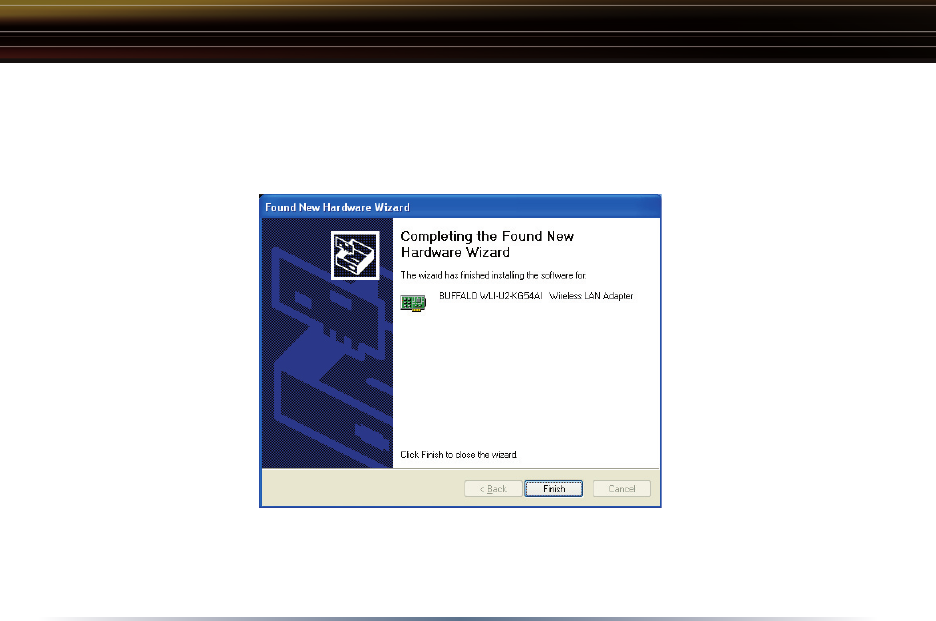
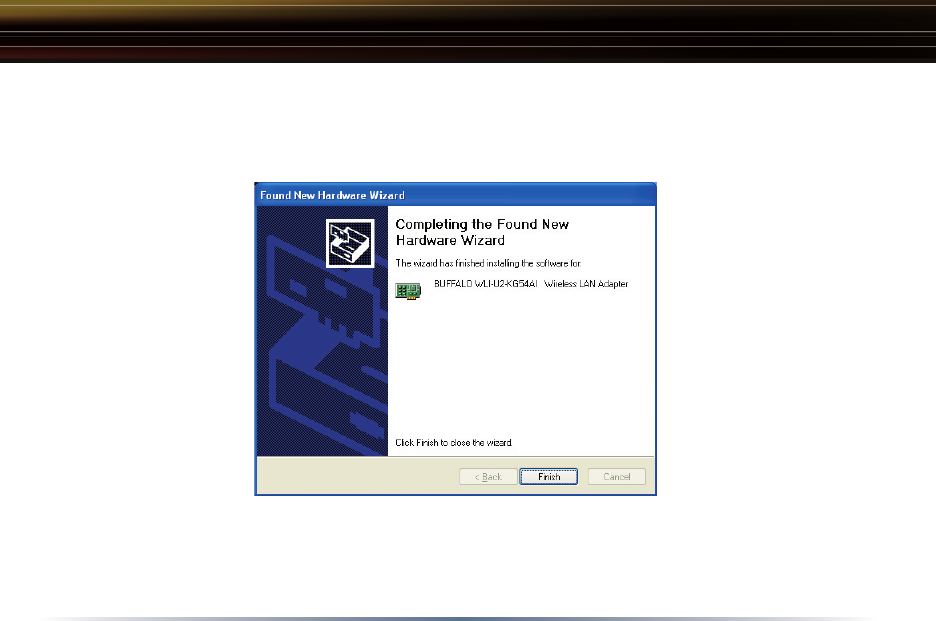
4. Completing Driver Installation for Windows XP:
◗ When the driver has completed installing on a Windows XP PC click Finish.
If you wish to use Windows Wireless Zero Configuration Service click No on the
new dialog box and go on to page 6. Otherwise, click Yes on the new dialog box
that will appear to install Buffalo’s Client Manager and go on to page 12.
6
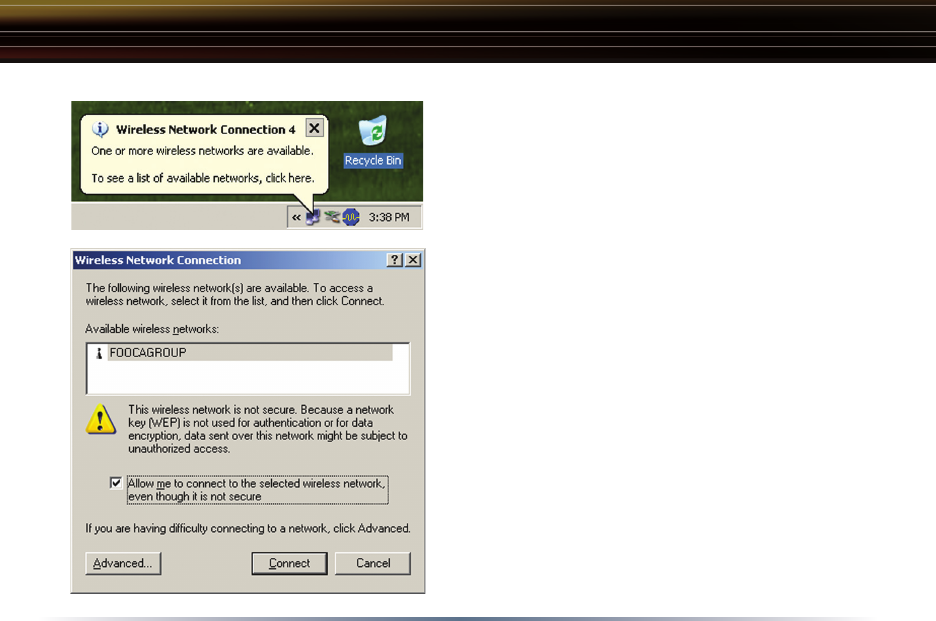
3. Configuring Wireless Zero Configuration
Service:
◗ If the Wireless Zero Configuration Service
is activated, Windows will scan for available
wireless access points once the Wireless
PCI Adapter is properly installed. If Windows
detects one or more access points, a network-
ing icon appears on the task bar. One or more
wireless networks are available appears as a
caption accompanying the icon.
■ Note: If the Wireless Zero Configuration Ser-
vice is not functioning, select Start>Control
Panel>Administrative Tools>Services. Select
Automatic in the Startup Type field of Wire-
less Zero Configuration Service to enable
the Wireless Zero Configuration Service. The
default value of Wireless Zero Configuration
Service is Automatic.
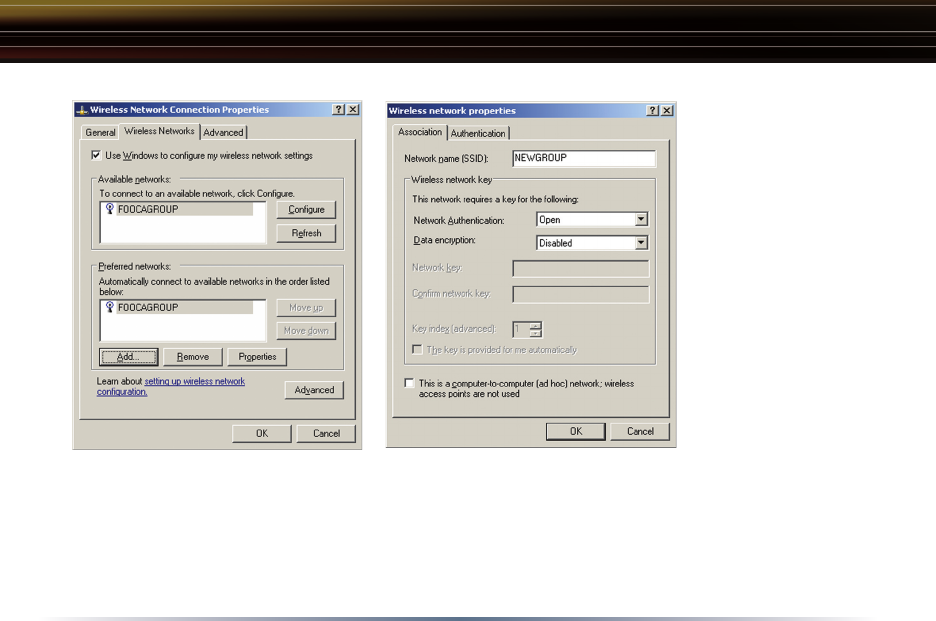
◗ Right click the networking icon in the taskbar
and select View Available Wireless Networks to
display a list of available wireless networks.
Select an access point network name or SSID and
click the Connect button to establish a connec-
Using Wireless Zero Configuration Service
7
◗ Click the Advanced button to enter an SSID network name or WEP/WPA en-
cryption key, if either is necessary. To add an SSID network name that is not
Using Wireless Zero Configuration Service
8
Using Wireless Zero Configuration Service
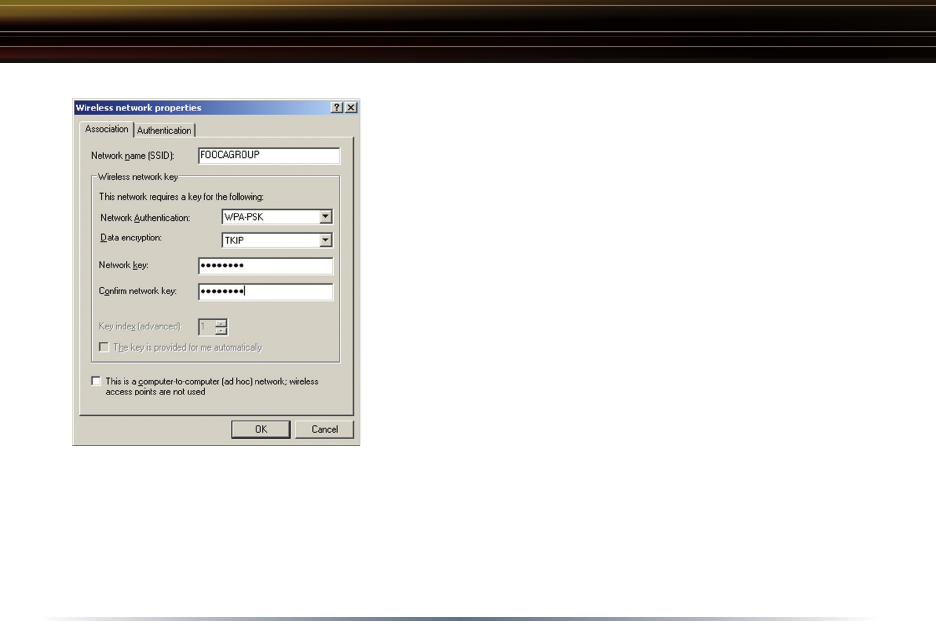
◗ To configure a WEP/WPA encryption key, select
the appropriate wireless network and click the Con-
figure button.
◗ From the pull down menu, select the appropriate
Network Authentication and Data Encryption for the
wireless network. Enter and confirm the Network
Key and Key Index. Click the OK button when
finished.
■ Note: Buffalo Technology recommends that
users of the Wireless Zero Configuration Service
upgrade to the latest version freely available at:
http://www.microsoft.com.
For advanced support in using Window’s XP’s
Wireless Zero Configuration Service, refer to the
Buffalo Support Web Site: http://www.buffalotech.
com/wireless/support
Skip to Page 12 if you are not using Windows XP or prefer not to use Windows
XP's Wireless Zero Configuration Service.
9
Completing Installation on Windows 98SE/ME/2000
4. Completing Driver Installation for Windows 98SE/ME/2000:
◗ When the driver has completed installing on a Windows XP PC click Finish.
Click Yes on the new dialog box that will appear to install Buffalo’s Client Man-
ager.

10
Placeholder

11
Placeholder

12
Client Manager
Use Client Manager to configure your wireless network. Use Client Manager to
survey and connect to available access points, enable and use WEP/WPA en-
cryption, and create connection profiles.
■ Note: Client Manager does not function properly if the Windows XP Wireless
Zero Configuration Service is enabled.
Installing Client Manager
◗ Once the InstallShield Wizard launches, click the Next button to begin the
software installation.
Client Manager