Belkin F5D7230E Wireless G Router User Manual P74559 G F5D7230 4 manual indd
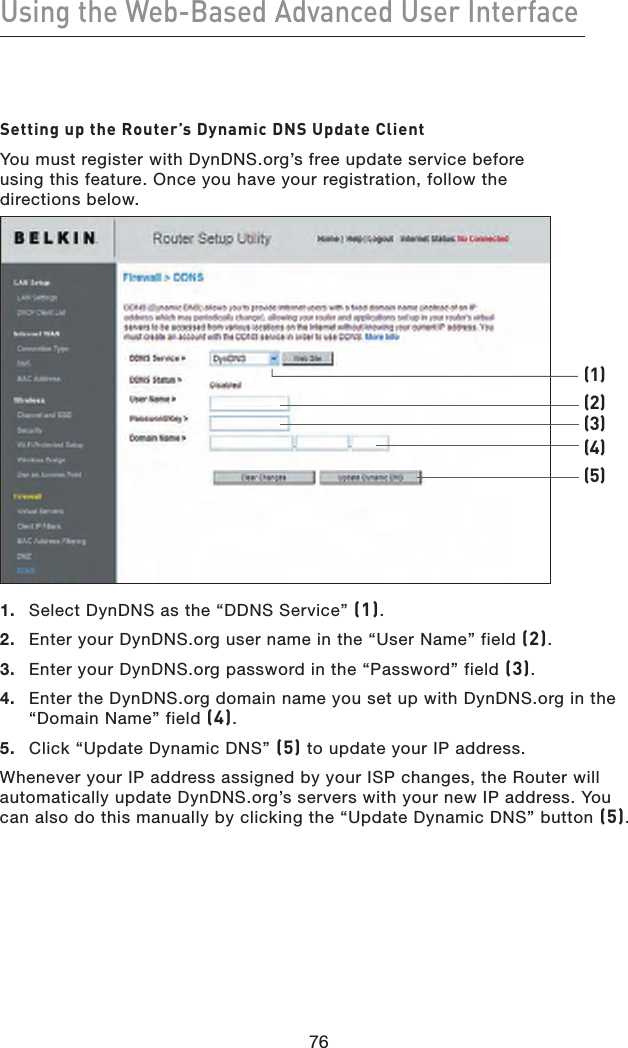
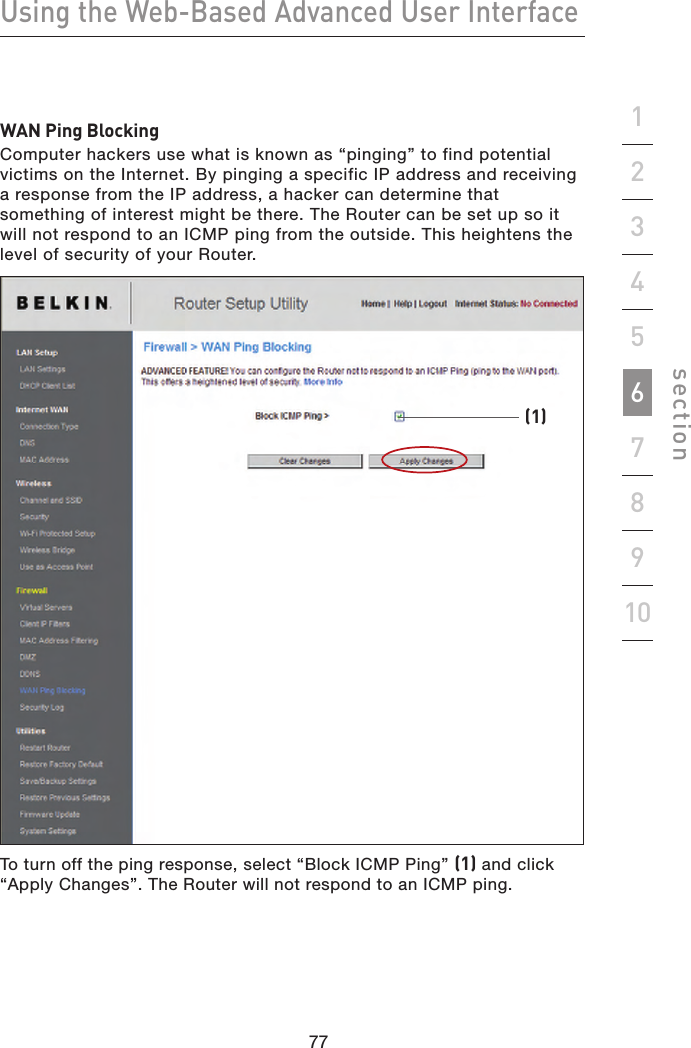
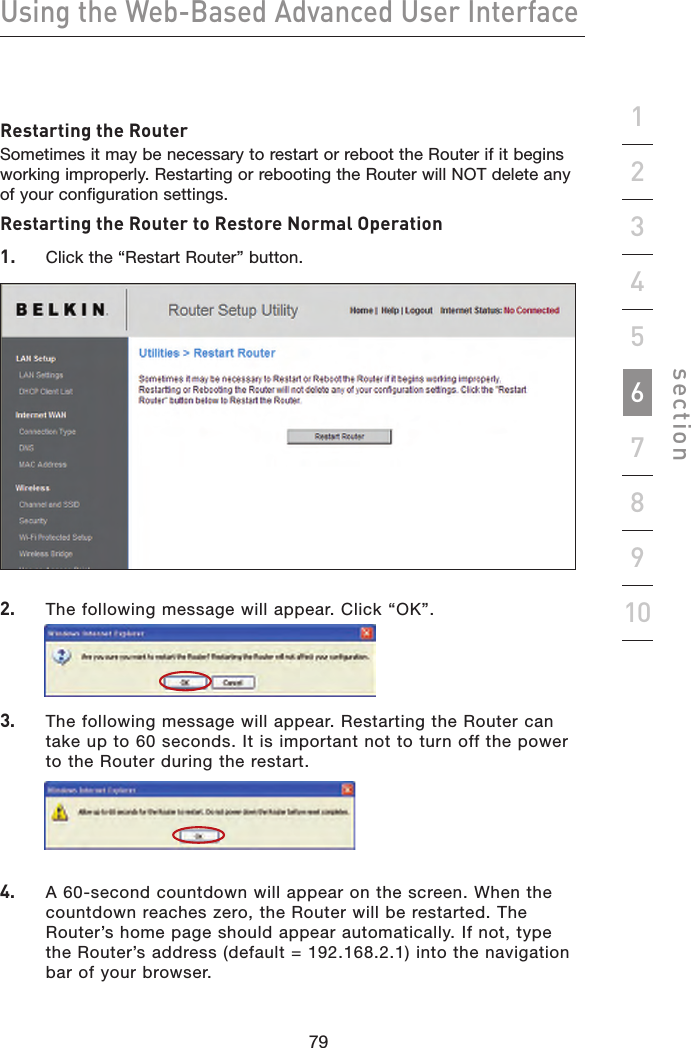
Belkin International, Inc. Wireless G Router P74559 G F5D7230 4 manual indd
Belkin >
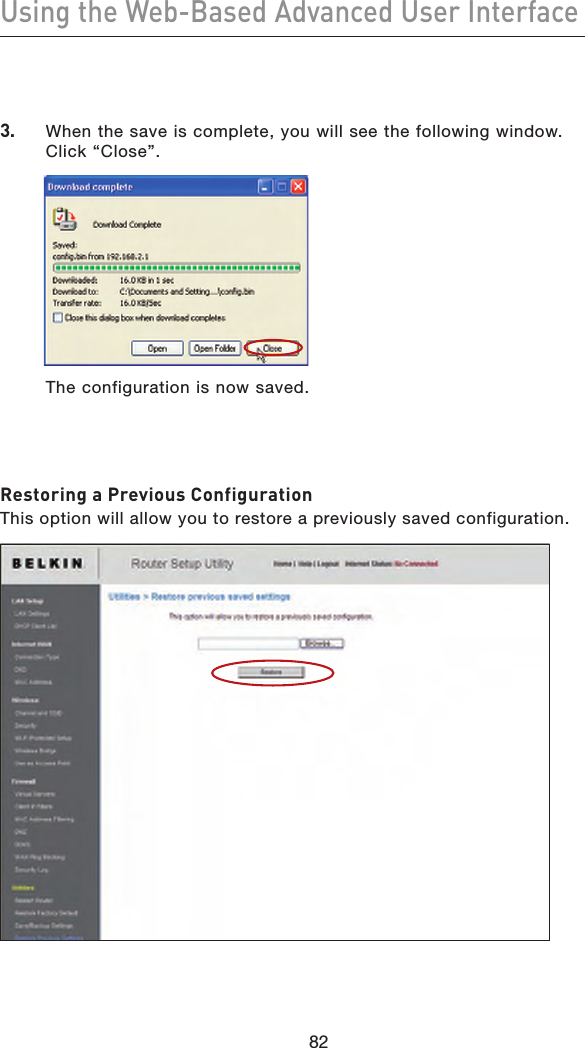
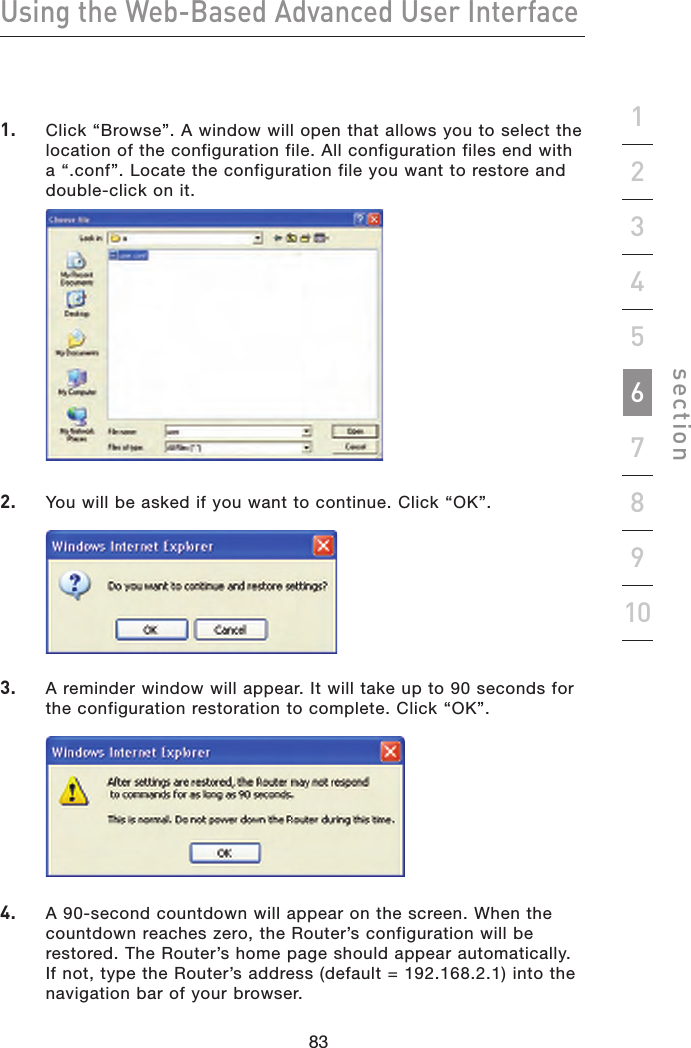
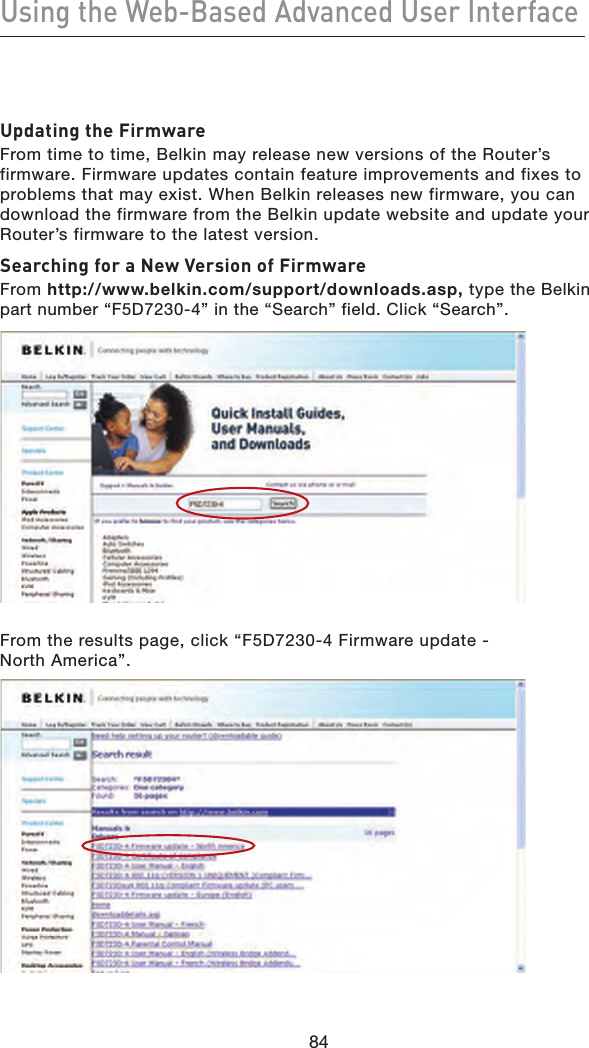
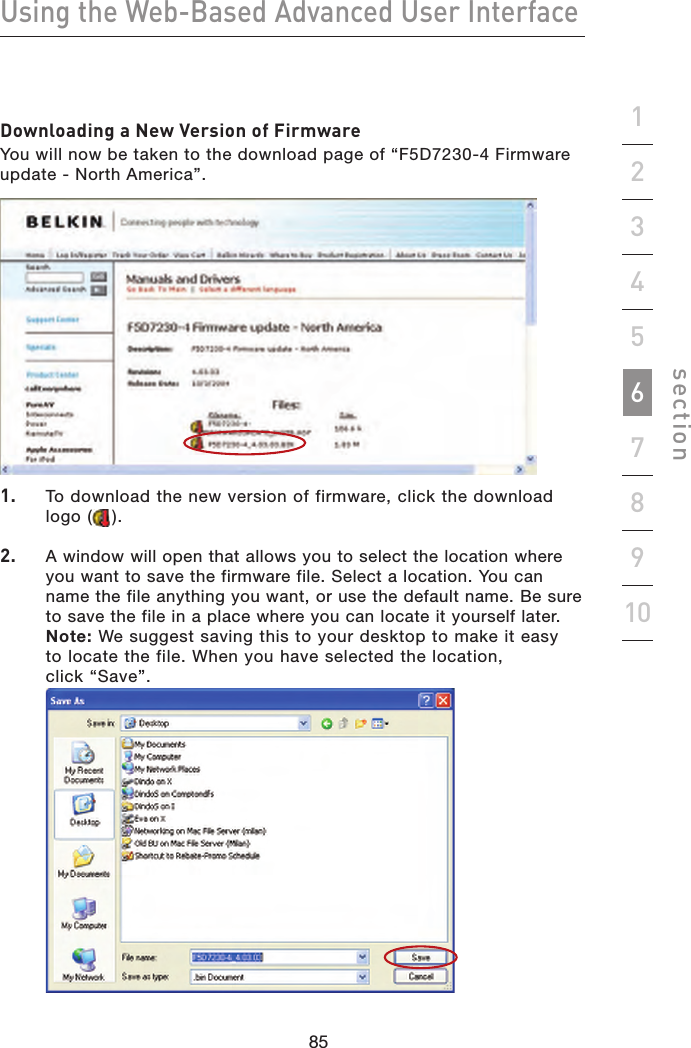
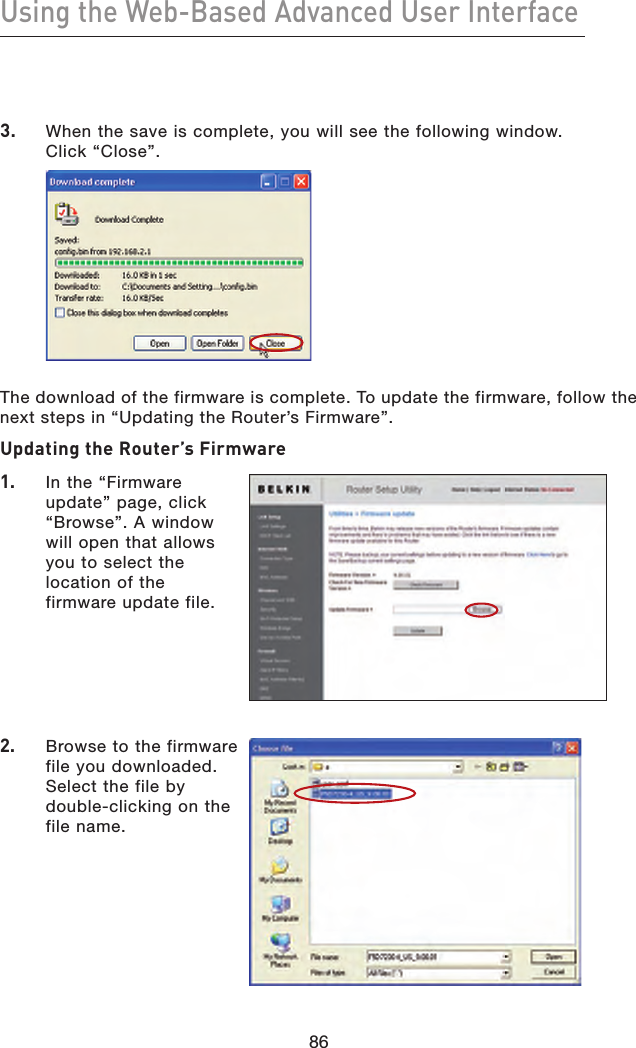
Contents
- 1. Users Manual 1
- 2. Users Manual 2
- 3. Users Manual 3
Users Manual 2