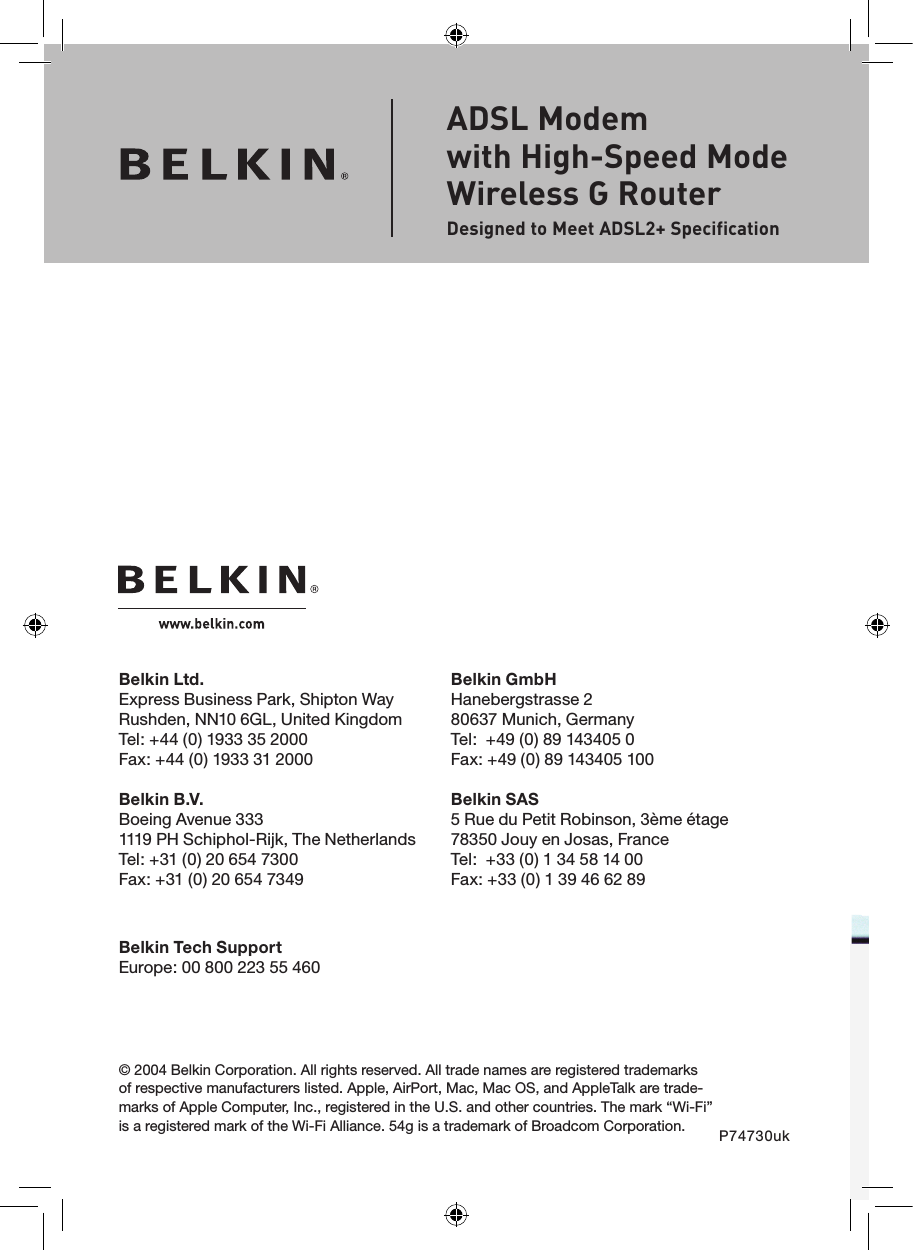
Belkin F5D7633-4 ADSL Modem with High-Speed Mode Wireless-G Router User Manual P74730uk F5D7633uk4 man indd
Belkin International, Inc. ADSL Modem with High-Speed Mode Wireless-G Router P74730uk F5D7633uk4 man indd
UserManual.wiki
>
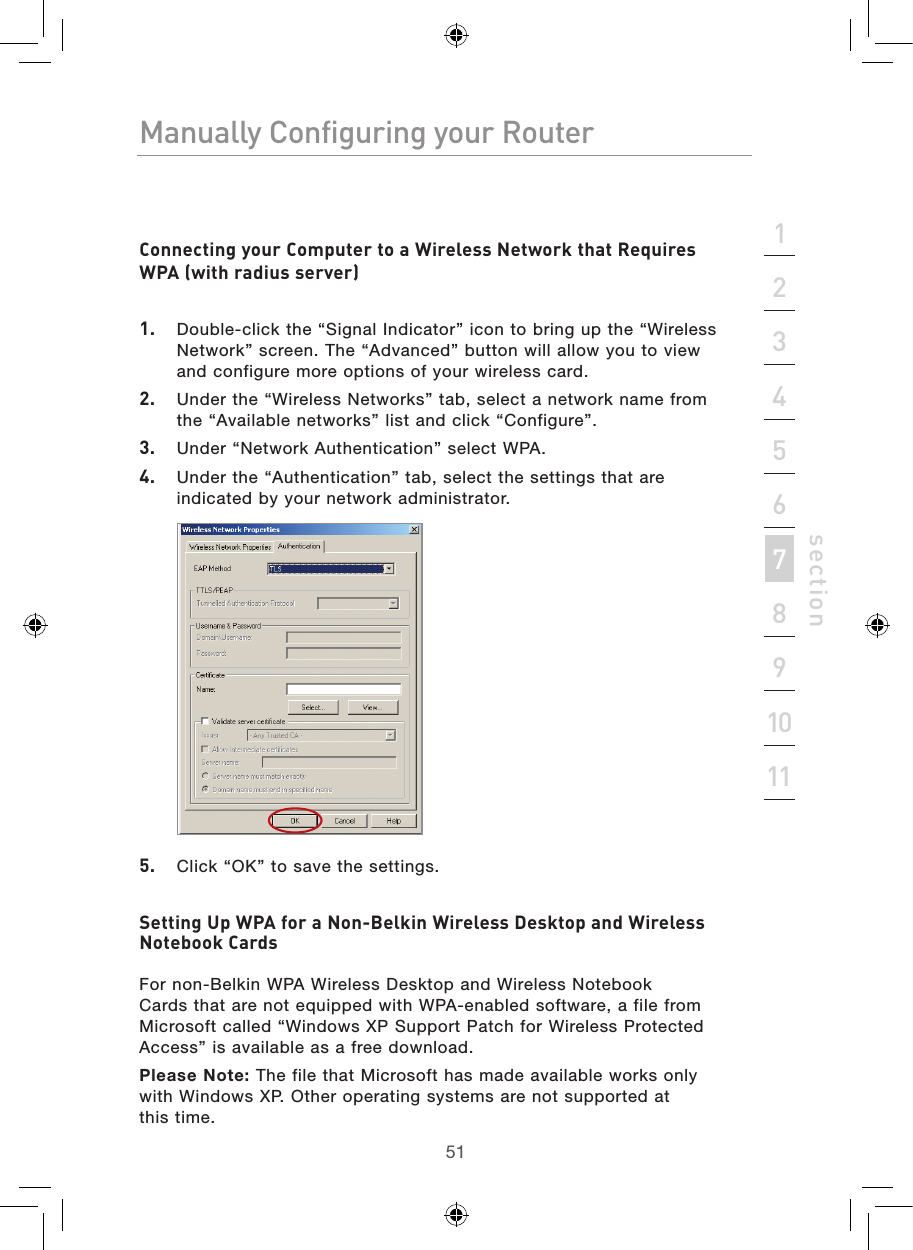
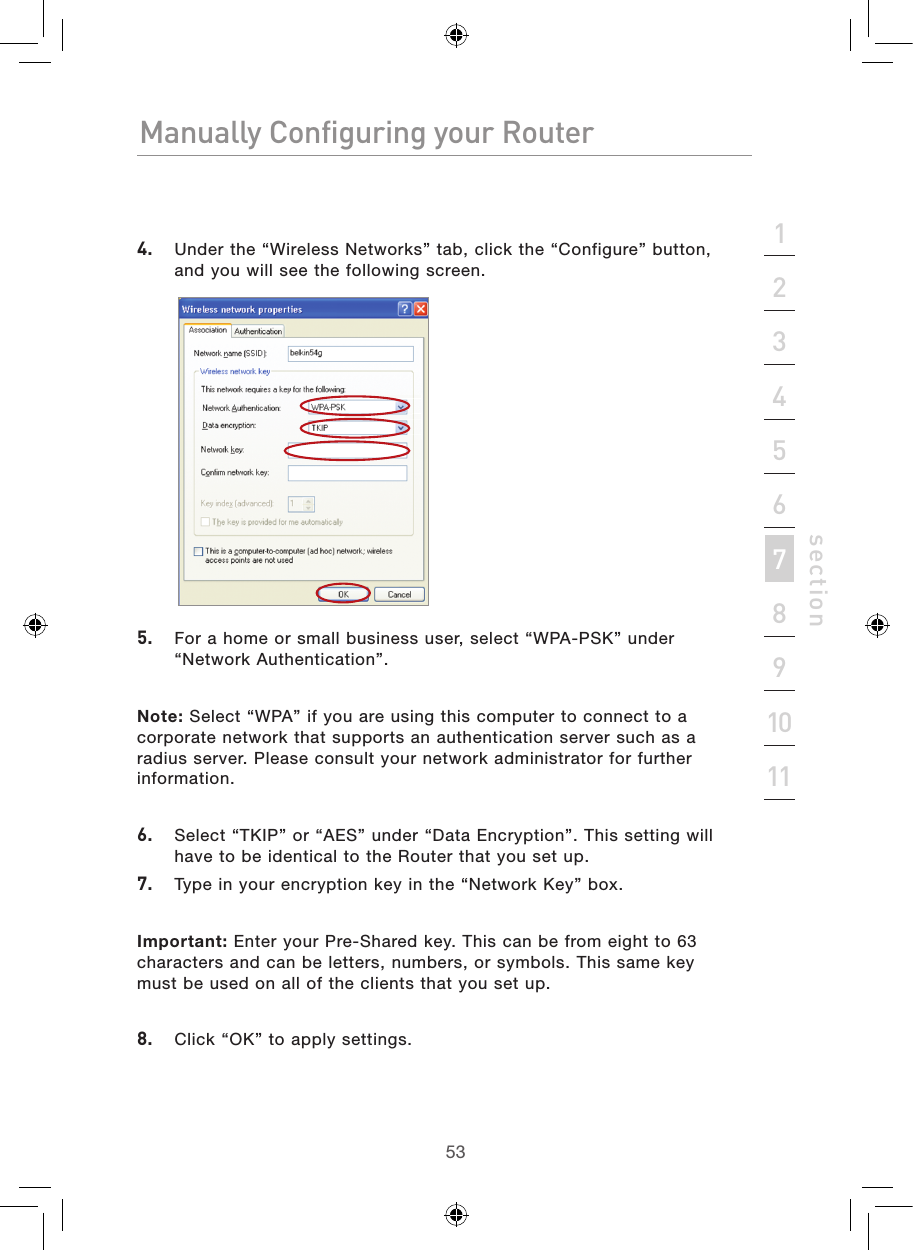
Belkin
>
F5D7633-4 User Manual
>
Part 2
Contents
1.
Part 1
2.
Part 2
Part 2
Navigation menu
Upload a User Manual
Namespaces
Wiki Guide
HTML
PDF
Info
Views
User Manual
Discussion / Help
Navigation