Belkin F9K1007V1 N300 Wi-Fi Router User Manual
Belkin International, Inc. N300 Wi-Fi Router
UserManual.wiki
>
Belkin
>
F9K1007V1 User Manual
User Manual
Navigation menu
Upload a User Manual
Namespaces
Wiki Guide
HTML
PDF
Info
Views
User Manual
Discussion / Help
Navigation


![[pull trans. for Tech Support and Warrant statement from 8820np00774_RevA00] Technical Support UShttp://www.belkin.com/supportUKhttp://www.belkin.com/uk/supportAustraliahttp://www.belkin.com/au/supportNewZealandhttp://www.belkin.com/au/supportSingapore1800 622 1130 Europehttp://www.belkin.com/uk/support Belkin International, Inc., Limited 2-Year Product Warranty What this warranty covers. Belkin International, Inc. (“Belkin”) warrants to the original purchaser of this Belkin product that the product shall be free of defects in design, assembly, material, or workmanship. What the period of coverage is. Belkin warrants the Belkin product for two years. What will we do to correct problems? Product Warranty. Belkin will repair or replace, at its option, any defective product free of charge (except for shipping charges for the product). Belkin reserves the right to discontinue any of its products without notice, and disclaims any limited warranty to repair or replace any such discontinued products. In the event that Belkin is unable to repair or replace the product (for example, because it has been discontinued), Belkin will offer either a refund or a credit toward the purchase of another product from Belkin.com in an amount equal to the purchase price of the](https://usermanual.wiki/Belkin/F9K1007V1/User-Guide-2136580-Page-37.png)
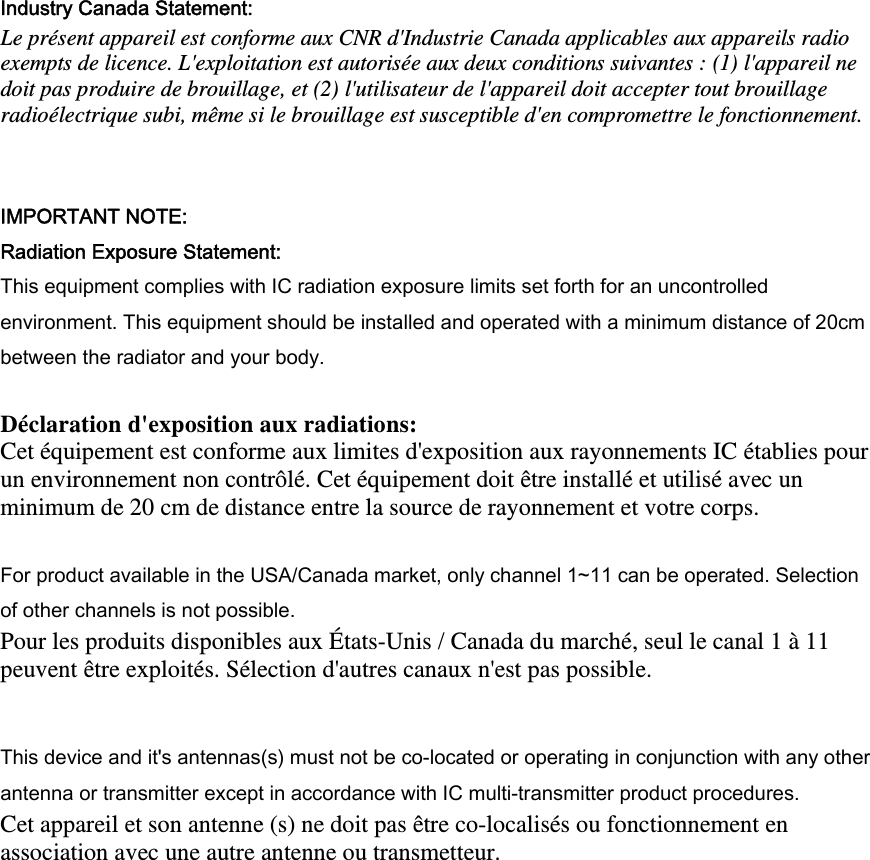
![This radio transmitter (IC: 3623A-F9K1007V1/ Model: F9K1007V1) has been approved by Industry Canada to operate with the antenna types listed below with the maximum permissible gain and required antenna impedance for each antenna type indicated. Antenna types not included in this list, having a gain greater than the maximum gain indicated for that type, are strictly prohibited for use with this device. This device has been designed to operate with the antennas listed below, and having a maximum gain of [2.52] dBi. Antennas not included in this list or having a gain greater than [x] dB are strictly prohibited for use with this device. The required antenna impedance is 50 ohms. Ce dispositif a été conçu pour fonctionner avec une antenne ayant un gain maximal de PCB dipole antenne avec dBi [2.52]. Une antenne à gain plus élevé est strictement interdite par les règlements d'Industrie Canada. L'impédance d'antenne requise est de 50 ohms. Antenna List: Conformément à la réglementation d'Industrie Canada, le présent émetteur radio peutfonctionner avec une antenne d'un type et d'un gain maximal (ou inférieur) approuvé pourl'émetteur par Industrie Canada. Dans le but de réduire les risques de brouillage radioélectriqueà l'intention des autres utilisateurs, il faut choisir le type d'antenne et son gain de sorte que lapuissance isotrope rayonnée équivalente (p.i.r.e.) ne dépasse pas l'intensité nécessaire àl'établissement d'une communication satisfaisante. Le présent émetteur radio (IC: 3623A-F9K1007V1/ Model: F9K1007V1) a été approuvé par Industrie Canada pour fonctionner avec les types d'antenne énumérés ci-dessous et ayant un gain admissible maximal et l'impédance requise pour chaque type d'antenne. Les types d'antenne non inclus dans cette liste, ou dont le gain est supérieur au gain maximal indiqué, sont strictement interdits pour l'exploitation de l'émetteur. Ant. Brand Model Name P/N Antenna Type Connector Gain (dBi)1 Arcadyan AR-08-302-0001 120300022800J Dipole Antenna N/A 1.6 2 Arcadyan AR-07-302-0003 120300044600J Dipole Antenna I-PEX 2.52](https://usermanual.wiki/Belkin/F9K1007V1/User-Guide-2136580-Page-43.png)