Belkin F9K1106V1 Dual-Band Wireless Range Extender User Manual UserMan K7SF9K1106V1 rev 1
Belkin International, Inc. Dual-Band Wireless Range Extender UserMan K7SF9K1106V1 rev 1
UserManual.wiki
>
Belkin
>
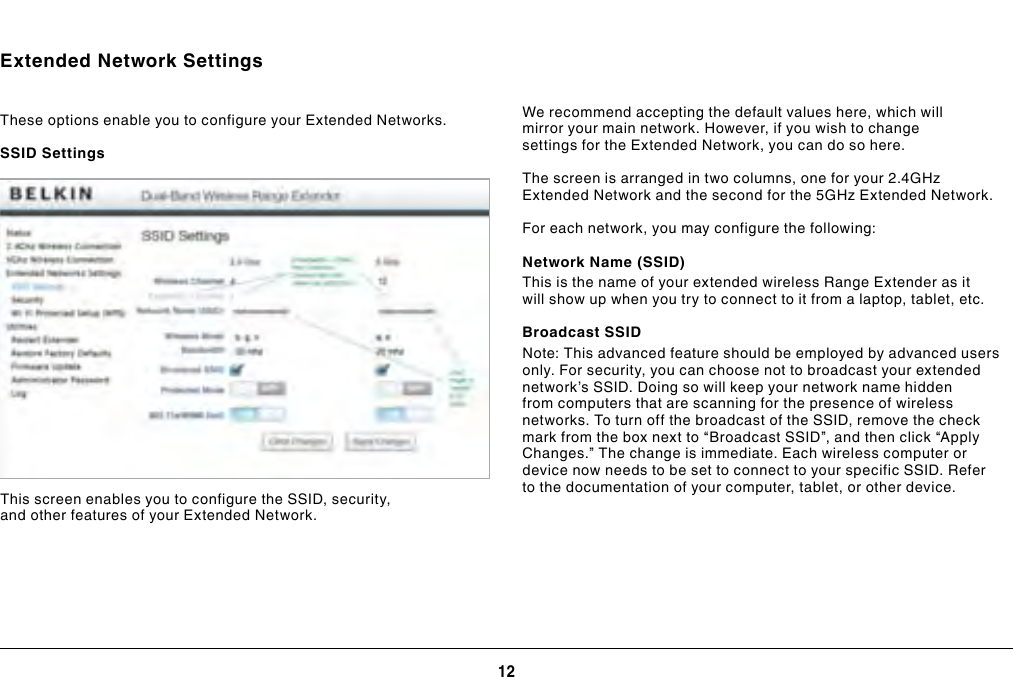
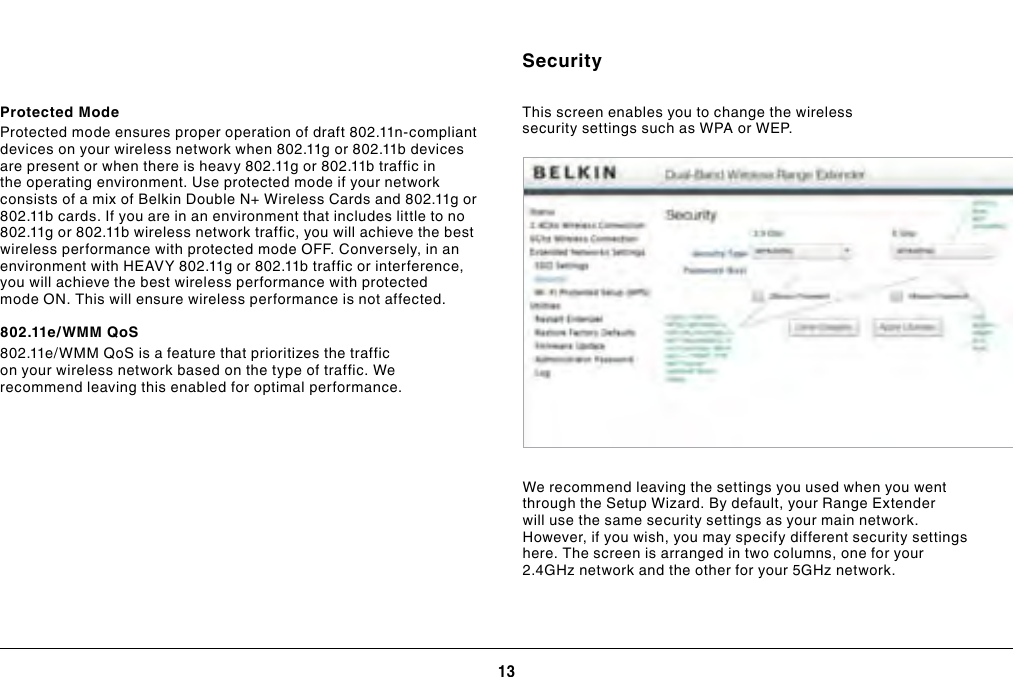
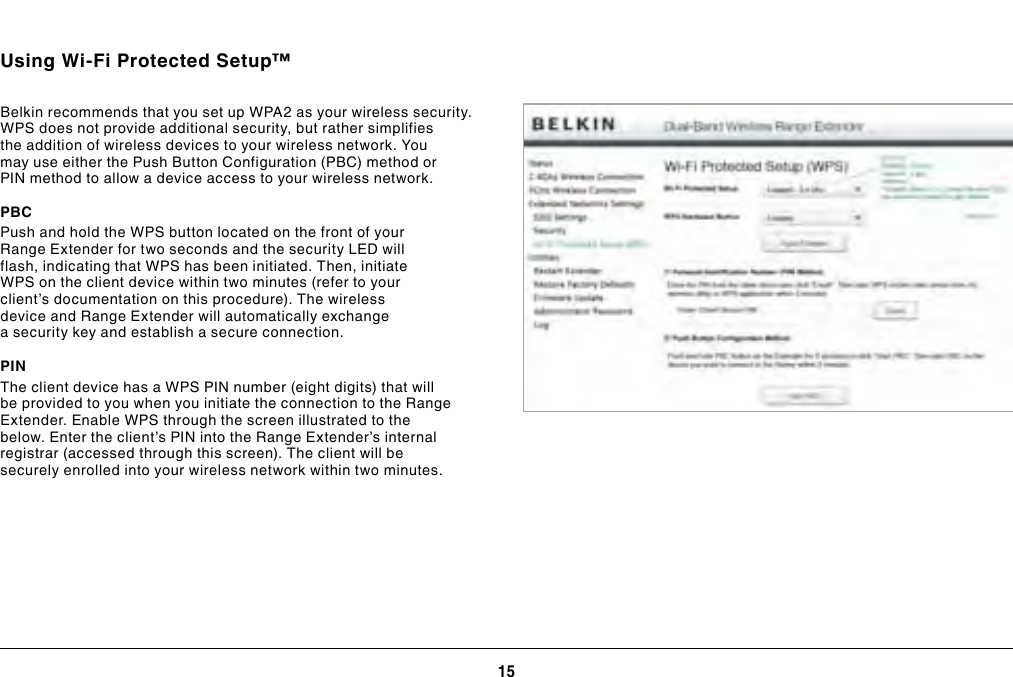
F9K1106V1 User Manual
UserMan_K7SF9K1106V1_rev. 1
Navigation menu
Upload a User Manual
Namespaces
Wiki Guide
HTML
PDF
Info
Views
User Manual
Discussion / Help
Navigation