Berlin Group CON150US Internet Radio User Manual
Berlin Brands Group Inc. Internet Radio
UserManual.wiki
>
Berlin Group
>
CON150US User Manual
User Manual
Navigation menu
Upload a User Manual
Namespaces
Wiki Guide
HTML
PDF
Info
Views
User Manual
Discussion / Help
Navigation

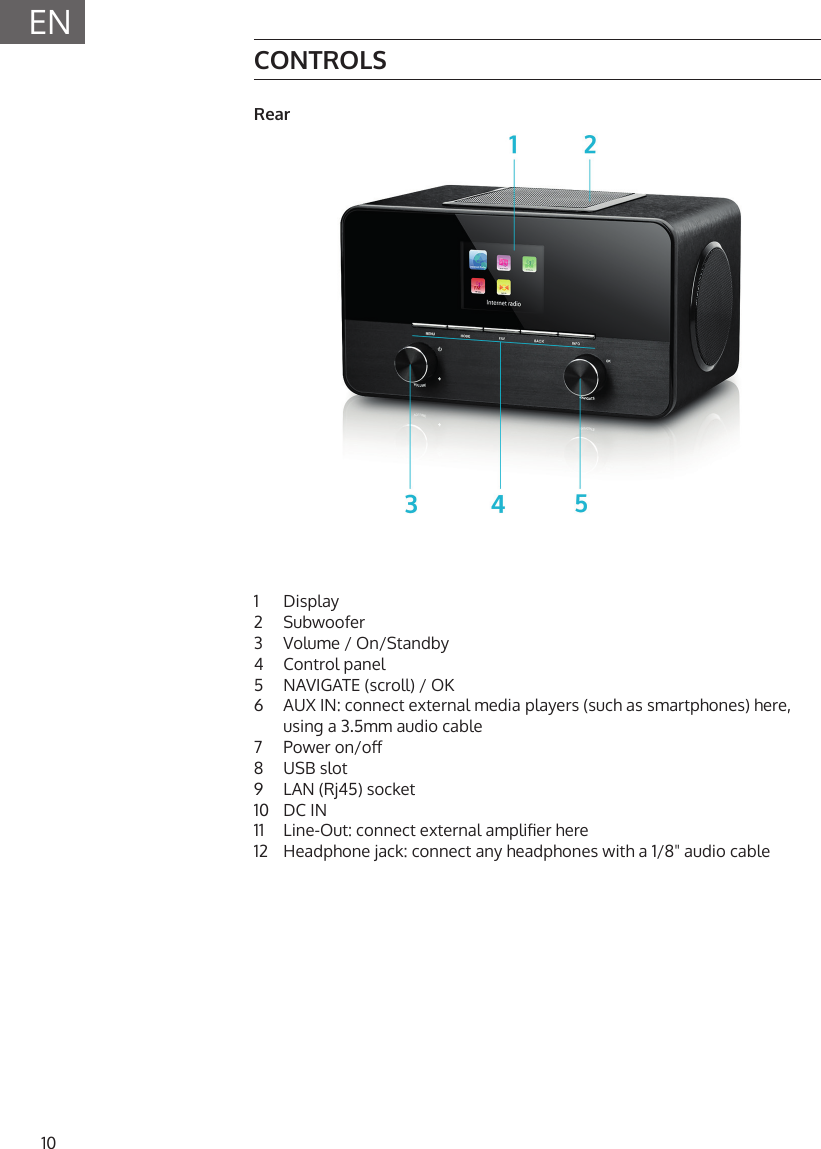

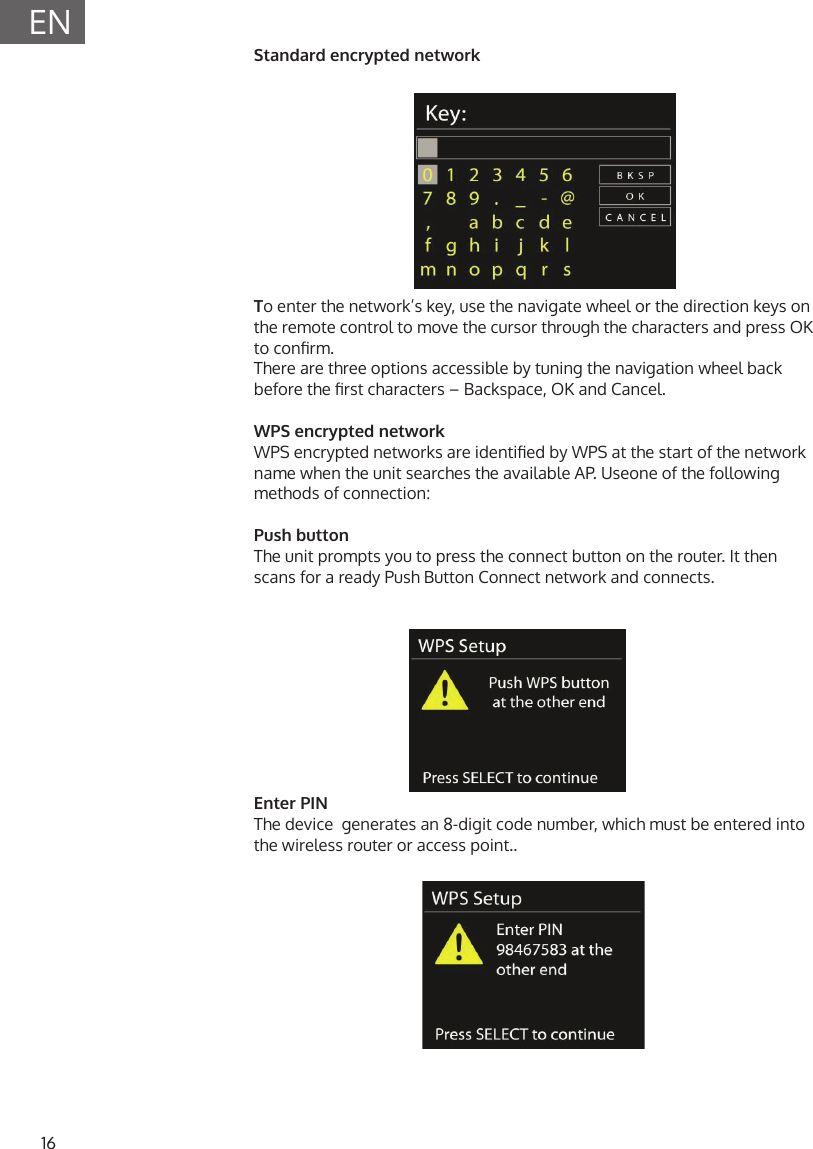
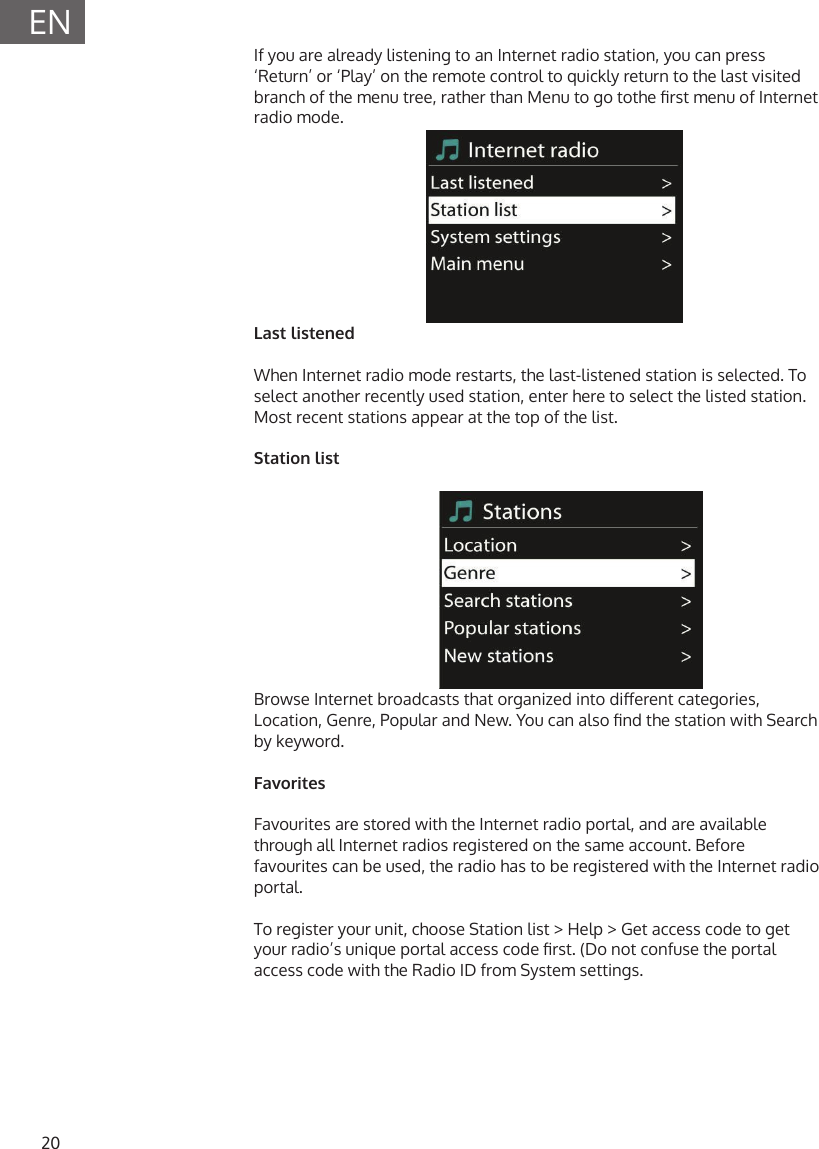
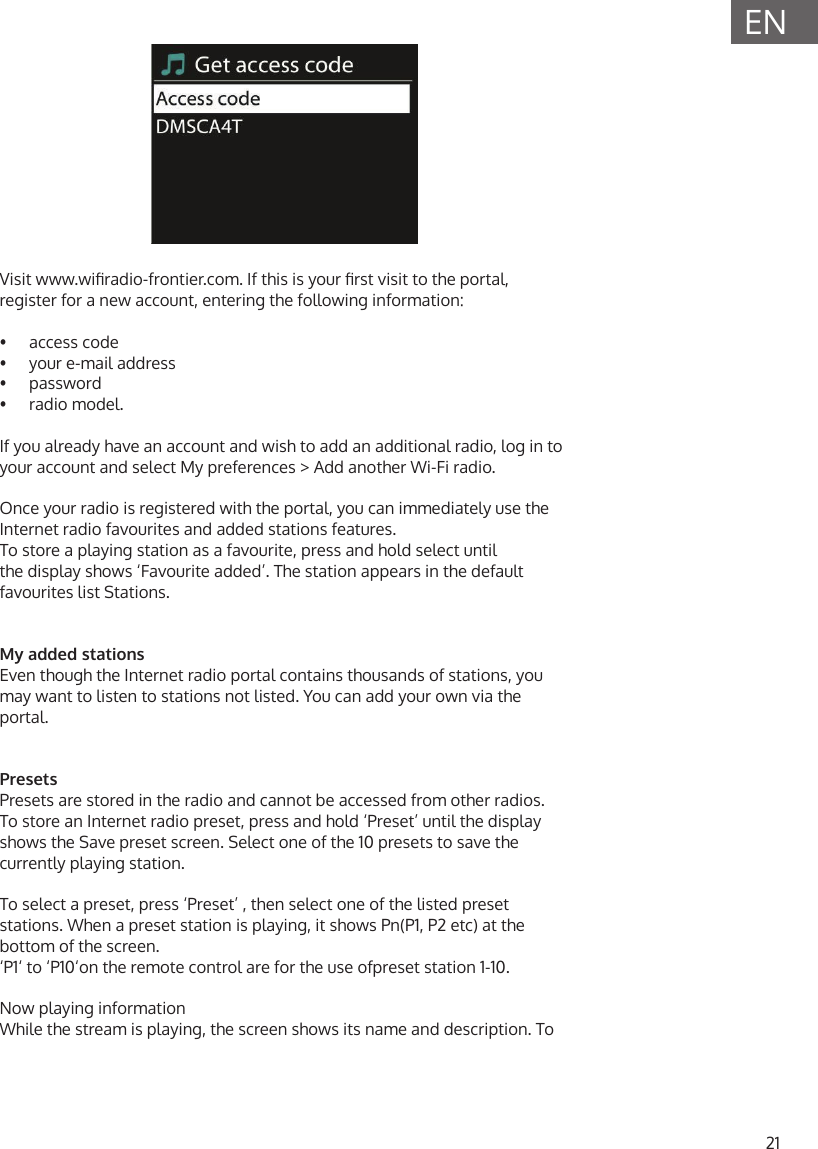
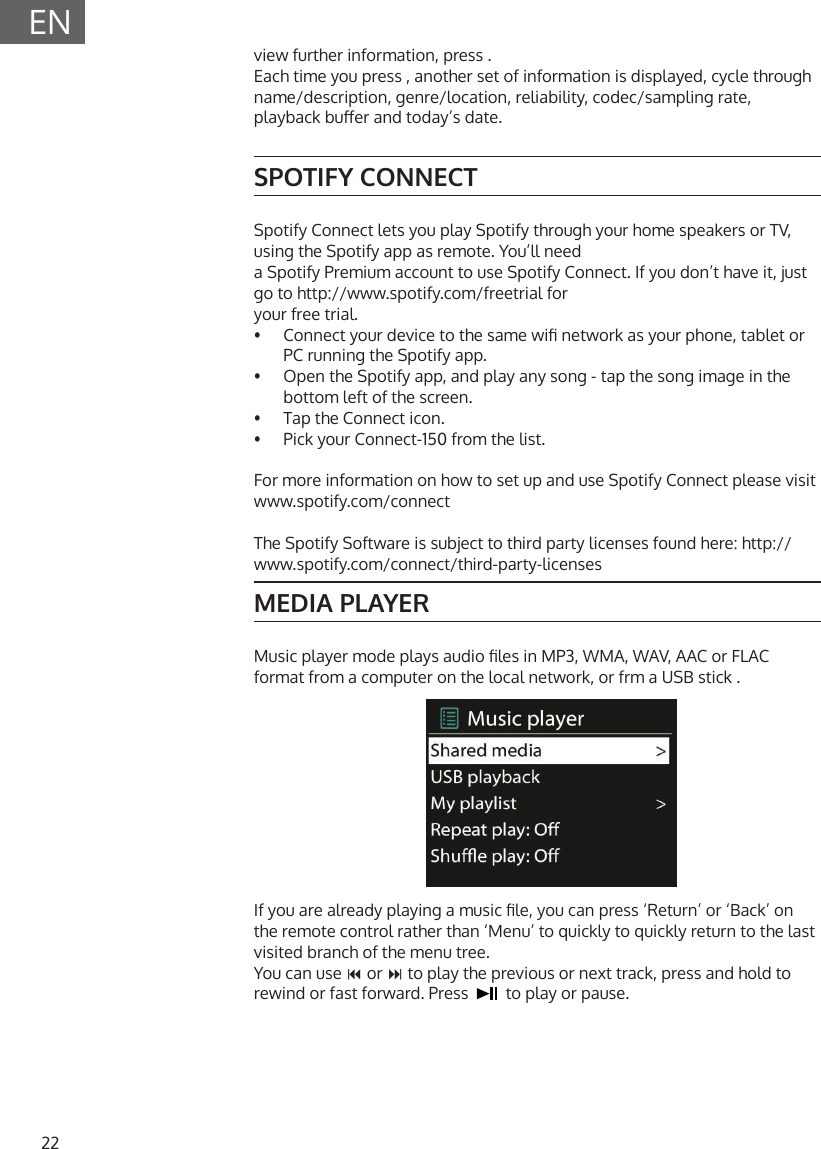
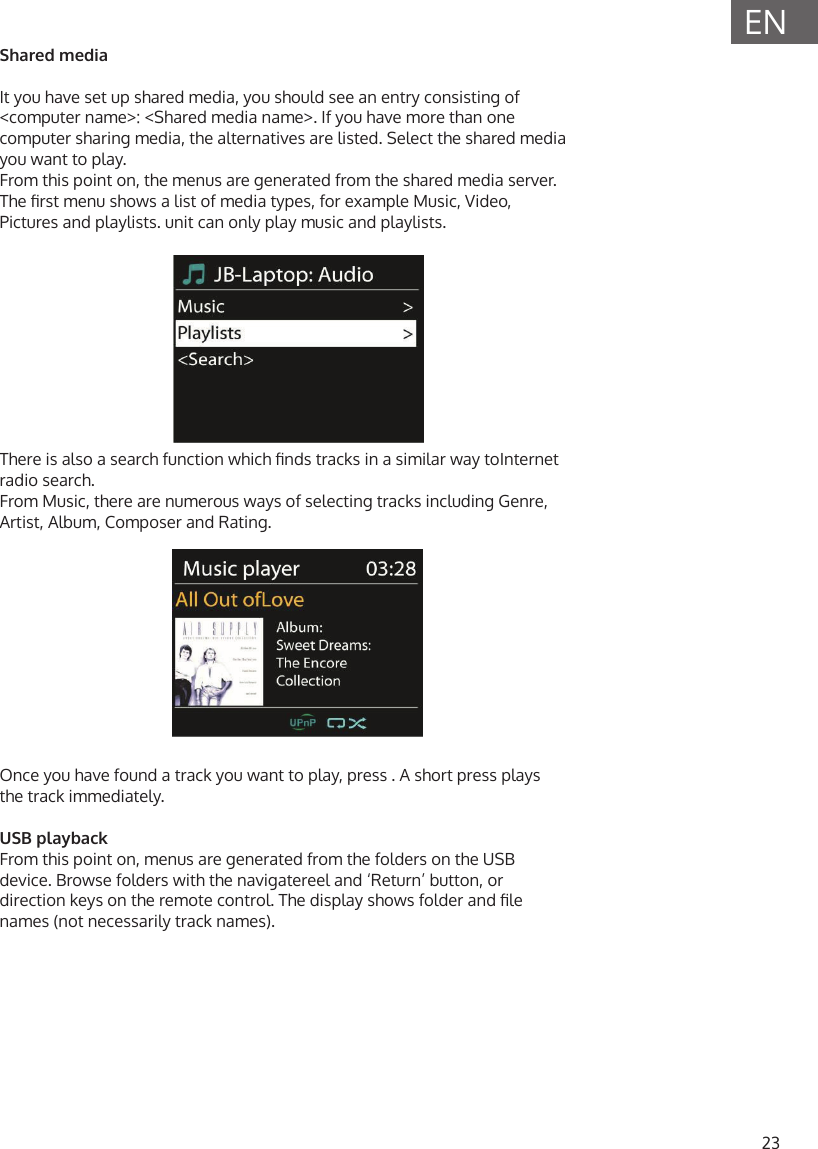
![15ENTime/dateDisplay format: Select 12or 24 as the time format.Auto-updateThe time and date can be updated manually or automatically from DAB, FM or network. Auto-update works with data sent over DAB, FM or the Internet. The clock is only updated when in a corresponding mode, so it is best to select a mode you use regularly.DAB and FM use time signals broadcast with radio transmissions. Network uses a time signal sent from the Internet radio portal when in any network-connected mode.Time zone, daylightSet your time zone. If your country uses daylight saving and it is in eect, turn on the Daylight savings option.Manual updateIf you set „No update“, the wizard prompts you to set the time and date manually. The date and time are displayed as dd-mm-yyyy and hh:mm.The active value appears ashing. Adjust each value with the navigation wheel or on the remote control. Once the value is set, press to continue setting the next value.NetworkWLan regionSelect the WLan region to obtain the optimal WLan connectivity: Canada, Spain, France, Japan, Singapore, Australia, and Republic of Korea.Scanning for the networkThe unit is compatible with all common network protocols and encryption methods. It searches for available networks and list them out for you choose.There will be hints for the type of network – if you plug the LAN cable, it will highlight the network as [wired]; if your network device supports WPS function, it will display [WPS] before the SSID (the name of network device). Select the one you want to connect to.For the wireless connection, you will be prompted to type in the pass phrase.](https://usermanual.wiki/Berlin-Group/CON150US/User-Guide-3473730-Page-15.png)