Beyerdynamic QUINTATB Microphone Unit User Manual Layout 1
Beyerdynamic Microphone Unit Layout 1
UserManual.wiki
>
Beyerdynamic
>
QUINTATB User Manual
>
user manual part 2
Contents
1.
user manual part 2
2.
user manual part 1
user manual part 2
Navigation menu
Upload a User Manual
Namespaces
Wiki Guide
HTML
PDF
Info
Views
User Manual
Discussion / Help
Navigation


![Quick Start Guide Quinta – How to Operate the System 19english3. How to Operate the System3.1 Quinta CU Control UnitWhere to place the control unit• If you do not use remote antennae, place the Quinta CU control unit in the room where the meeting takes place. If you use remote antennae, place the antennae in the conference room.• Avoid shadowing effect of the antennae, especially by metallic surfaces.• A free line of sight between the Quinta MU microphone units and the antennae of the Quinta CU control unit is essential for the operation of the microphone units. How to connect the antennae• Connect the antennae to the antenna connections ᕩ. Please note that for diversity operation bothantennae have to be connected! A weighting circuit is used to make sure that the better antenna signal is received. • For stand-alone operation we recommend using the supplied CA Q 11 angled rod antennae.• The Quinta CU control unit can also be operated with remote antennae. We recommed extremelylow attenuation connecting cables which are 10 m [32.8 ft] or 20 m [65.6 ft] long. Please notethat the antennae have to be installed remotely. Connections• If required, connect the Audio Mix Ƹ, XLR ƹor Cinch ƺmaster output of the Quinta CU controlunit to the input of a mixing console or amplifier.• Connect the Quinta CU control unit to the mains ƿ. The internal power supply unit of the controlunit can automatically adjust between 100 and 240 V at 50 - 60 Hz. Verify that the voltage ratingof the unit matches that of the AC mains outlet you are to use. If you connect the unit to the wrongvoltage, you may seriously damage it. Always route cables running to the unit where they will notbe pinched or cut by heavy or sharp objects. • For using the AVB network connection, please refer to the extensive “Quinta Conference System” manual.How to operate the control unit• Turn on the Quinta CU control unit with the On/Off switch ƽ. The Power on LED ᕡwill illuminate.• The channel LED 1 to 4 will illuminate white to indicate the availability. As soon as a microphoneis activated, the channel LED ᕢwill illuminate red to indicate that the channel is occupied.• At the factory the RF bands 2.4; 5.2 or 5.8 GHz* will be activated (Automatic Mode). This meansthat the Quinta CU control unit will select a free frequency and if necessary it will select a differentfree frequency without any interferences. This operating mode is recommended for normal use.The free frequencies for the Quinta CU control unit can be deactivated via the Quinta Conferencesoftware. The microphone unit will automatically be adjusted and without any interruption to thefrequency of the Quinta CU control unit. Please refer also to the “Quinta Conference System” manual.*Note:The availability of the RF bands 2.4; 5.2 or 5.8 GHz depends on the selected region.](https://usermanual.wiki/Beyerdynamic/QUINTATB.user-manual-part-2/User-Guide-3132301-Page-19.png)

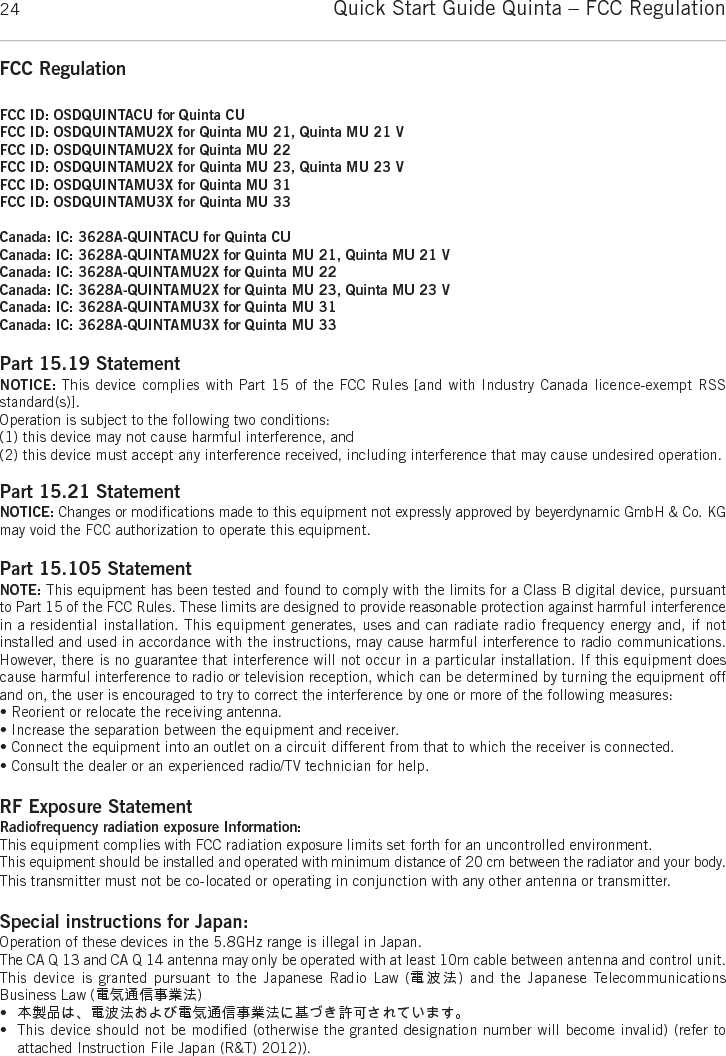
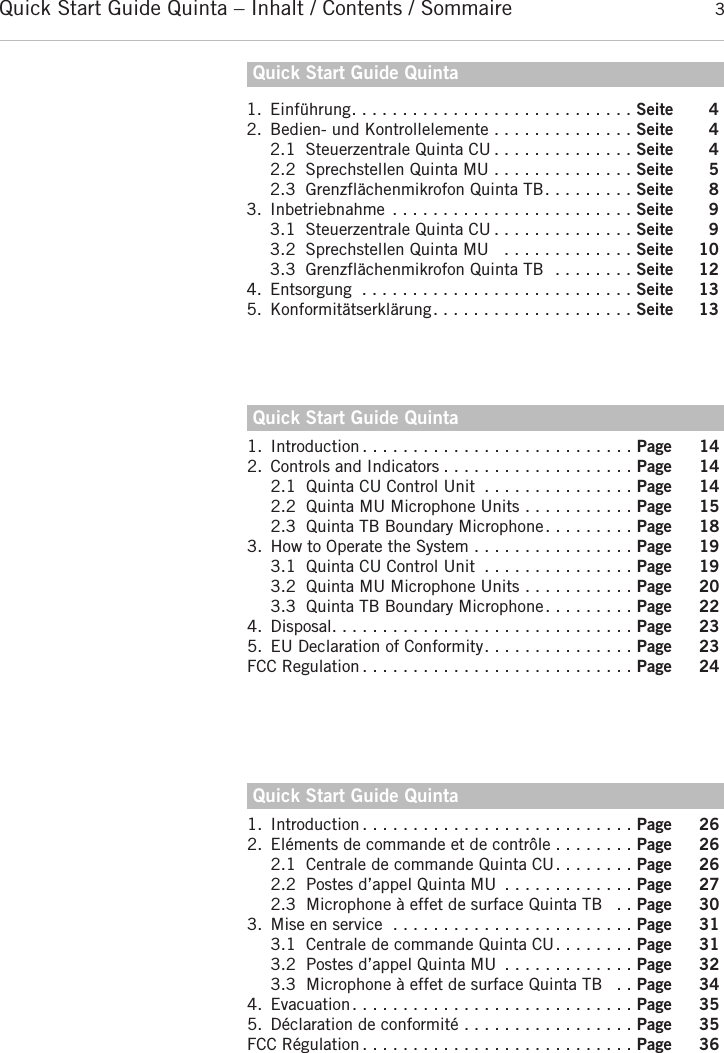
![Quick Start Guide Quinta – FCC Regulation24FCC RegulationFCC ID: OSDQUINTACU for Quinta CUFCC ID: OSDQUINTAMU2X for Quinta MU 21, Quinta MU 21 VFCC ID: OSDQUINTAMU2X for Quinta MU 22FCC ID: OSDQUINTAMU2X for Quinta MU 23, Quinta MU 23 VFCC ID: OSDQUINTAMU3X for Quinta MU 31FCC ID: OSDQUINTAMU3X for Quinta MU 33Canada: IC: 3628A-QUINTACU for Quinta CUCanada: IC: 3628A-QUINTAMU2X for Quinta MU 21, Quinta MU 21 VCanada: IC: 3628A-QUINTAMU2X for Quinta MU 22Canada: IC: 3628A-QUINTAMU2X for Quinta MU 23, Quinta MU 23 VCanada: IC: 3628A-QUINTAMU3X for Quinta MU 31Canada: IC: 3628A-QUINTAMU3X for Quinta MU 33Part 15.19 StatementNOTICE: This device complies with Part 15 of the FCC Rules [and with Industry Canada licence-exempt RSS standard(s)].Operation is subject to the following two conditions:(1) this device may not cause harmful interference, and(2) this device must accept any interference received, including interference that may cause undesired operation.Part 15.21 StatementNOTICE: Changes or modifications made to this equipment not expressly approved by beyerdynamic GmbH & Co. KGmay void the FCC authorization to operate this equipment.Part 15.105 StatementNOTE: This equipment has been tested and found to comply with the limits for a Class B digital device, pursuantto Part 15 of the FCC Rules. These limits are designed to provide reasonable protection against harmful interferencein a residential installation. This equipment generates, uses and can radiate radio frequency energy and, if not installed and used in accordance with the instructions, may cause harmful interference to radio communications.However, there is no guarantee that interference will not occur in a particular installation. If this equipment doescause harmful interference to radio or television reception, which can be determined by turning the equipment offand on, the user is encouraged to try to correct the interference by one or more of the following measures:• Reorient or relocate the receiving antenna.• Increase the separation between the equipment and receiver.• Connect the equipment into an outlet on a circuit different from that to which the receiver is connected.• Consult the dealer or an experienced radio/TV technician for help.RF Exposure StatementRadiofrequency radiation exposure Information:This equipment complies with FCC radiation exposure limits set forth for an uncontrolled environment.This equipment should be installed and operated with minimum distance of 20 cm between the radiator and your body.This transmitter must not be co-located or operating in conjunction with any other antenna or transmitter.Special instructions for Japan:Operation of these devices in the 5.8GHz range is illegal in Japan.The CA Q 13 and CA Q 14 antenna may only be operated with at least 10m cable between antenna and control unit.This device is granted pursuant to the Japanese Radio Law (電波法) and the Japanese Telecommunications Business Law (電気通信事業法)•本製品は、電波法および電気通信事業法に基づき許可されています。• This device should not be modified (otherwise the granted designation number will become invalid) (refer to attached Instruction File Japan (R&T) 2012)).](https://usermanual.wiki/Beyerdynamic/QUINTATB.user-manual-part-2/User-Guide-3132301-Page-24.png)