Binatone Electronics SM320 GSM Mobile Phone User Manual Voxtel M320 user guide US
Binatone Electronics International Ltd. GSM Mobile Phone Voxtel M320 user guide US
UserManual.wiki
>
Binatone Electronics
>
SM320 User Manual
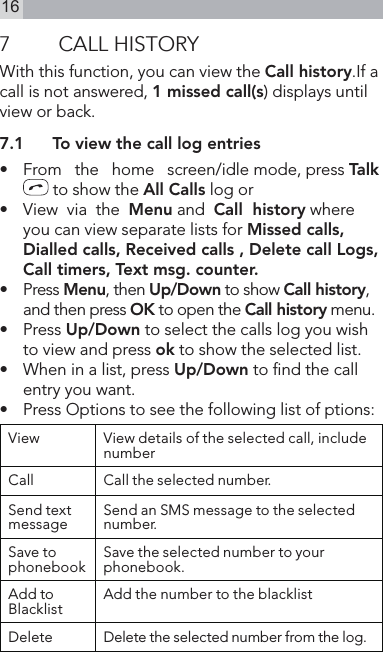
Users Manual
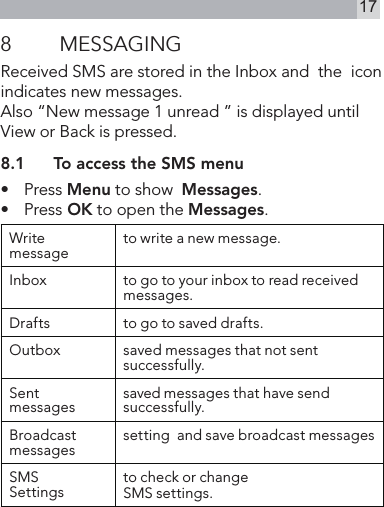
Navigation menu
Upload a User Manual
Namespaces
Wiki Guide
HTML
PDF
Info
Views
User Manual
Discussion / Help
Navigation

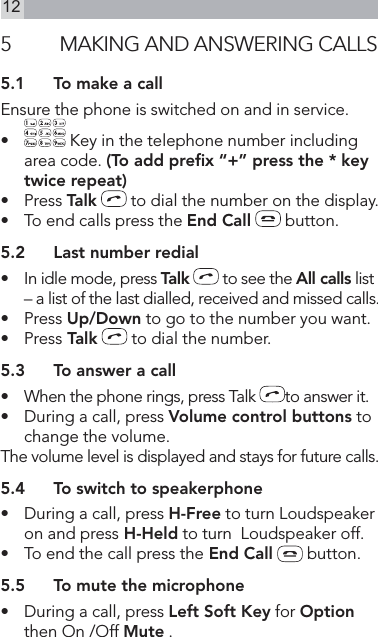
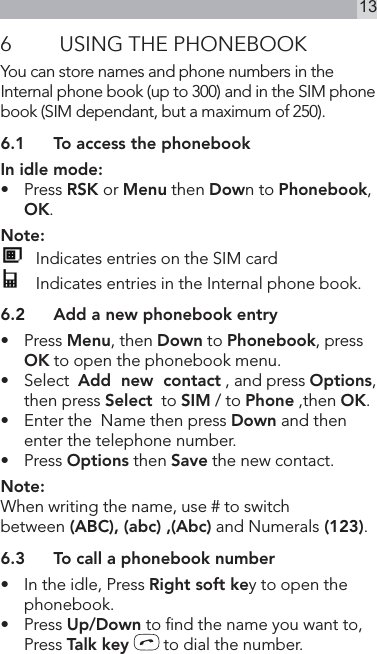
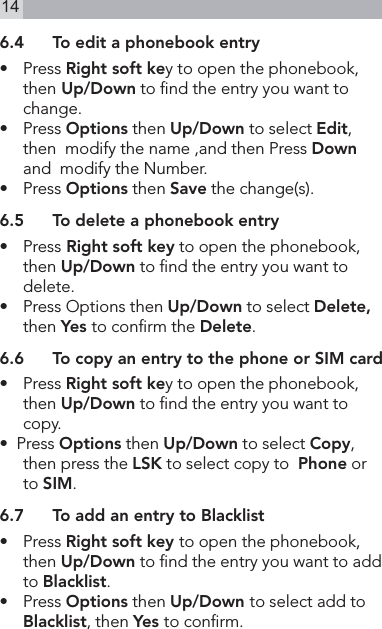
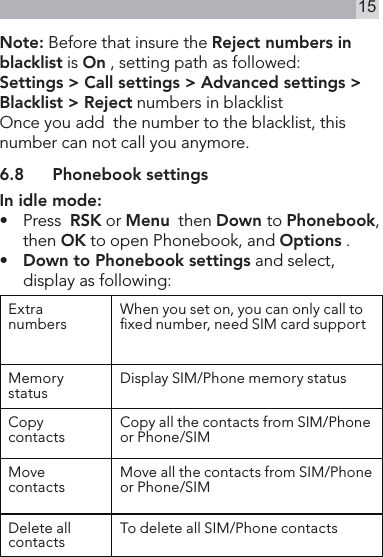

![2711.2 CalendarOpen a Calendar to show the current month options:Jump to date to go to a specic date.Go to today to return to the present day.Go to weekly view to display a weekly view11.3 AlarmYou can set 4 alarms. When it sounds, press LSK to stop it or RSK to Snooze to start the snooze function, if a snooze time has been set.11.4 World clock• Press M1/M2 to Switch time zones. • Press Options then OK to On /Off Daylight saving time for foreign city.11.5 CalculatorYou can use the calculator to perform simple addition, subtraction, multiplication or division calculations.• Press the number keys [0-9,#] to enter numbers.• Press LSK to calculate the sum.• Press clear to delete or clear the digits.• Press UP/Down key to addition and subtraction digital • Press M1/M2 to multiplication and division.](https://usermanual.wiki/Binatone-Electronics/SM320/User-Guide-2147753-Page-27.png)