BlackBerry R1900G-1-4 Stand-alone, wireless data & voice communications User Manual
BlackBerry Limited Stand-alone, wireless data & voice communications
UserManual.wiki
>
BlackBerry
>
R1900G 1 4 User Manual
user manual
Navigation menu
Upload a User Manual
Namespaces
Wiki Guide
HTML
PDF
Info
Views
User Manual
Discussion / Help
Navigation

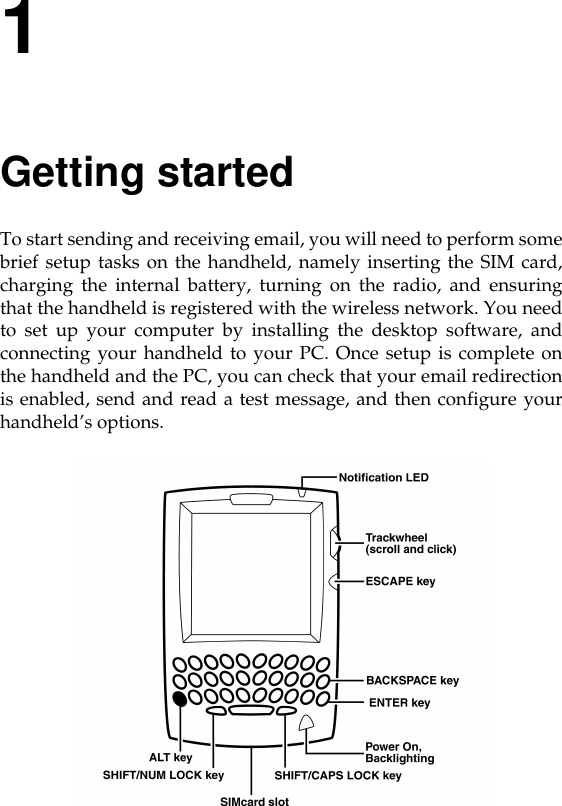
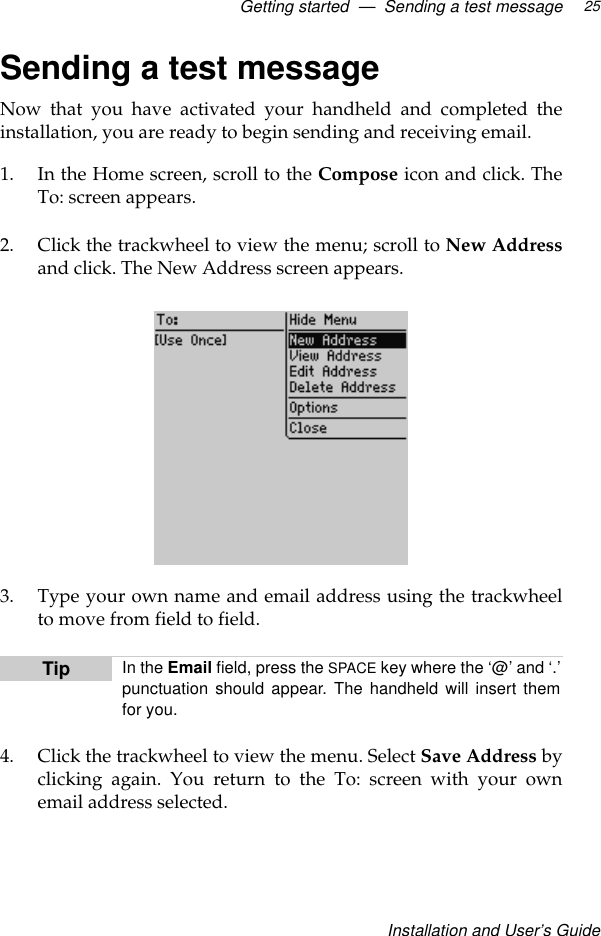
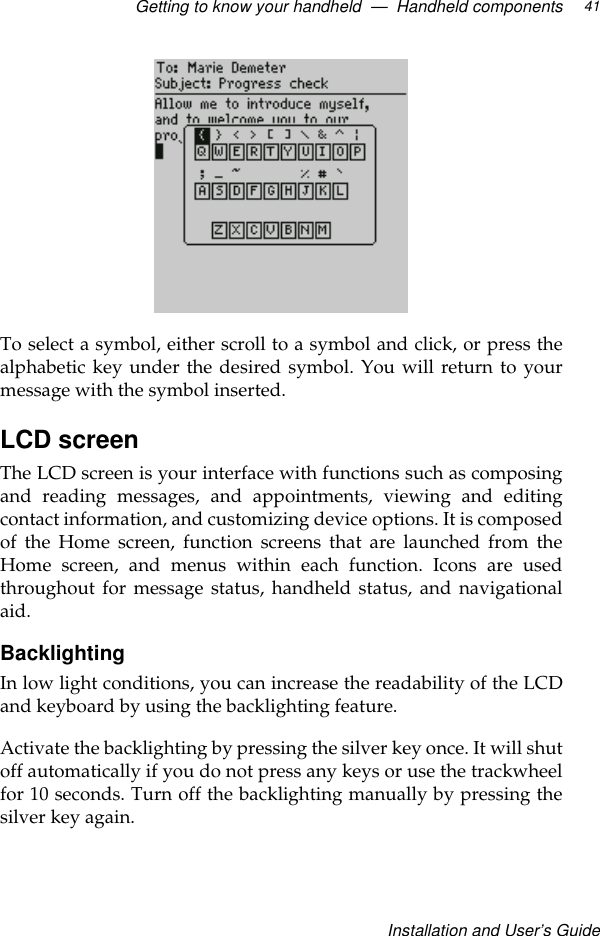

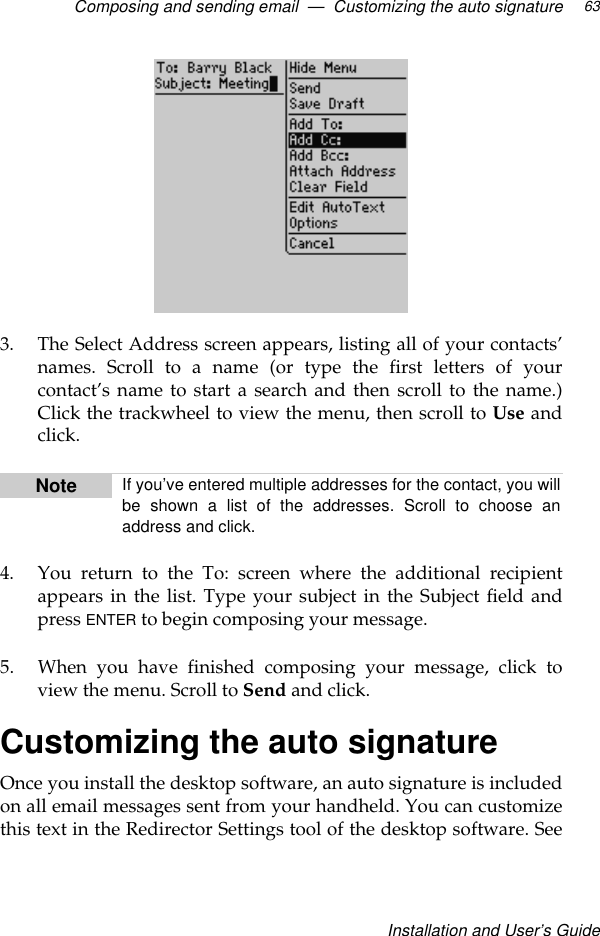
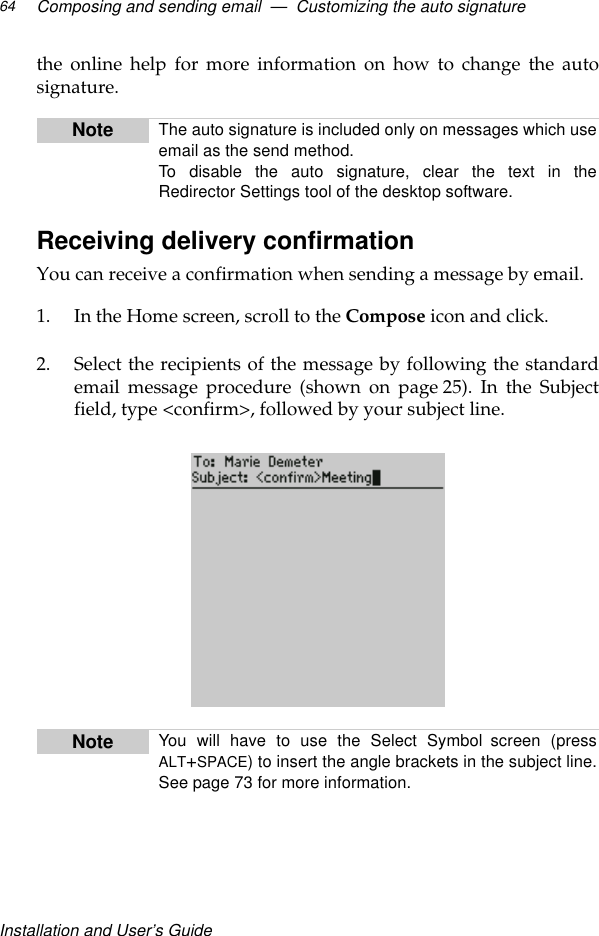
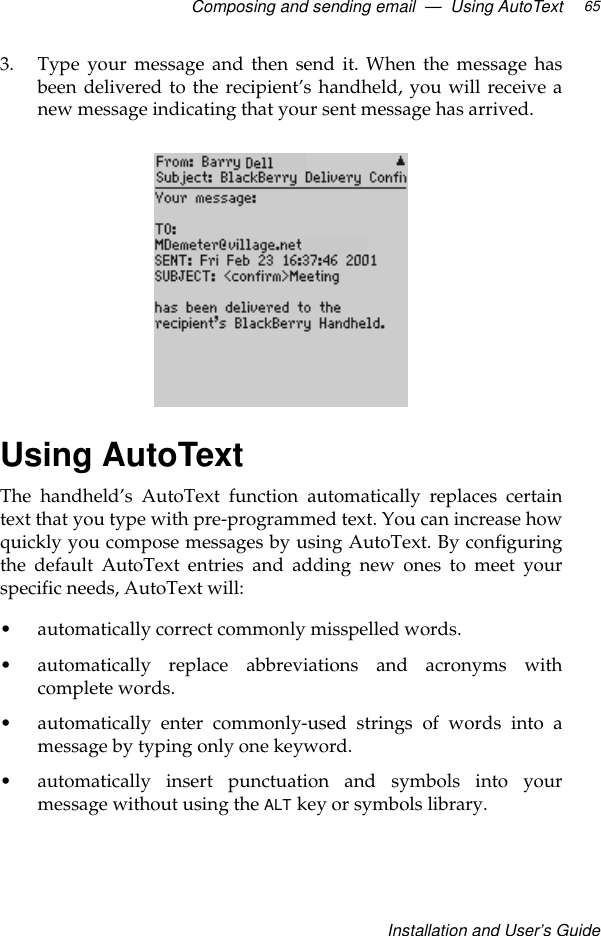
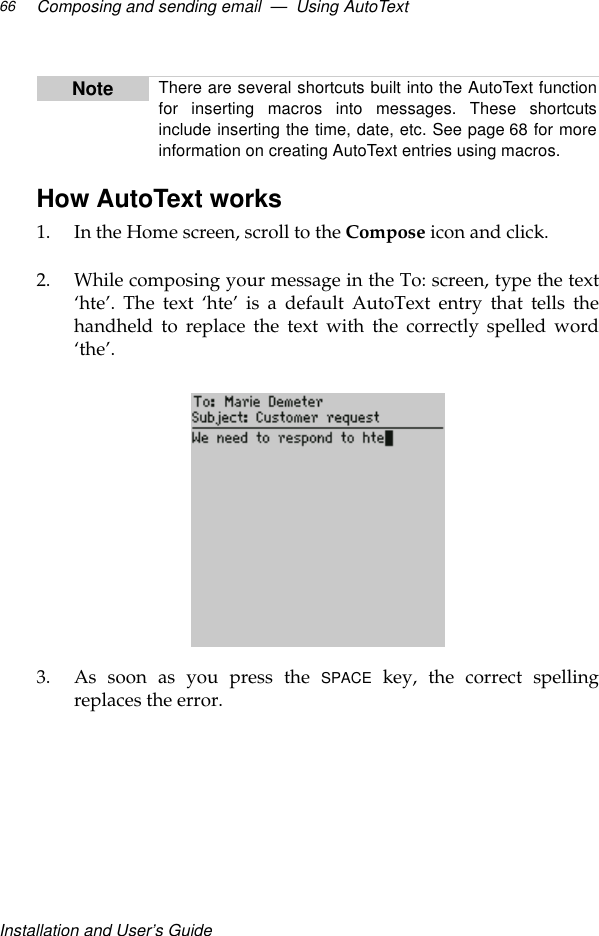
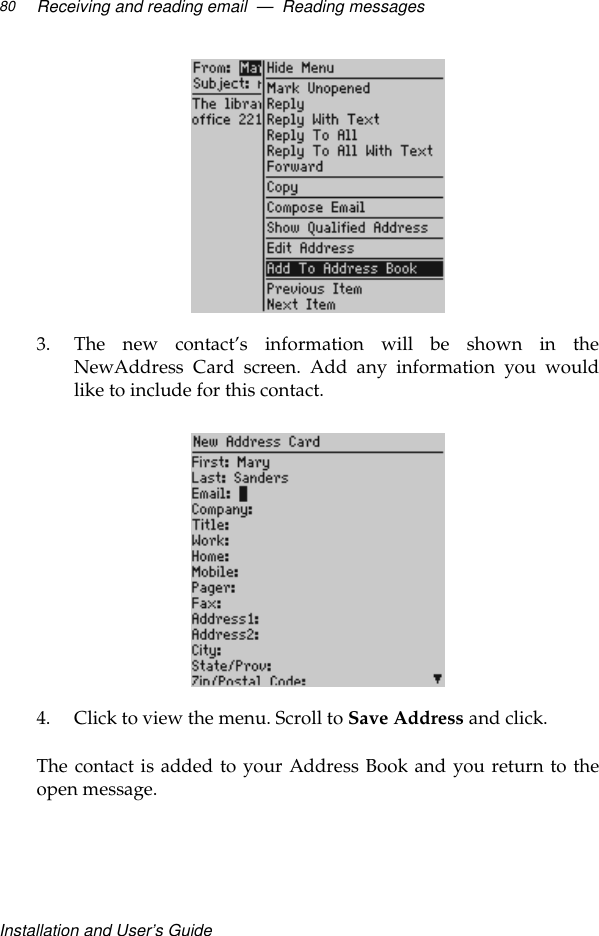
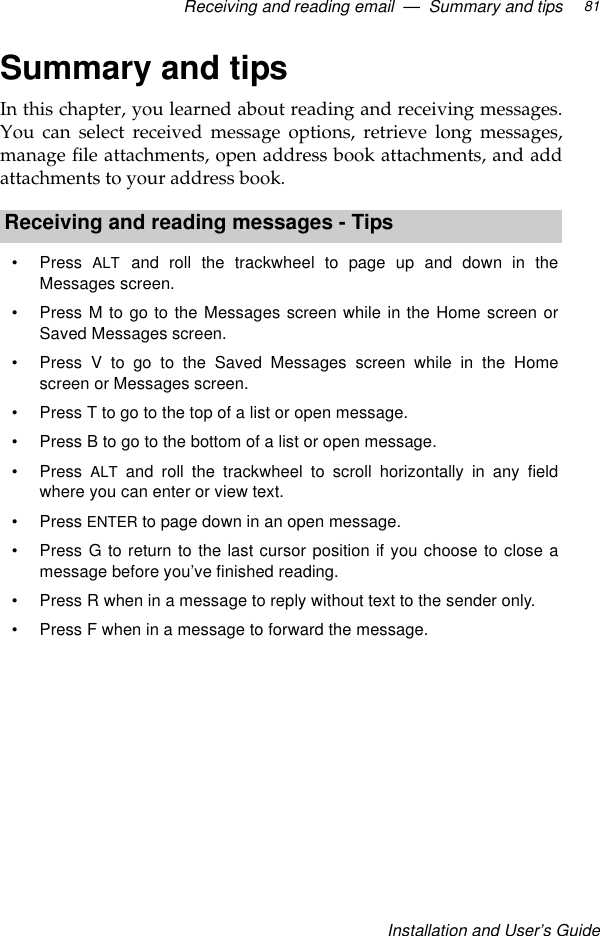
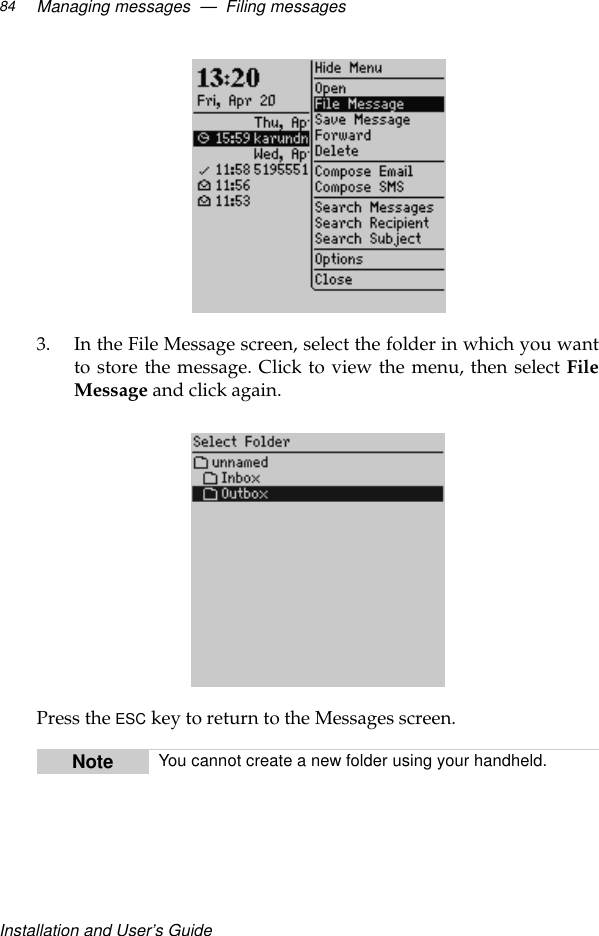
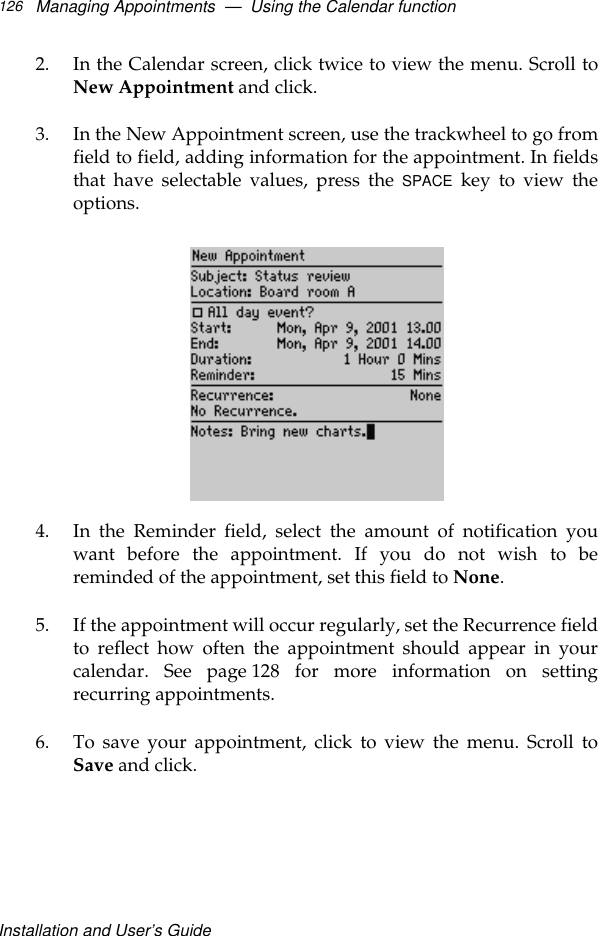
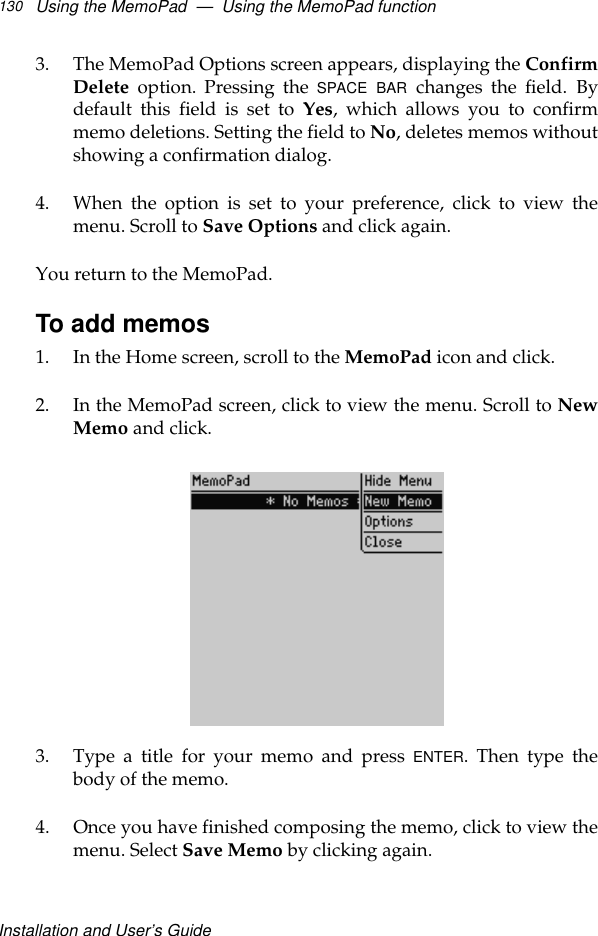
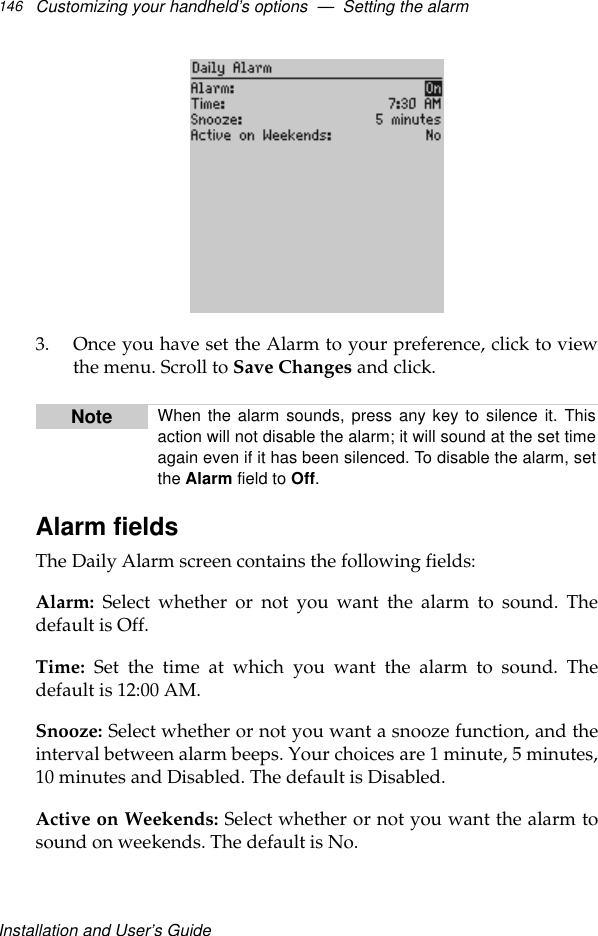
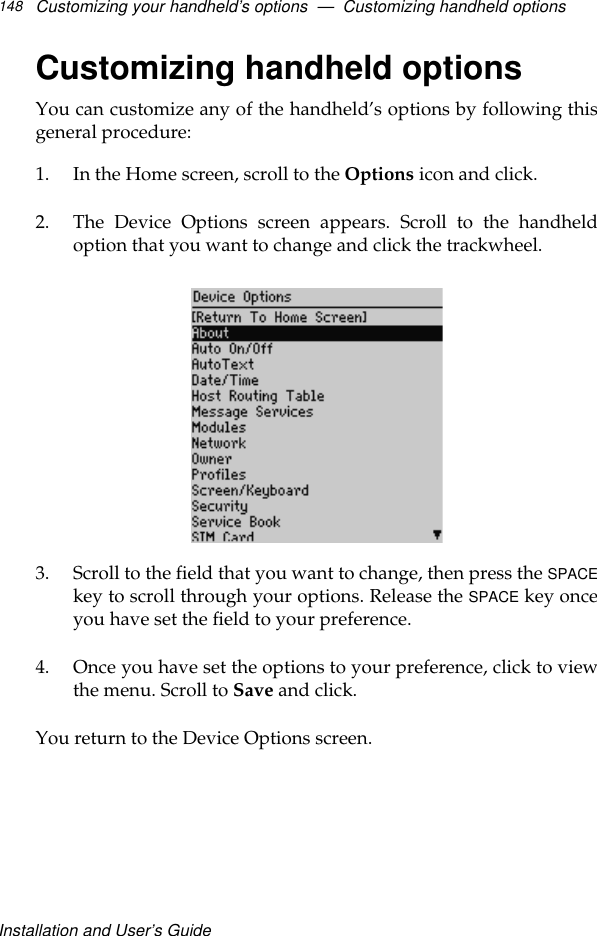
![4Composing and sending email In the previous chapters of this guide, you learned about yourhandheld’s main components, and the general procedures requiredfor sending and reading messages, and the desktop software tools.This chapter explains the different features that the handheld offersfor advanced composing and sending.Sending one-time messagesThis send option is a short-cut method and the recipient’s addresswill NOT be saved in your Address Book.1. In the Home screen, scroll to the Compose icon and click.2. The To: screen appears. Scroll to [Use Once] and click to viewthe menu. Select Use Email and click.](https://usermanual.wiki/BlackBerry/R1900G-1-4/User-Guide-146166-Page-59.png)