BlackBerry R6020GW GSM GPRS data and voice handheld User Manual installation getstarted guide
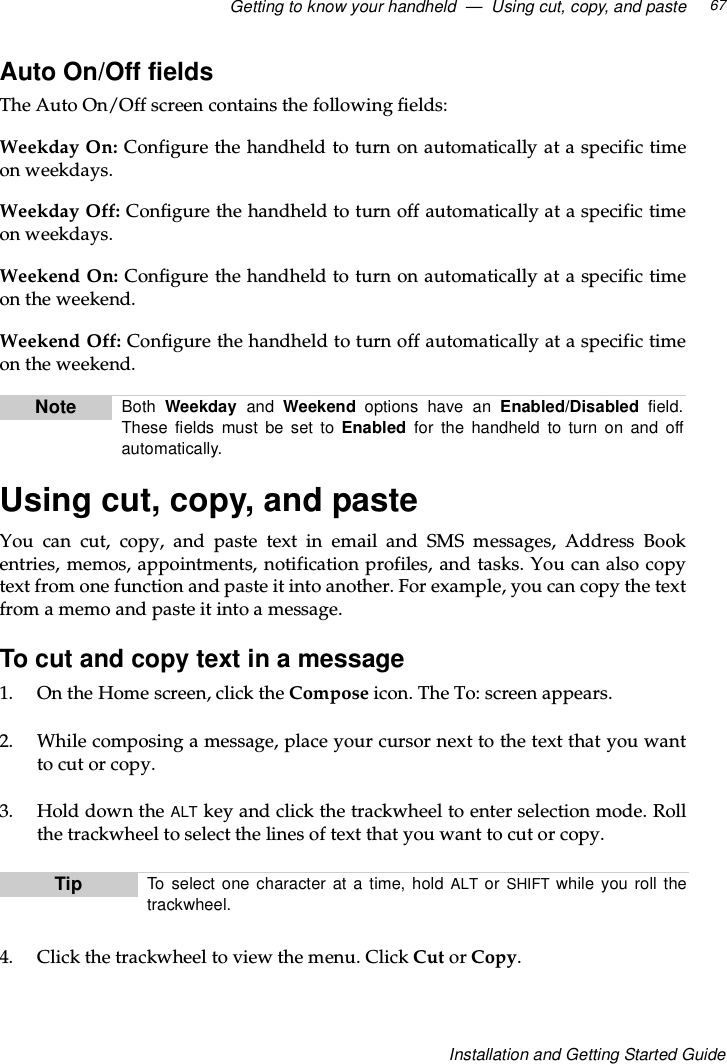
BlackBerry Limited GSM GPRS data and voice handheld installation getstarted guide
UserManual.wiki
>
BlackBerry
>
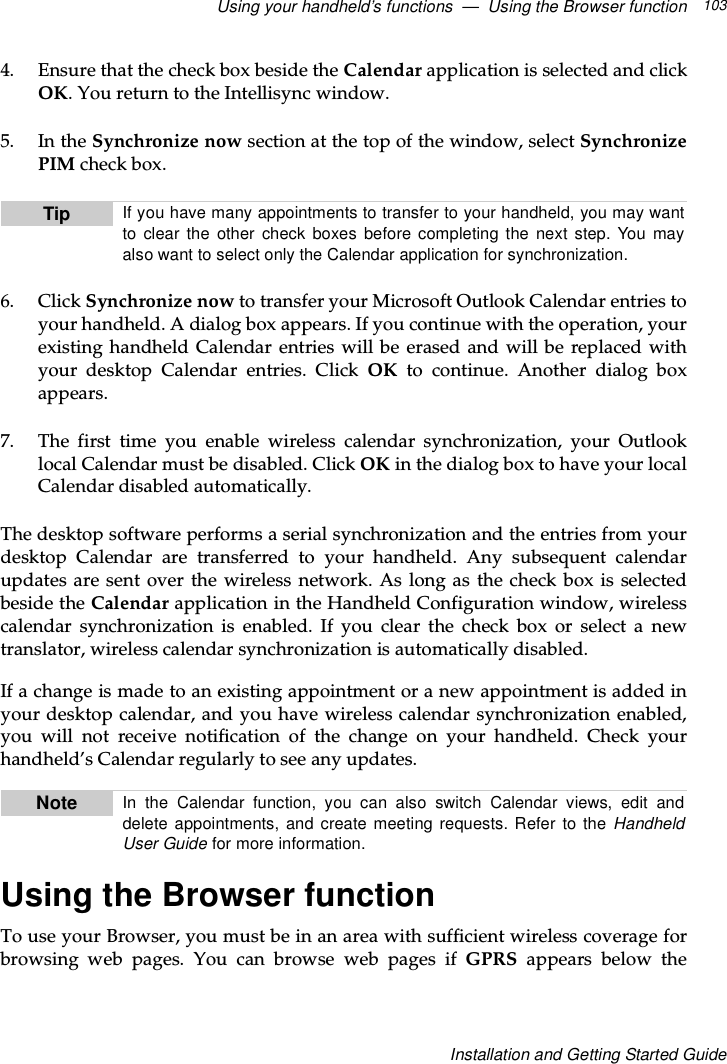
R6020GW User Manual
user manual
Navigation menu
Upload a User Manual
Namespaces
Wiki Guide
HTML
PDF
Info
Views
User Manual
Discussion / Help
Navigation


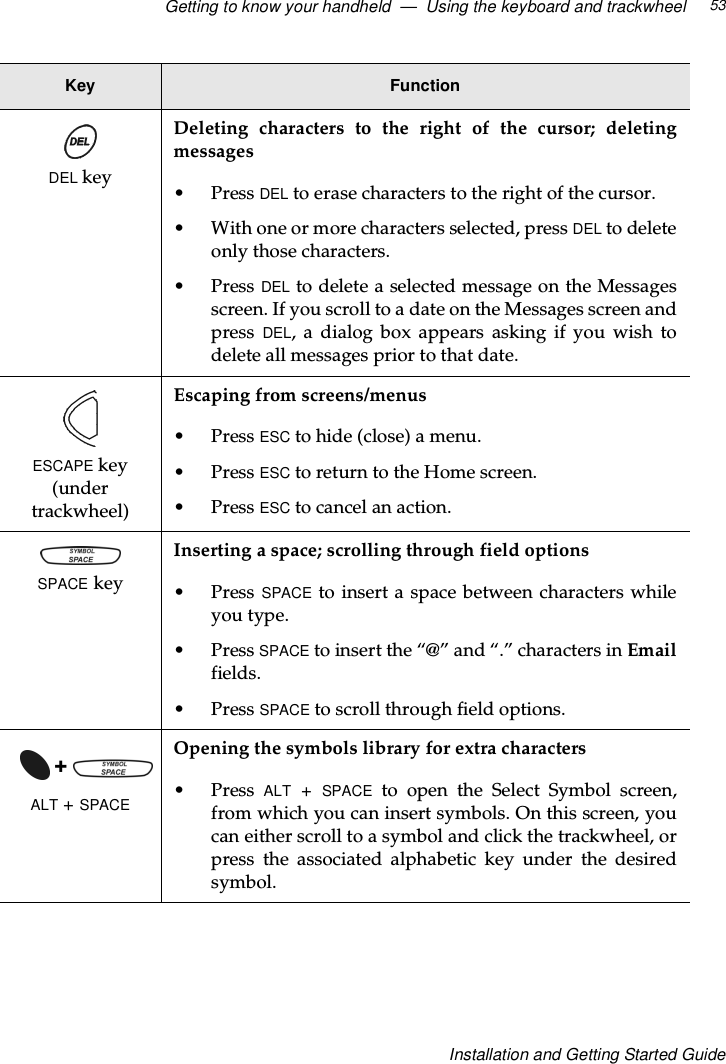
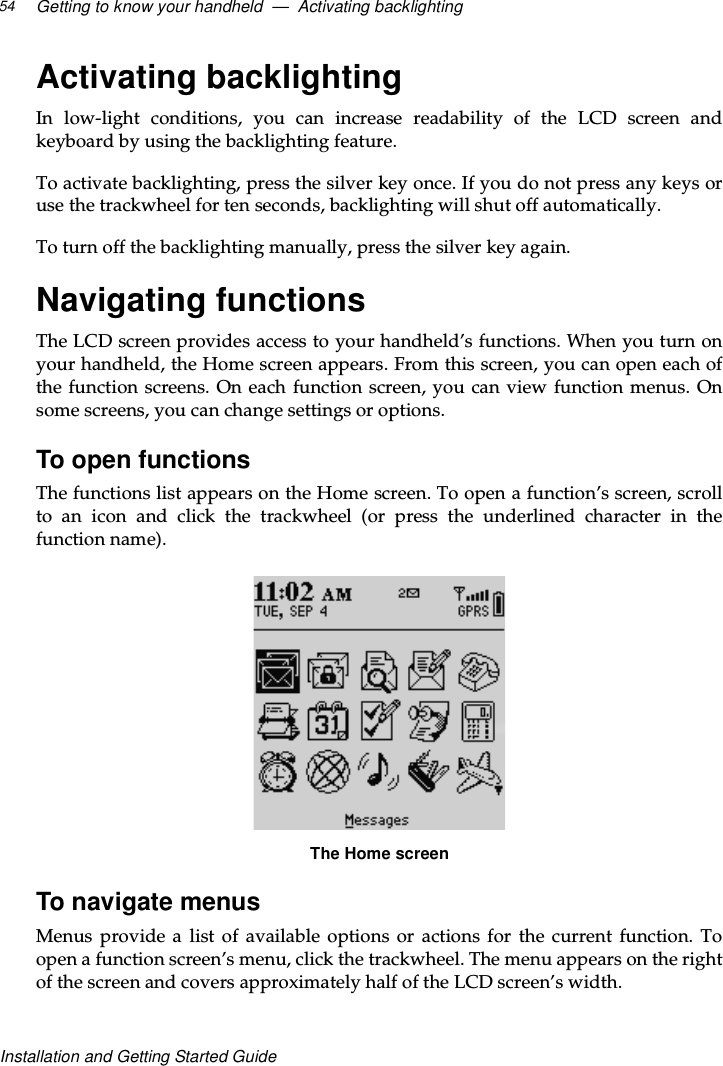
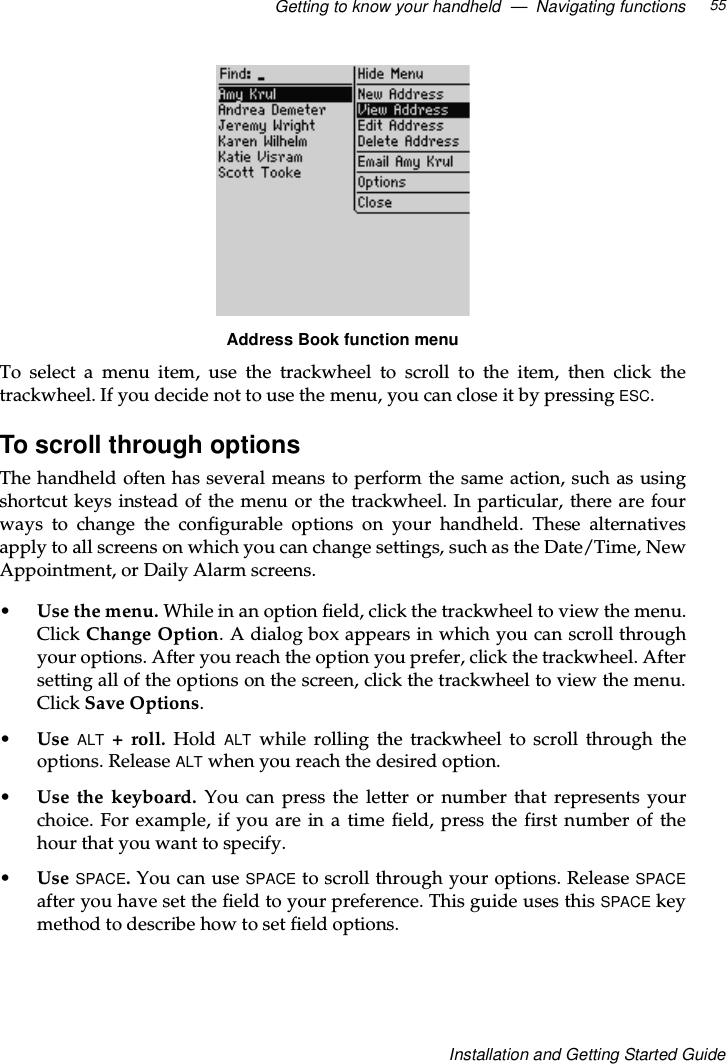

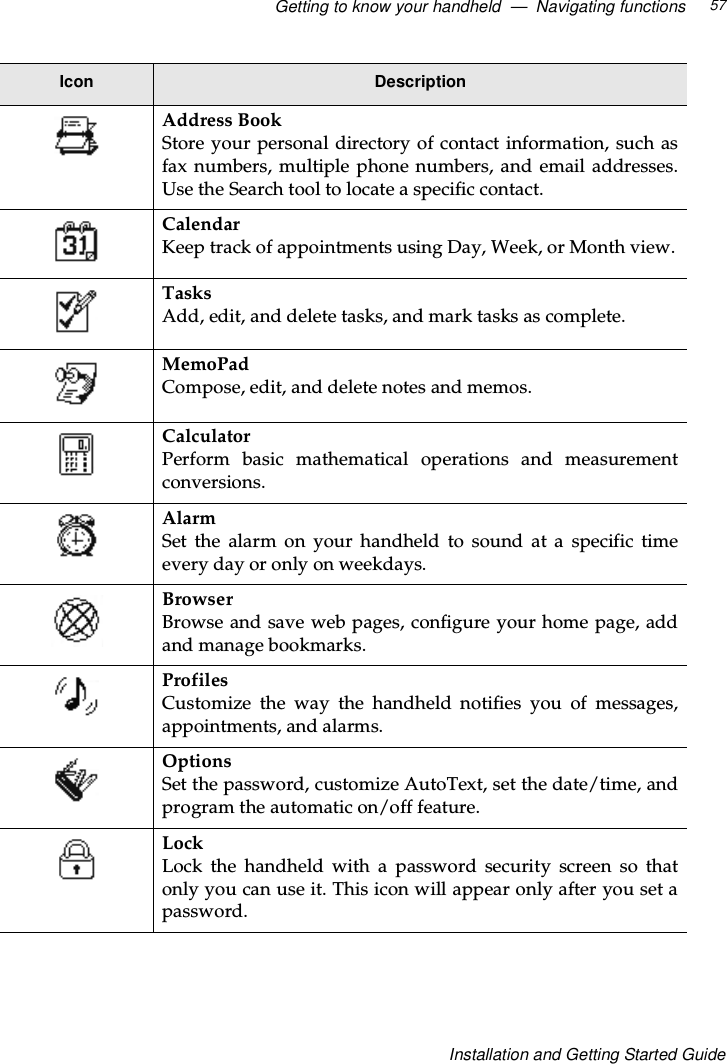

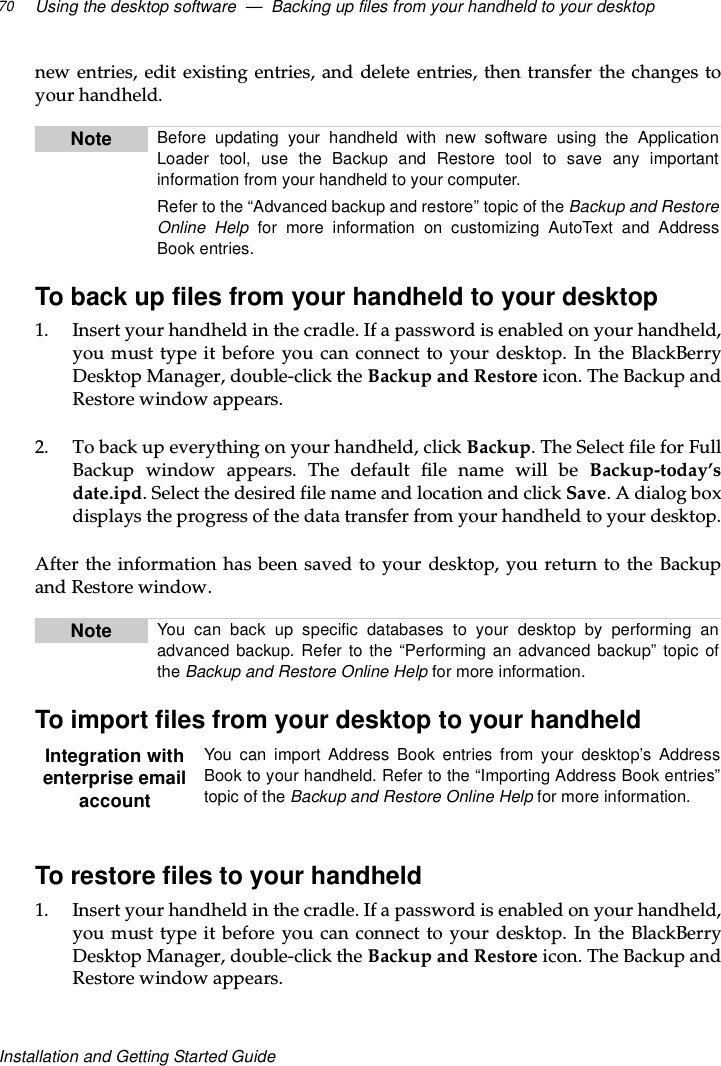
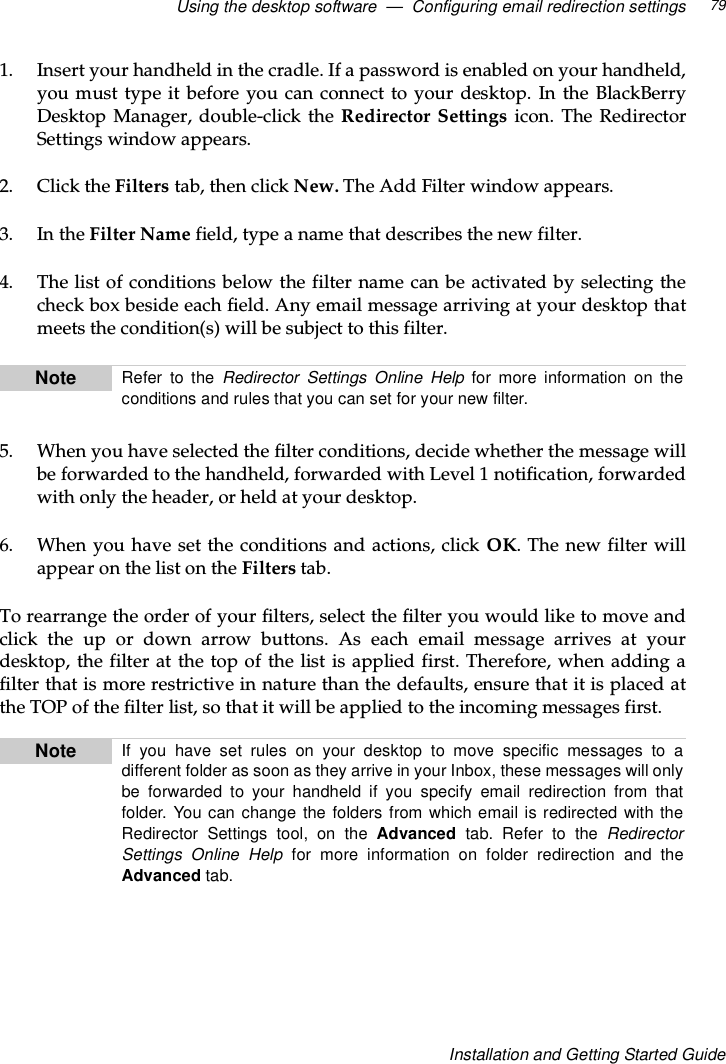
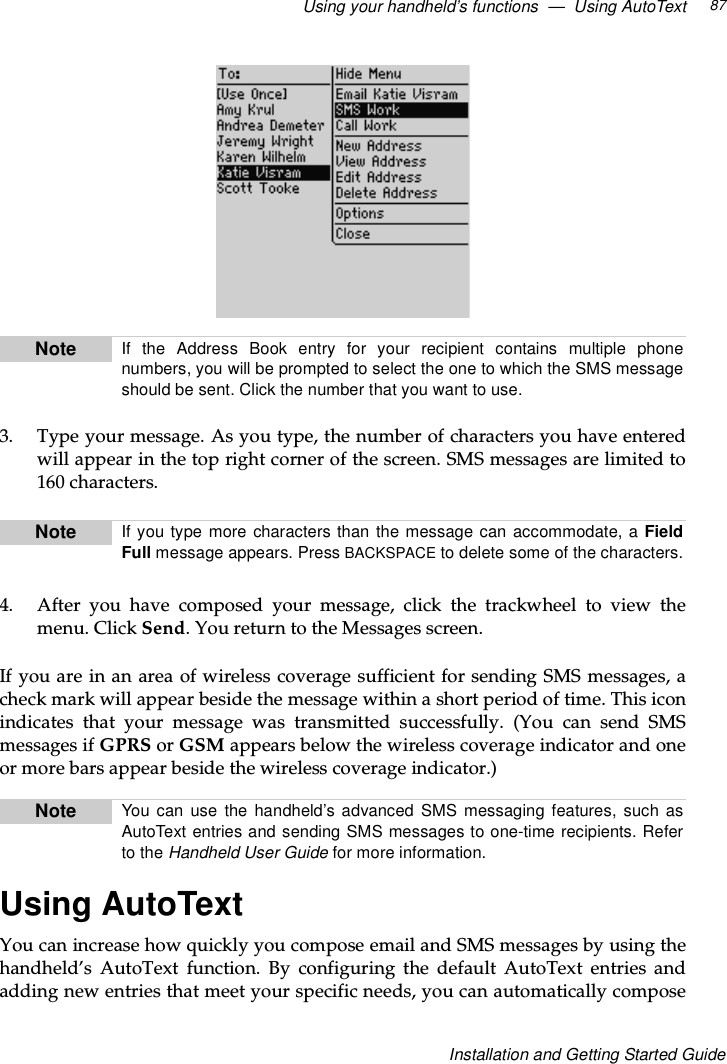
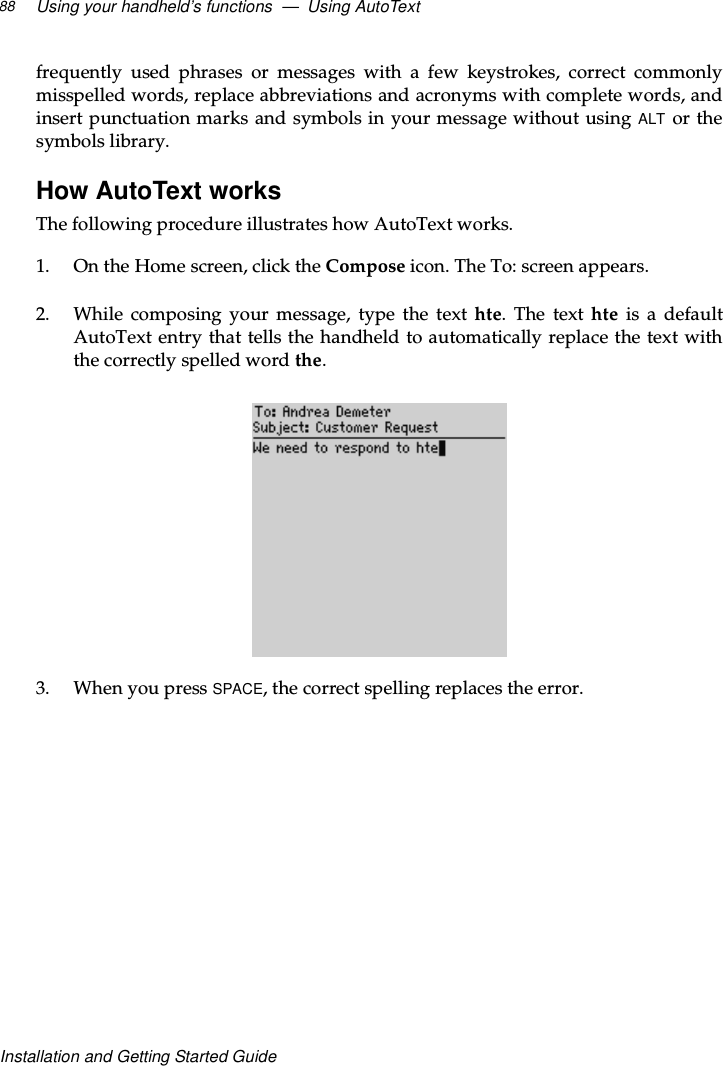
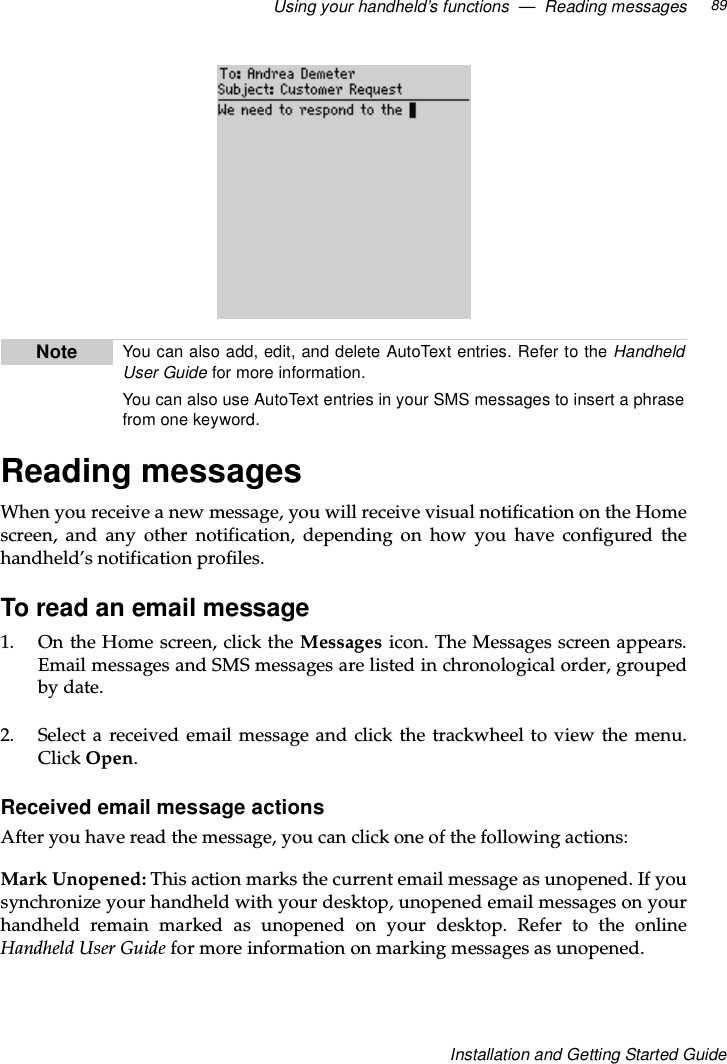
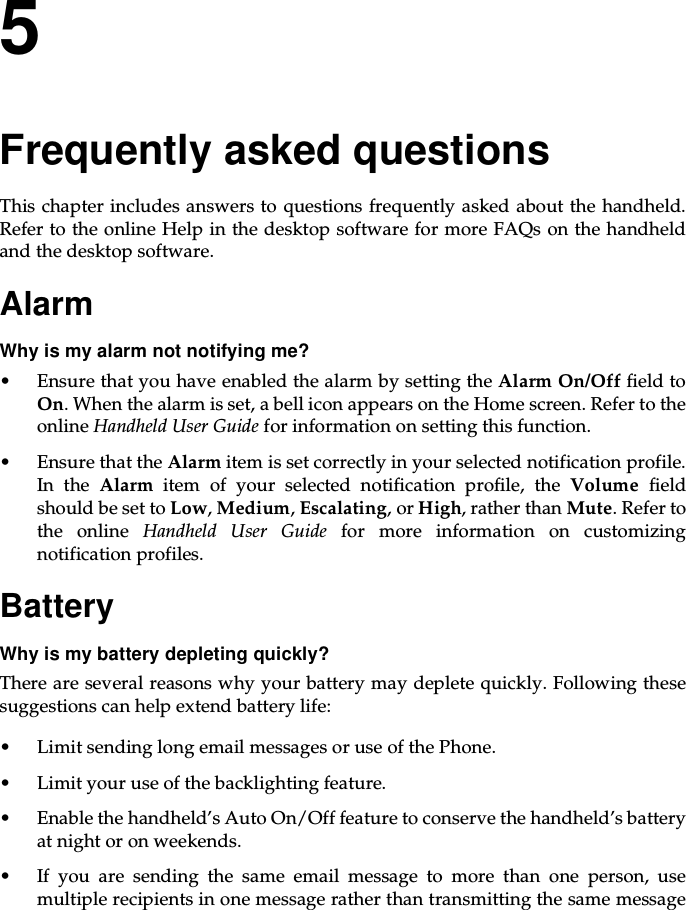
![Frequently asked questions — Home screen110Installation and Getting Started GuideTo reactivate your handheld, insert your handheld in the cradle (as you did whenyou first received your handheld) and recharge the battery.All of your stored addresses and messages will be preserved while your handheldis turned off. However, your handheld will no longer have the correct date andtime. To reset the date and time, refer to “Setting the date and time” on page 41 ofthis guide or synchronize your handheld with the desktop software’s Intellisynctool. If you do not reset the date and time, messages and phone calls will appear atthe bottom of the Messages screen.Home screenHow do I return to the Home screen?The screen that displays the function icons, and the date and time, is called theHome screen. Press ESC repeatedly until you return to the Home screen.You can also select Close or Cancel from an application’s menu or, on the DeviceOptions screen, click [Return to Home Screen].LCD screenWhat can I do if my LCD screen seems faint?If you are operating your handheld in low-light conditions, try using thebacklighting feature. While the handheld is on, press the silver key once to activatebacklighting. It will turn off after ten seconds if you have not pressed a key or usedthe trackwheel. You can turn off the backlighting manually by pressing the silverkey again.If your screen seems faint all the time, check the Screen/Keyboard option on theDevice Options screen. On the Home screen, click the Options icon. Click Screen/Keyboard.IntheScreen Contrast field, press SPACE to select a different contrast.After you have set the field to your preference, click the trackwheel to view themenu. Click Save Options.Integration withenterprise emailaccountIf you put your handheld in storage mode, the current encryption key islost. When you reactivate your handheld, you must generate a newencryption key before you can send and receive email messages.Generate an encryption key on the Security tab of the desktopsoftware’s Redirector Settings tool.](https://usermanual.wiki/BlackBerry/R6020GW/User-Guide-219126-Page-110.png)