BlackBerry R800D-2-PW Stand-Alone, Wireless, Two-way Data Communications User Manual Guide
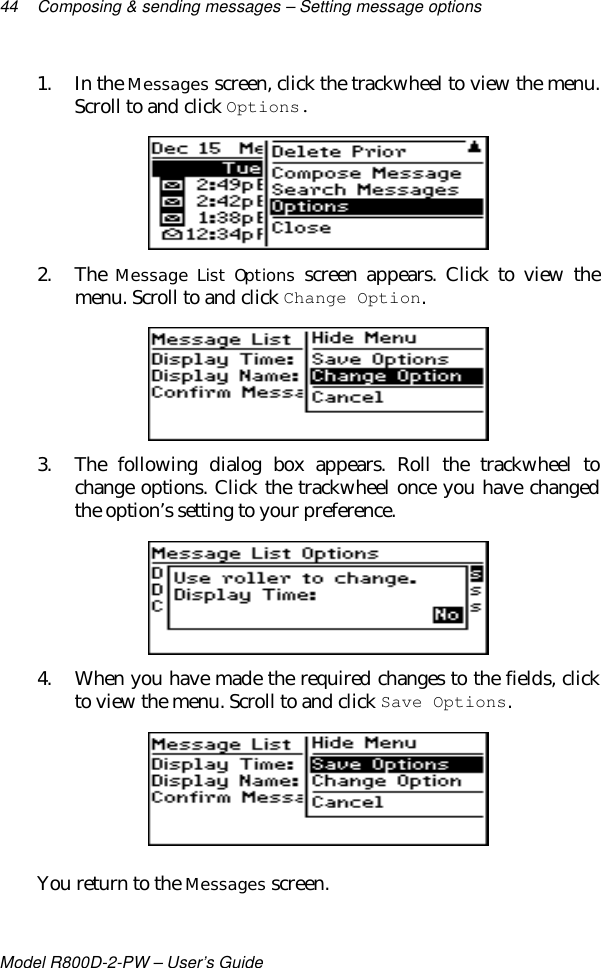
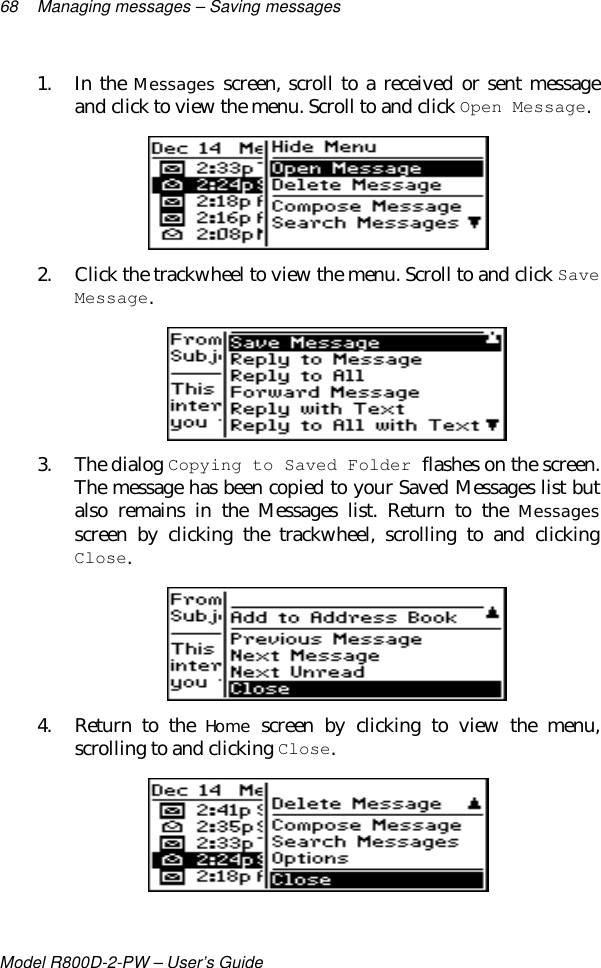
BlackBerry Limited Stand-Alone, Wireless, Two-way Data Communications Guide
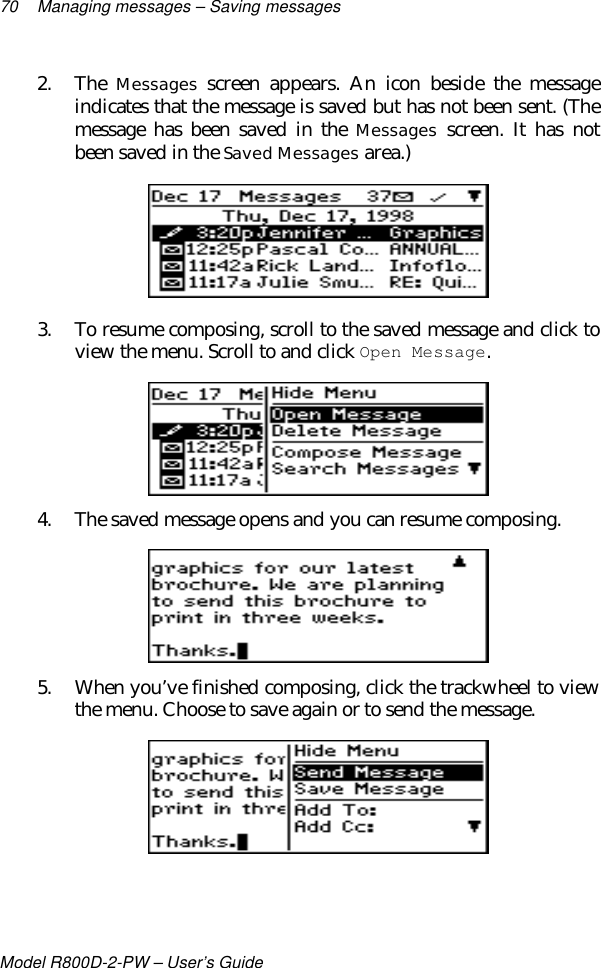
UserManual.wiki
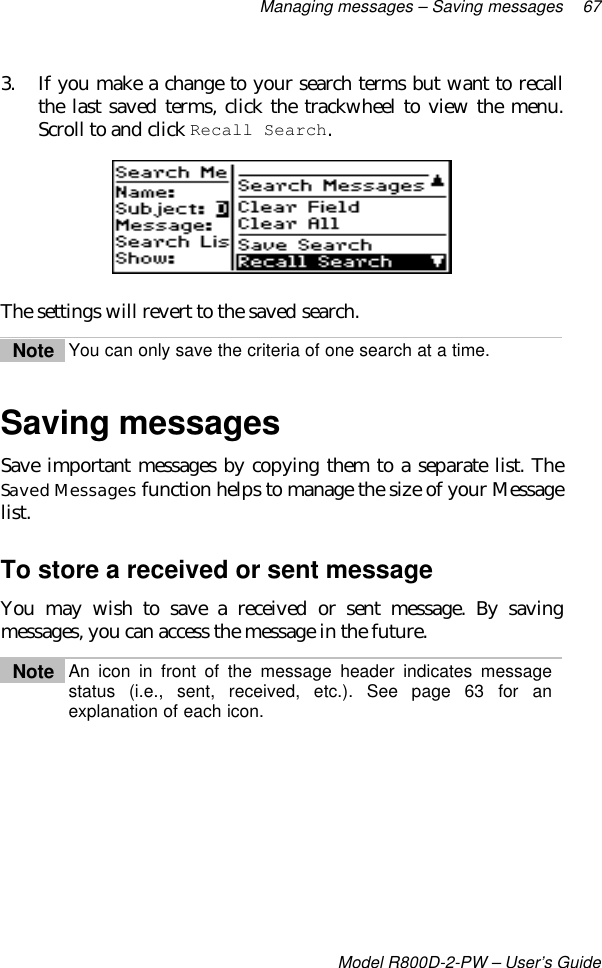
>
BlackBerry
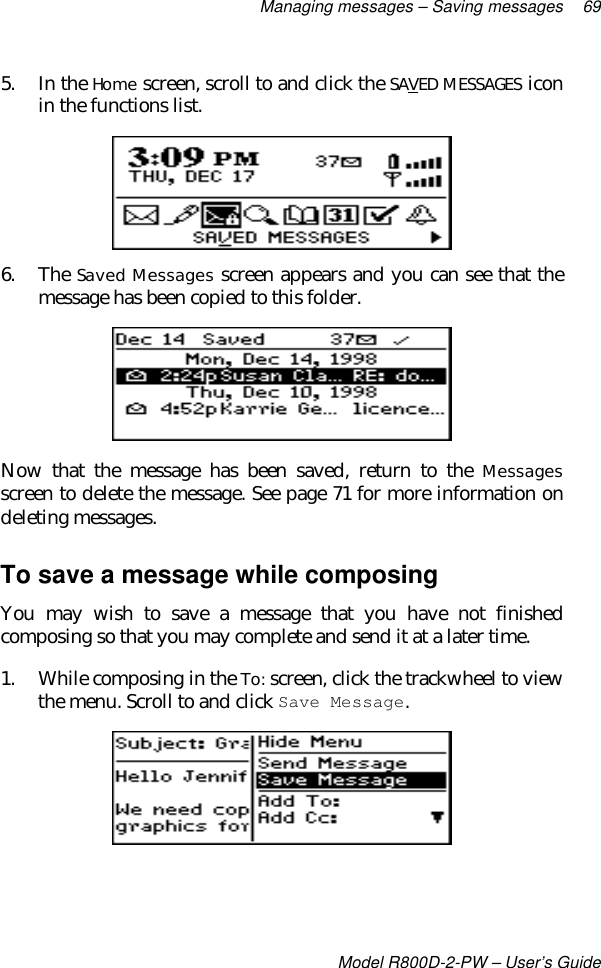
>
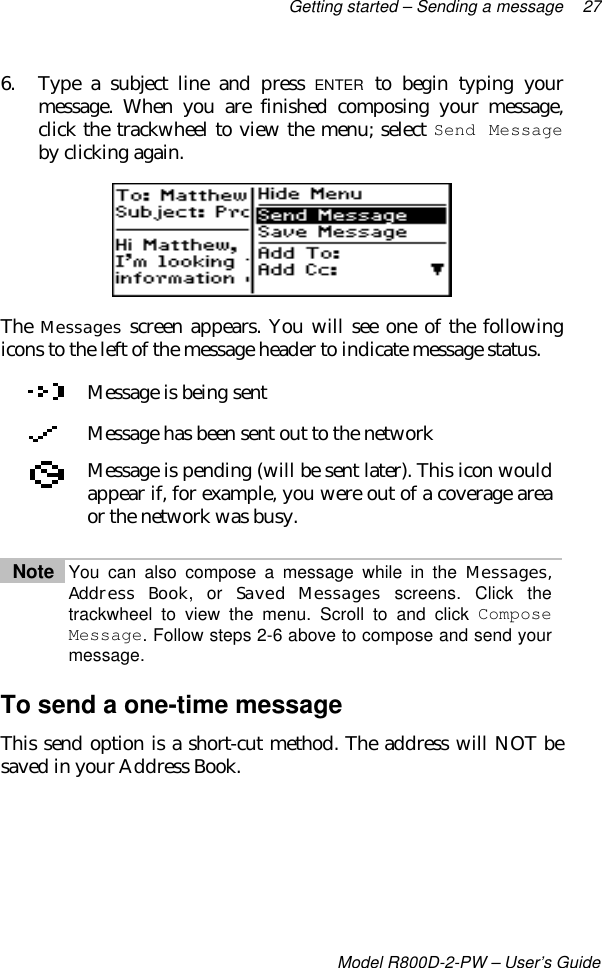
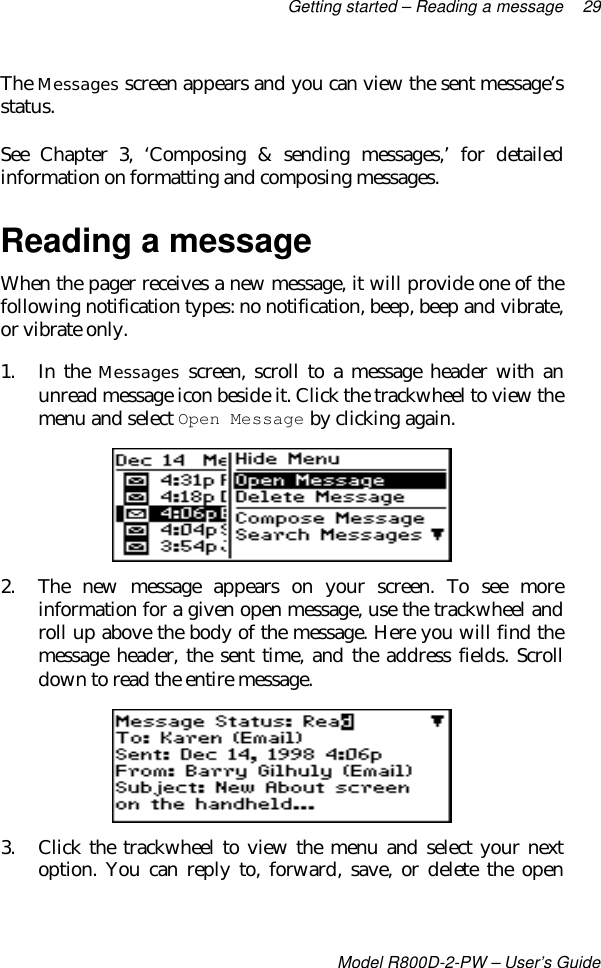
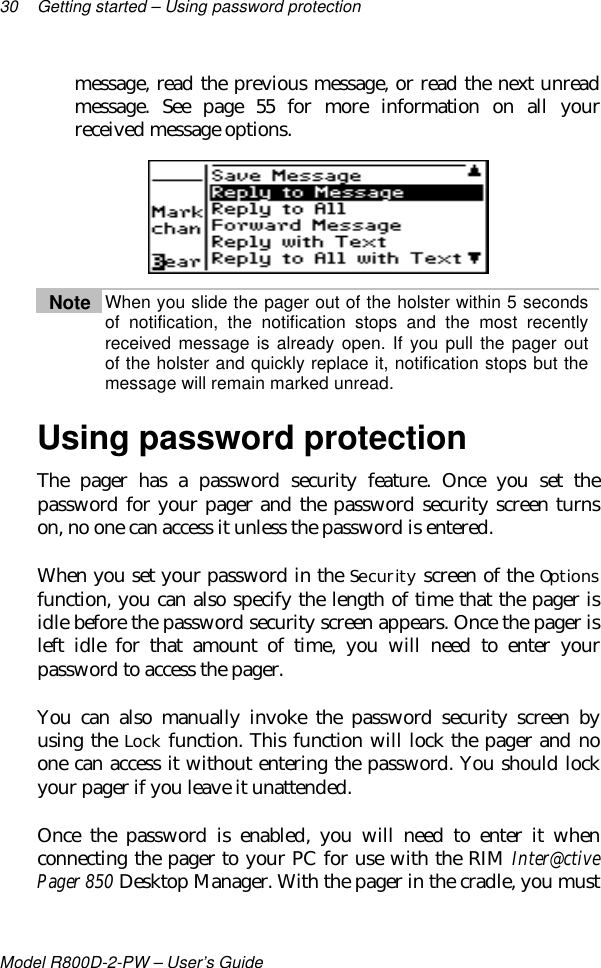
R800D 2 PW User Manual
User guide
Navigation menu
Upload a User Manual
Namespaces
Wiki Guide
HTML
PDF
Info
Views
User Manual
Discussion / Help
Navigation

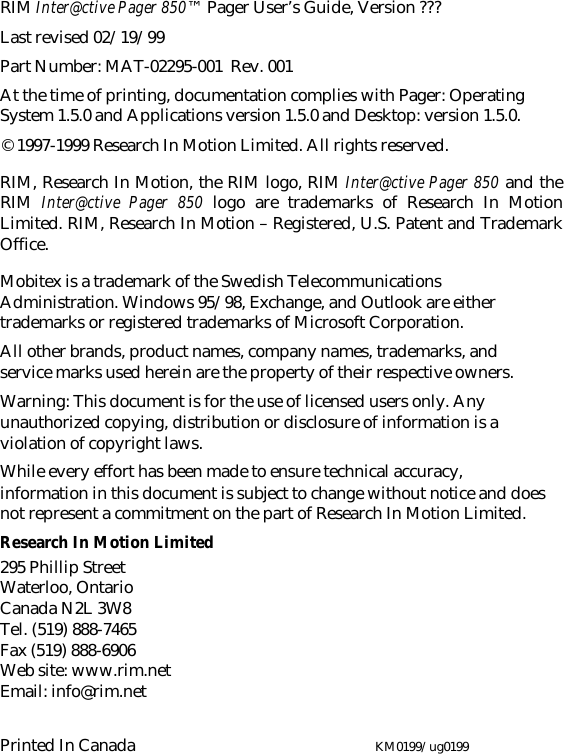


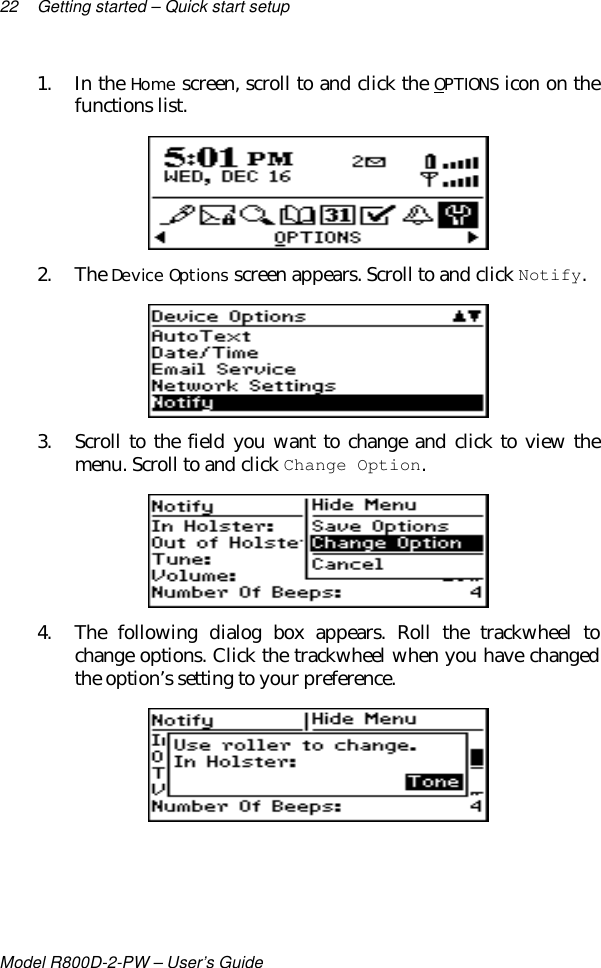

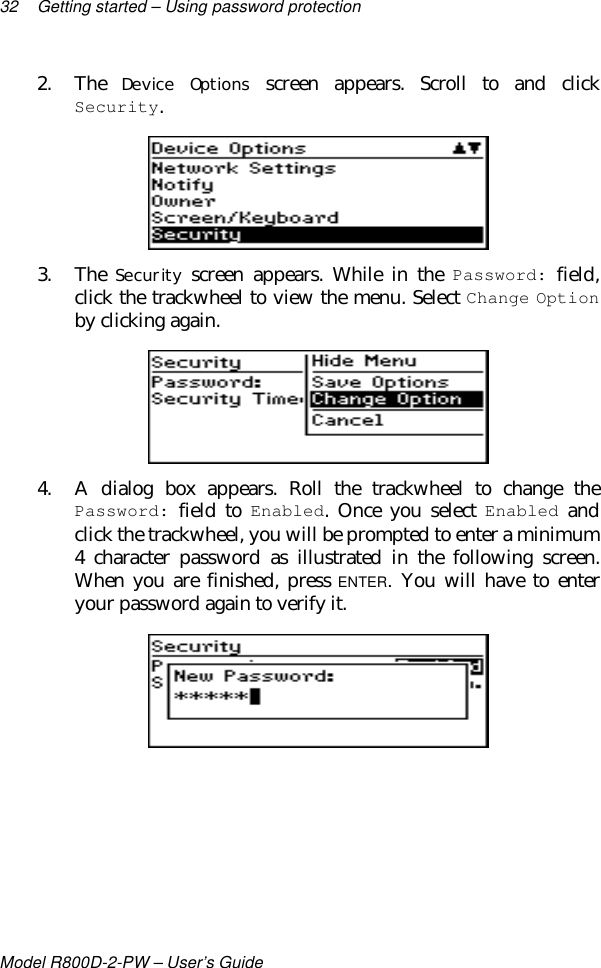
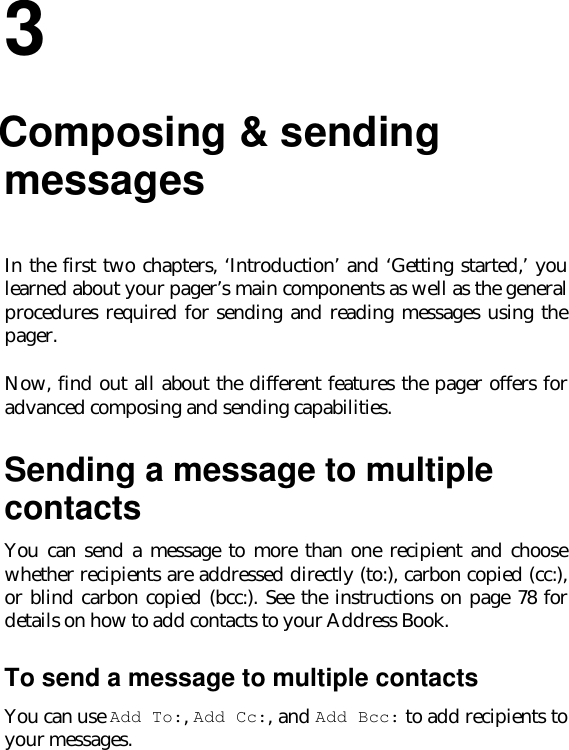
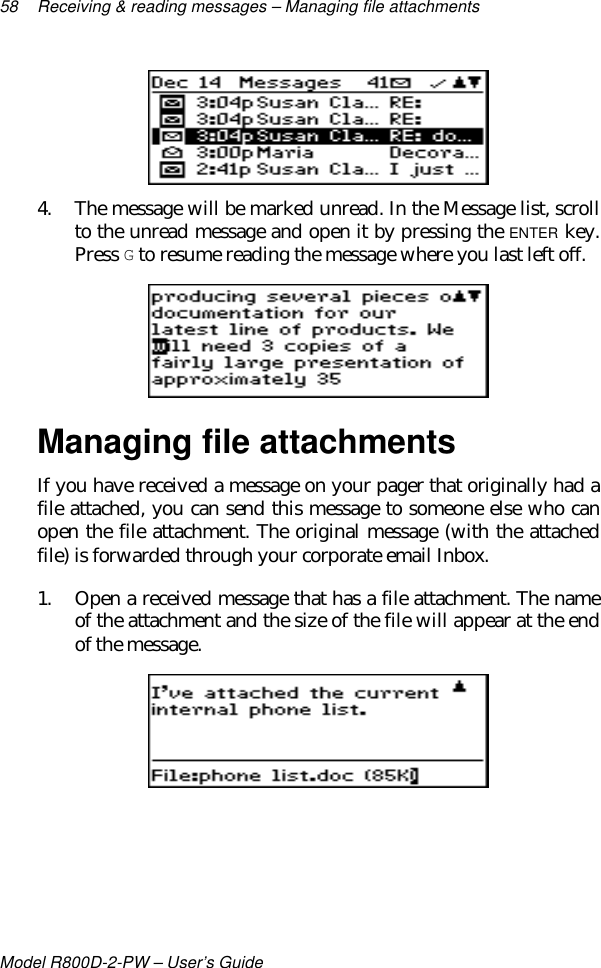
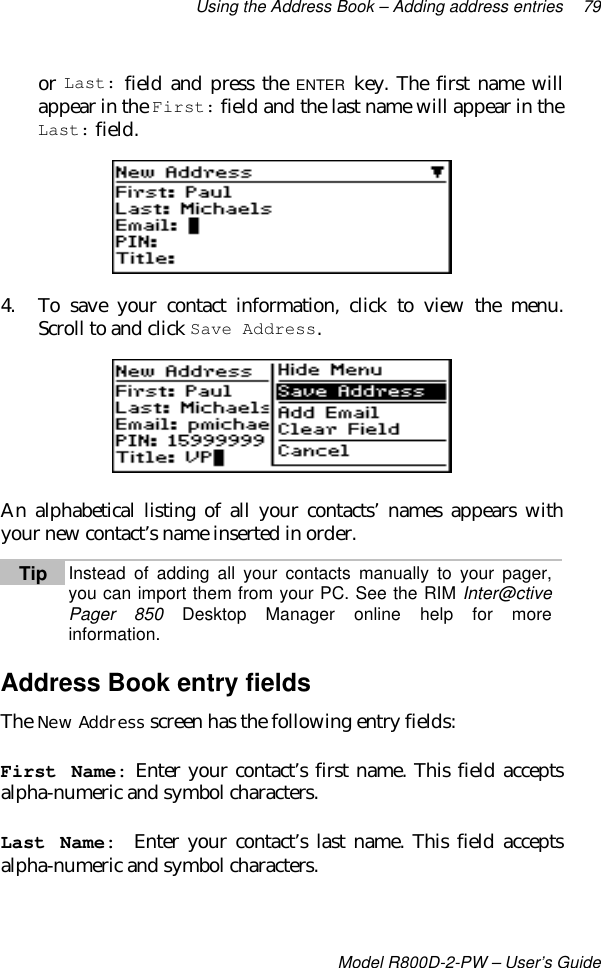
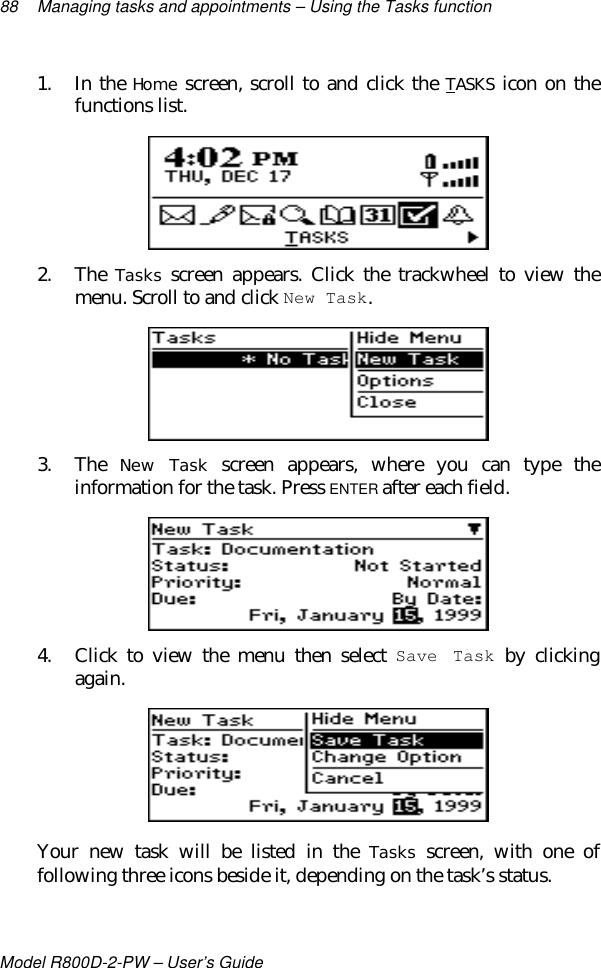
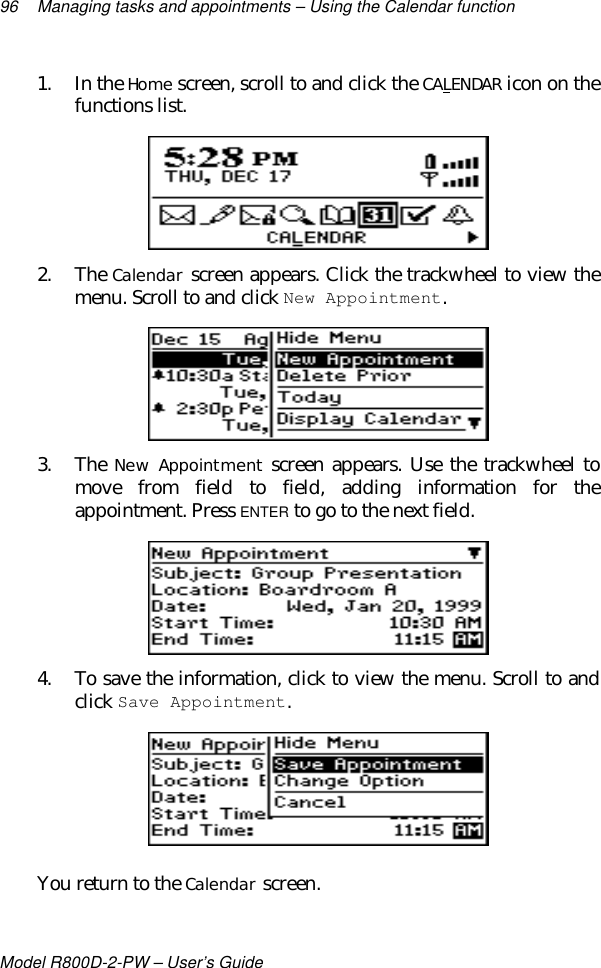
![28 Getting started – Sending a messageModel R800D-2-PW – User’s Guide1. In the Home screen, scroll to and click the COMPOSE icon on thefunctions list.2. The To: screen appears. Scroll to [Use Once] and click to viewthe menu where you can select a send method. (For thisexercise, choose Use Email.)3. The One Time Email screen appears and you can type yourcontact’s email address. Click the trackwheel to view the menuand select Continue by clicking again.4. Type a subject and press ENTER to begin typing your message.When you are ready to send the message, click the trackwheelto view the menu and click Send Message.](https://usermanual.wiki/BlackBerry/R800D-2-PW/User-Guide-29265-Page-42.png)
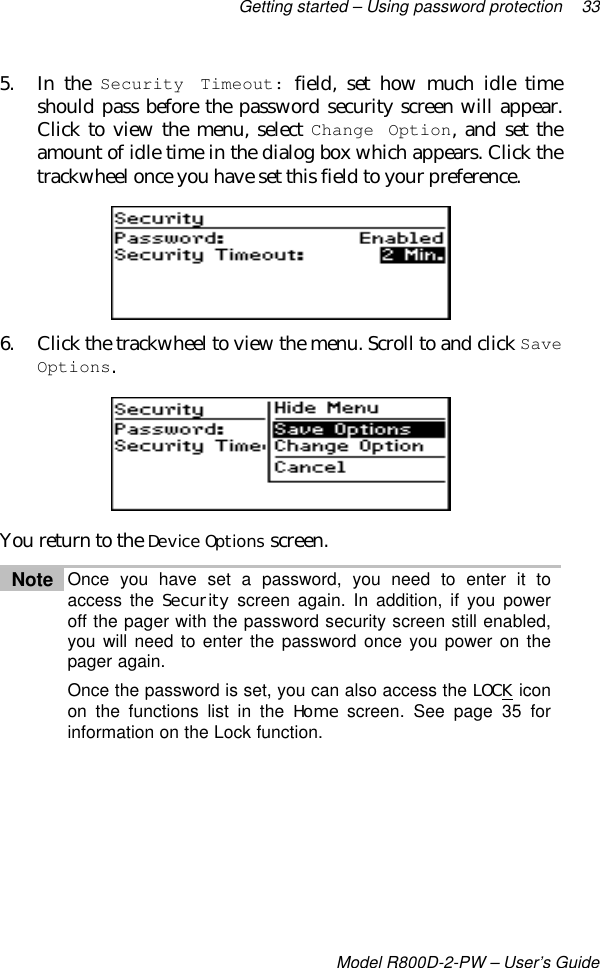
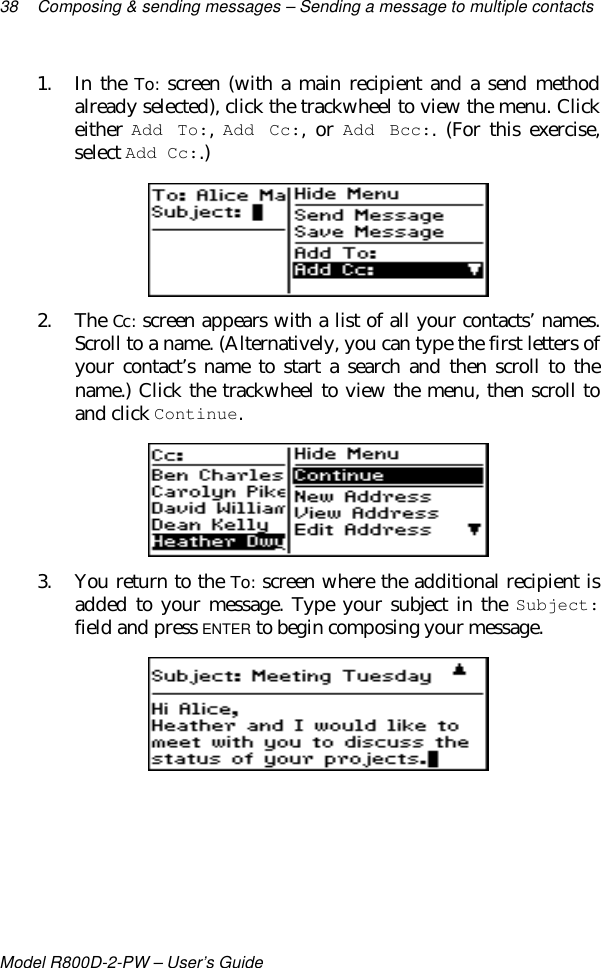

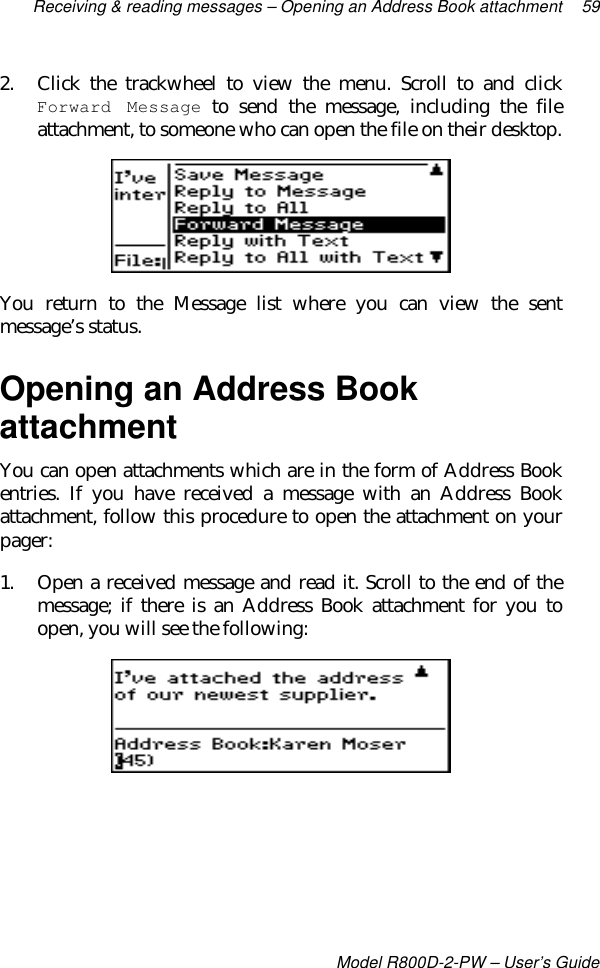
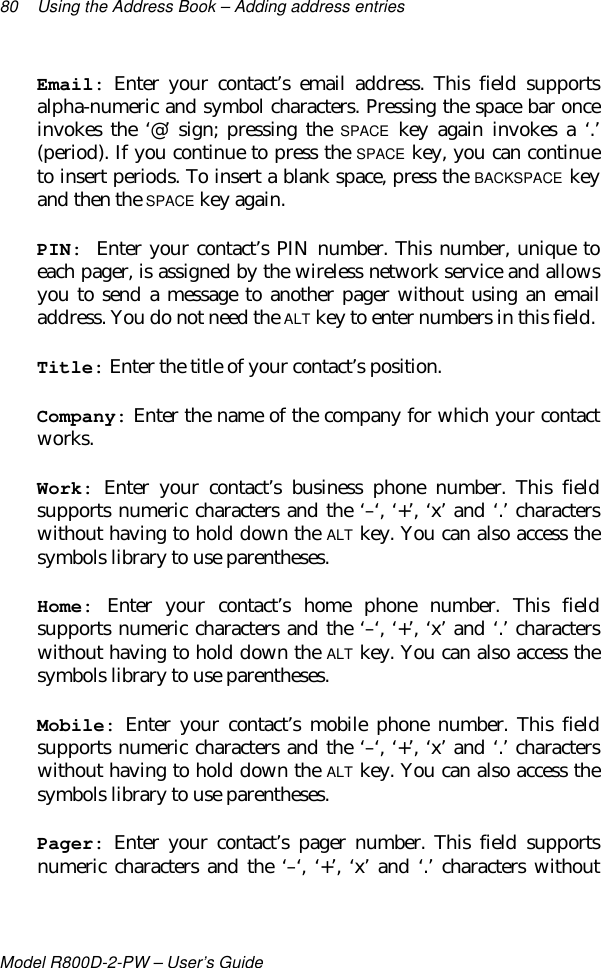

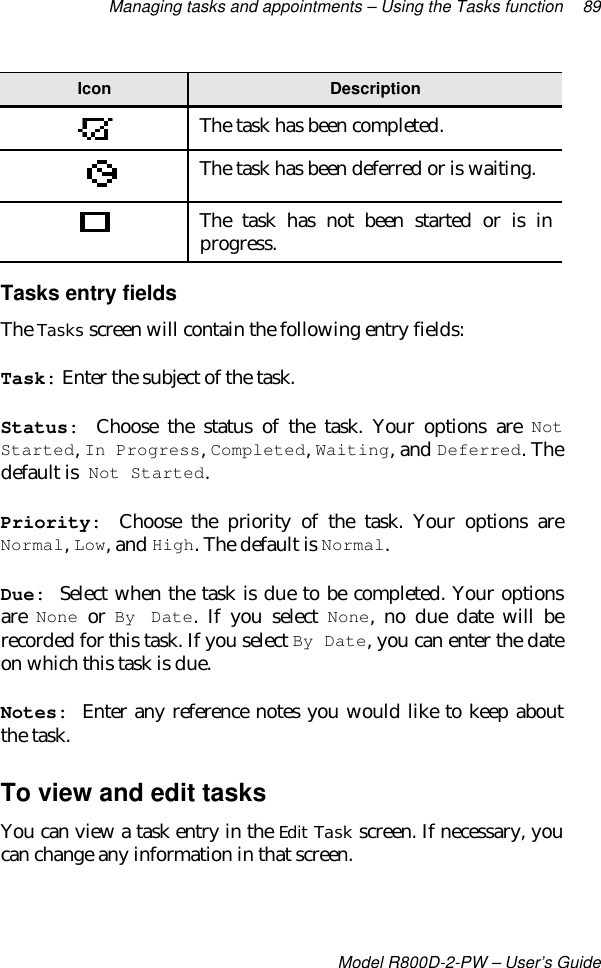
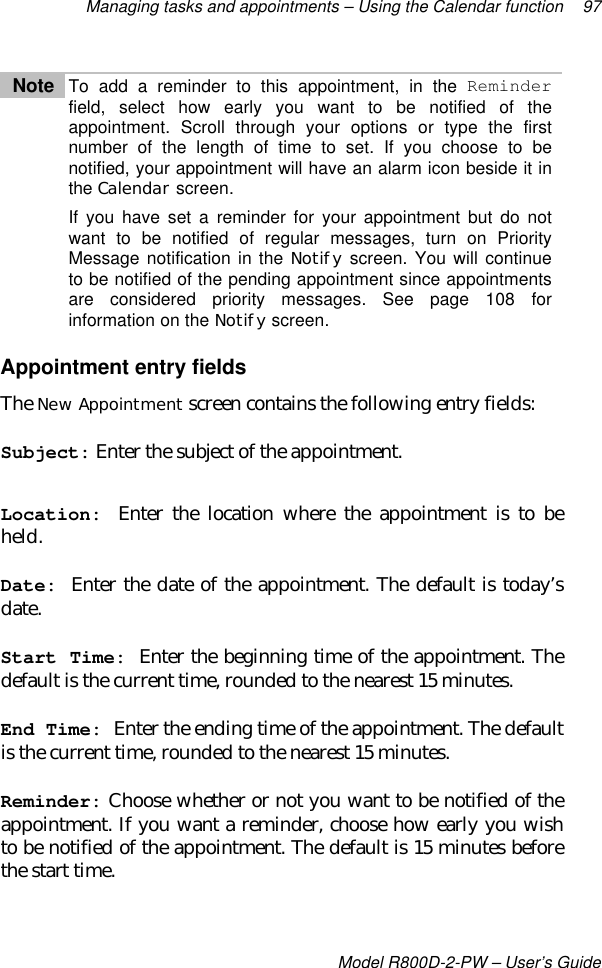
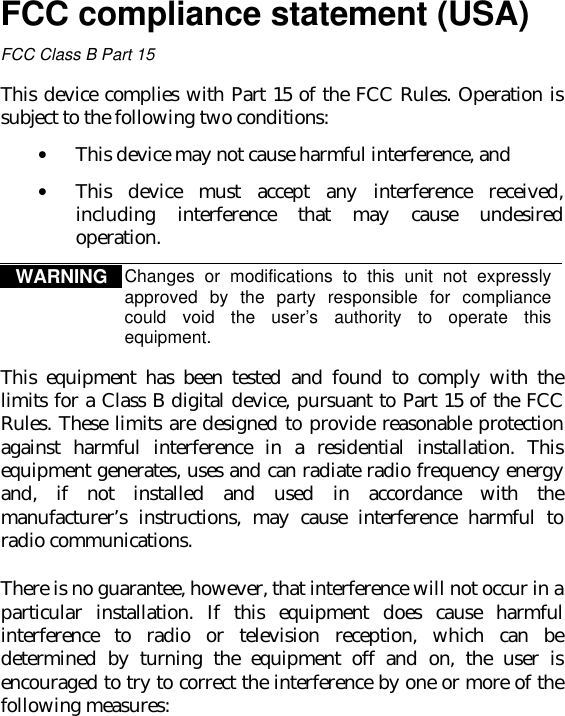
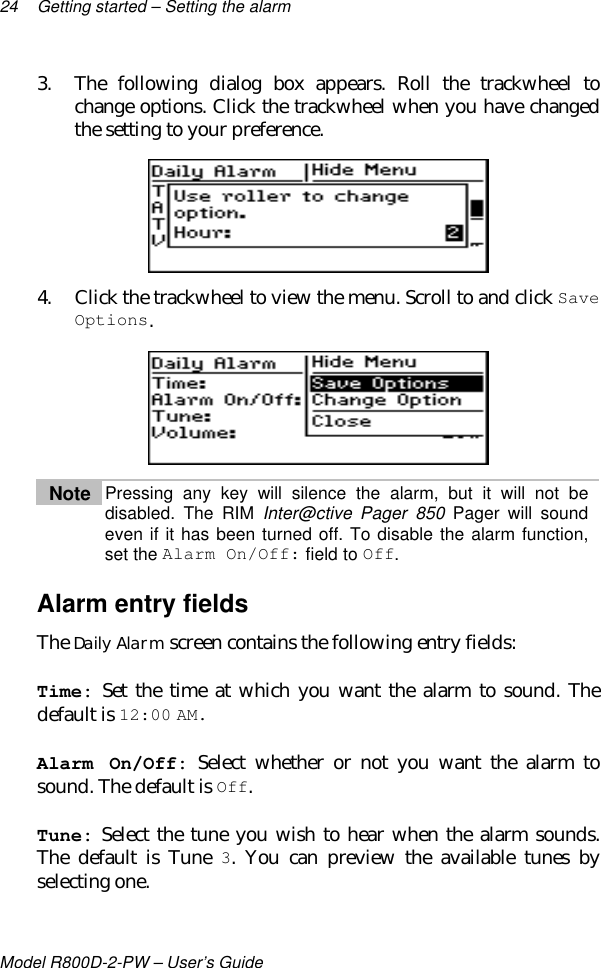
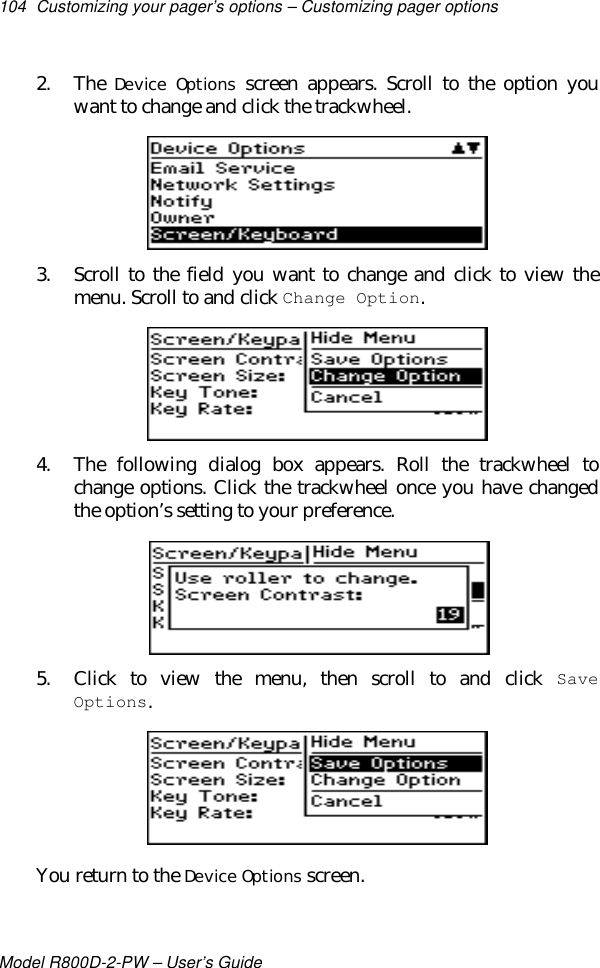
![88.Customizing your pager’soptionsIn Chapter 2, ‘Getting started,’ you found the procedure for settingmessage notification options. Now, learn how to make the most ofthe pager by customizing all of the options to suit your specificneeds.Note In the Device Options screen, return to the Home screen byscrolling to and clicking [Return to Home screen] at thetop of the options list.Customizing pager optionsYou can customize any of the pager’s options by following thisgeneral procedure:1. In the Home screen, scroll to and click the OPTIONS icon on thefunctions list.](https://usermanual.wiki/BlackBerry/R800D-2-PW/User-Guide-29265-Page-117.png)
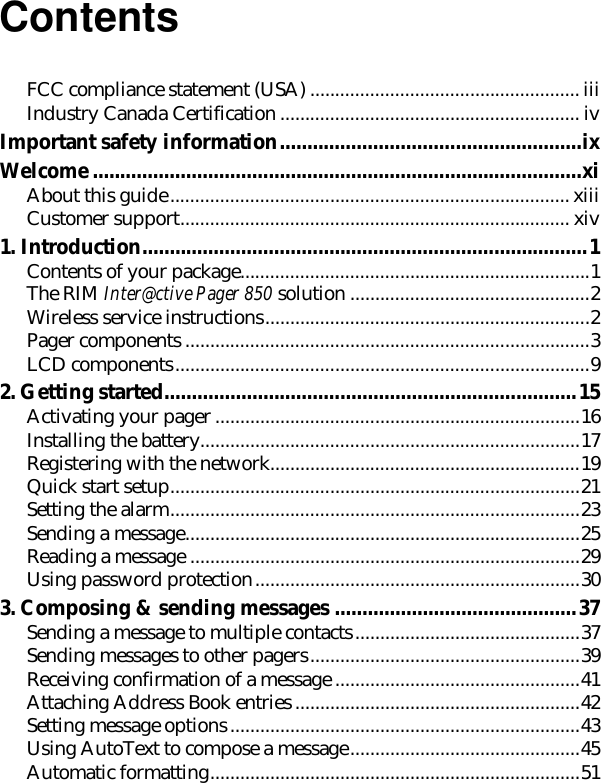
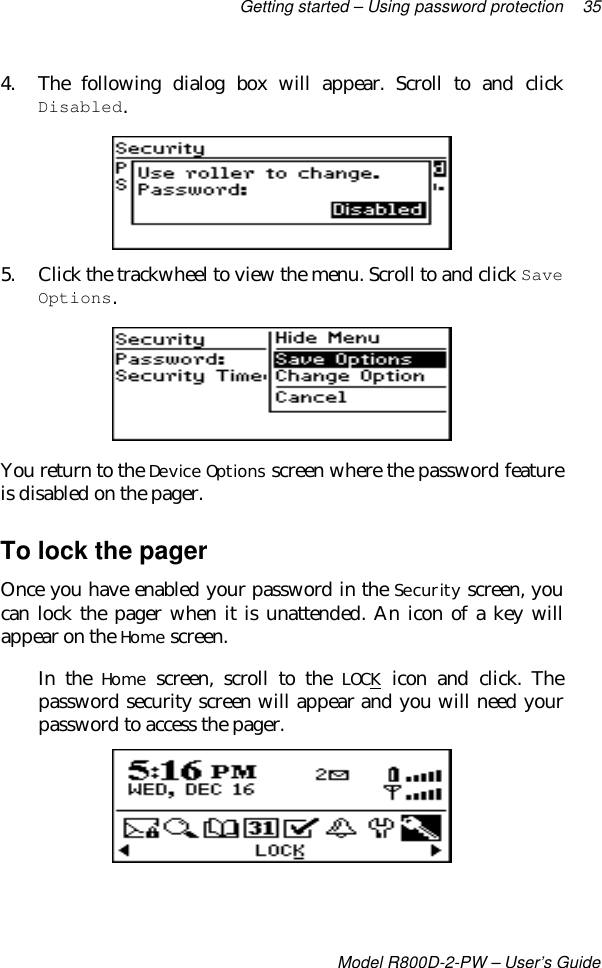
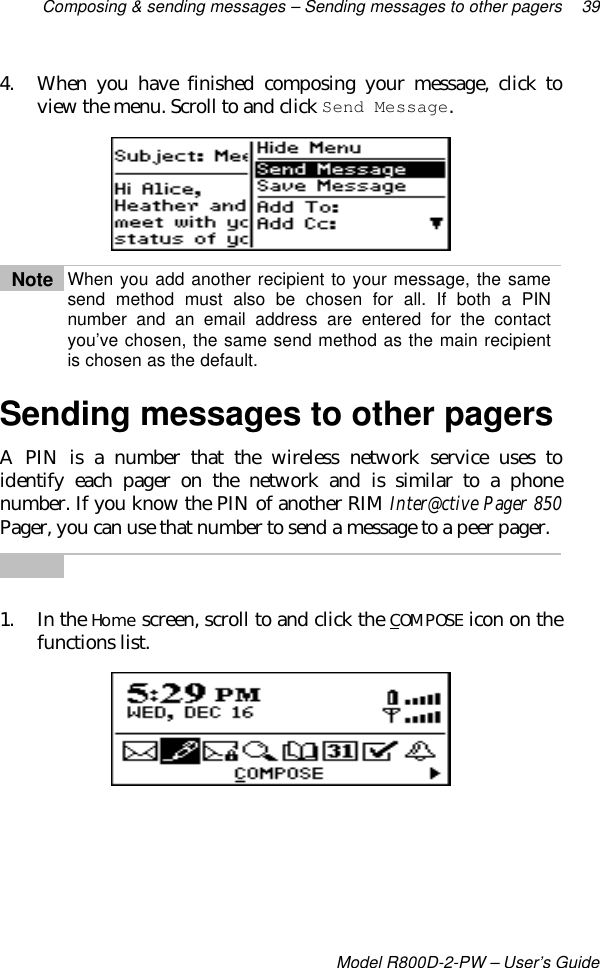
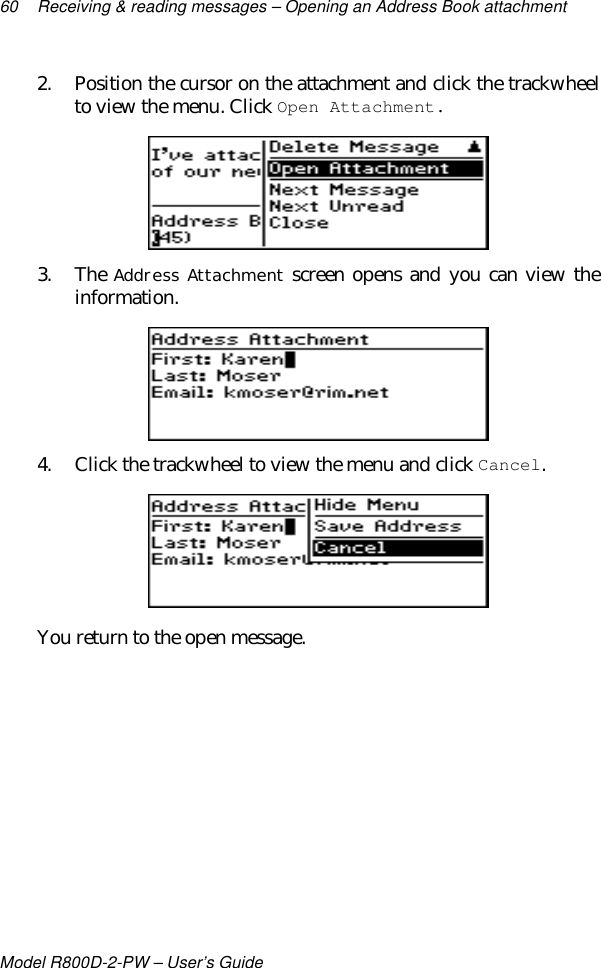
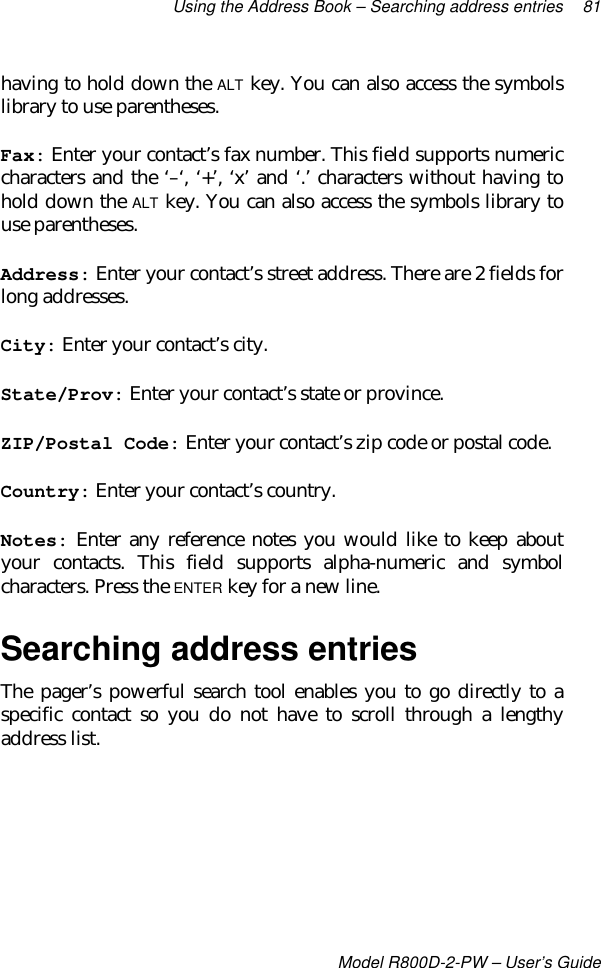
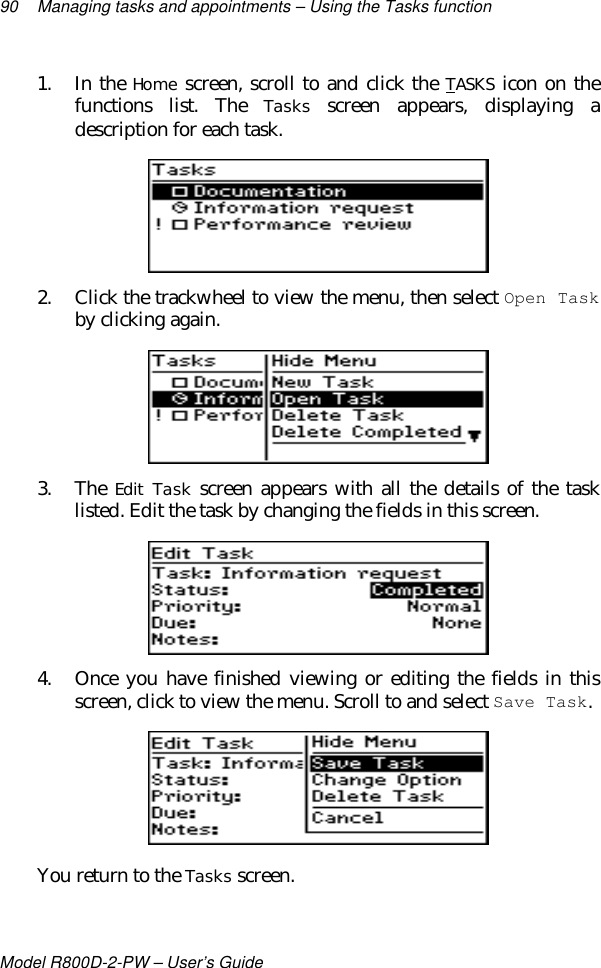
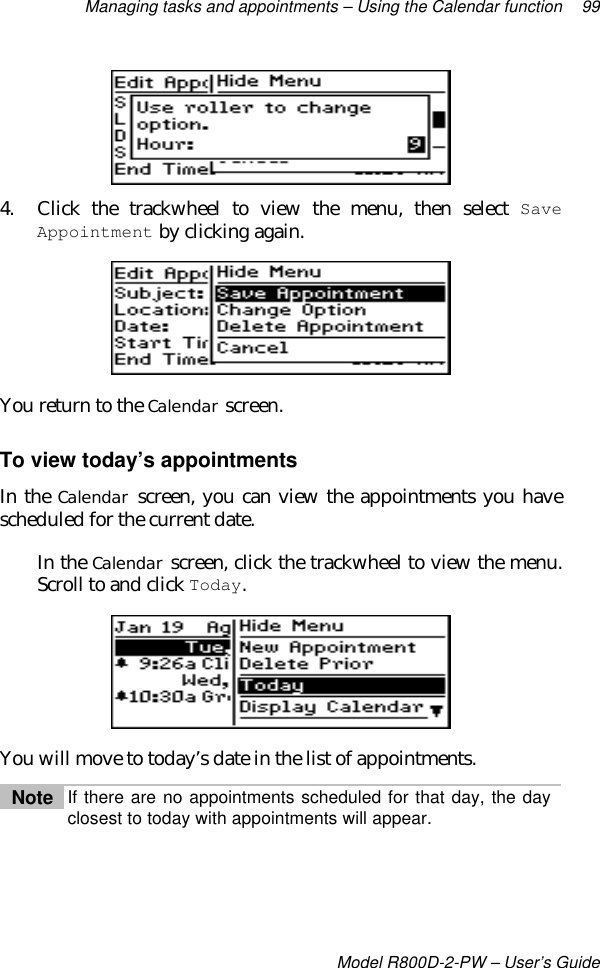
![Frequently asked questions – Home screen 117Model R800D-2-PW – User’s GuideHome screenHow can I return to the Home screen?The screen that displays the functions list and the date and time iscalled the Home screen.• Press the BACKSPACE key repeatedly until you return to theHome screen. See page 127 for more information on othershortcuts. (This shortcut applies for all screens except forthe To: screen when you are composing a message. Youcannot use the BACKSPACE key to escape from this screen.)• Select Close from an application’s menu or, in the DeviceOptions screen, scroll to and click [Return to Homescreen].LCD screenWhat can I do if my LCD screen seems faint?• Check the contrast under the Device Options screen. Seepage 103 for information on how to set options.• Activate backlighting by pressing the ALT key 3 times. Seepage 11 for information on the pager’s backlighting.The backlighting on my display screen keeps disappearing.• The LCD backlighting will turn off after 10 seconds if youhave not pressed a key or the trackwheel.MessagesWhy did I have two messages in my Inbox before I turned onthe radio?](https://usermanual.wiki/BlackBerry/R800D-2-PW/User-Guide-29265-Page-131.png)