BlackBerry RAO30GN BlackBerry Wireless Handheld User Manual bb 7210 7x30 7x80 safety info booklet
BlackBerry Limited BlackBerry Wireless Handheld bb 7210 7x30 7x80 safety info booklet
UserManual.wiki
>
BlackBerry
>
RAO30GN User Manual
users manual
Navigation menu
Upload a User Manual
Namespaces
Wiki Guide
HTML
PDF
Info
Views
User Manual
Discussion / Help
Navigation


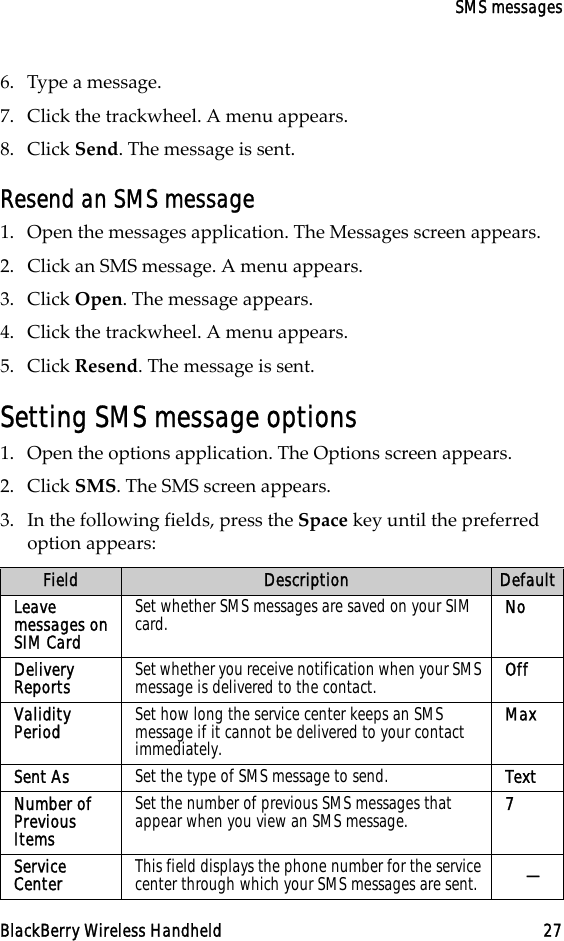
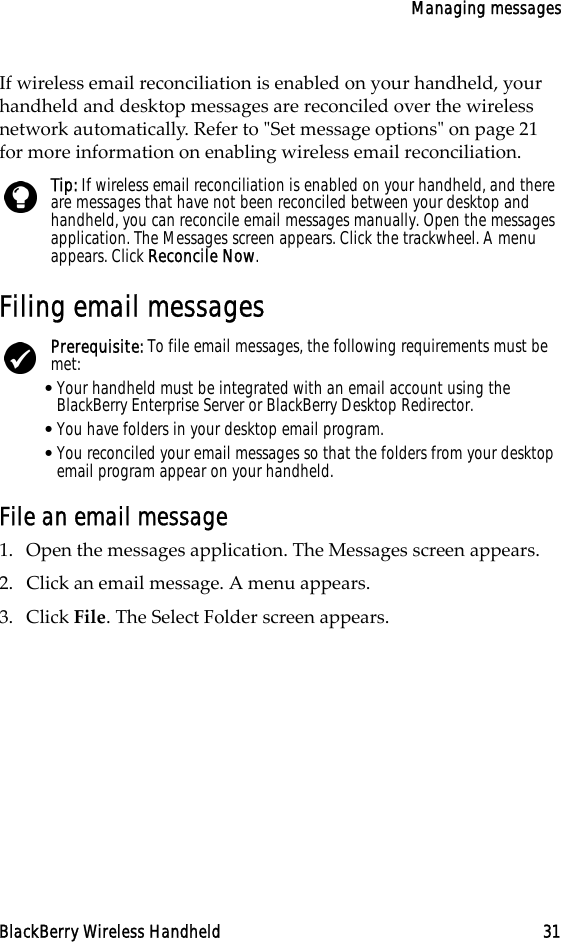
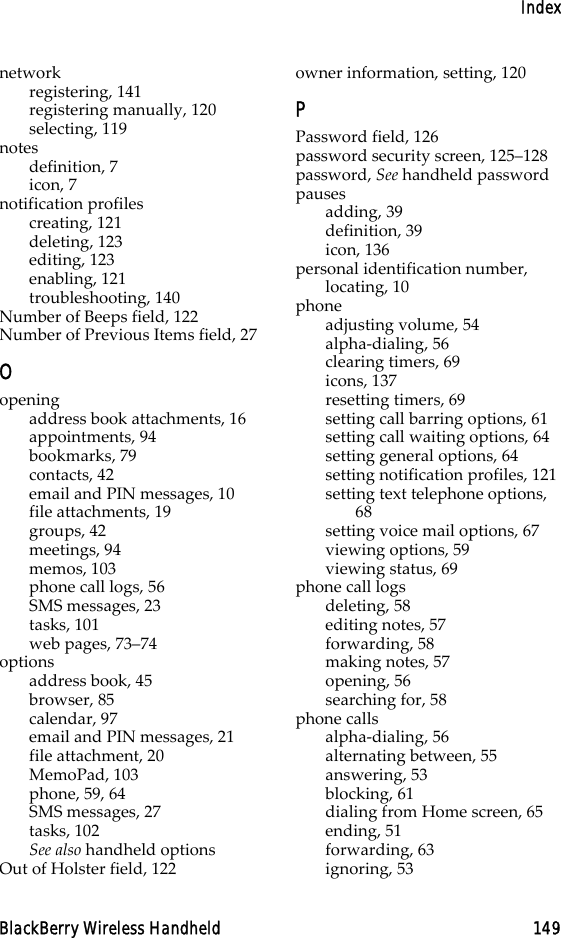
![Email and PIN messagesBlackBerry Wireless Handheld 11Sending email and PIN messagesSend a message1. Open the messages application. The Messages screen appears.2. Click the trackwheel. A menu appears.3. Select one of the following options:•To send an email message, click Compose Email. The Select Address screen appears.•To send a PIN message, click Compose PIN. The Select Address screen appears.4. Click [Use Once]. A menu appears.Select Address screen menu — Email item5. Select one of the following options:•To send an email message, click Email. The One Time Email screen appears.Prerequisite: To send messages, the following requirements must be met:•The wireless coverage indicator must show a level of wireless coverage.•GPRS must appear with the wireless coverage indicator on the Home screen.](https://usermanual.wiki/BlackBerry/RAO30GN/User-Guide-365862-Page-22.png)

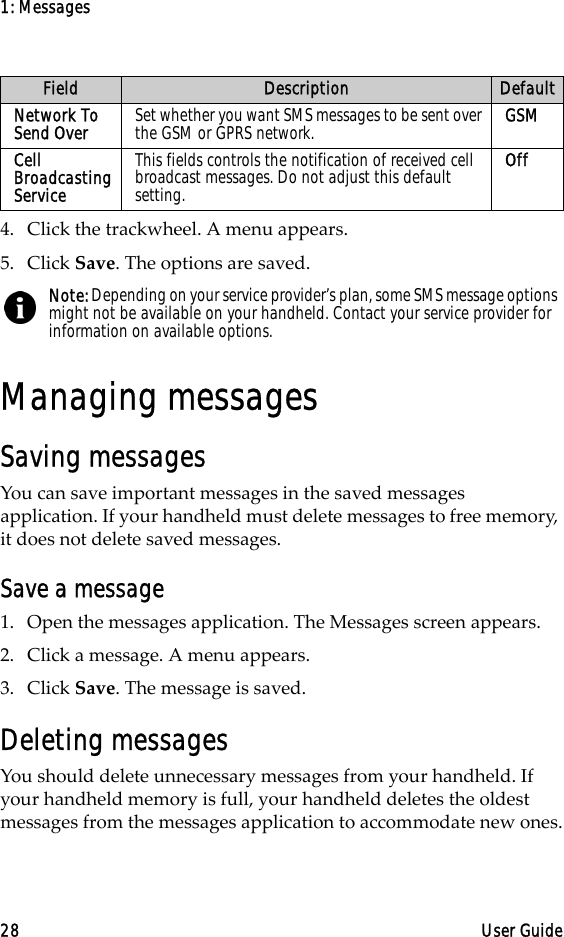
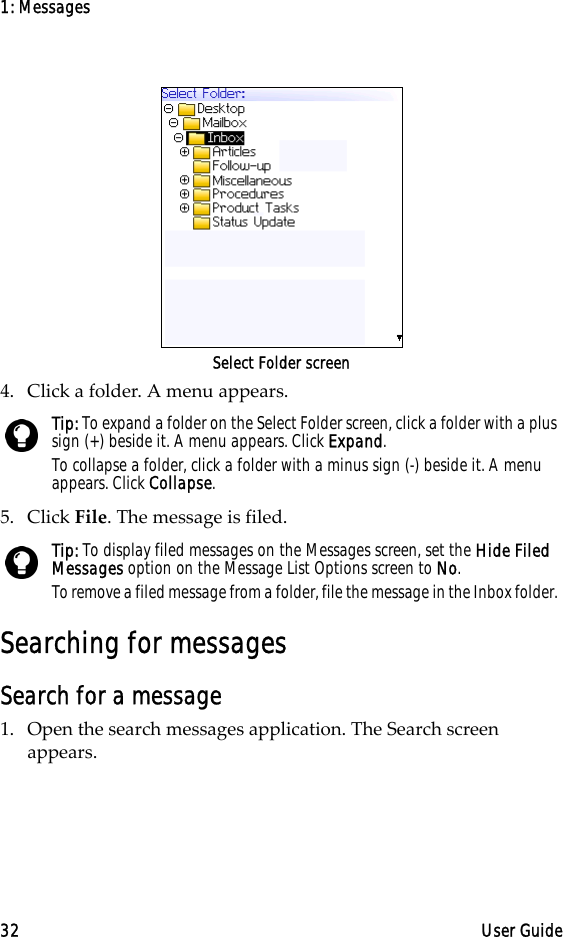
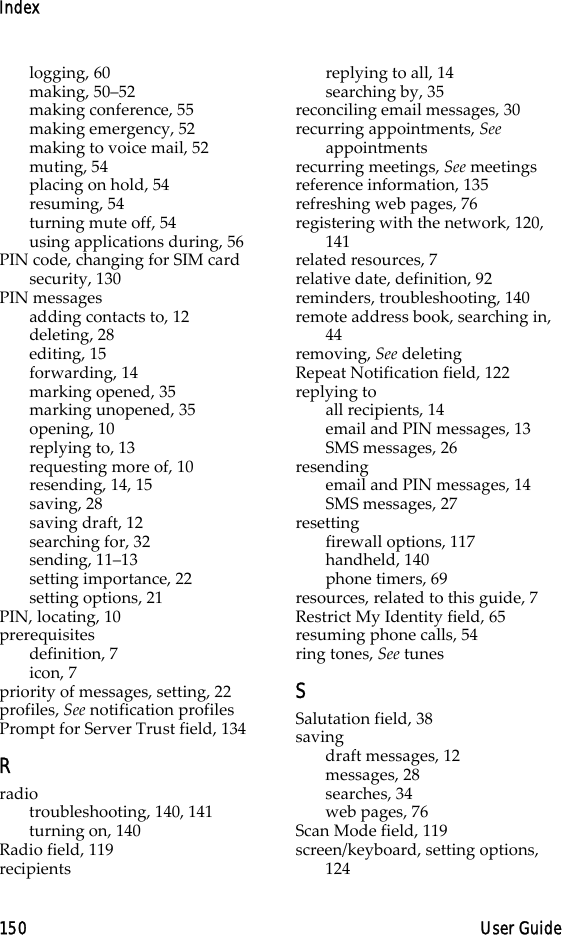
![1: Messages24 User GuideSending SMS messagesYou can send SMS messages to contacts who have an SMS- compatible phone number. SMS messages can contain up to 160 characters. If your service provider supports SMS concatenation, an SMS message that contains more than 160 characters, is sent over the wireless network in multiple, successive messages that appear on your handheld as one message. The number of characters that you type, and the number of messages that are required to send your message, appear in the upper right corner of the screen. Send an SMS message1. Open the messages application. The Messages screen appears.2. Click the trackwheel. A menu appears.3. Click Compose SMS. The Select Address screen appears.4. Click [Use Once]. A menu appears.Prerequisite: To send SMS messages, the following requirements must be met:•The wireless coverage indicator should show a level of wireless coverage.•GPRS, gprs, or GSM must appear with the wireless coverage indicator on the Home screen.](https://usermanual.wiki/BlackBerry/RAO30GN/User-Guide-365862-Page-35.png)