Brightstar A361X Mobile phone User Manual E188
Brightstar Corporation Mobile phone E188
UserManual.wiki
>
Brightstar
>
A361X User Manual
User manual
Navigation menu
Upload a User Manual
Namespaces
Wiki Guide
HTML
PDF
Info
Views
User Manual
Discussion / Help
Navigation

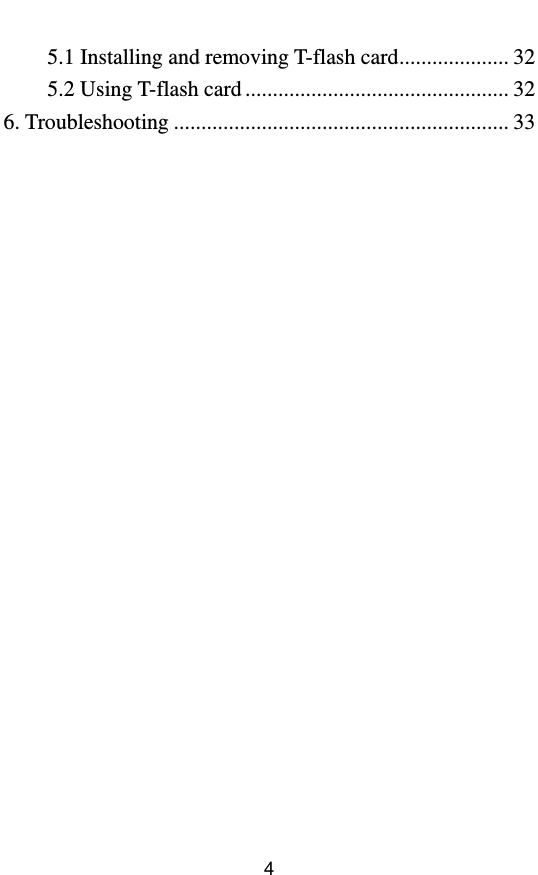

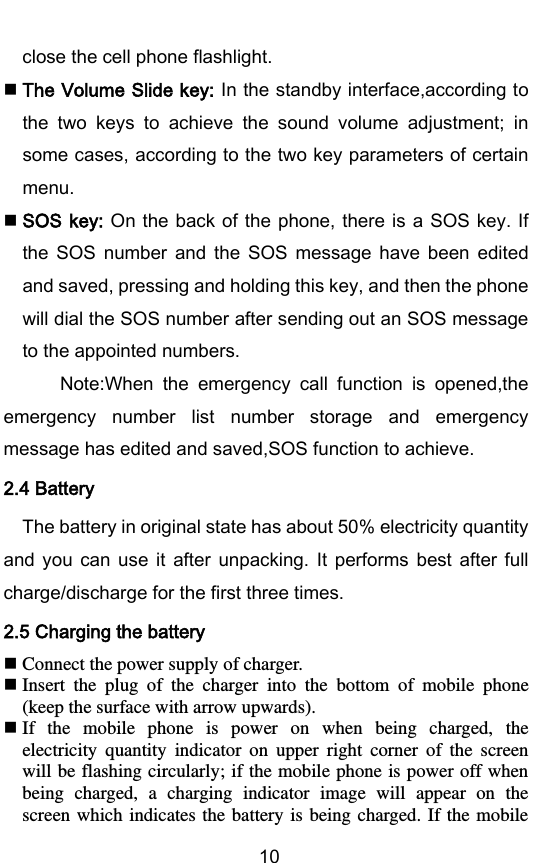
![9 to camera,move cursor while editing. The * key: Input special symbols, Chinese punctuation; in standby state, quickly press the button to switch to achieve *,+,P,W character input.press and hold this key to call the female number witch you presentedPlease pay respects to 3.5.8 “Emergency settings-Female number" The # key: Text editor,press the key to switch input method status; the standby state,press this key input symbol #,long press this key for scene mode switching.press and hold this key to call the male number witch you presentedPlease pay respects to 3.5.8 “Emergency settings-Male number" Note: In this manual, press a key means to press the key and release; press and hold a key means to press the key and hold for no less than 2 seconds. 2.2 Lateral key description You mobile phone with flip function.Open and close the lid will make you more convenient to use your mobile phone.When youre in any of the functional aspects of the operation when the flip closed will return to standby interface,specific cases such as the use of headphones, Bluetooth communication even flip closed will not affect your normal call. 2.3 Lateral key description The Flashlight key: Under any interface,slide the flashlight button to open the phones flashlight,slide down[flashlight] to](https://usermanual.wiki/Brightstar/A361X/User-Guide-2498041-Page-10.png)
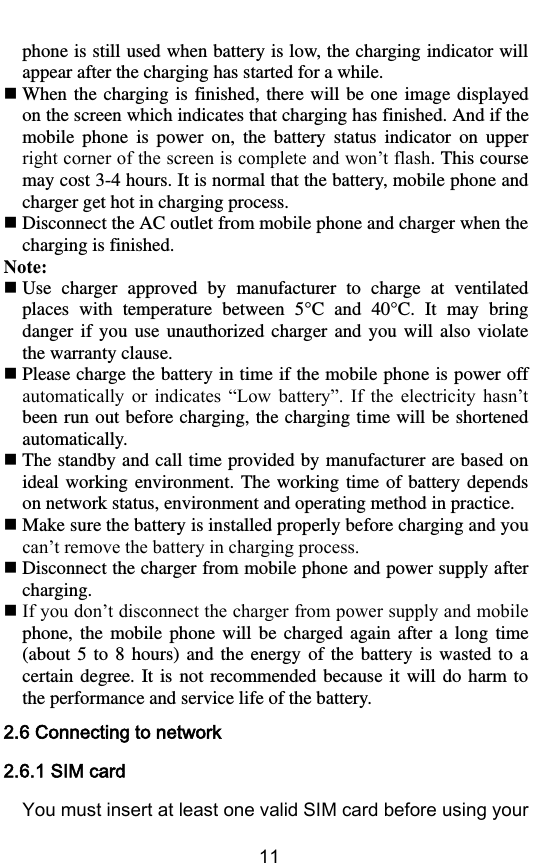
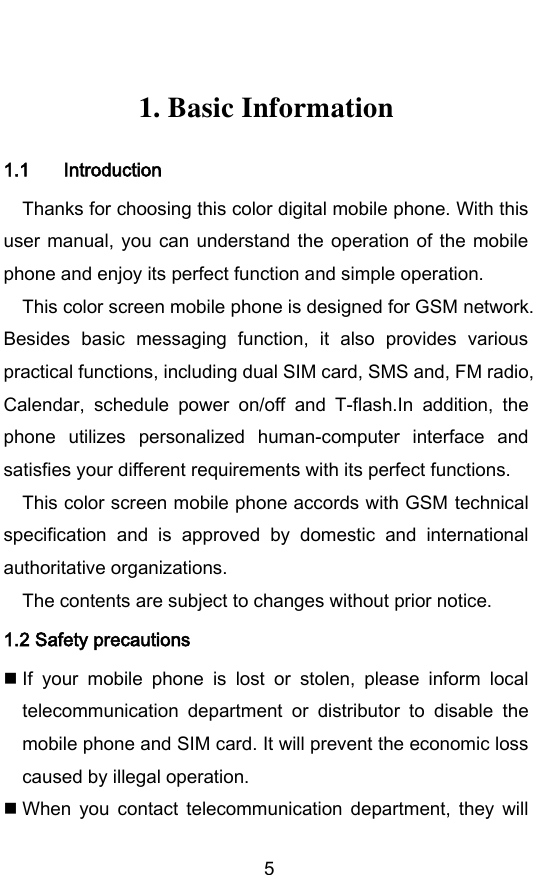
![19 3.4.3 Image viewer Enter it and select the picture you need, then press the Left soft key to choose Options, you can see the submenus: View, Browser style, Send, Rename, Delete, Sort by, Delete all files and Storage. 3.4.4 Video recorder Select [Video recorder] to get into the interface of recording directly, and then press the Up/Down key to adjust the focus, press the lateral key +/- to adjust the brightness, press the number key 0 to start recording video. Get into these Options by pressing the Dial key: Camcorder settings, Video settings, White balance, Effect settings, Storage and Restore default. Note: In the video browser interface, press the corresponding number keys to achieve video effect settings. 3.4.5 Video player Enter it and select the video you need, then press the Dial key to choose Options, you can see these submenus: Play, Send, Rename, Delete, Delete all files, Sort by and Storage. In the playing interface, press the Dial key to let the current document play or pause; press the Up/Down key to adjust the speed of fast playing or slow playing; press the lateral key +/- to change the playing volume; press the number key 7 or 9 to control video file rewind or fast forward; press the * key to swith the playing mode between full screen and non-full screen. 3.4.6 Audio player Choose the Audio player to get into the interface of MP3 broadcasting. The screen of the music player shows the caption: List, Back. Accessing list will show the name of the music that you have downloaded. Selecting one song of them, you can carry out the function of Play, Details, Add to ringtones, Refresh list and settings by choosing "options" which is under the detailed list. If your](https://usermanual.wiki/Brightstar/A361X/User-Guide-2498041-Page-20.png)
![20 detailed list is empty, you can only see Refresh list and Settings. On the audio playing interface, press the Up key can open or close the music player, or stop it for short time; press the Down key to stop broadcasting music; press the */# key to switch to the previous song and the next song separately; press the lateral keys +\- key to change the volume for playing. 3.4.7 Sound recorder Enter it to get into the interface of sound-recording file list directly. Select one of the existed files and enter Options: Record, Play, Append, Rename, Delete, Delete all files, Settings, Use as and Send. Please select Record to start recording. If there is no file, there will only be Record and Settings in Options. 3.4.8 FM radio This cellular phone provides the function of FM radio, and you need not input an earphone in the phone before using this function. In the interface of FM radio, pressing the Up key can open or close the function of searching automatically. After opening this function, pressing the number key 2 or 3 can carry on the forward searching or the backward searching automatically, until search a channel. When you close the function of searching automatically, you can carry on searching by yourself. Press the number key 2 or 3 will increase or reduce 0.1 HZ. Select the Down key can start or close the FM radio playing; press the lateral key to adjust the volume. Get into the interface of the radio, select [options] can carry on the following operations: Channel list: Getting into this menu, it will show all the detailed list of channels that you have been edited and kept in your phone. You can also play the existed channel directly. To delete or edit the existed channel is allowed. Manual input: You can input the broadcast frequency by hand which you want to hear, and then it will broadcast automatically after you press the assurance key. Auto search: Choose this menu can search broadcast channels](https://usermanual.wiki/Brightstar/A361X/User-Guide-2498041-Page-21.png)
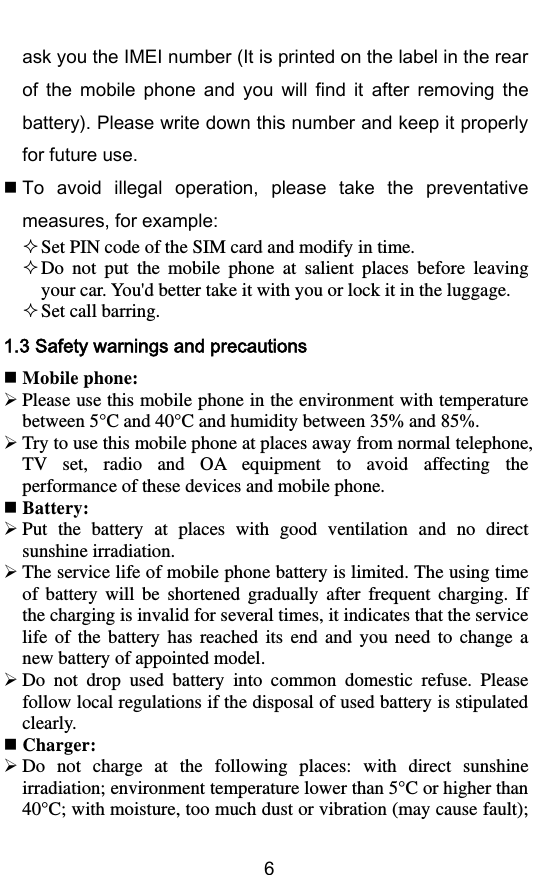
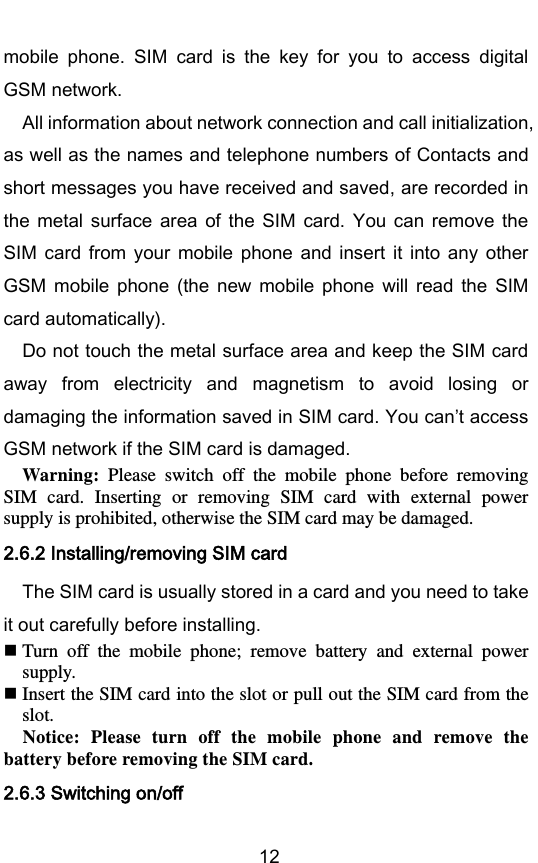
![22 completely. 3.6.2 Calendar Enter submenu of Calendar and you can see the interface of date. Press the direction keys to select date and month; press Option to access submenus: View, View all, Add event, Delete event, Jump to date, go to today and go to weekly. 3.6.3 Tasks Press the Left soft key to enter the task list interface. If you had not added any task, you can press the left soft key to Jump to date and View uncompleted. If there are some existed tasks in the task list, press the up / down key to select a task to get into the options: View, Add, Edit, Delete, Delete overdue, Delete all, Send Calendar and Save as file. 3.6.4 Alarm You can customize at most five alarm clocks in this mobile phone. Select an alarm clock to customize. 3.6.5 Wold clock:You can view the rest of the time. 3.7 Games Play the games stored in the phone or set the game parameter. 3.8 Messaging 3.8.1 Write message SMS Web service that allows you to send a short message to the other can receive SMS mobile phone. Message editor before, please confirm the short message center number has been edited. Submenu of the [messaging], select [Write message] to enter a short message editing window. You can change the input method](https://usermanual.wiki/Brightstar/A361X/User-Guide-2498041-Page-23.png)
![23 press the # Key in editing interface,and select symbol with the * Key or the number key 1, the information on the editing interface, press the left soft key can proceed as follows: Send to: Choosing this means this message is completed; you can send the message by SIM1 or SIM2 according to your own need. Input method: You can change the input method while editorializing. Insert Template:Add a preset template information. Advanced: Insert number: Choose the number of contact which is kept in the telephone book. Choose what you will insert and then press the Left soft key to insert it immediately. Insert name: Choose the name of contact which is kept in the telephone book. Press the Up/Down key to choose the name that you need and then press the Left soft key to insert it immediately. Save To Drafts: Will have to complete the editing of information stored in the draft. SMS sending end,namely back short message interface. If the message setting the[state][set] Check [the report],then the SMS send success,will send the report. 3.8.2 Inbox Look into the multimedia information you have been received. 3.8.3 Drafts It is used to keep the SMS which you don’t want to send out immediately after editing. 3.8.4 Outbox It is used to keep the multimedia message which has sent out unsuccessfully.](https://usermanual.wiki/Brightstar/A361X/User-Guide-2498041-Page-24.png)
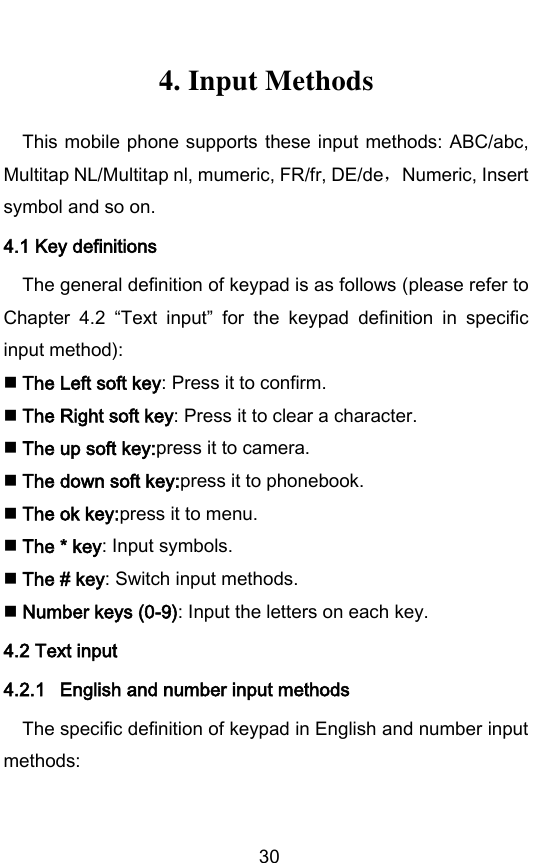
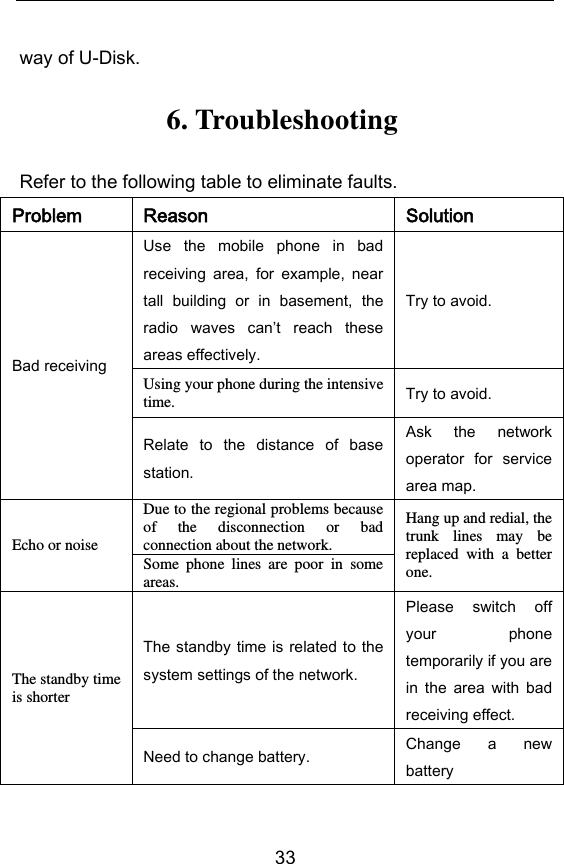
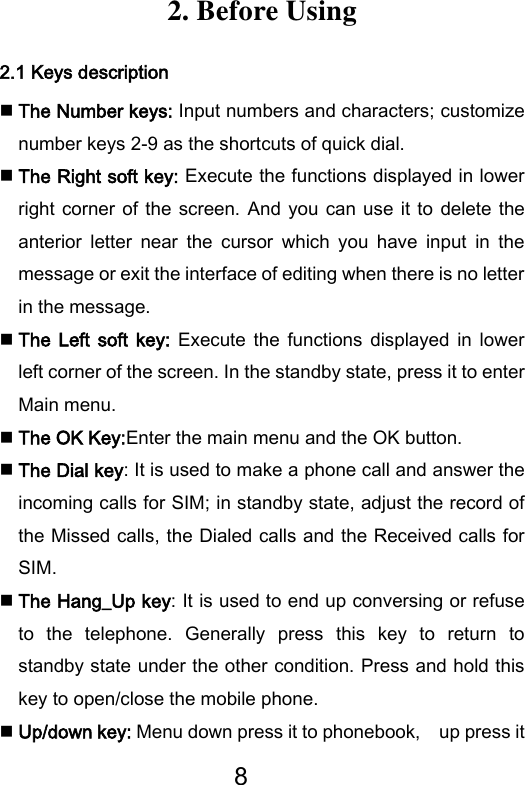
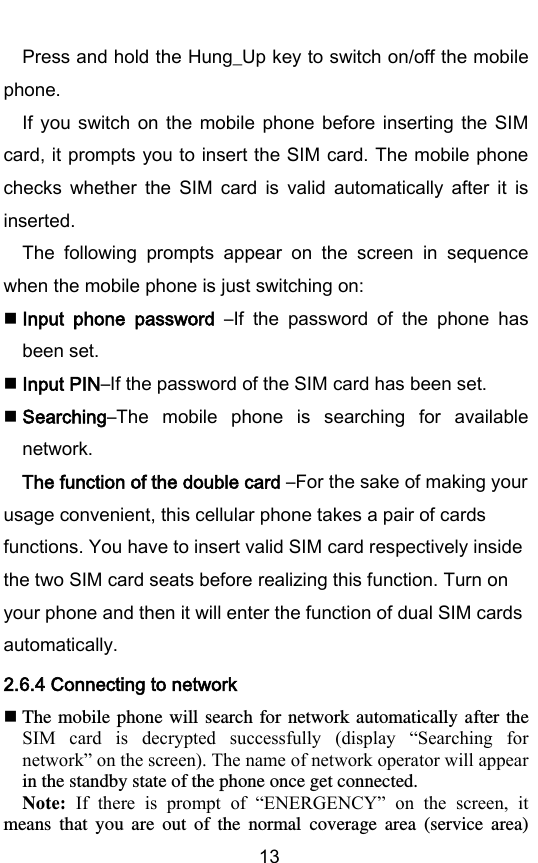
![32 corresponding number appears when the current input method is ABC/abc. Change the input method as Numeric and press [0]-[9] to input corresponding numbers directly. 5. About T-flash Card This mobile phone supports T-flash card to extend the memory space. The operations are as follows: 5.1 Installing and removing T-flash card Switch off the phone and take off the battery of it. Insert or remove the T-Flash to the slot which has the sign of T-Flash directly. 5.2 Using T-flash card T-flash card is configured as the default memory device of mobile phone before delivery. You neednt to perform any setting. Use T-flash card as the memory device of mobile phone: when you insert the T-flash card for the first time, you need to set the memory card as the default storage device of Music player, Video player and Sound recording. Used as U-Disk: After conneting with the computer by the USB line, it may carry out the function of copying datas or files between the T-Flash and the computer. You may know he details of operation about using the T-Flash refer to the using](https://usermanual.wiki/Brightstar/A361X/User-Guide-2498041-Page-33.png)