Brightstar GT853 Fixed Wireless Phone User Manual GT853 853 comment rev 1
Brightstar Corporation Fixed Wireless Phone GT853 853 comment rev 1
UserManual.wiki
>
Brightstar
>
GT853 User Manual
User manual rev1
Navigation menu
Upload a User Manual
Namespaces
Wiki Guide
HTML
PDF
Info
Views
User Manual
Discussion / Help
Navigation

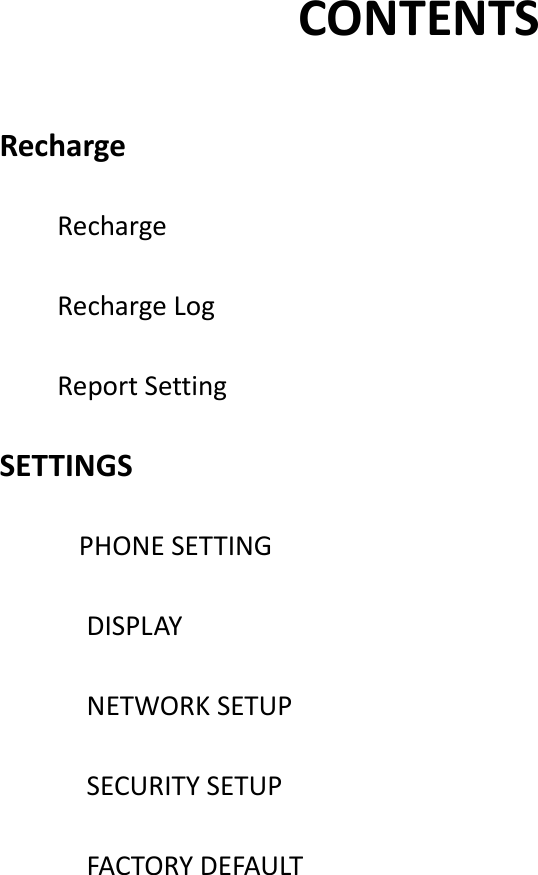
![Recharge Setting menu includes: Recharge Recharge log Report setting [1] Recharge [ 1.1 ] Recharge End User 1) Press Menu > Recharge >Scroll to Recharge End User>OK key 2) Enter recharge amount [ ] OK key 3) Enter phone number [ ] OK key. 4) Enter PIN number [ ] OK key [ 1.2 ] Recharge Store 1) Press Menu > Recharge > Recharge >Recharge store >OK key 2) Enter recharge amount [ ] OK key 3) Enter phone number [ ] OK key. 4) Enter PIN number [ ] OK key 5) Enter Confirm PIN [ ] OK key [2] Recharge Log 1) Press Menu > Recharge > Scroll to Recharge Log and press OK key. 2) All charging: Display all charging list, total 100 record could be stored. 3) Last Charging : Display the last charging record ( Time / Date / Number / Amount ) 4) Clear : Delete all charging list [3] Report Setting 1) Press Menu > Recharge > Scroll to Report Setting and press OK key. 2) Recharge Report : Two option: Enable & Disable 3) Center Number : enter center number](https://usermanual.wiki/Brightstar/GT853/User-Guide-1764548-Page-3.png)
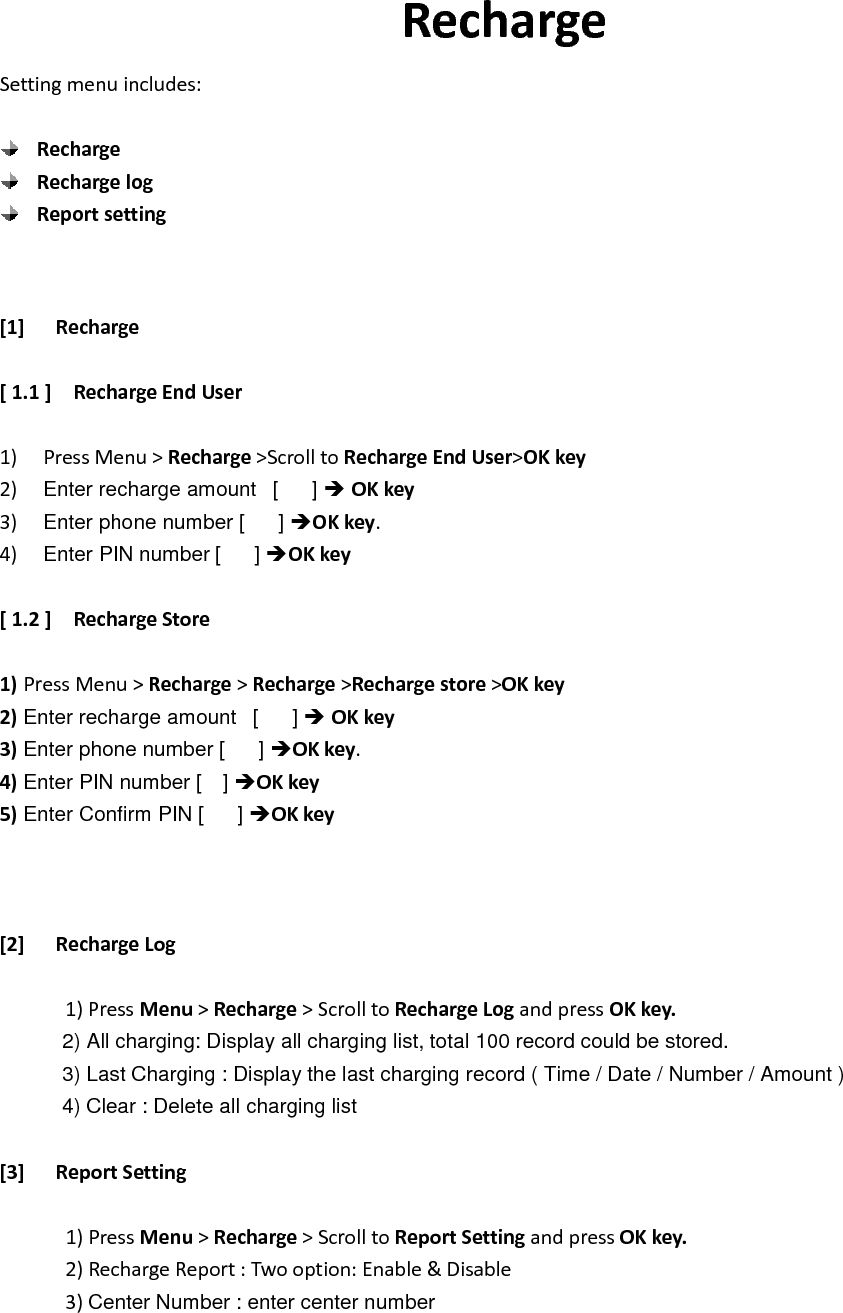
![SETTINGS Setting menu includes: Phone Settings Display Network Setup Security Setup Factory Default [1] Phone Settings [ 1.1 ] Clock settings This menu guides you to set Time/Date. Date/Time Setting: Set the correct time and date. Time Setting 5) Press Menu > Settings > OK key 6) Scroll Phone Settings and press OK key. 7) Select Clock Settings then press OK key. 8) Select Time Setting and press OK key. 9) Input hour/minute/am or pm by using numeric keys and left / right key. 10) Press OK key Date Setting 1) Press Menu > Settings > OK key 2) Scroll Phone Settings and press OK key. 3) Select Clock Settings then press OK key. 4) Select Date Setting and press OK key. 5) Input month / day / year by using numeric keys and left / right key. 6) Press OK key Date Format: There are four types of expressions of dates DD / MM / YY (day / month / last two digits of this year) MM / DD / YY DD / MM / YYYY (day / month / full digits of this year) MM / DD / YYYY Date Separator: There are four types of separators of date digits OO-OO-OO (Hyphen) OO/OO/OO (Slash) OO.OO.OO (Dot) OO OO OO (Blank)](https://usermanual.wiki/Brightstar/GT853/User-Guide-1764548-Page-5.png)
![Time Format: You can choose 12h or 24 hours. For example, if the time is 1:22 pm ( 12h expression) , it can be shown as 13:22 (24h expression) [ 1.2 ] Language Three languages options can be selected: Automatic /English / Spanish ( Español ). Also you may choose automatic option; Your native language can be chosen without manual selection. 1) Press Menu > Settings and press OK key 2) Scroll Phone Settings and press OK key 3) Select Language and then press OK key 4) Select the language you need and press OK key [ 1.3 ] Volume Call : using up/down navi key Keypad Tone : using up/down navi key 1) Press Menu > Settings and press OK key 2) Scroll Phone Settings and press OK key 3) Select Volume and then press OK key [2] Display [ 2.1 ] Idle Display Clock and Date When you choose Enable, you can see the date and clock on your idle display (The phone should be in full service state, otherwise display net state) [ 2.2 ] Contrast There are 20 levels for LCD contrast. Press right key then the contrast goes up. Press left key then the contrast is down [ 2.3 ] Backlight Set Specific LCD and Keypad Backlight time. 1) Select Backlight and press OK key 2) Toggle Always off, 5 sec, 15 sec, 30 sec or 45 sec and press OK key [3] Network Setup](https://usermanual.wiki/Brightstar/GT853/User-Guide-1764548-Page-6.png)
![[ 3.1 ] Network Select mode You can set the recharge to automatically search the most suitable network to camp on or to manually select the network you need. 1) Press Menu > Settings and press OK 2) Scroll Network Setup and press OK 3) Select Network Select mode and press OK 4) Select Automatic selection or Manual selection and then press OK Manual mode: The recharge starts searching available networks. Use the up and down key to browse the network list, and press OK to set the highlighted networks [4] Security Setup There are three options available: SIM PIN : Prevent unauthorized use of the SIM card and or the some features of services of telephone service provider Phone Lock: Prevent unauthorized use of the phone Change Password : Change by inputting the phone password two times [ 4.1 ] SIM PIN SIM PIN (SIM Personal Identification number) is a four-to-eight digit numeric or password. It is related with the service of your service provider. For more detail, contact your service provider. 1) Press Menu > Settings and press OK key 2) Scroll Security Set Up and press OK key 3) Select SIM PIN and press OK key 4) Select PIN Check, Change PIN1, Change PIN2 and then press OK key. PIN Check : Allow or disallow the use of SIM PIN by entering SIM PIN code Change PIN 1: This is a pin code that locks the SIM card until you enter the correct code. The default code is set by the Service Provider. You can change it if you like by entering defaulted PIN code by Service provider, but make sure you don't forget the new code Change PIN 2: This SIM card code controls access to some of the more advanced features of the phone. The default code is set by the Service Provider. You can change it if you like by entering defaulted PIN code by Service provider, but make sure you don't forget the new code. Not all networks support pin 2. Caution: If you unsuccessfully enter the SIM PIN code sometimes depends on SIM card or country in succession the SIM card will be Locked. And then contact your telephone service provider to get PUK code to unlock SIM card. [ 4.2 ] Phone Lock The default password is “0000”.](https://usermanual.wiki/Brightstar/GT853/User-Guide-1764548-Page-7.png)
![1) Press Menu > Settings and press OK key 2) Scroll Security Set Up and press OK key 3) Select Phone Lock and press OK key 4) When ‘On’ is chosen, there are two options. Verify when Power-on: Every time you must enter password when power on Verify with new SIM: When you change SIM card, you enter the password Change Password This feature allows you to change the password. 1) Press Menu > Settings and press OK key 2) Scroll Security Setup and press OK key 3) Select Change Password and press OK key Note: You need to input three times. Old password, the new password and confirmation. Every time you enter the input press OK key [ 5 ] Factory Default This feature resets the current settings to the factory default values. The default phone code is “0000”. 1) Press Menu > Settings and press OK key 2) Select Factory Default and press OK key 3) Enter the 4-digit password and press OK key Note: Before factory reset please save you important information! ★★★★★★★★★★★★ This device is designed as table top recharge machine and has an interface to connect with table printer during usage. So please put the device on the table during usage and cannot be used as portable device.](https://usermanual.wiki/Brightstar/GT853/User-Guide-1764548-Page-8.png)

