Broadcom BRCM1005-D 802.11g MINI PCI Card build in Laptops User Manual PP05L 4n142bk0
Broadcom Corporation 802.11g MINI PCI Card build in Laptops PP05L 4n142bk0
Broadcom >
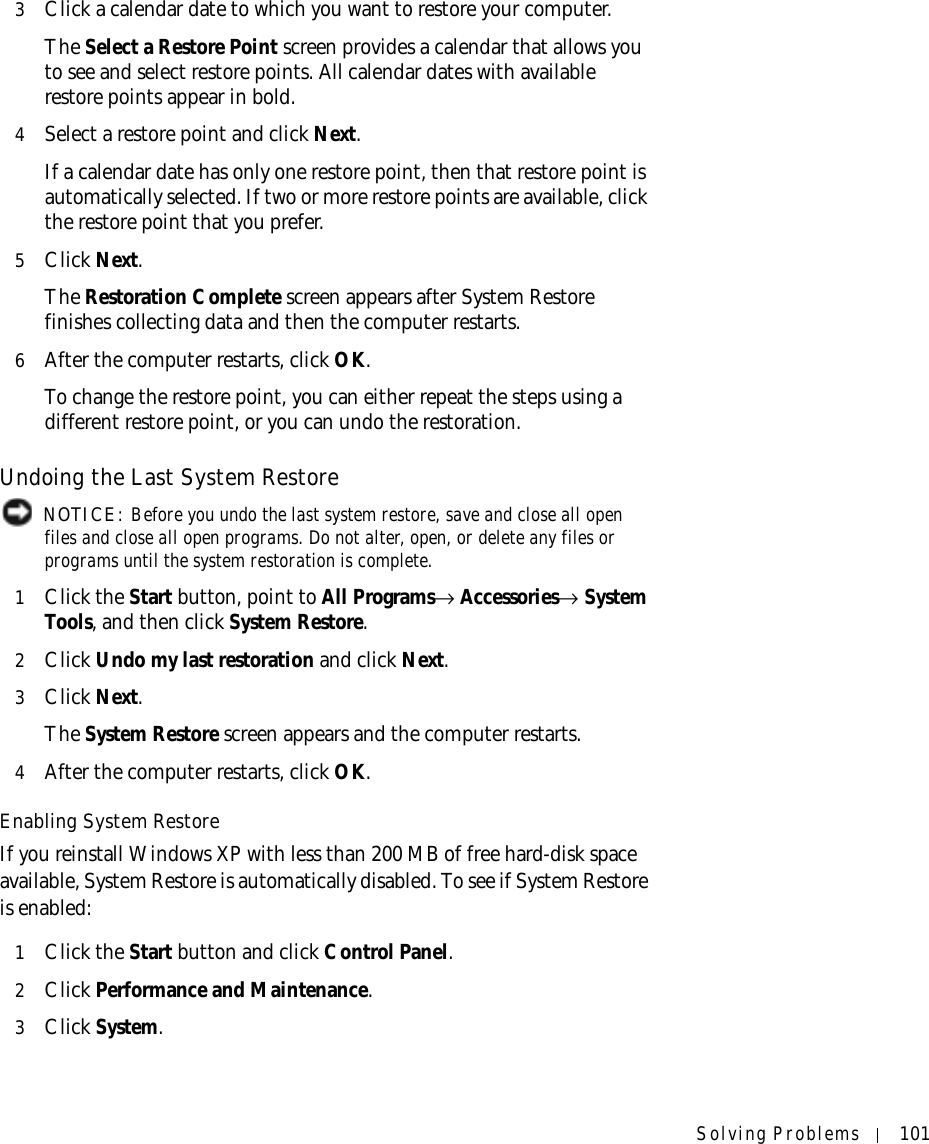
Contents
- 1. PP02X User Guide Main
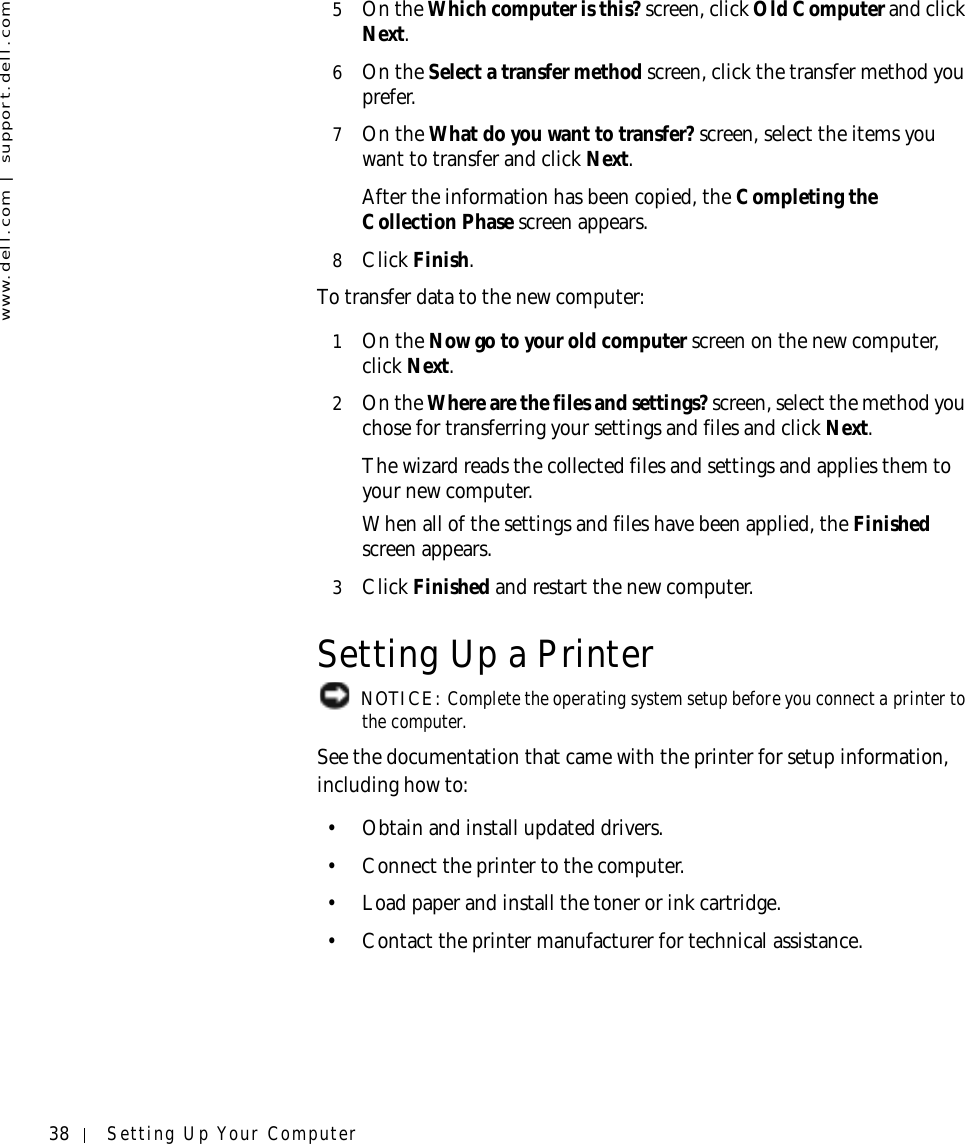
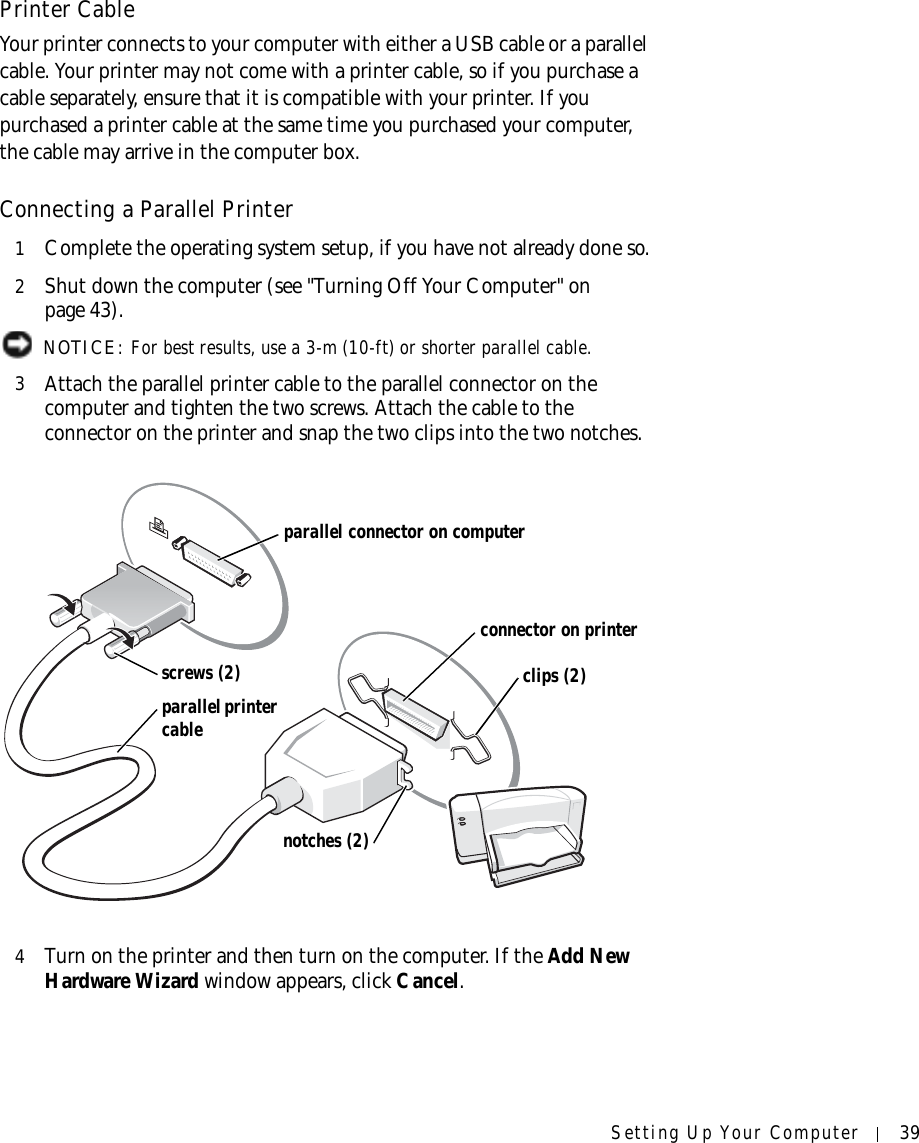
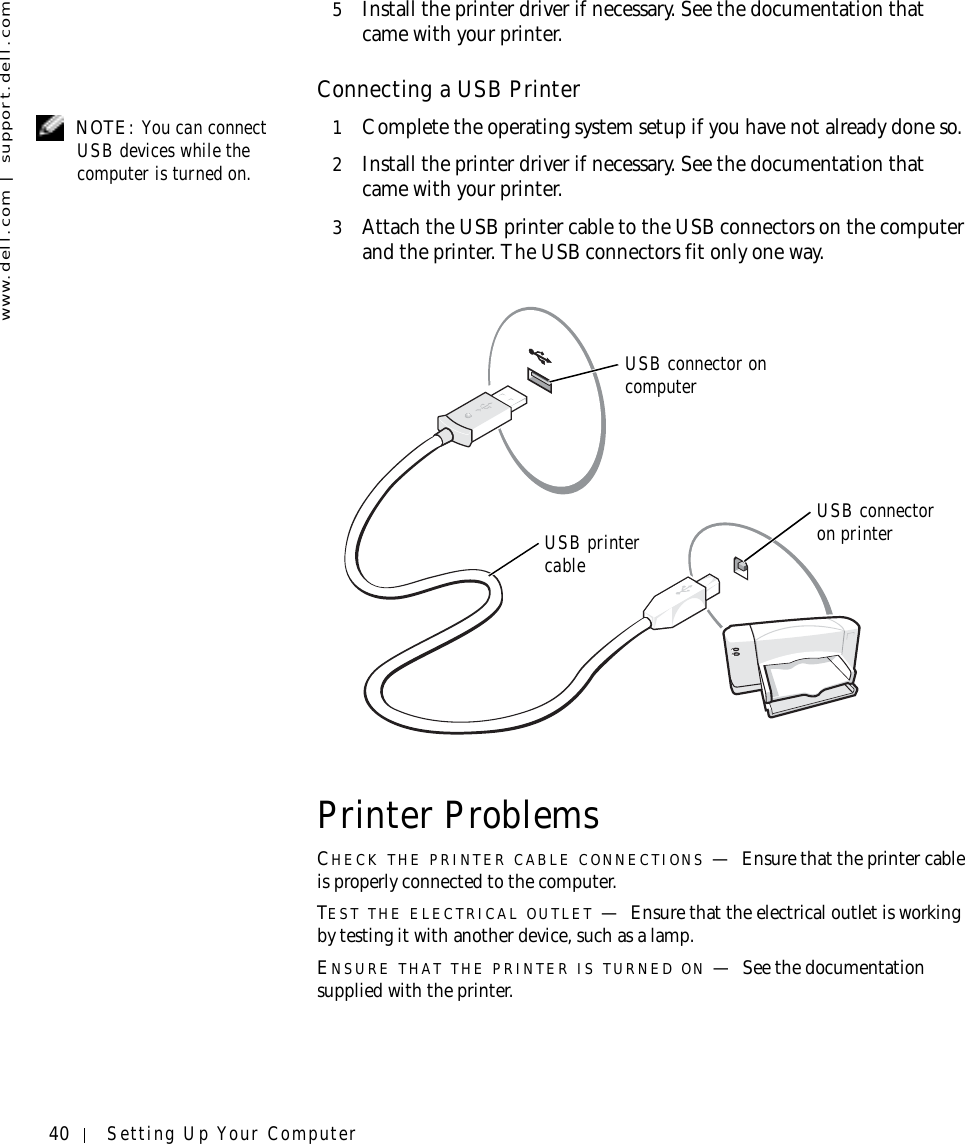
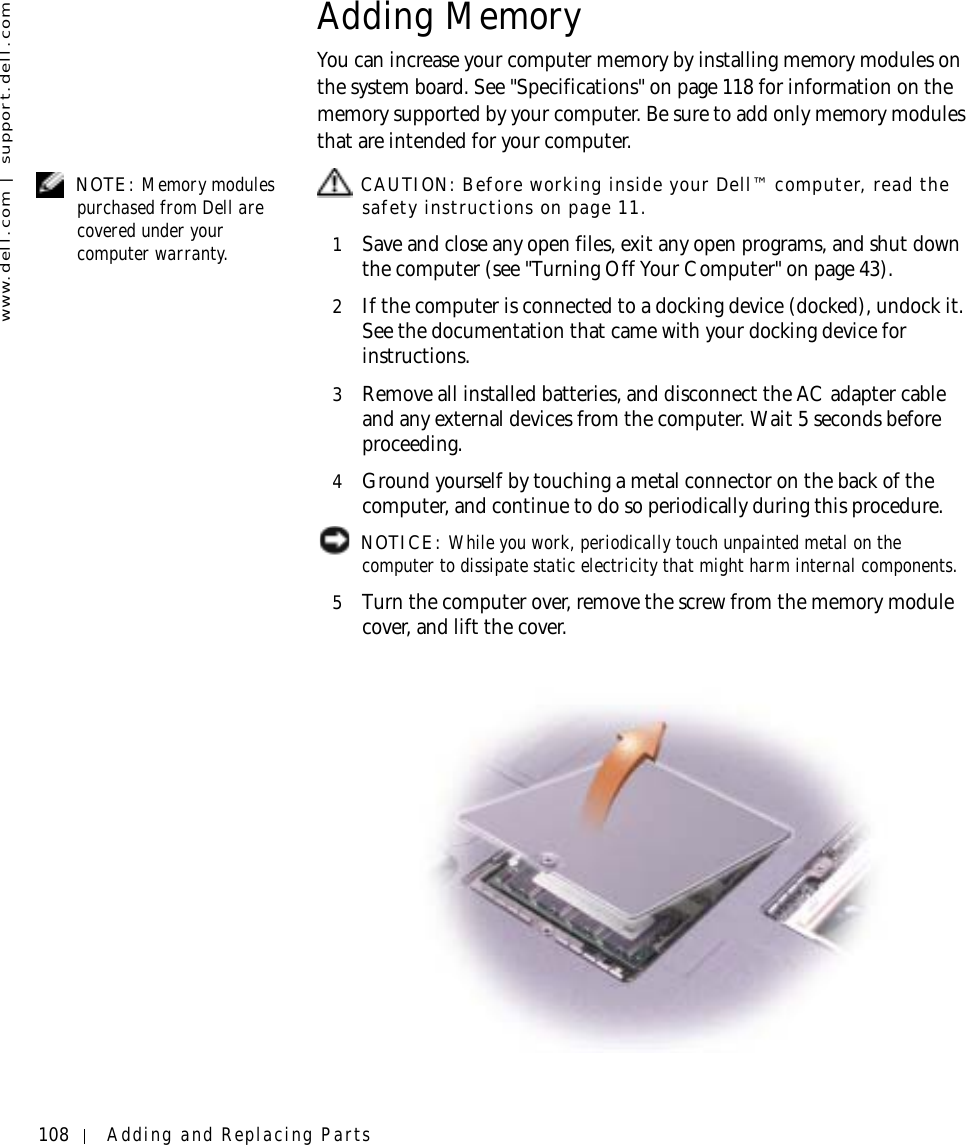
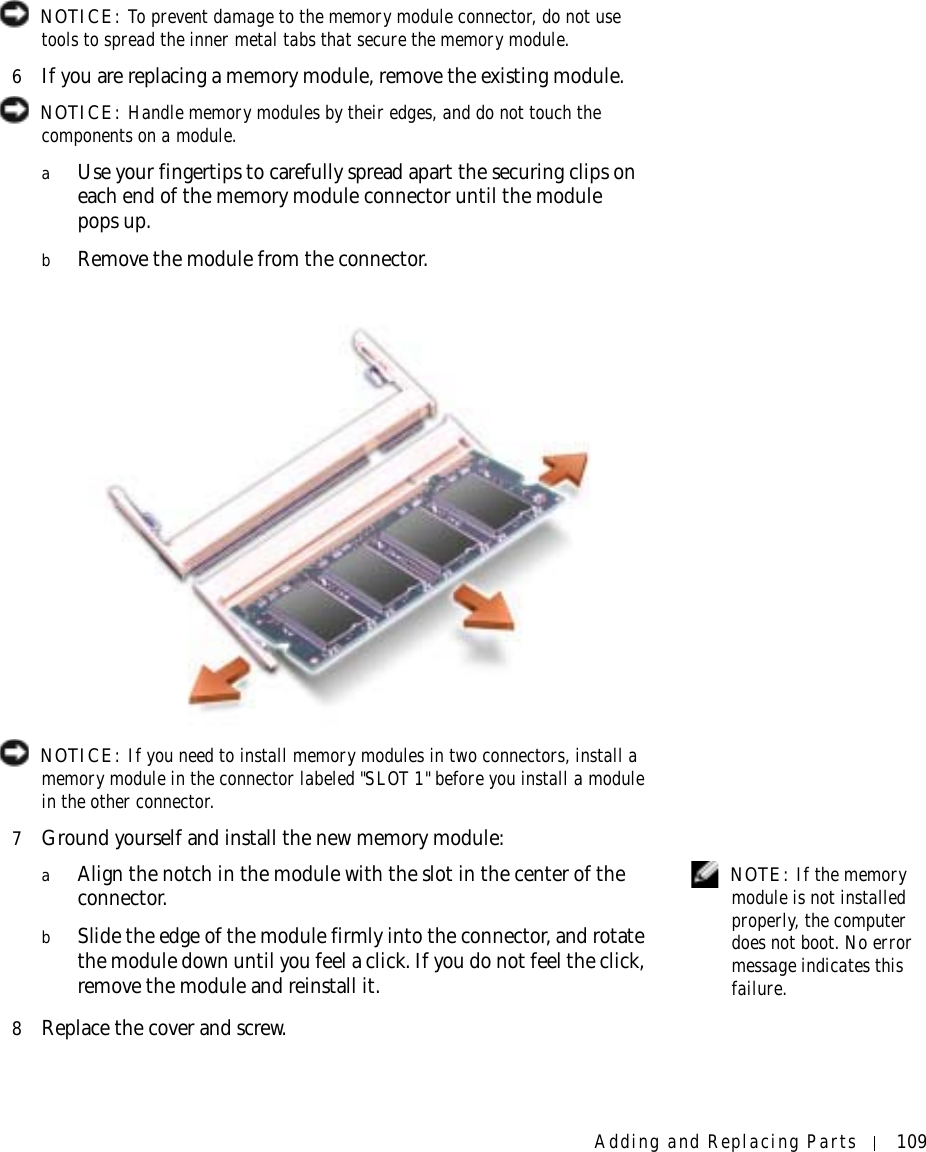
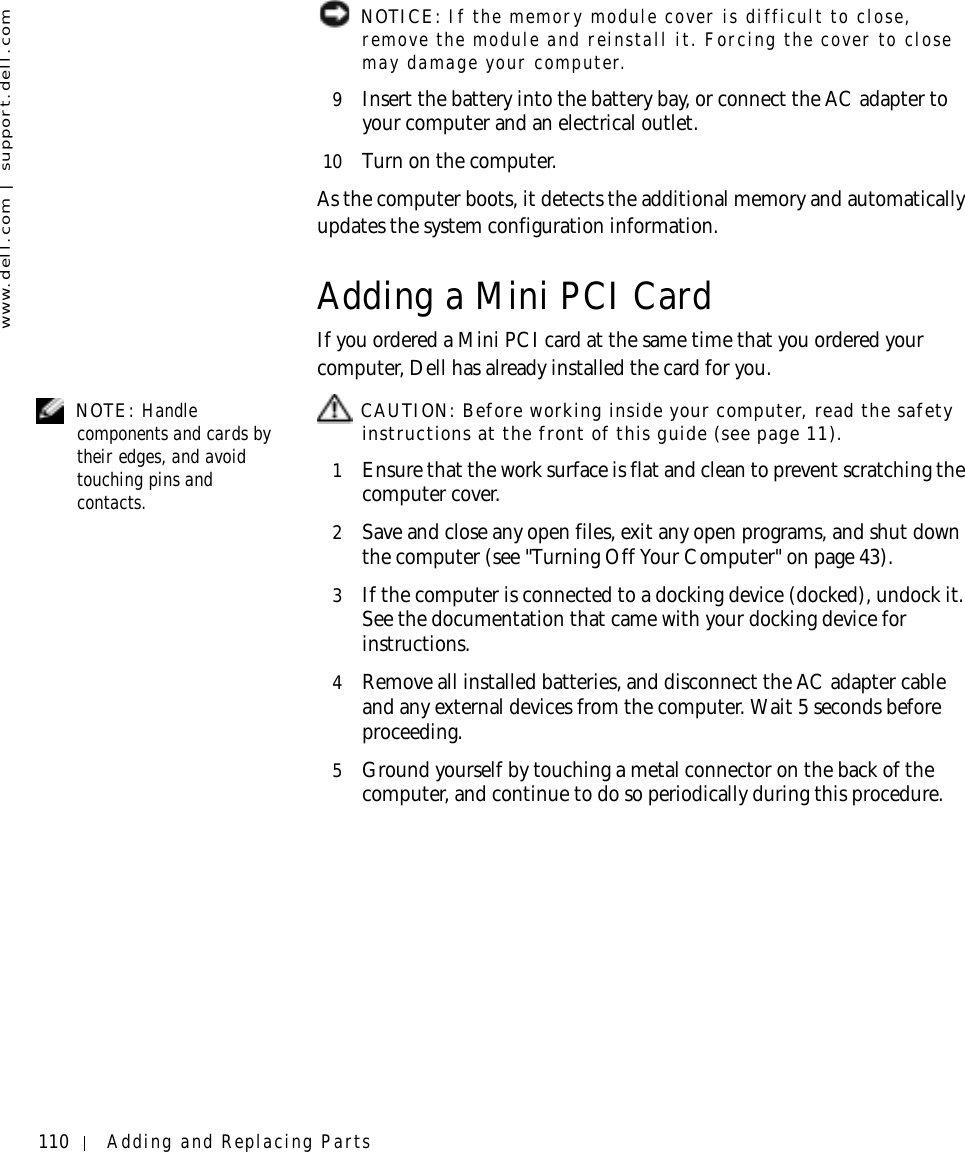
- 2. PP05L User Guide Main
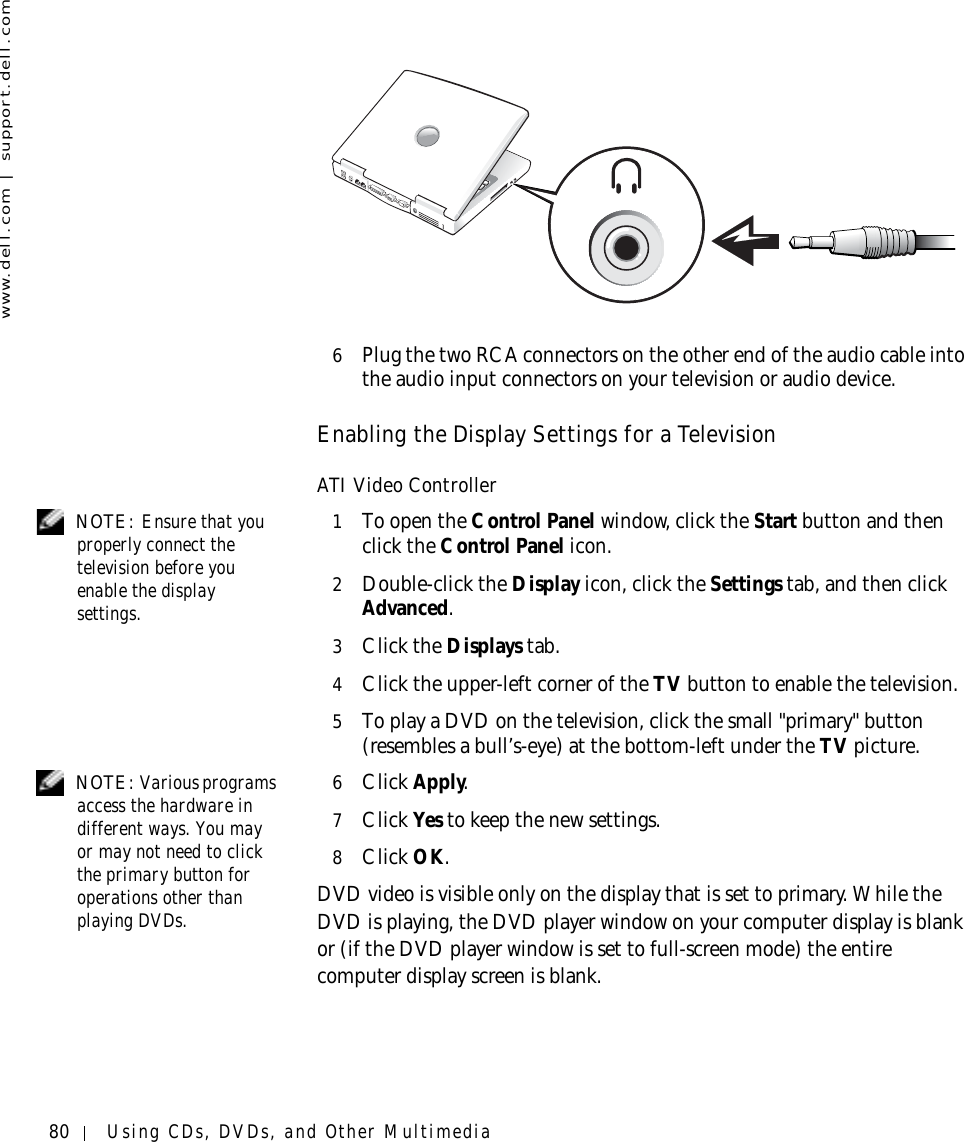
- 3. PP07L User Guide Main
- 4. WLAN User Guide
- 5. Users Manual
PP05L User Guide Main

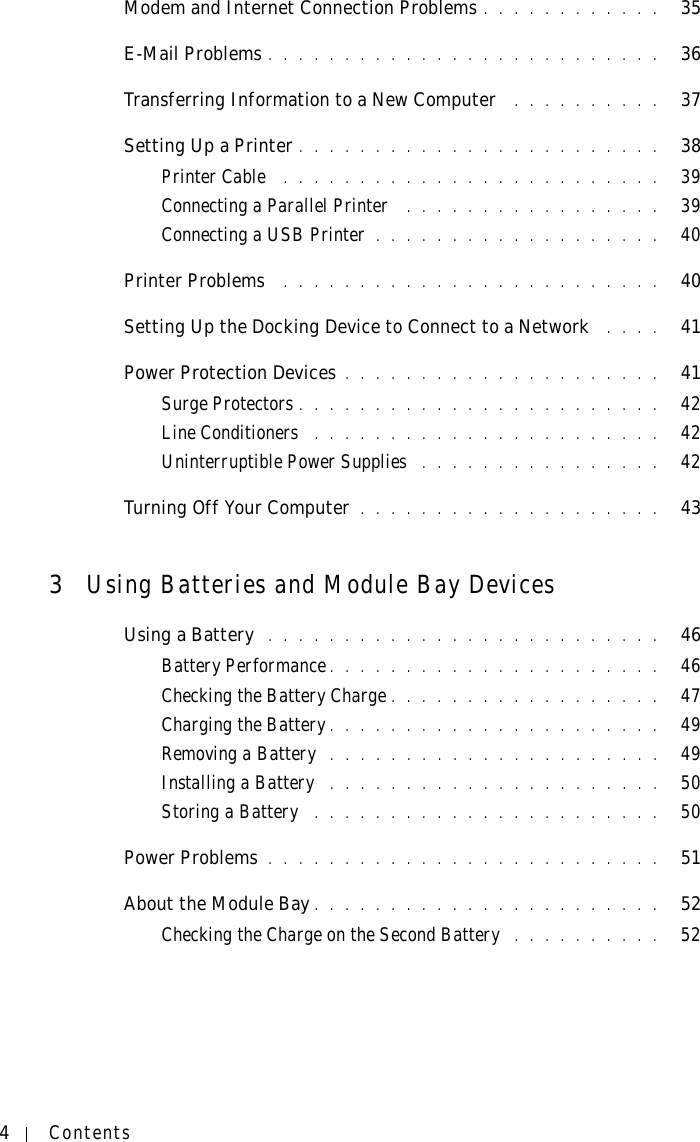


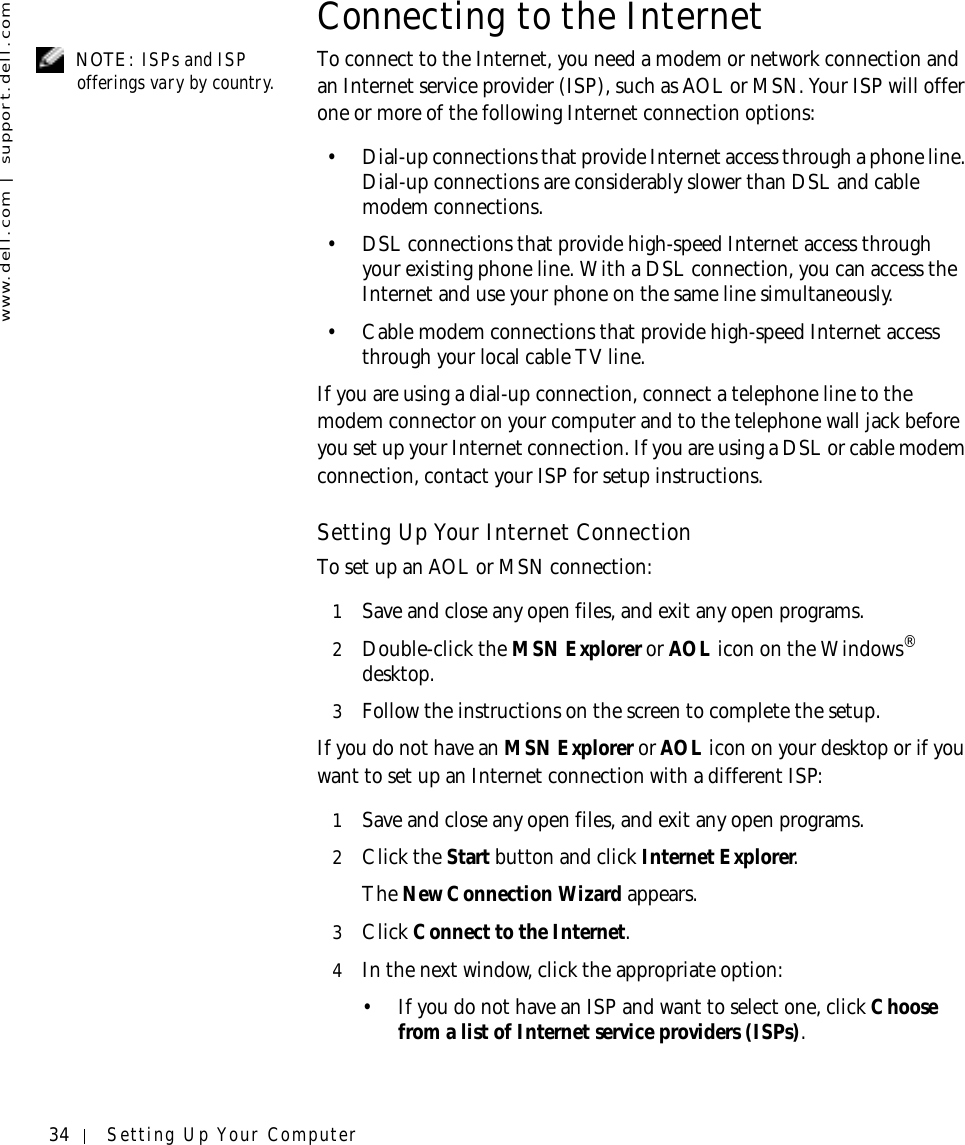
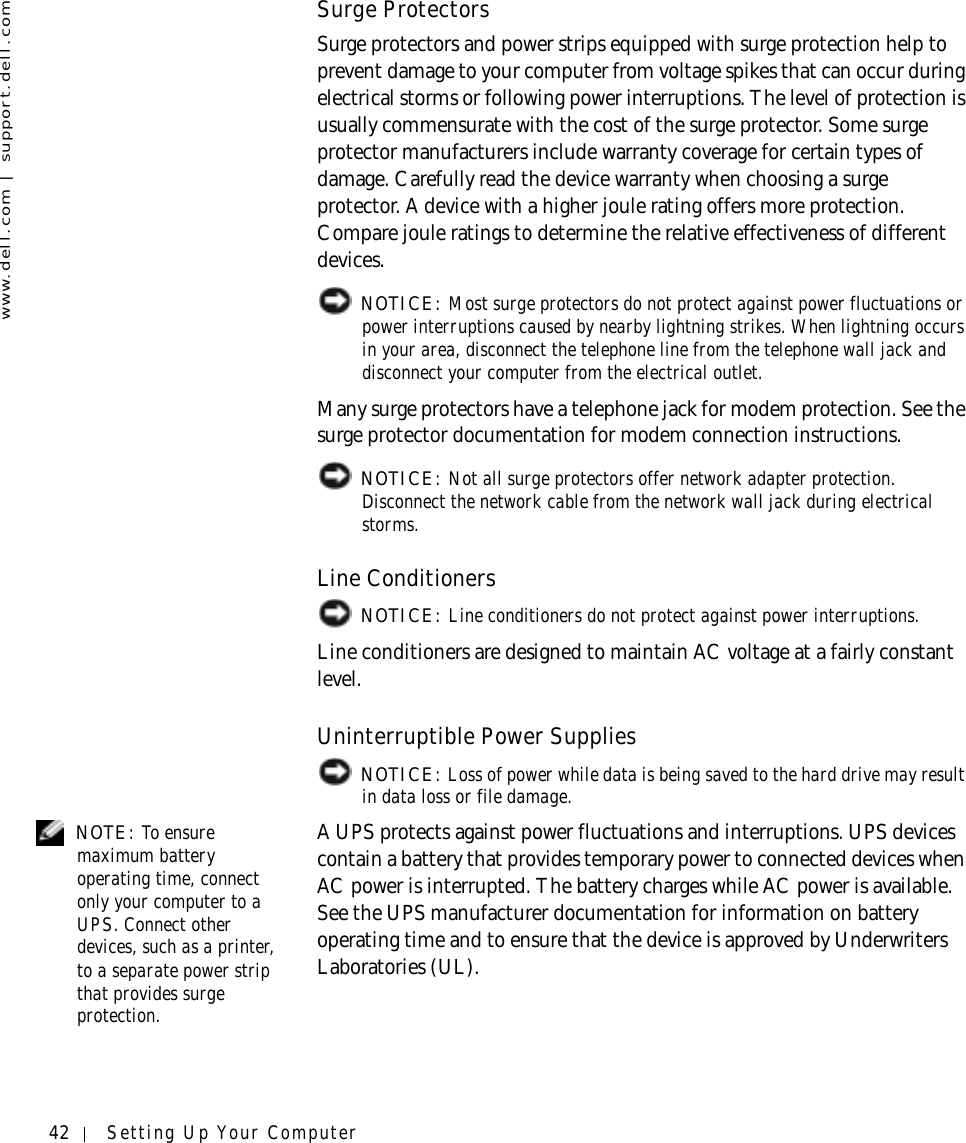


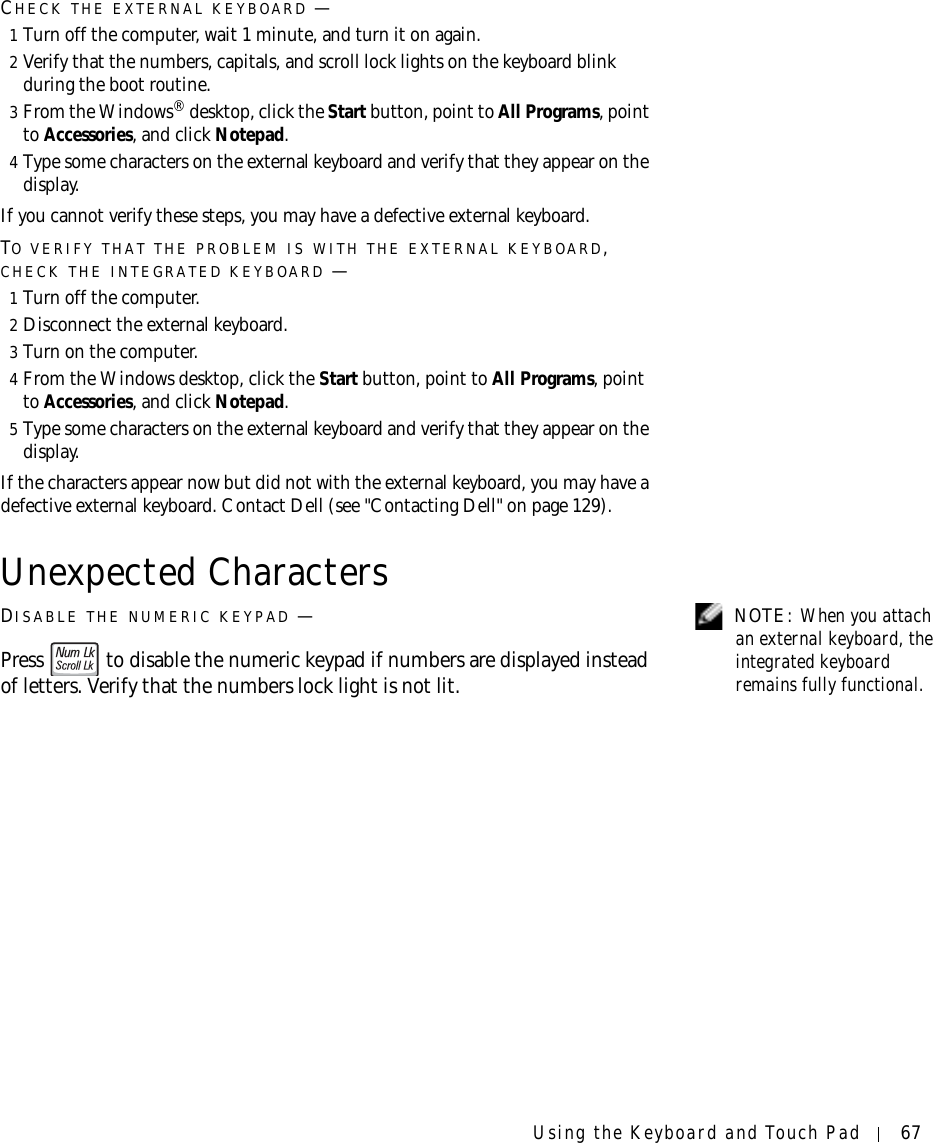


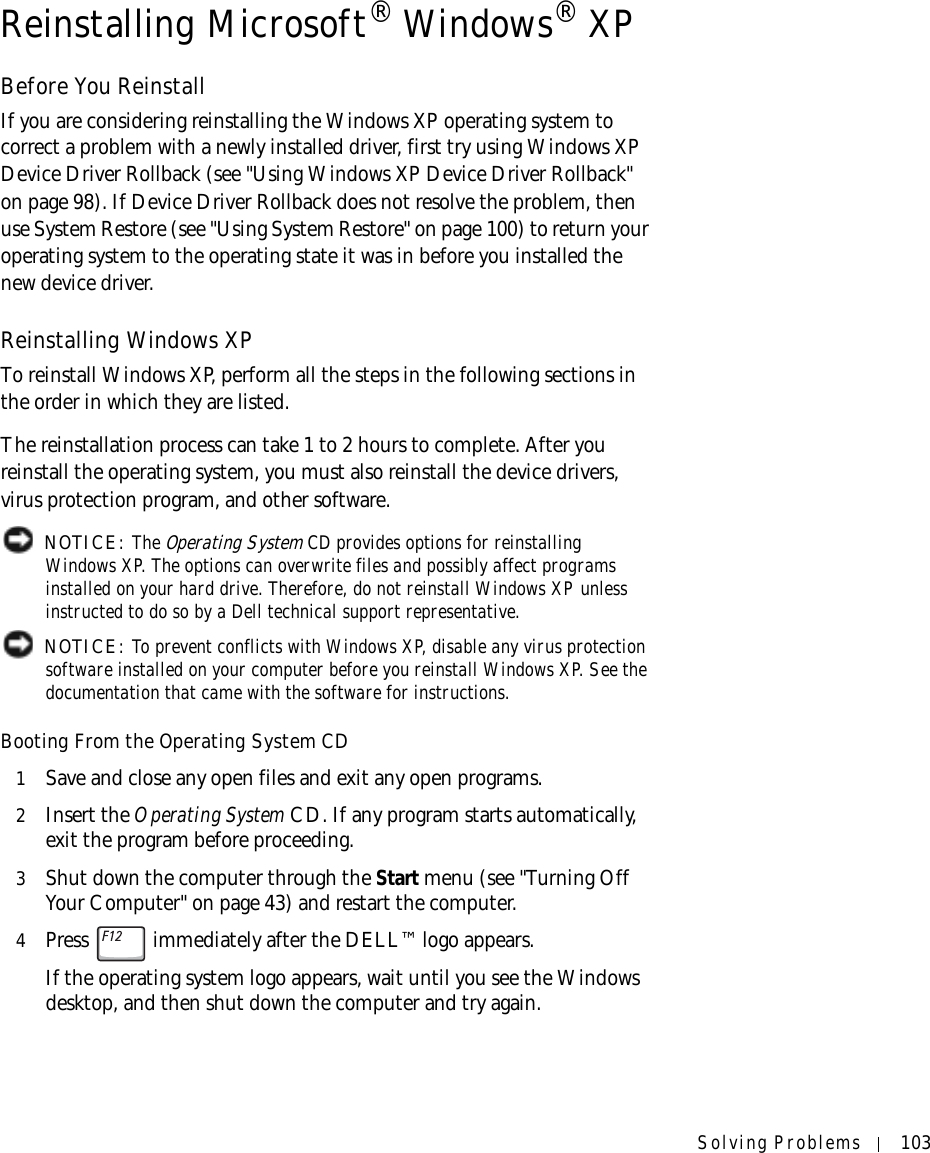
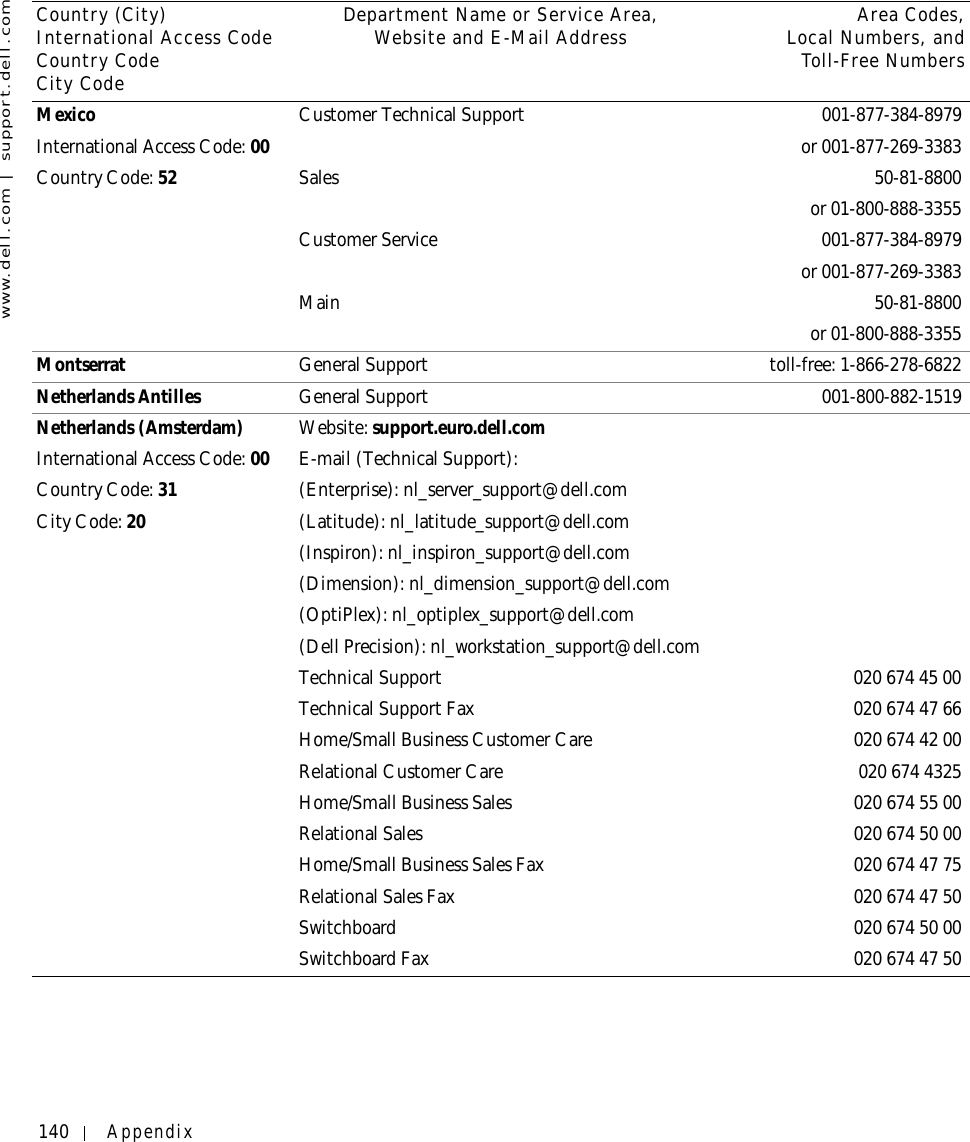
![Solving Problems 97DriversWhat Is a Driver?A driver is a program that controls a device such as a printer, mouse, or keyboard. All devices require a driver program.A driver acts like a translator between the device and the programs that use the device. Each device has its own set of specialized commands that only its driver recognizes.Dell ships your computer to you with required drivers already installed—no further installation or configuration is needed. NOTICE: The Drivers and Utilities CD may contain drivers for operating systems that are not on your computer. Ensure that you are installing software appropriate for your operating system.Many drivers, such as the keyboard driver, come with your Microsoft®Windows® operating system. You may need to install drivers if you:• Upgrade your operating system.• Reinstall your operating system.• Connect or install a new device.Identifying DriversIf you experience a problem with any device, identify whether the driver is the source of your problem and, if necessary, update the driver.1Click the Start button and click Control Panel.2Under Pick a Category, click Performance and Maintenance.3Click System.4In the System Properties window, click the Hardware tab.5Click Device Manager.6Scroll down the list to see if any device has an exclamation point (a yellow circle with a [!]) on the device icon.If an exclamation point is next to the device name, you may need to reinstall the driver or install a new driver.](https://usermanual.wiki/Broadcom/BRCM1005-D.PP05L-User-Guide-Main/User-Guide-307794-Page-97.png)


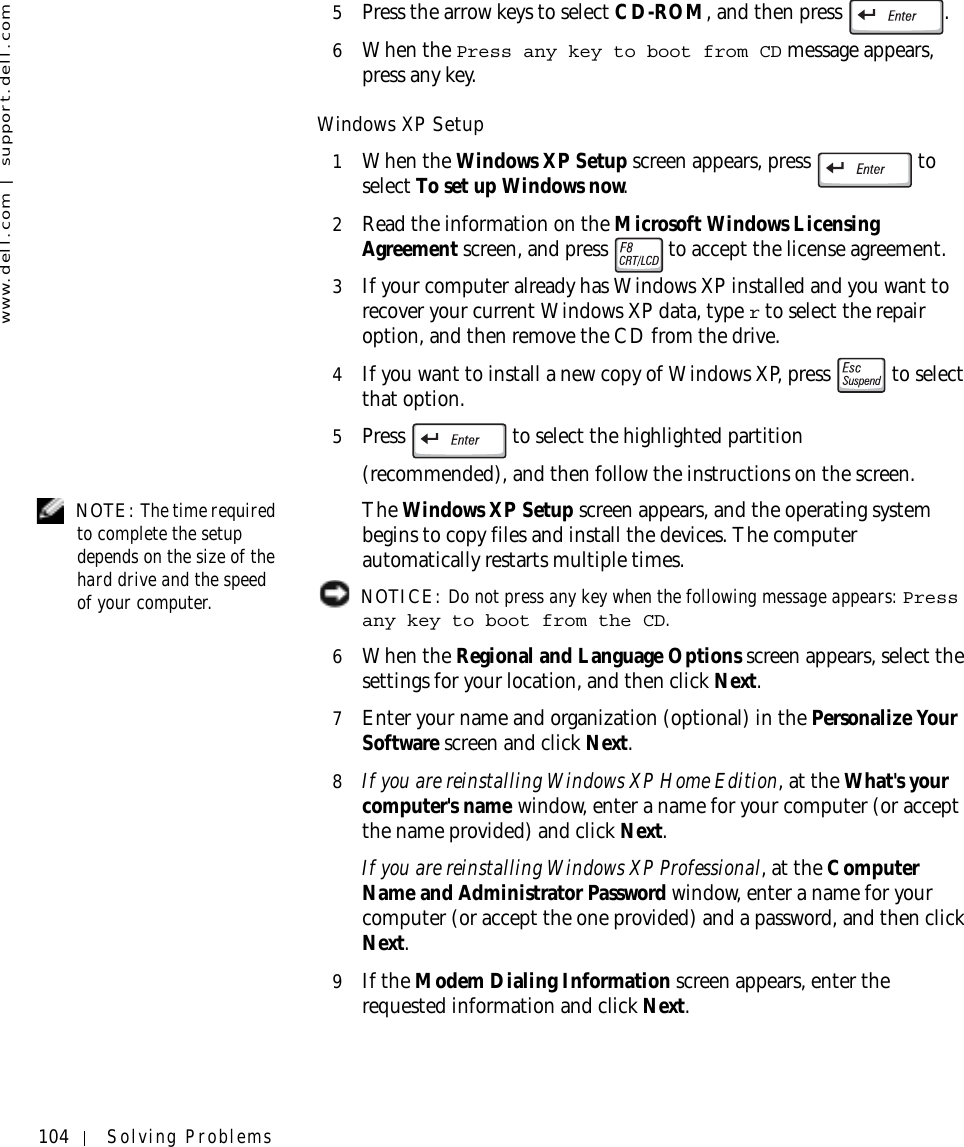


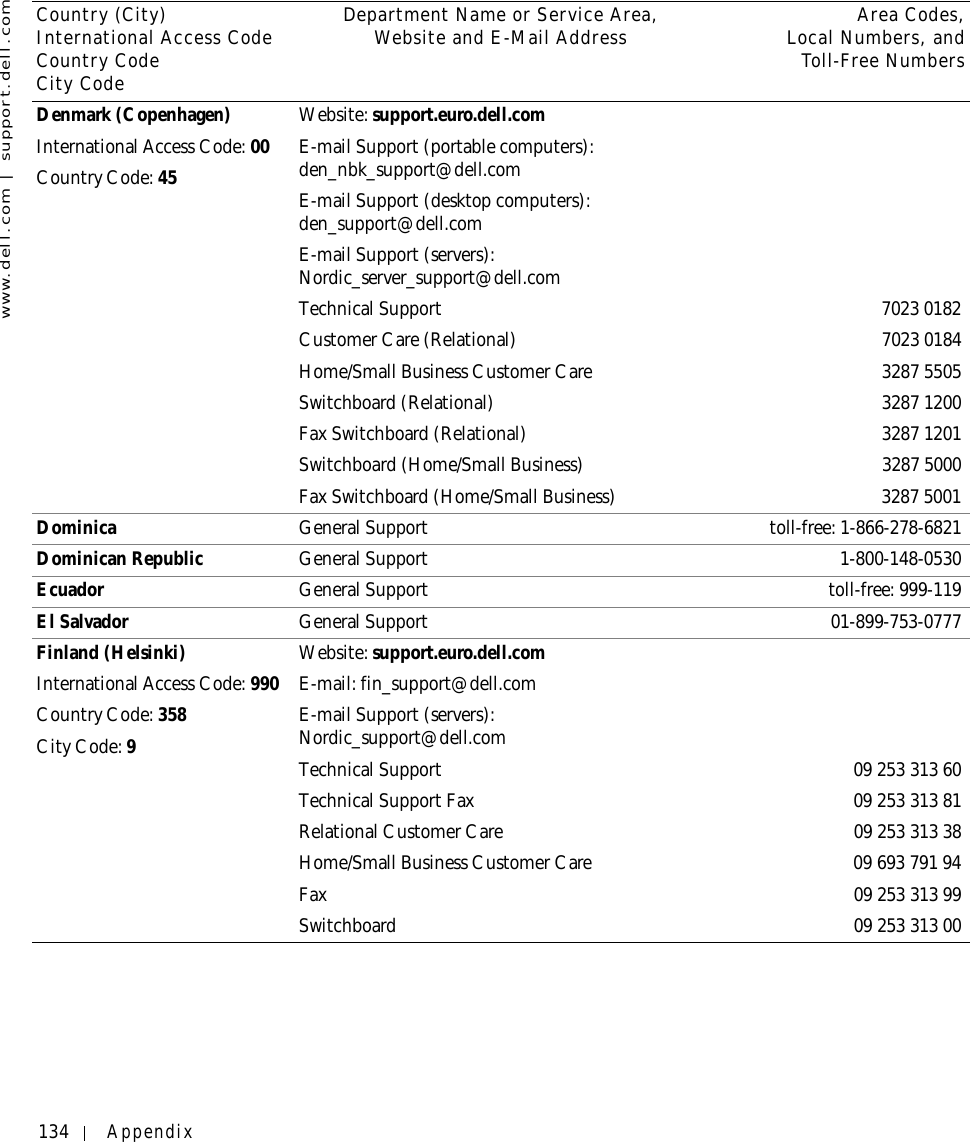
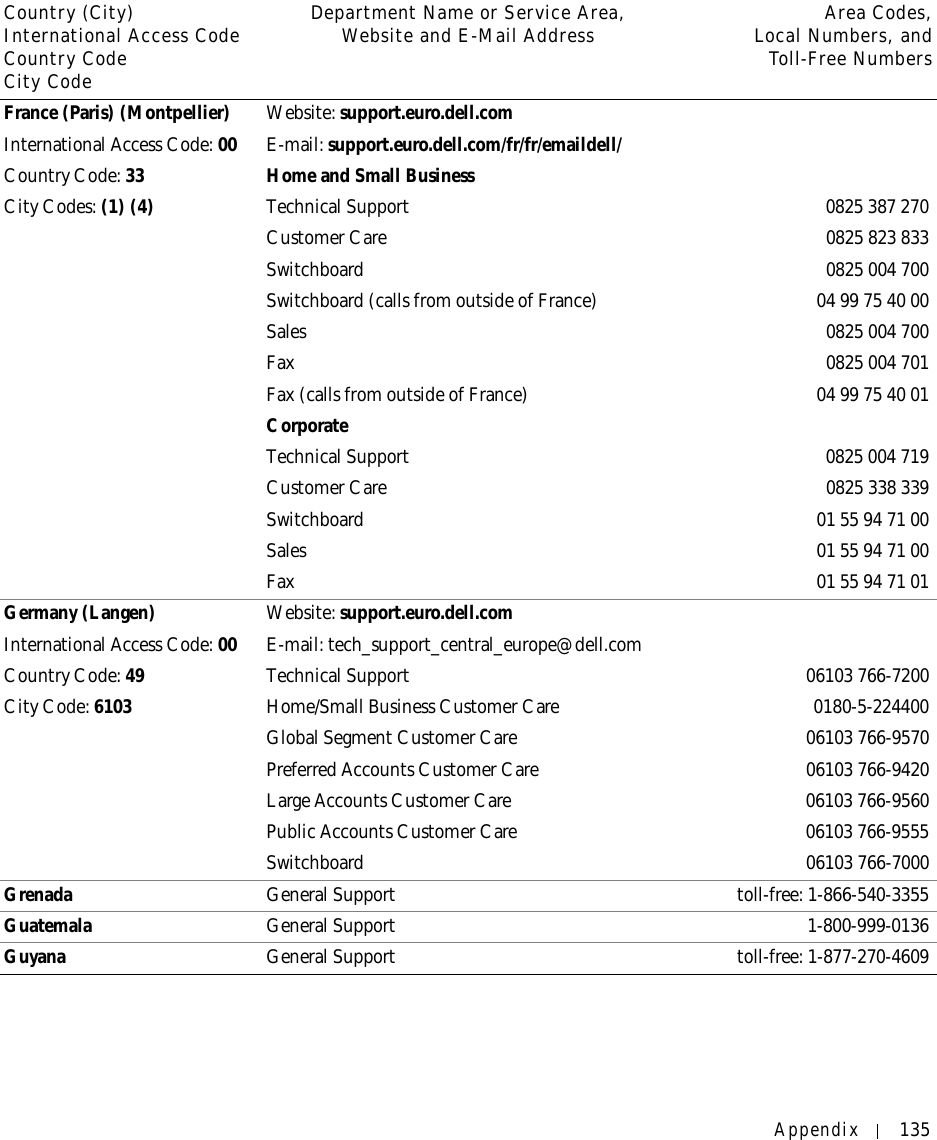
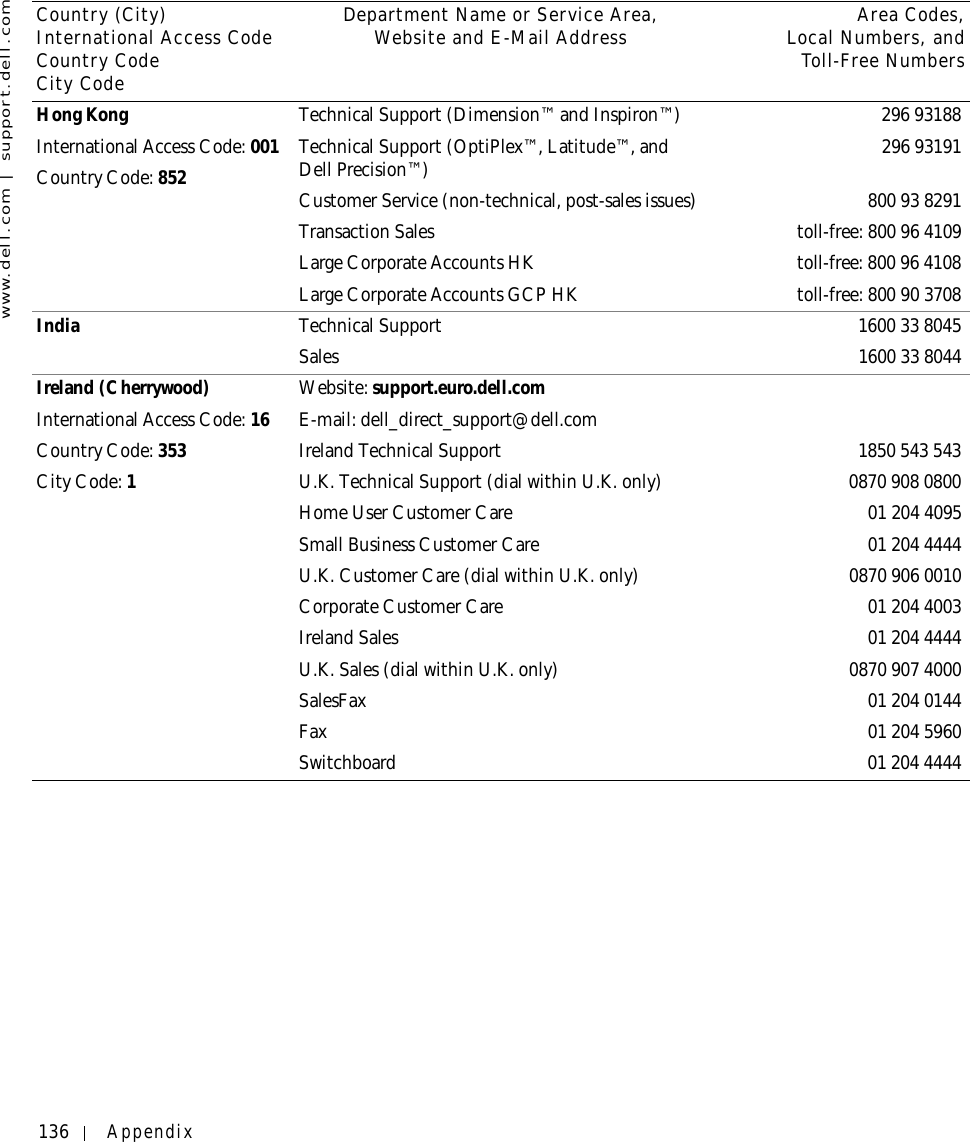
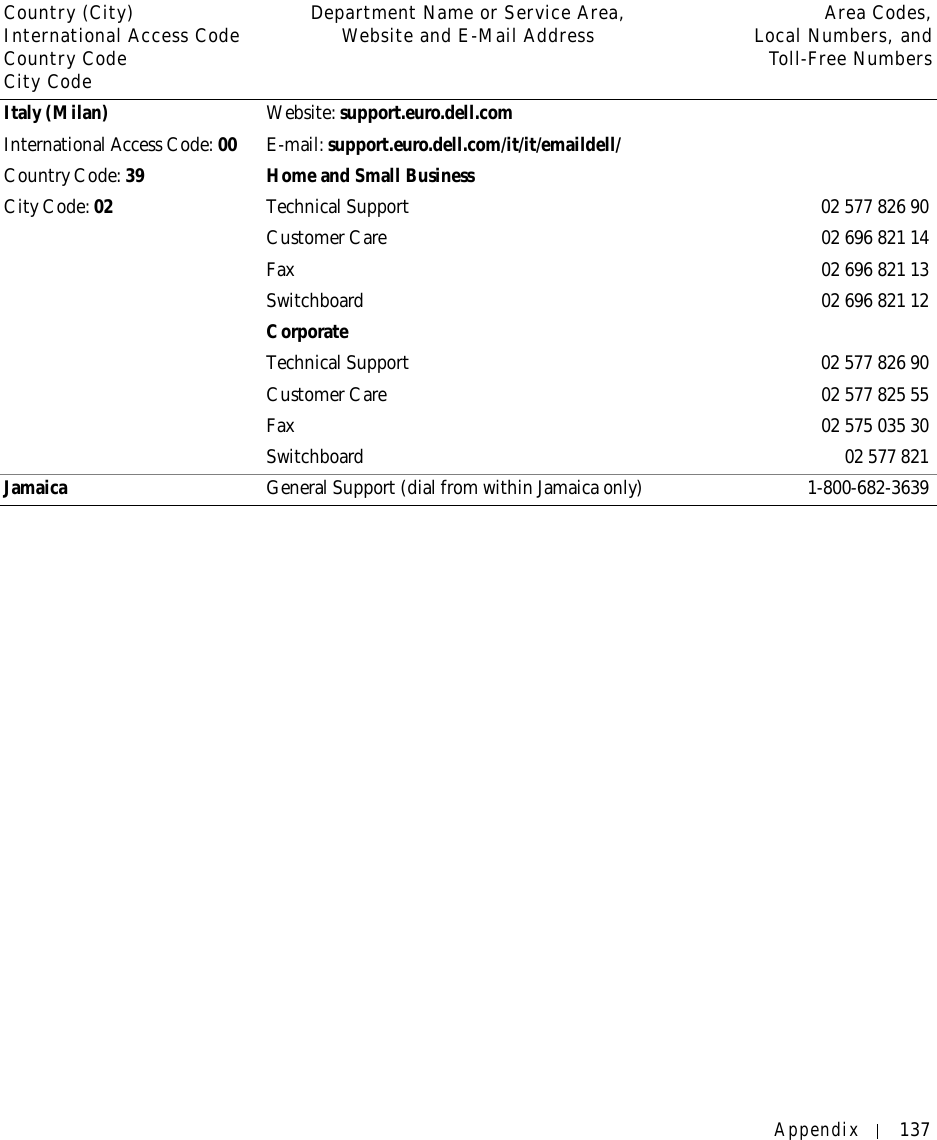
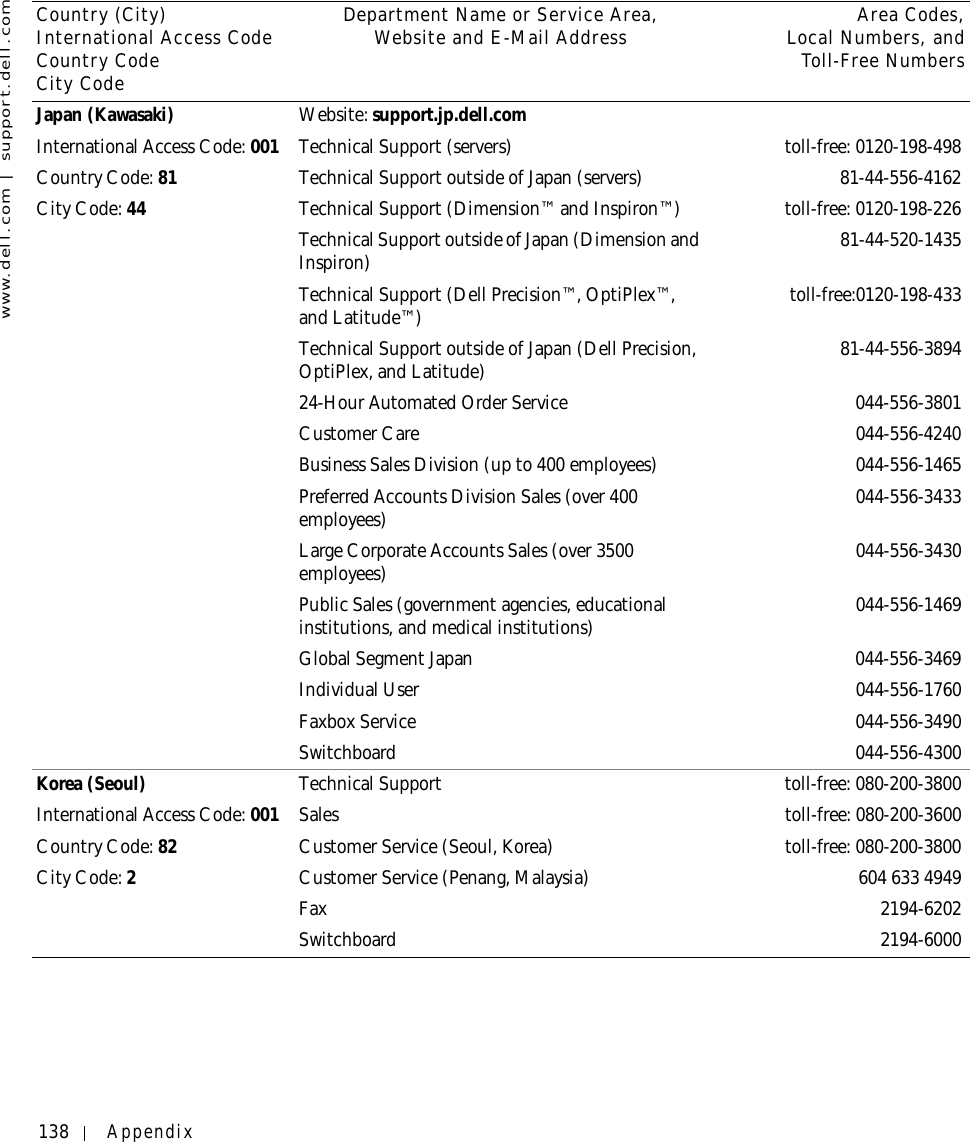
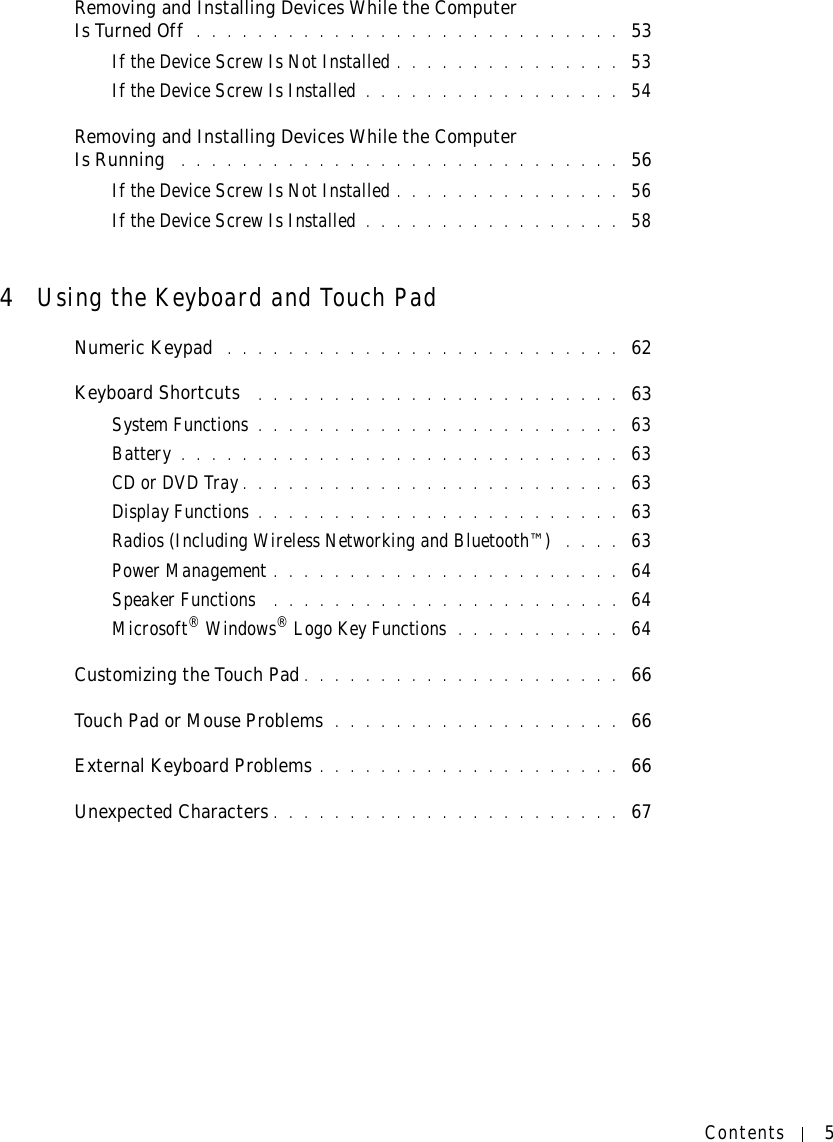
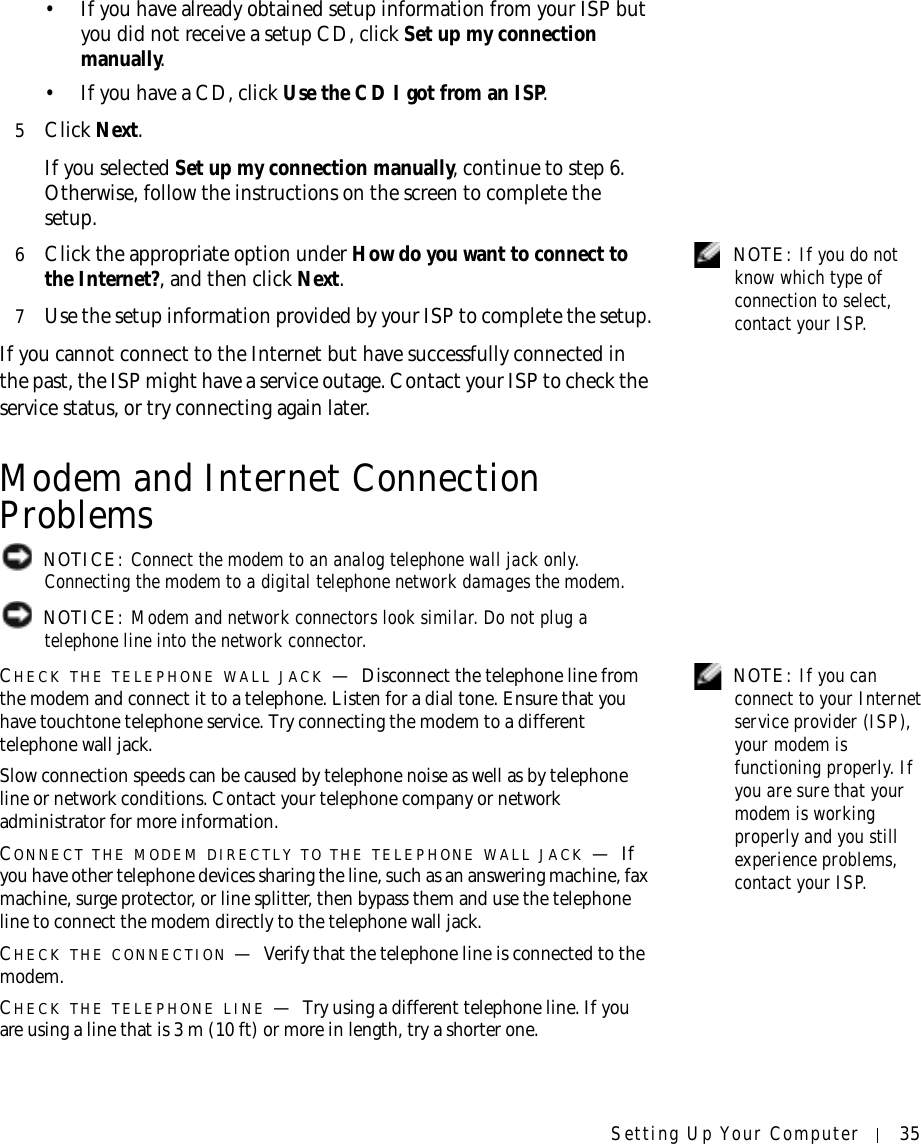
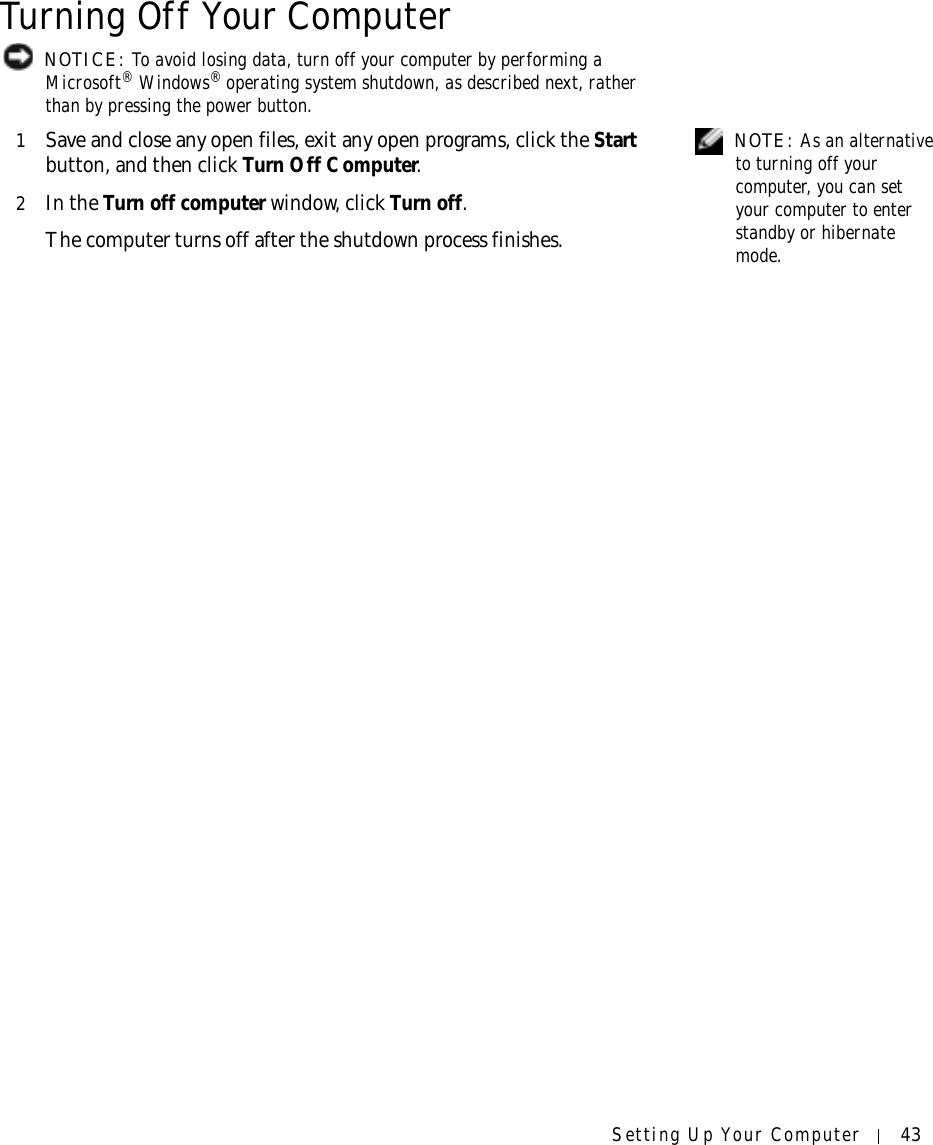
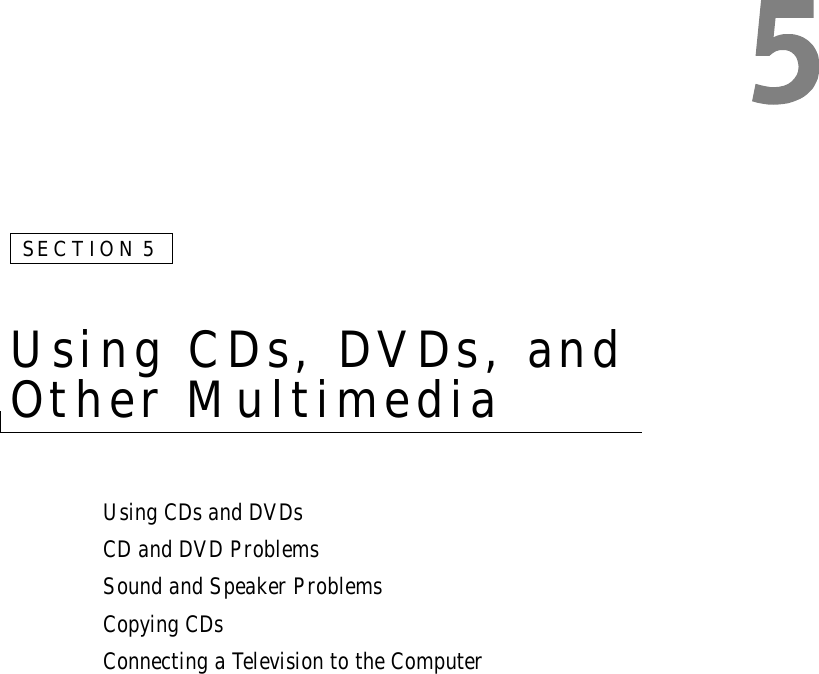
![Appendix 145U.K. (Bracknell)International Access Code: 00Country Code: 44City Code: 1344Website: support.euro.dell.comCustomer Care website: dell.co.uk/lca/customerservicesE-mail: dell_direct_support@dell.comTechnical Support (Corporate/Preferred Accounts/PAD [1000+ employees]) 0870 908 0500Technical Support (direct/PAD and general) 0870 908 0800Global Accounts Customer Care 01344 373 185or 01344 373 186Home and Small Business Customer Care 0870 906 0010Corporate Customer Care 0870 908 0500Preferred Accounts (500–5000 employees) Customer Care 01344 373 196Central Government Customer Care 01344 373 193Local Government & Education Customer Care 01344 373 199Health Customer Care 01344 373 194Home and Small Business Sales 0870 907 4000Corporate/Public Sector Sales 01344 860 456Uruguay General Support toll-free: 000-413-598-2521Country (City)International Access Code Country CodeCity CodeDepartment Name or Service Area,Website and E-Mail Address Area Codes,Local Numbers, andToll-Free Numbers](https://usermanual.wiki/Broadcom/BRCM1005-D.PP05L-User-Guide-Main/User-Guide-307794-Page-145.png)
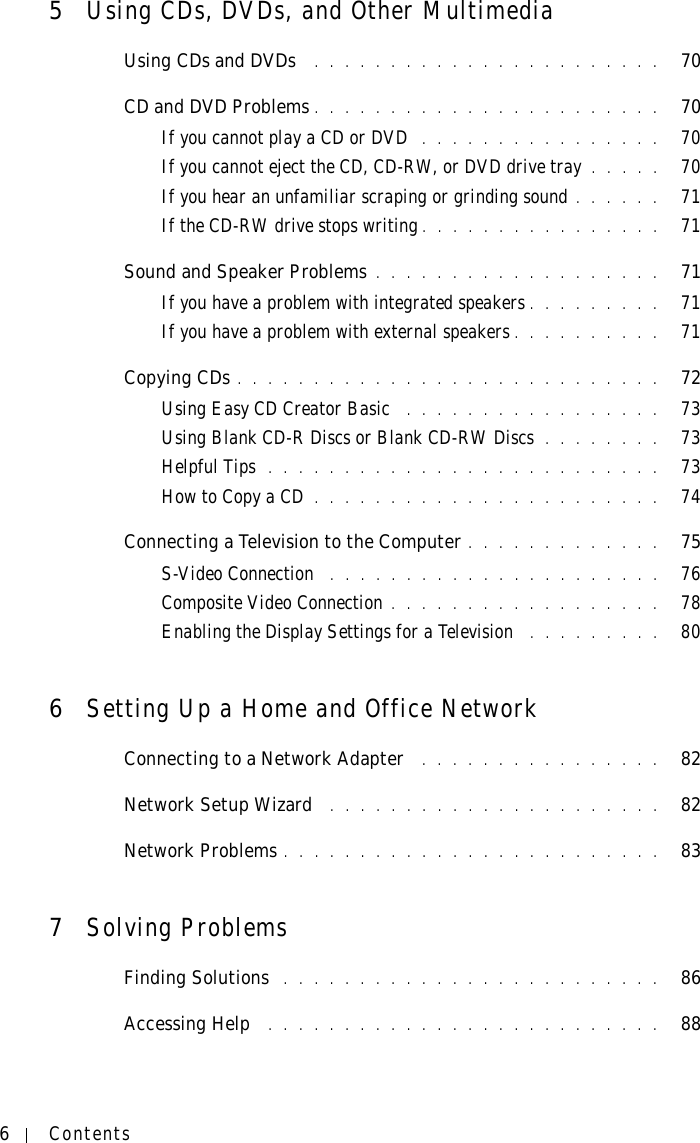
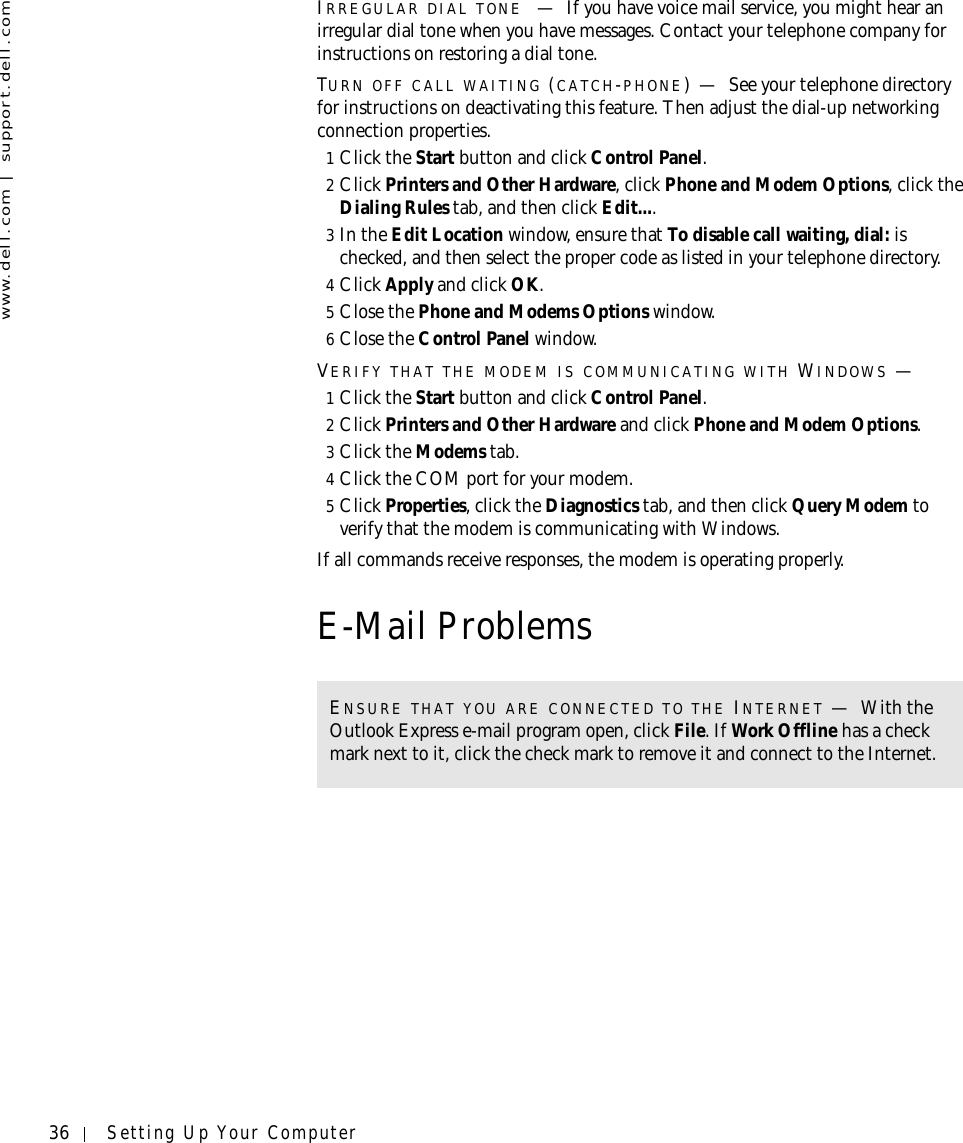
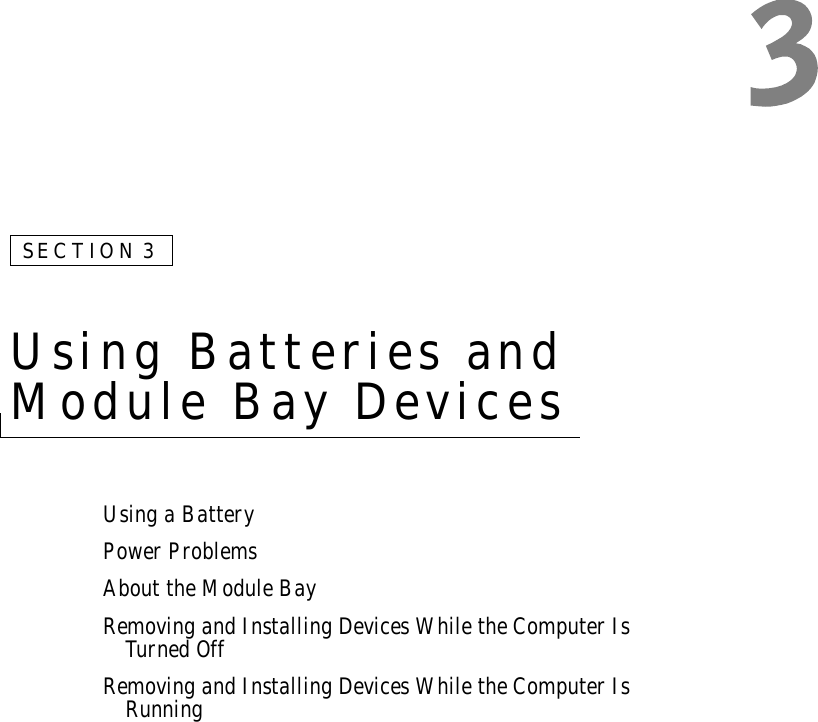
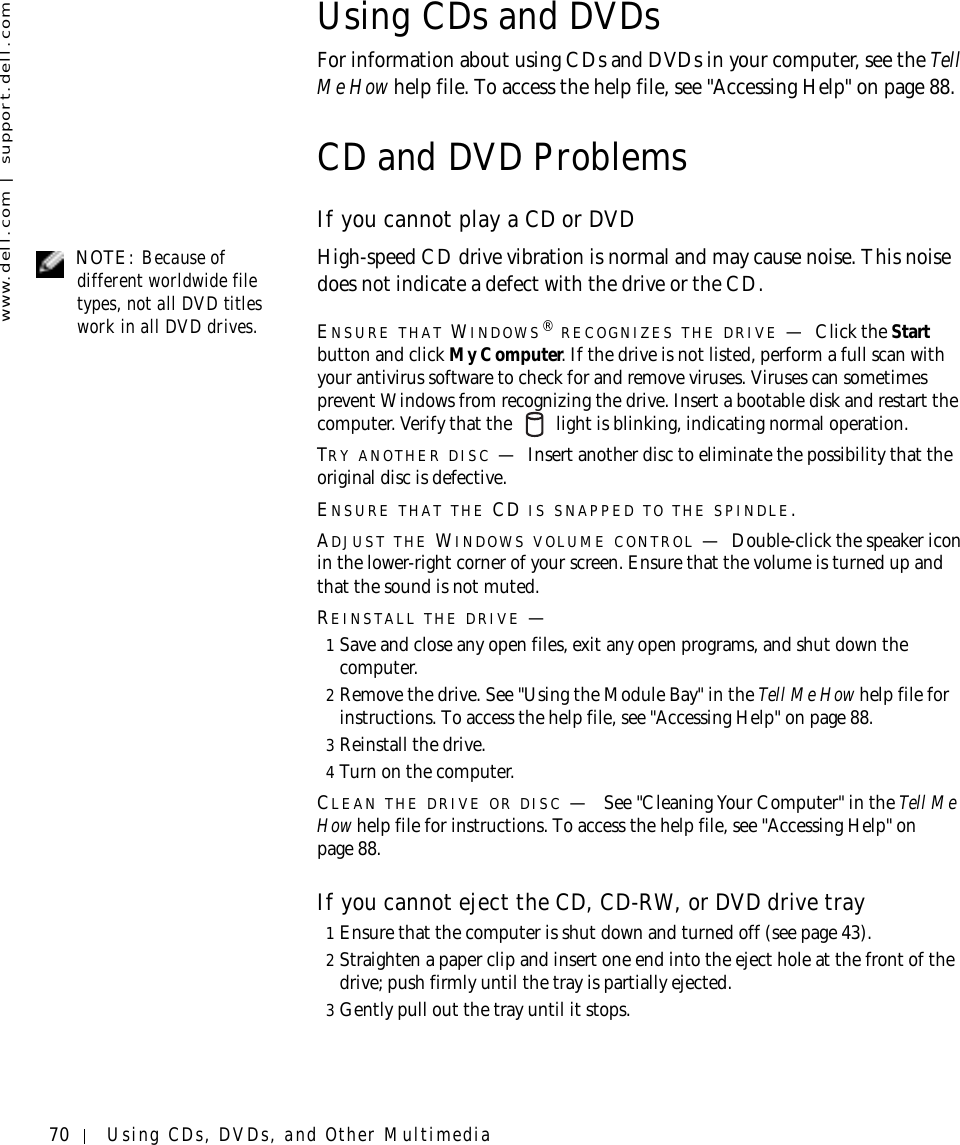
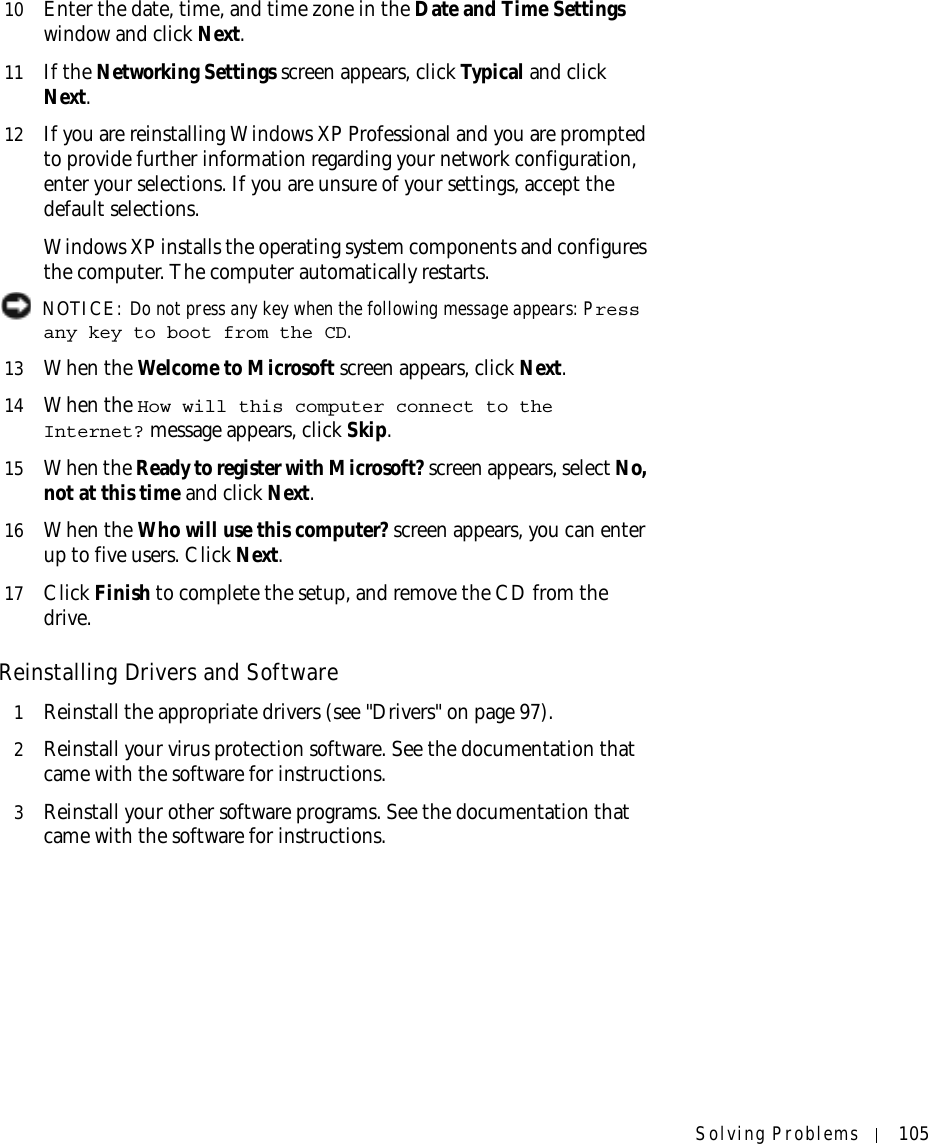
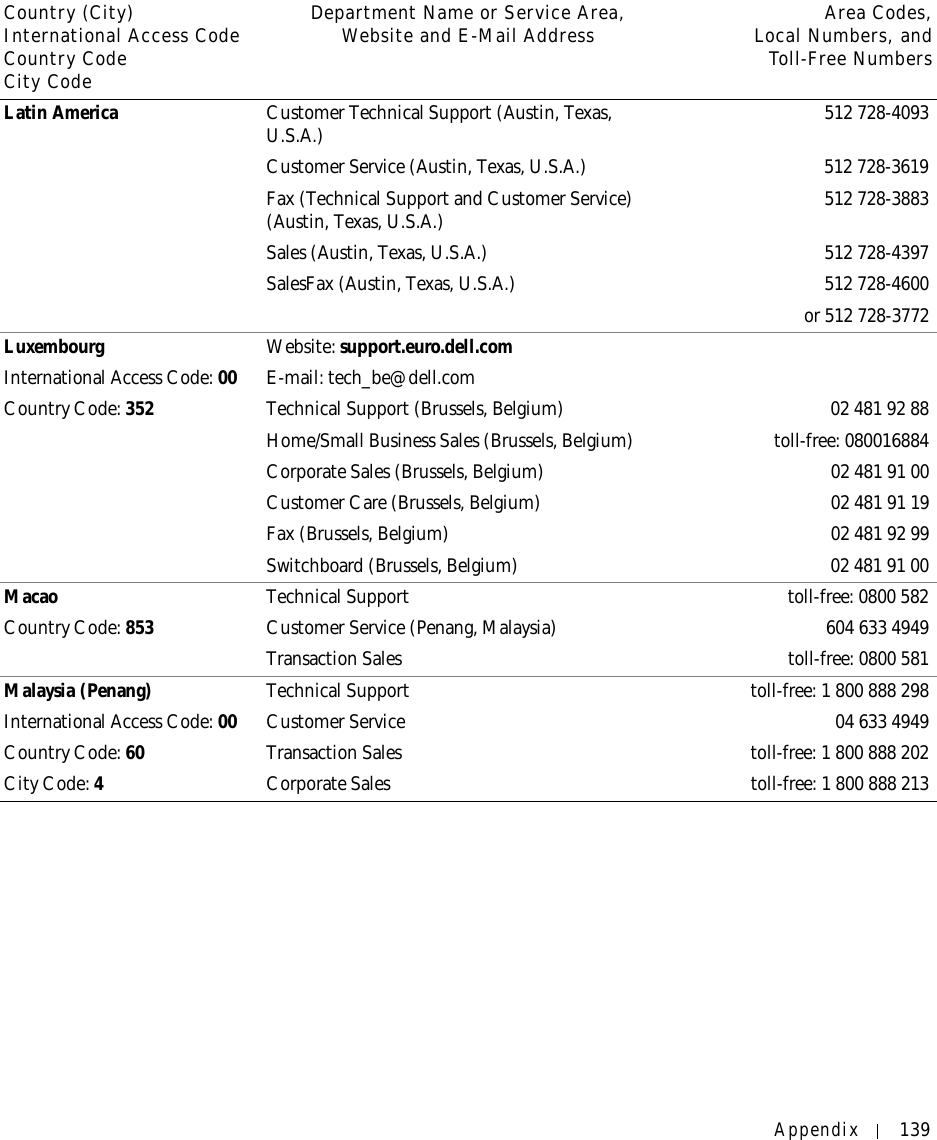
![146 Appendixwww.dell.com | support.dell.comU.S.A. (Austin, Texas)International Access Code: 011Country Code: 1Automated Order-Status Service toll-free: 1-800-433-9014AutoTech (portable and desktop computers) toll-free: 1-800-247-9362Consumer (Home and Home Office) Technical Support toll-free: 1-800-624-9896Customer Service toll-free: 1-800-624-9897DellNet™ Service and Support toll-free: 1-877-Dellnet(1-877-335-5638)Employee Purchase Program (EPP) Customers toll-free: 1-800-695-8133Financial Services website: www.dellfinancialservices.comFinancial Services (lease/loans) toll-free: 1-877-577-3355Financial Services (Dell Preferred Accounts [DPA]) toll-free: 1-800-283-2210Business Customer Service and Technical Support toll-free: 1-800-822-8965Employee Purchase Program (EPP) Customers toll-free: 1-800-695-8133Projectors Technical Support toll-free: 1-877-459-7298Public (government, education, and healthcare)Customer Service and Technical Support toll-free: 1-800-456-3355Employee Purchase Program (EPP) Customers toll-free: 1-800-234-1490Dell Sales toll-free: 1-800-289-3355 or toll-free: 1-800-879-3355Dell Outlet Store (Dell refurbished computers) toll-free: 1-888-798-7561Software and Peripherals Sales toll-free: 1-800-671-3355Spare Parts Sales toll-free: 1-800-357-3355Extended Service and Warranty Sales toll-free: 1-800-247-4618Fax toll-free: 1-800-727-8320Dell Services for the Deaf, Hard-of-Hearing, or Speech-Impaired toll-free: 1-877-DELLTTY(1-877-335-5889)U.S. Virgin Islands General Support 1-877-673-3355Venezuela General Support 8001-3605Country (City)International Access Code Country CodeCity CodeDepartment Name or Service Area,Website and E-Mail Address Area Codes,Local Numbers, andToll-Free Numbers](https://usermanual.wiki/Broadcom/BRCM1005-D.PP05L-User-Guide-Main/User-Guide-307794-Page-146.png)

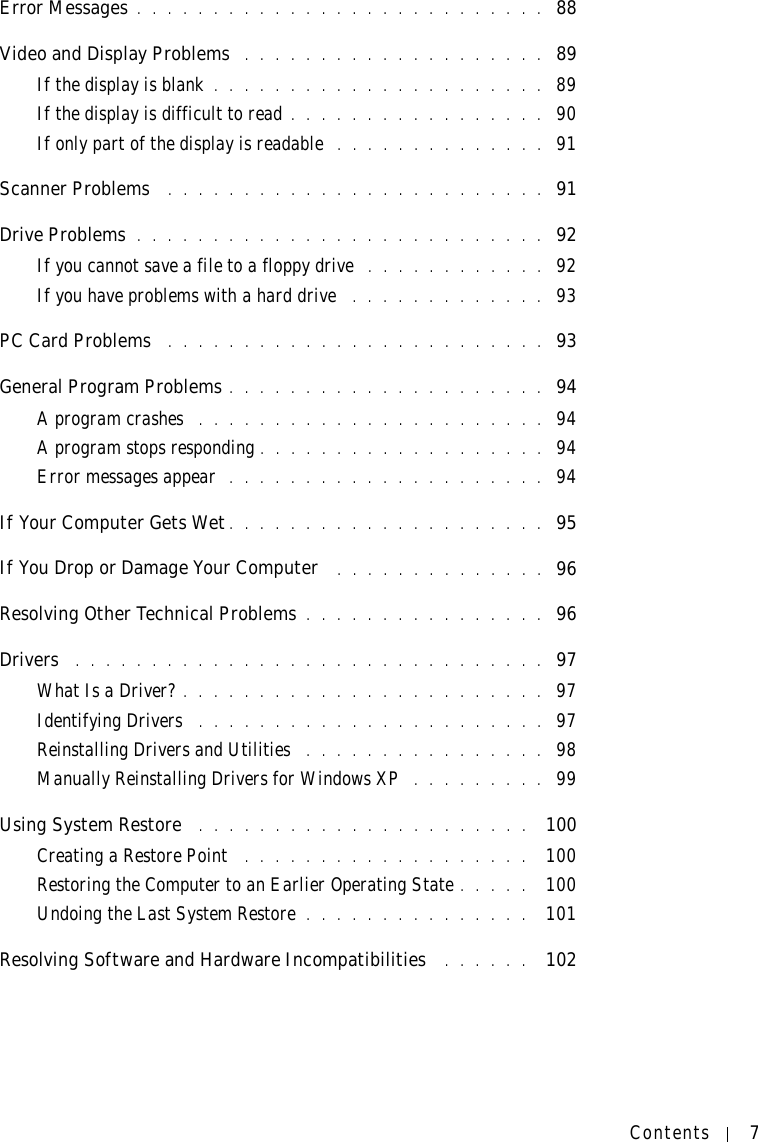
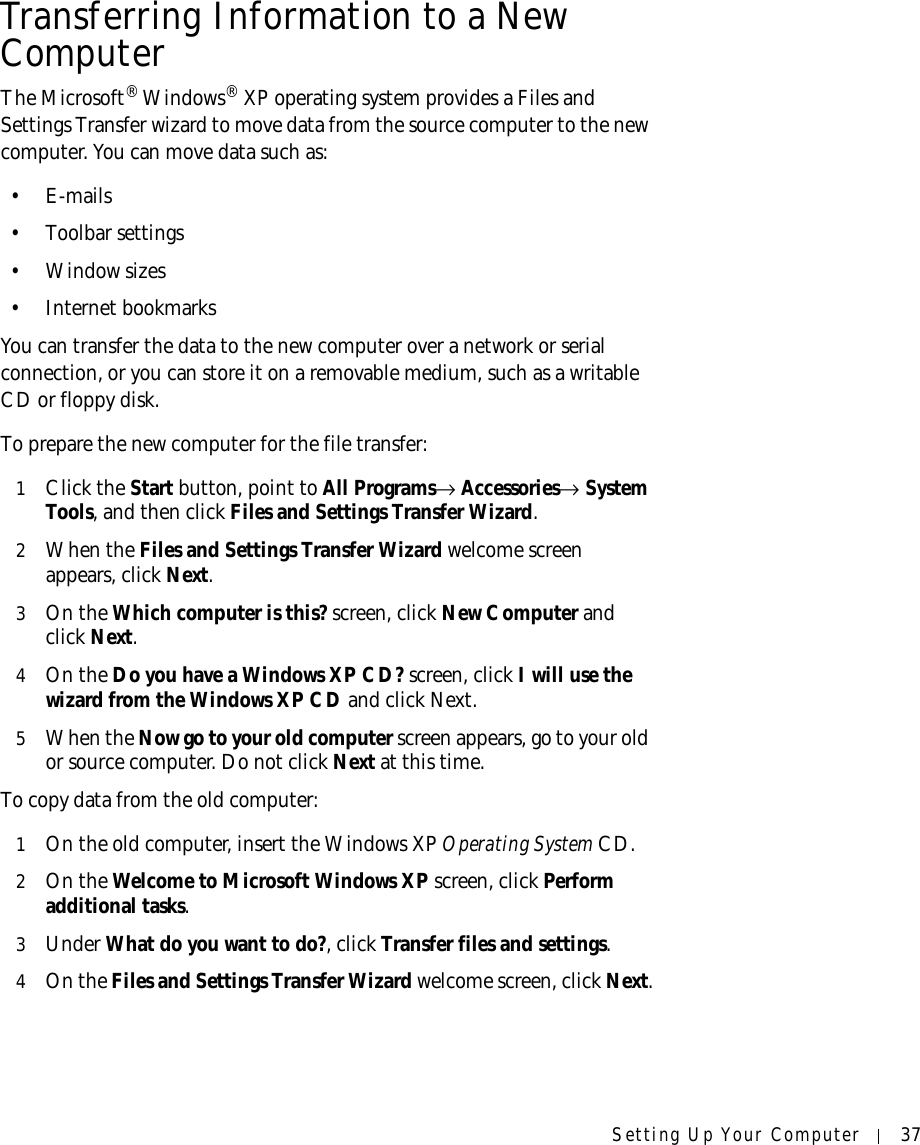
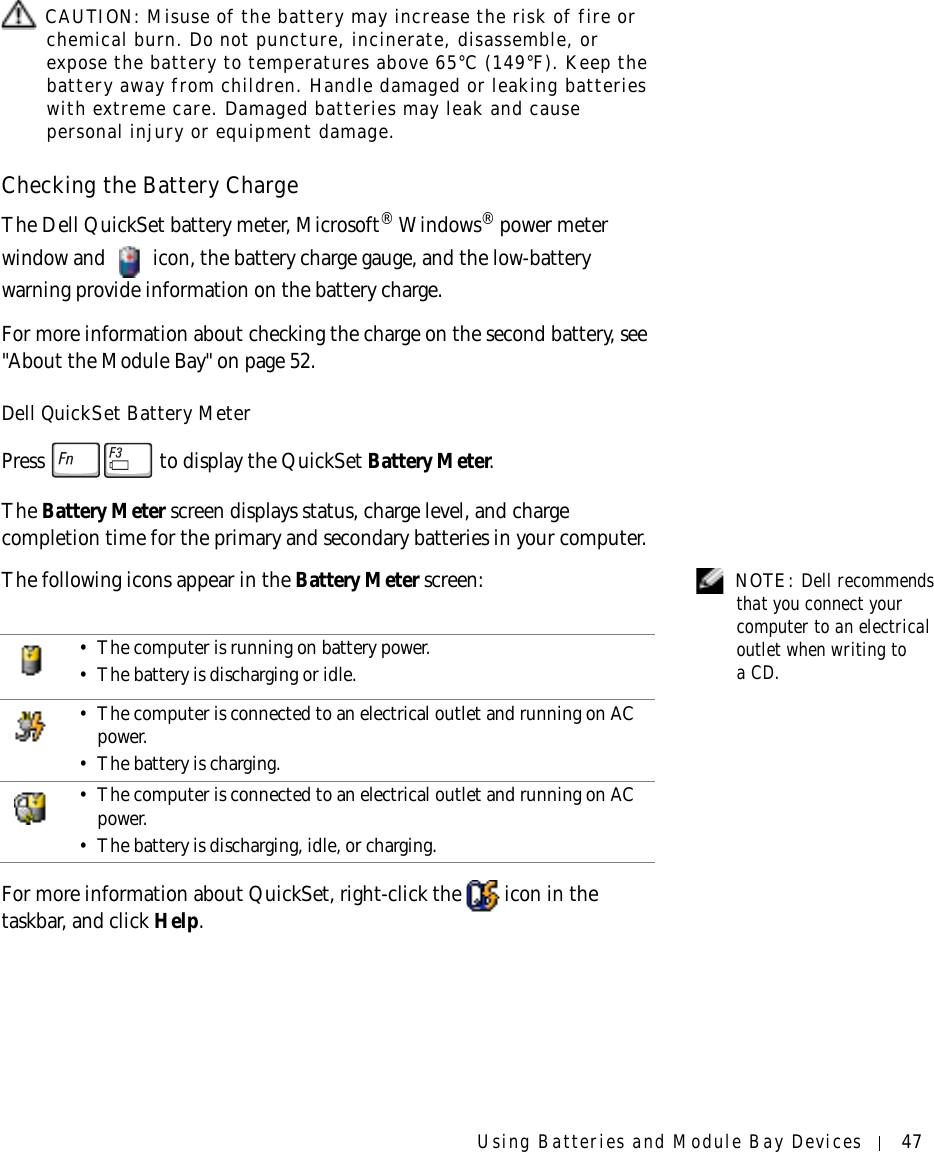
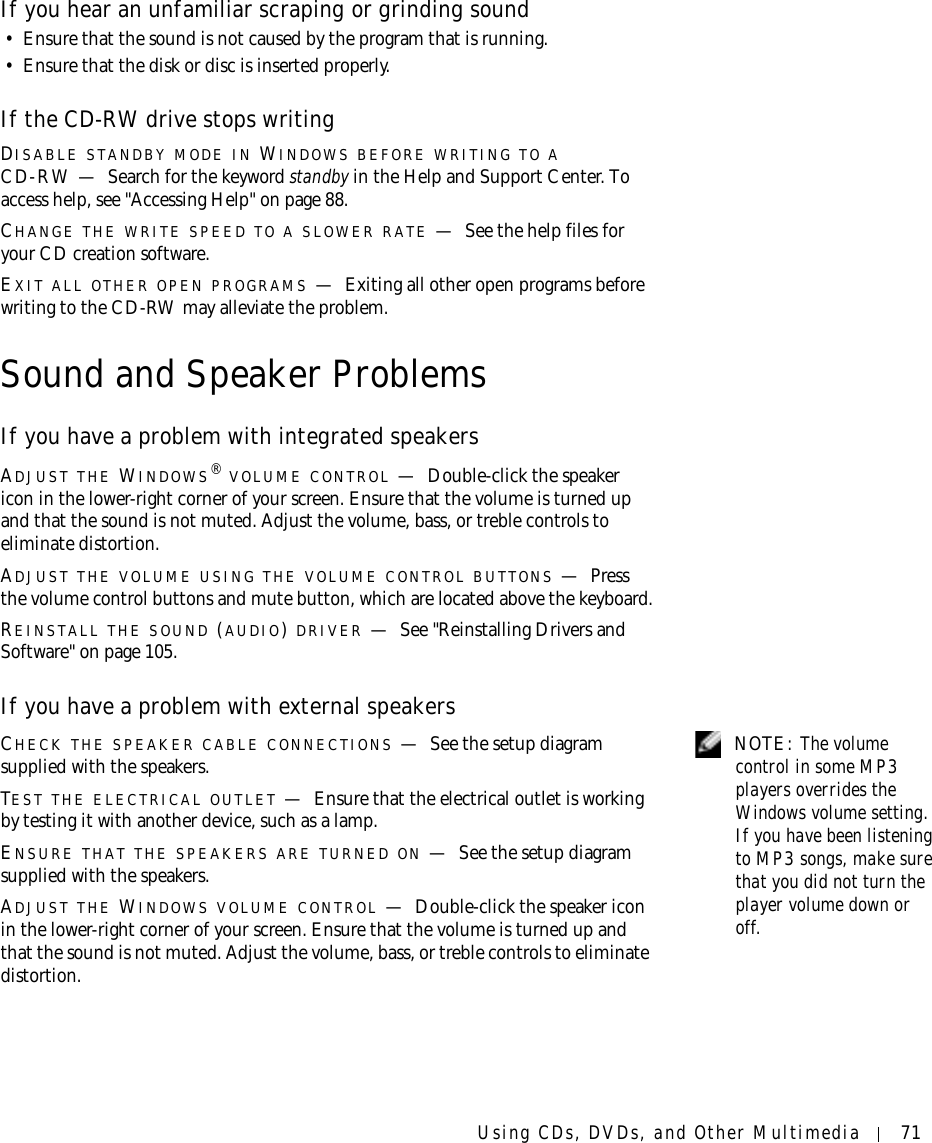
![Appendix 161Intel® Warranty Statement for Pentium® and Celeron®Processors Only (U.S. and Canada Only) Intel’s Three Year Limited WarrantyLimited WarrantyIntel warrants that its family of Pentium® and Celeron® processors, if properly used and installed, will be free from defects in materials and workmanship and will substantially conform to Intel’s publicly available specifications for a period of three (3) years after the date the Pentium or Celeron processor was purchased (whether purchased separately or as part of a computer system).If the Pentium or Celeron processor, which is the subject of this Limited Warranty, fails during the warranty period for reasons covered by this Limited Warranty, Intel, at its option, will:• REPAIR the Pentium or Celeron processor by means of hardware and/or software; OR• REPLACE the Pentium or Celeron processor with another Pentium or Celeron processor; ORif Intel is unable to repair or replace the particular Pentium or Celeron processor,• REFUND the then-current value of the Pentium or Celeron processor.THIS LIMITED WARRANTY, AND ANY IMPLIED WARRANTIES THAT MAY EXIST UNDER STATE LAW, APPLY ONLY TO THE ORIGINAL PURCHASER OF THE PENTIUM OR CELERON PROCESSOR, OR PENTIUM OR CELERON PROCESSOR-BASED COMPUTER AND LAST ONLY FOR AS LONG AS SUCH PURCHASER CONTINUES TO OWN THE PROCESSOR.Extent of Limited WarrantyIntel does not warrant that your Pentium or Celeron processor will be free from design defects or errors known as "errata." Current characterized errata are available upon request. This limited warranty is for purchasers in the United States and Canada only. The limited warranty does not cover any costs relating to removal or replacement of any Pentium or Celeron processors that are soldered or otherwise permanently affixed to your system’s motherboard. This limited warranty does not cover damages due to external causes, including accident, problems with electrical power, usage not in accordance with product instructions, misuse, neglect, alteration, repair, improper installation, or improper testing.How to Obtain Warranty ServiceTo obtain warranty service for your Pentium or Celeron processor, you may contact your computer system manufacturer in accordance with its instructions, or you may contact Intel.To request warranty service from Intel, you should call Intel at 1-800-628-8686 during the warranty period during normal business hours (Pacific Time), excluding holidays. Please be prepared to provide:(1) your name, address, and telephone numbers;(2) proof of purchase;(3) this Intel warranty card;(4) a description of the computer system including the brand and model; and(5) an explanation of the problem.[Note: The Customer Service Representative may need additional information from you depending on the nature of the problem.]The replacement processor is warranted under this written warranty and is subject to the same limitations and exclusions for the remainder of the original warranty period or one (1) year, whichever is longer.WARRANTY LIMITATIONS AND EXCLUSIONSTHESE WARRANTIES REPLACE ALL OTHER WARRANTIES, EXPRESS OR IMPLIED INCLUDING, BUT NOT LIMITED TO, THE IMPLIED WARRANTIES OF MERCHANTABILITY AND FITNESS FOR A PARTICULAR PURPOSE. INTEL MAKES NO EXPRESS WARRANTIES BEYOND THOSE STATED HERE. INTEL DISCLAIMS ALL OTHER WARRANTIES, EXPRESS OR IMPLIED, INCLUDING, WITHOUT LIMITATION, IMPLIED WARRANTIES OF MERCHANTABILITY AND FITNESS FOR A PARTICULAR PURPOSE.SOME LAWS DO NOT ALLOW THE EXCLUSION OF IMPLIED WARRANTIES SO THIS LIMITATION MAY NOT APPLY TO YOU. IF THESE LAWS APPLY, THEN ALLEXPRESS AND IMPLIED WARRANTIES ARE LIMITED IN DURATION TO THE LIMITED WARRANTY PERIOD. NO WARRANTIES APPLY AFTER THAT PERIOD. SOME LAWS DO NOT ALLOW LIMITATIONS ON HOW LONG AN IMPLIED WARRANTY LASTS, SO THIS LIMITATION MAY NOT APPLY TO YOU.LIMITATIONS OF LIABILITYINTEL’S RESPONSIBILITY UNDER THIS, OR ANY OTHER WARRANTY, IMPLIED OR EXPRESS, IS LIMITED TO REPAIR, REPLACEMENT OR REFUND, AS SETFORTH ABOVE. THESE REMEDIES ARE THE SOLE AND EXCLUSIVE REMEDIES FOR ANY BREACH OF WARRANTY. INTEL IS NOT RESPONSIBLE FOR INDIRECT, SPECIAL, INCIDENTAL, OR CONSEQUENTIAL DAMAGES RESULTING FROM ANY BREACH OF WARRANTY OR UNDER ANY OTHER LEGAL THEORY INCLUDING, BUT NOT LIMITED TO, LOST PROFITS, DOWNTIME, GOODWILL, DAMAGE TO OR REPLACEMENT OF EQUIPMENT AND PROPERTY, AND ANY COSTS OF RECOVERING, REPROGRAMMING, OR REPRODUCING ANY PROGRAM OR DATA STORED IN OR USED WITH A SYSTEM CONTAINING YOUR PENTIUM PROCESSOR. SOME JURISDICTIONS DO NOT ALLOW THE EXCLUSION OR LIMITATION OF INCIDENTAL OR CONSEQUENTIAL DAMAGES, SO THE ABOVE LIMITATIONS OR EXCLUSIONS MAY NOT APPLY TO YOU.THE LIMITED WARRANTY GIVES YOU SPECIFIC LEGAL RIGHTS, AND YOU MAY ALSO HAVE OTHER RIGHTS THAT VARY FROM JURISDICTION TO JURISDICTION.](https://usermanual.wiki/Broadcom/BRCM1005-D.PP05L-User-Guide-Main/User-Guide-307794-Page-161.png)