CCT 30385 BLUETOOTH CORDED 2-LINE TELEPHONE User Manual USERS MANUAL
CCT Marketing, Ltd BLUETOOTH CORDED 2-LINE TELEPHONE USERS MANUAL
UserManual.wiki
>
CCT
>
30385 User Manual
USERS MANUAL
Navigation menu
Upload a User Manual
Namespaces
Wiki Guide
HTML
PDF
Info
Views
User Manual
Discussion / Help
Navigation
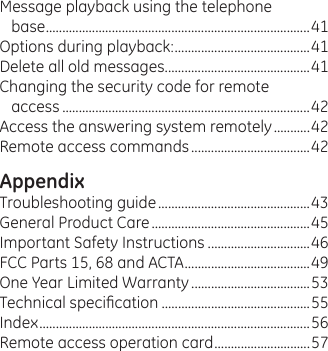
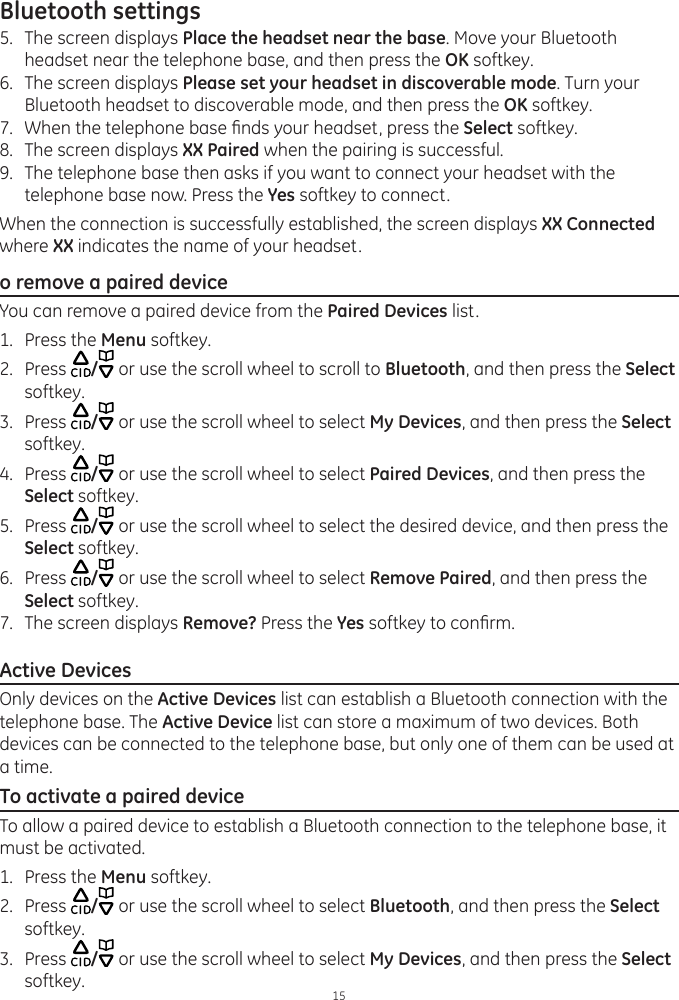
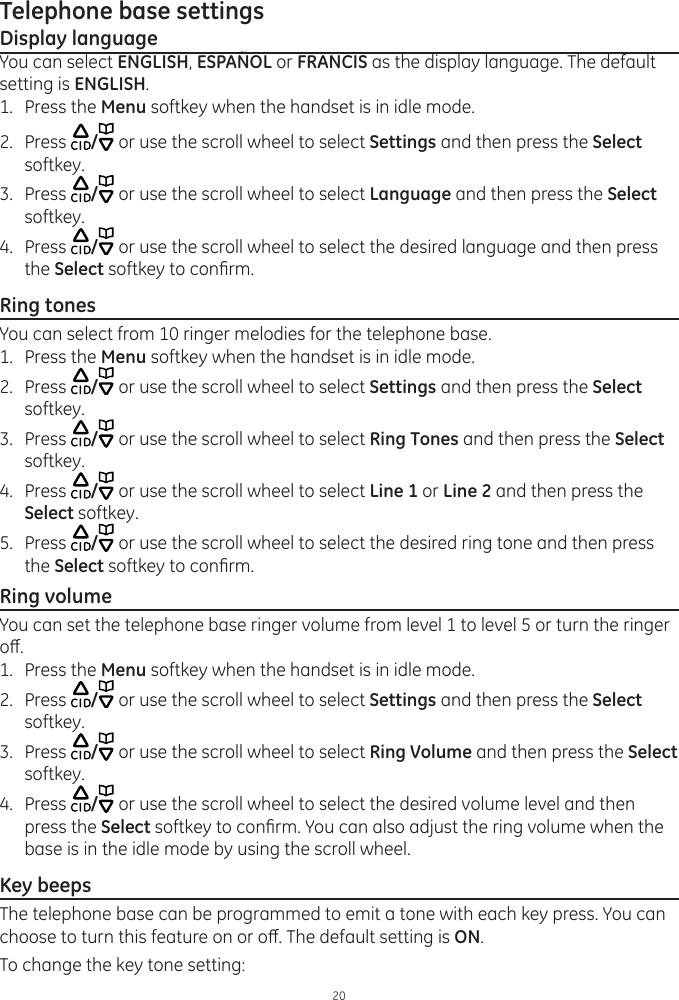
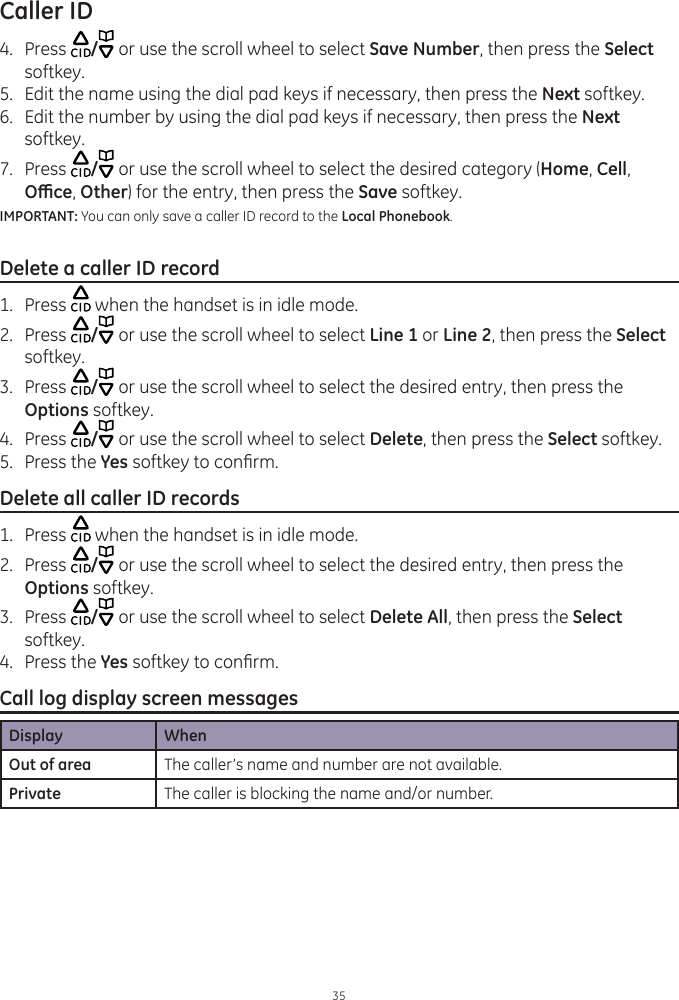
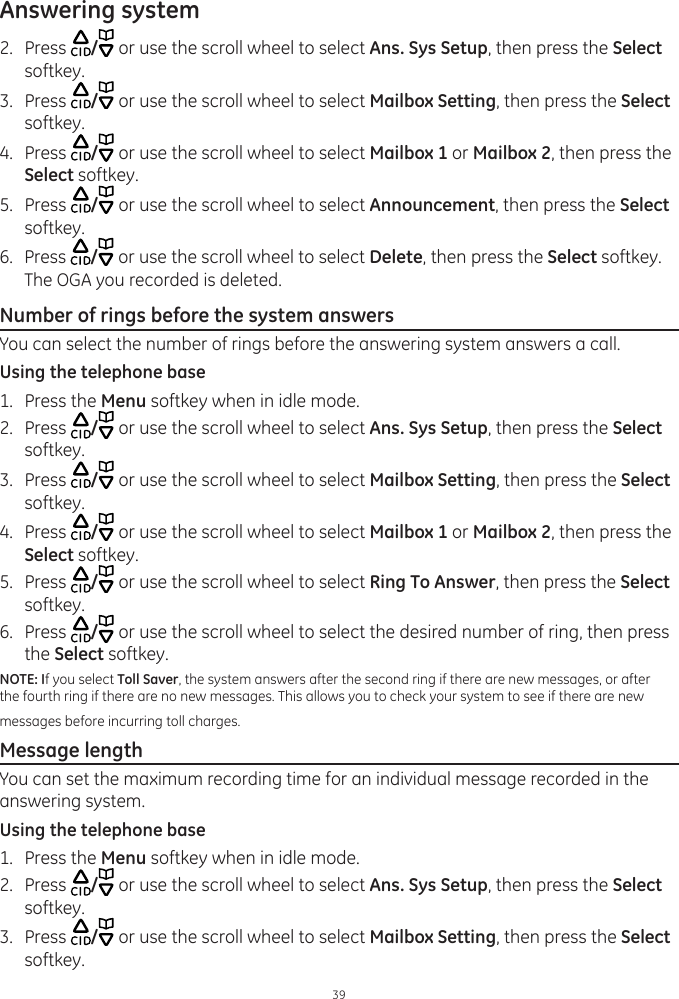
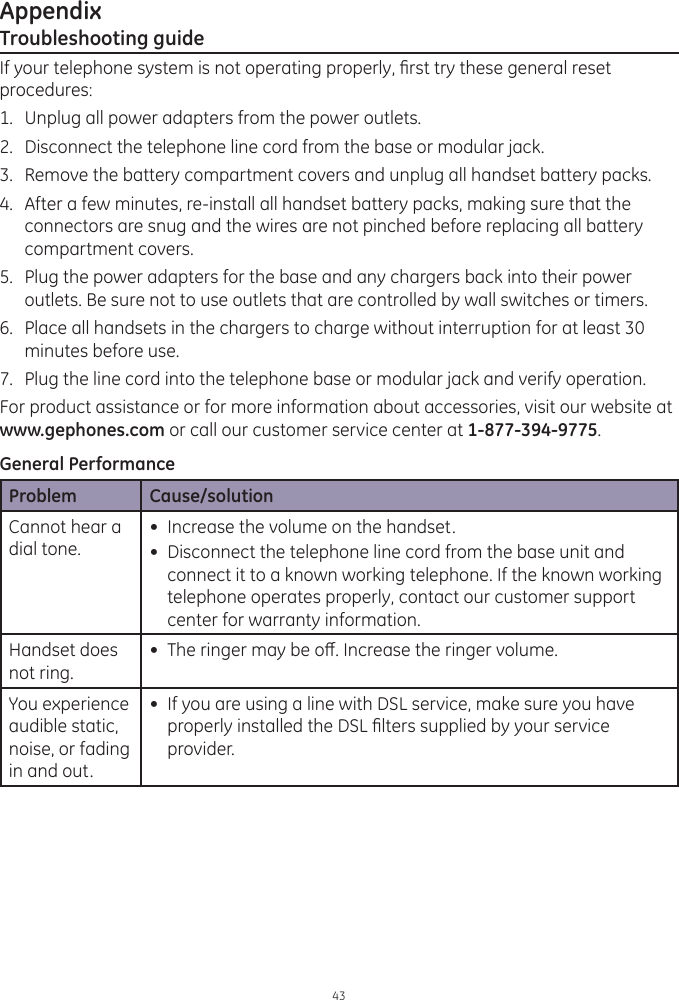
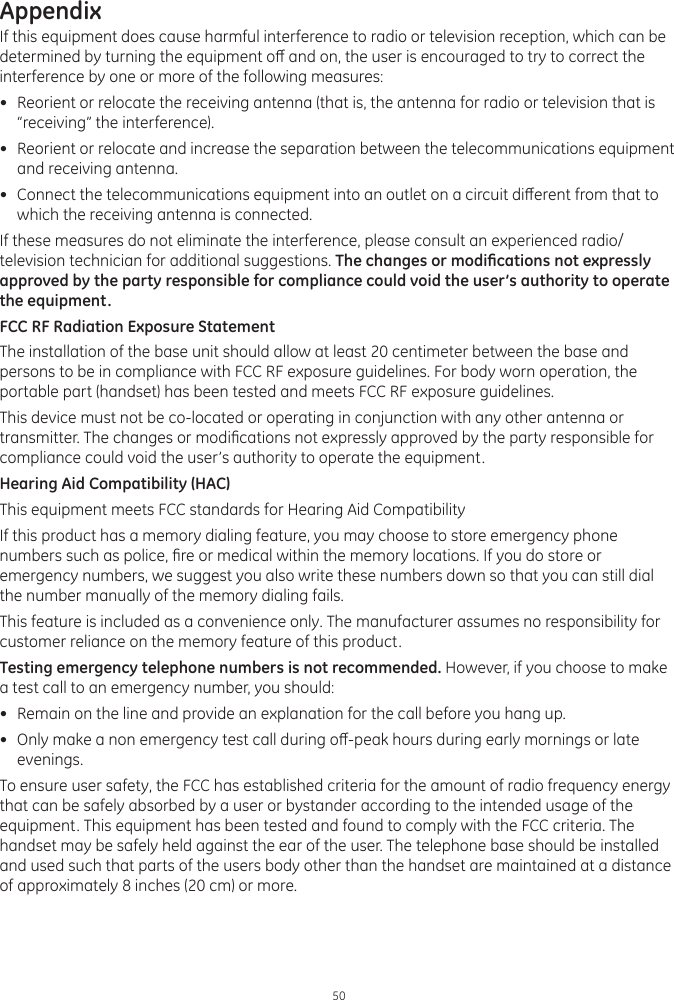
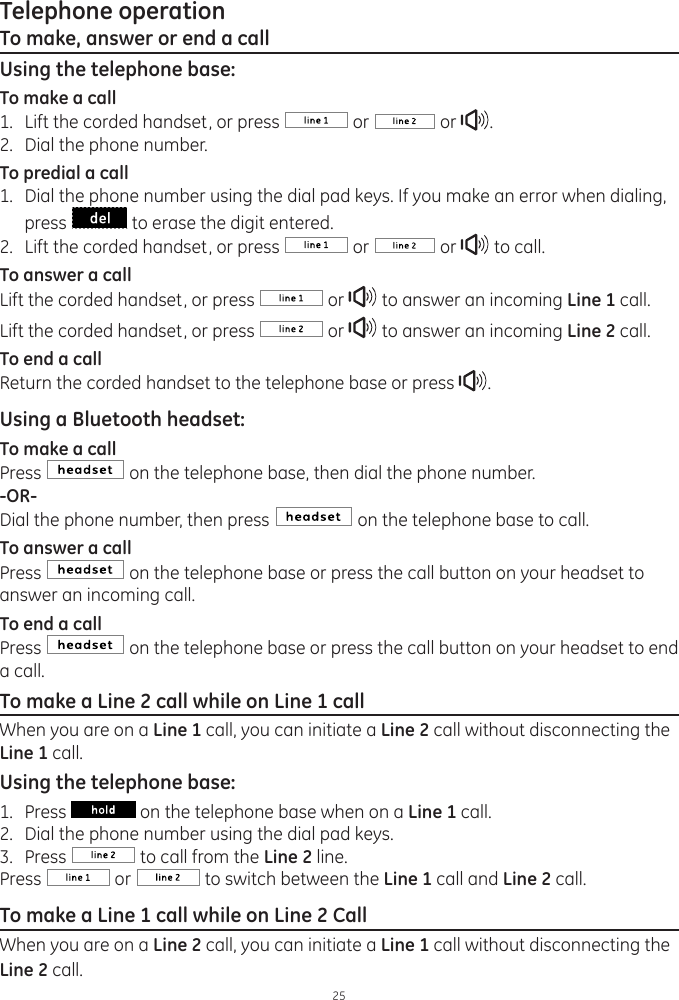
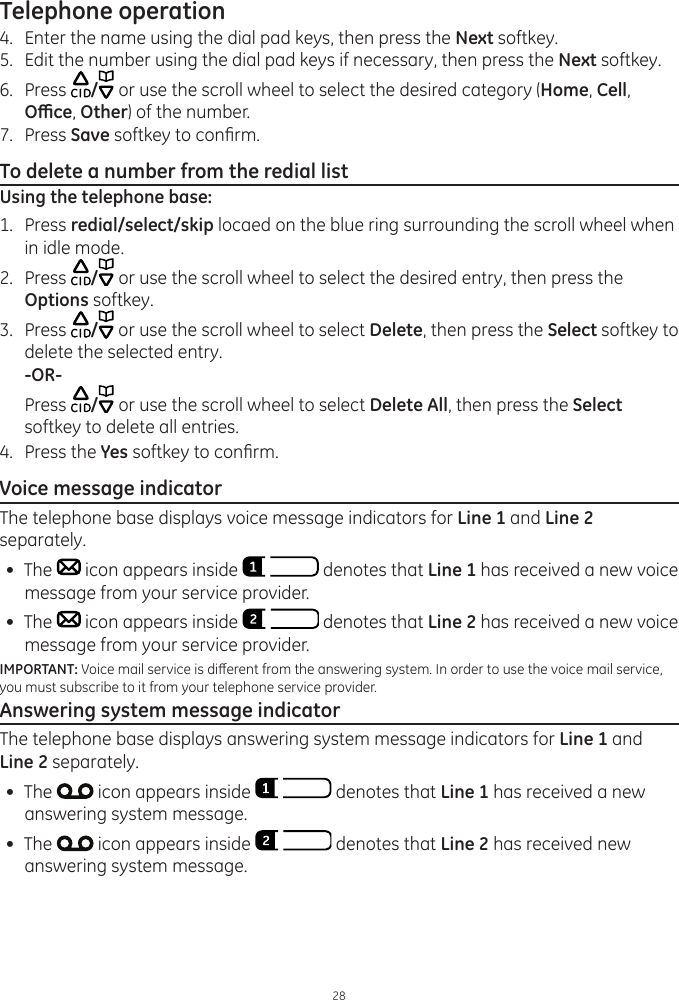
![Telephone base settings22Date and timeIn order for your answering system to accurately mark your messages you must set the date and time.1. Press the Menu softkey when the handset is in idle mode.2. Press / or use the scroll wheel to select Clock & Alarm and then press the Select softkey.3. Press / or use the scroll wheel to select Set Date/Time and then press the Select softkey.4. Enter the current month, day and year. For example, May 16, 2010 should be entered as [0], [5], [1], [6], [1], [0], and then press the Next softkey to conrm.5. Enter the current hour and minute. For example, 9:30 should be entered as [0], [9], [3], [0]. Press / or use the scroll wheel to select AM or PM.6. Press the Save softkey to conrm.Date Format1. Press the Menu softkey when the handset is in idle mode.2. Press / or use the scroll wheel to select Clock & Alarm and then press the Select softkey.3. Press / or use the scroll wheel to select Set Format and then press the Select softkey.4. Press / or use the scroll wheel to select Date Format and then press the Select softkey.5. Press / or use the scroll wheel to select MM/DD/YYYY or YYYY/DD/MM, and then press the Select softkey to conrm.Time Format1. Press the Menu softkey when the handset is in idle mode.2. Press / or use the scroll wheel to select Clock & Alarm and then press the Select softkey.3. Press / or use the scroll wheel to select Set Format and then press the Select softkey.4. Press / or use the scroll wheel to select Time Format and then press the Select softkey.5. Press / or use the scroll wheel to select 12 Hours or 24 Hours, and then press the Select softkey to conrm.](https://usermanual.wiki/CCT/30385/User-Guide-1461593-Page-26.png)
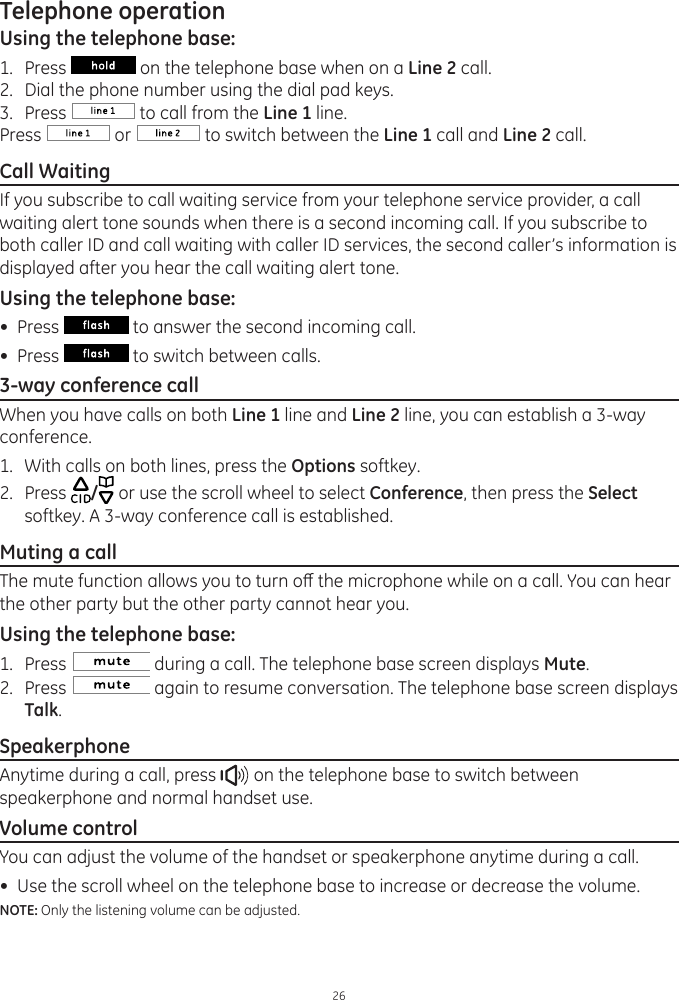
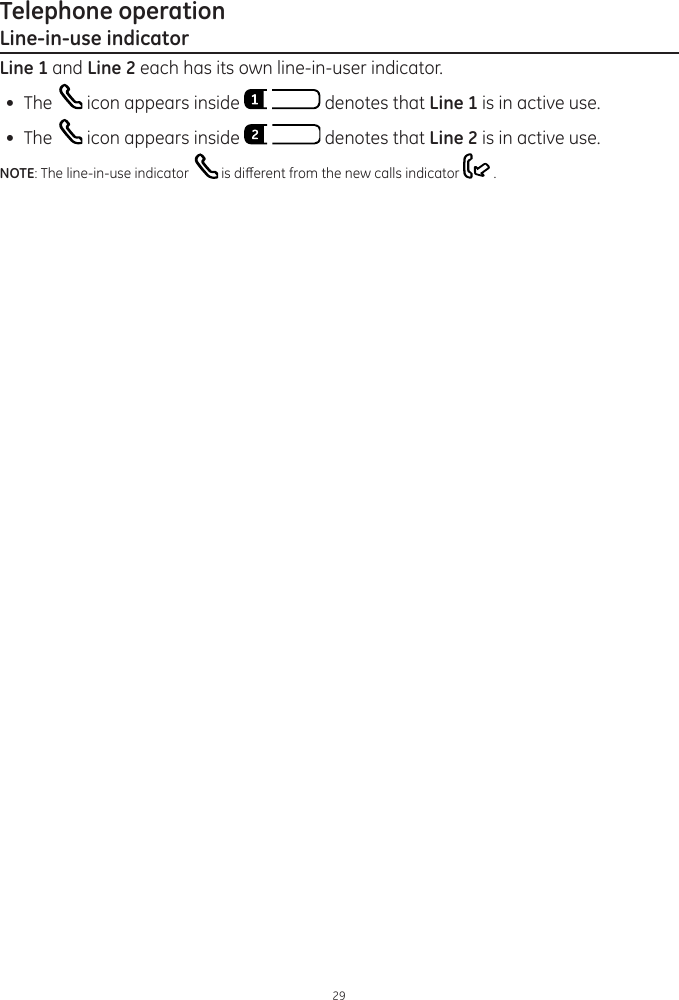
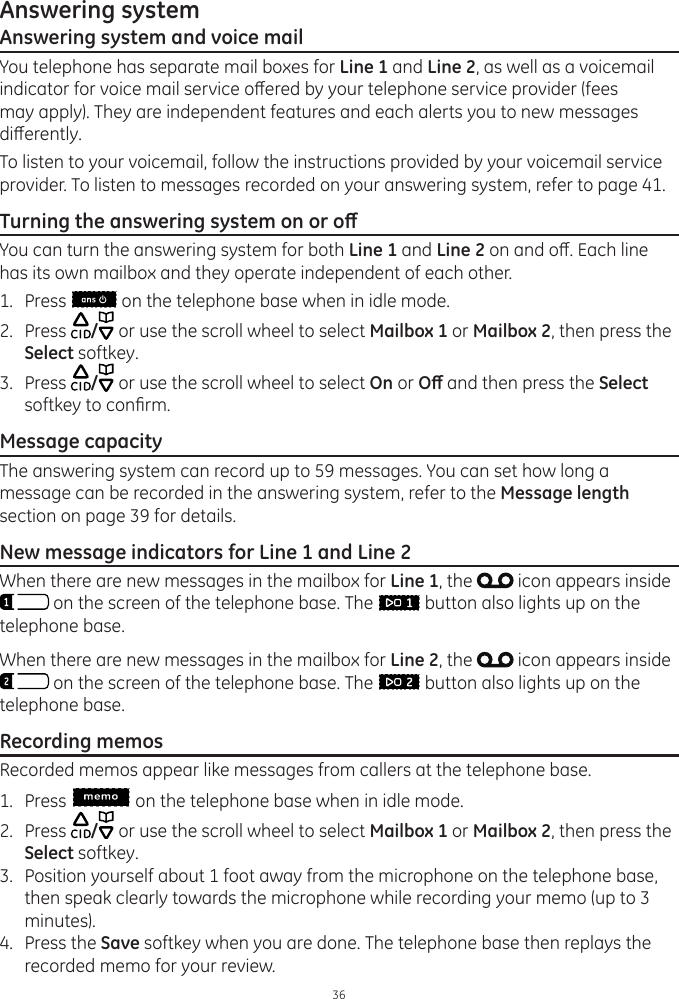
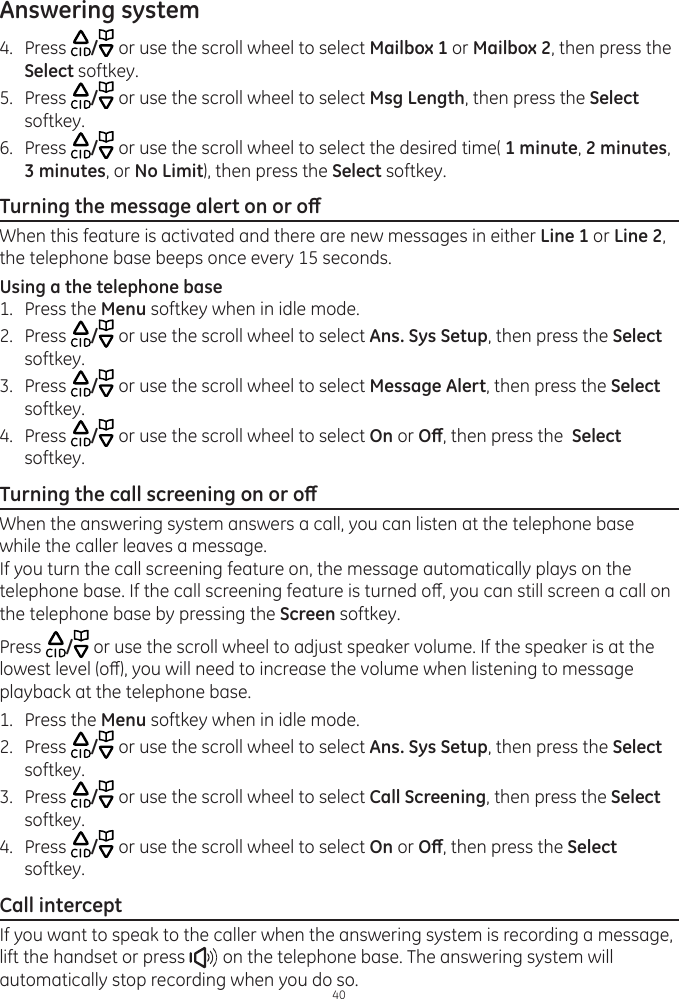
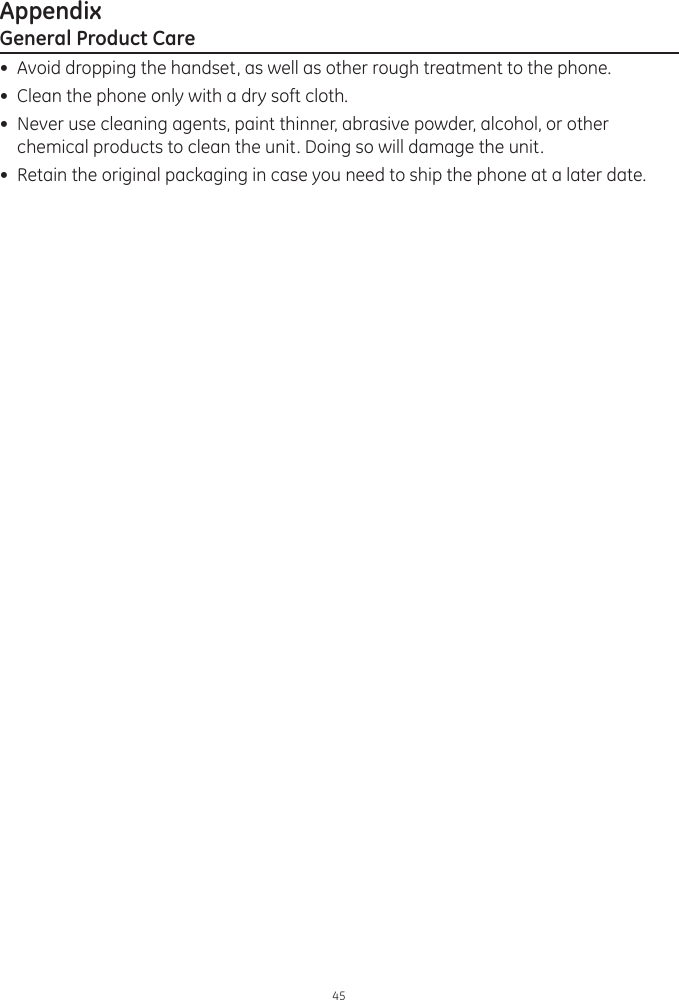
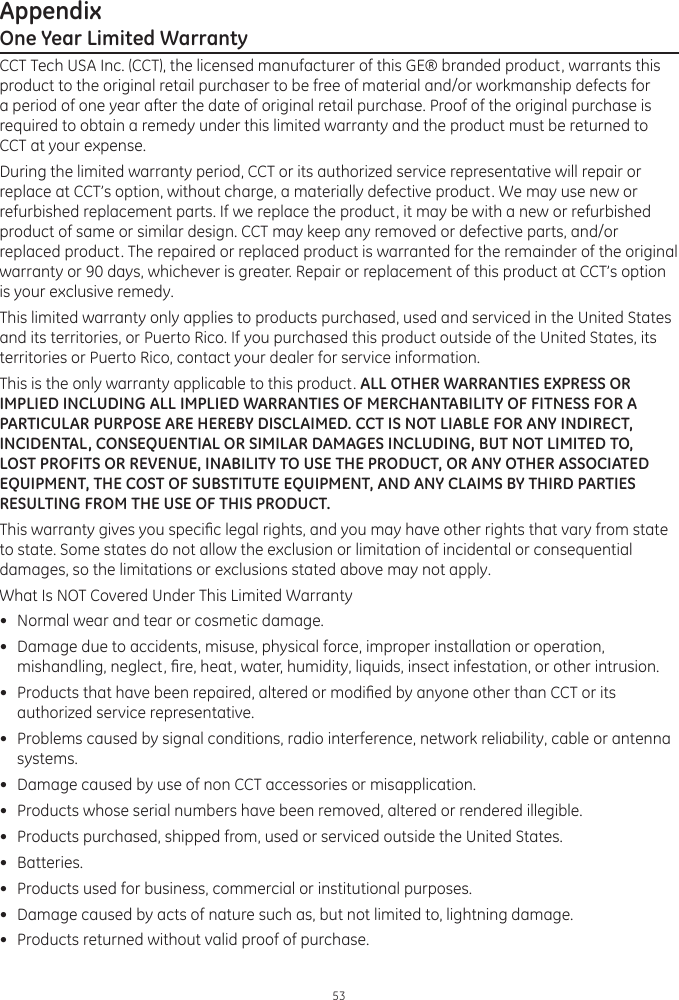
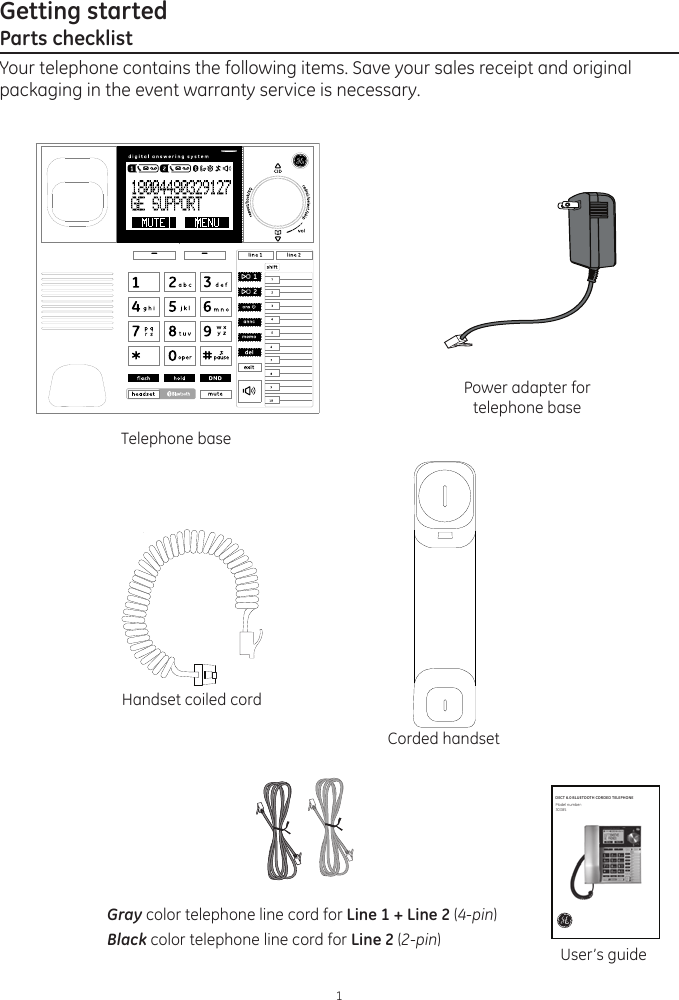
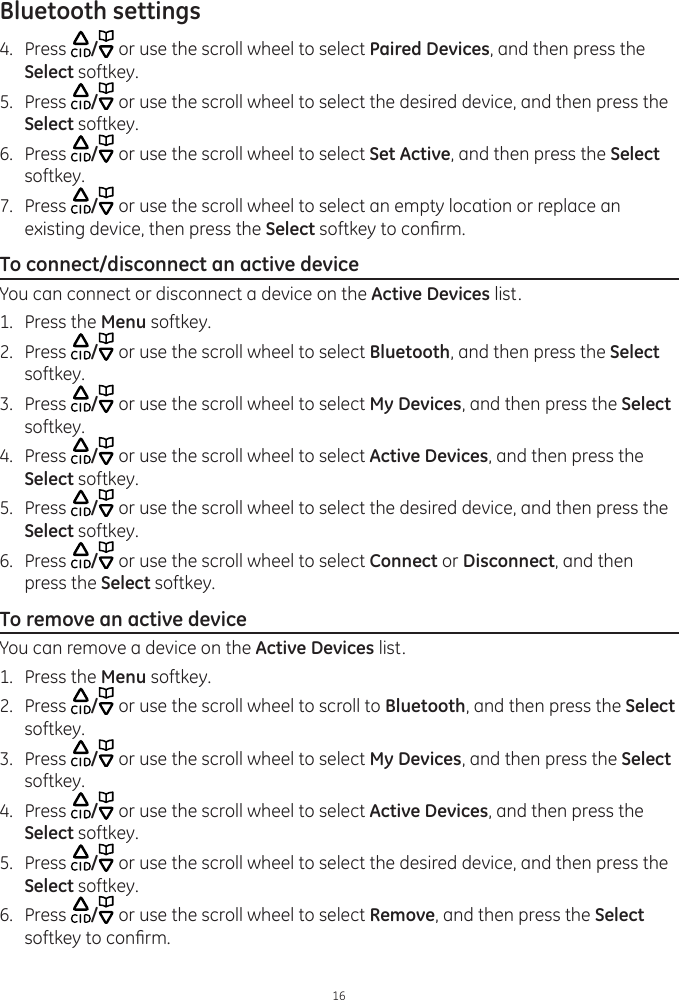
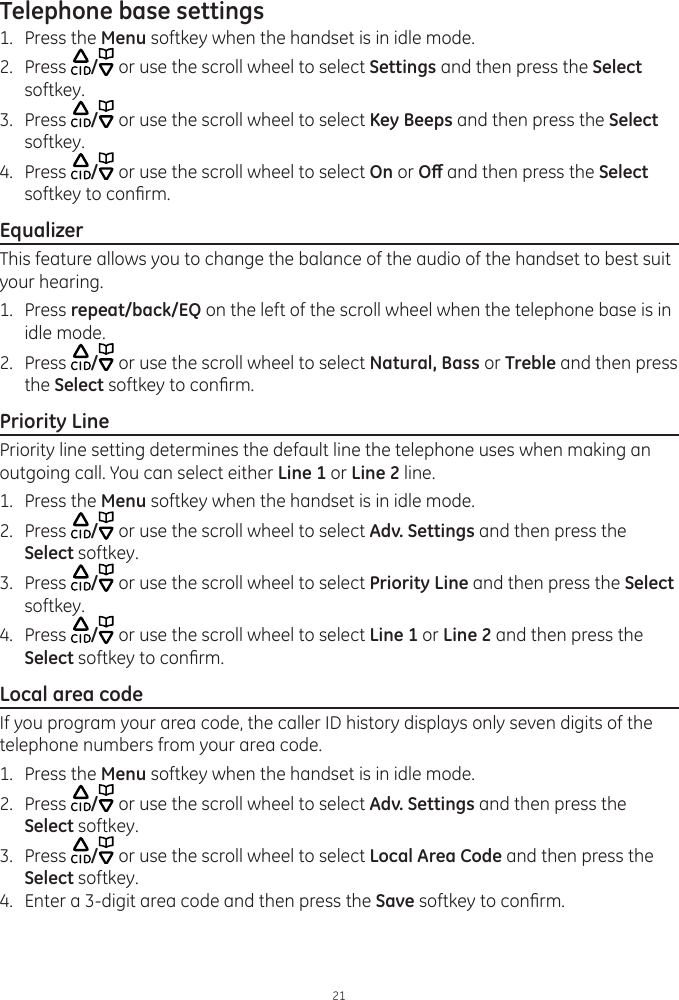
![Phonebook331. Lift the corded handset, or press or or .2. Press the desired memory location button on the telephone base. To edit/delete a memory location number:1. Press the Menu softkey when the telephone base is in idle mode. 2. Press / or use the scroll wheel to select Direct Memory, then press the Select softkey. 3. Press the desired memory location button (1-10 for locations 1-10, or shift following by 1-10 for locations 11-20).4. To edit the number, press to delete the existing numbers. Then use the dial pad keys to enter the new number (max. 24 digits). If you need a pause between digits, press and hold the until a P appears in the display. This will insert a 3-second pause in the dialing sequence. -OR- To delete the number, press and hold until all numbers erased on the screen. 5. Press the Save softkey to conrm.Character tableUse the dial pad and the chart below to enter a name (up to 15 characters). Each press of a particular key displays the character in the following order:Dial pad keyCharacter by number of key presses12345678[1] space 1 # ‘ , - . &[2] Aa Bb Cc 2[3] Dd Ee Ff 3[4] Gg Hh Ii 4[5] Jj Kk Ll 5[6] Mm Nn Oo 6[7] Pp Qq Rr S 7[8] Tt Uu Vv 8[9] Ww Xx Yy Zz 9[0] 0NOTE: Press # to alternate between upper and lower case. Press * for special characters, *, ?, !, /, (, ), @.](https://usermanual.wiki/CCT/30385/User-Guide-1461593-Page-37.png)