CE LINK WD01 Wi-Fi Display User Manual
CE LINK LIMITED Wi-Fi Display
UserManual.wiki
>
CE LINK
>
WD01 User Manual
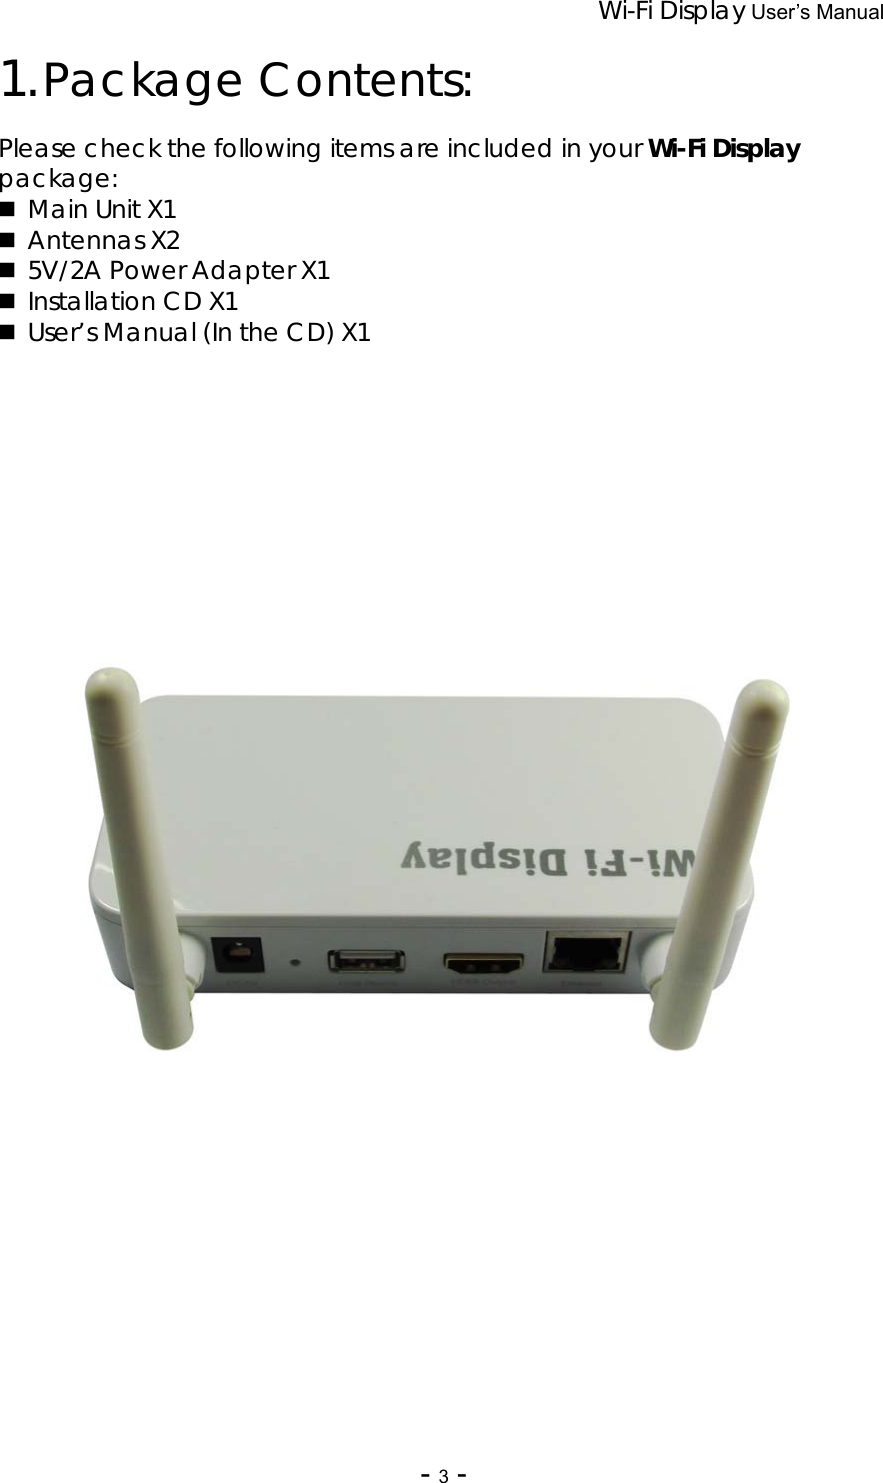
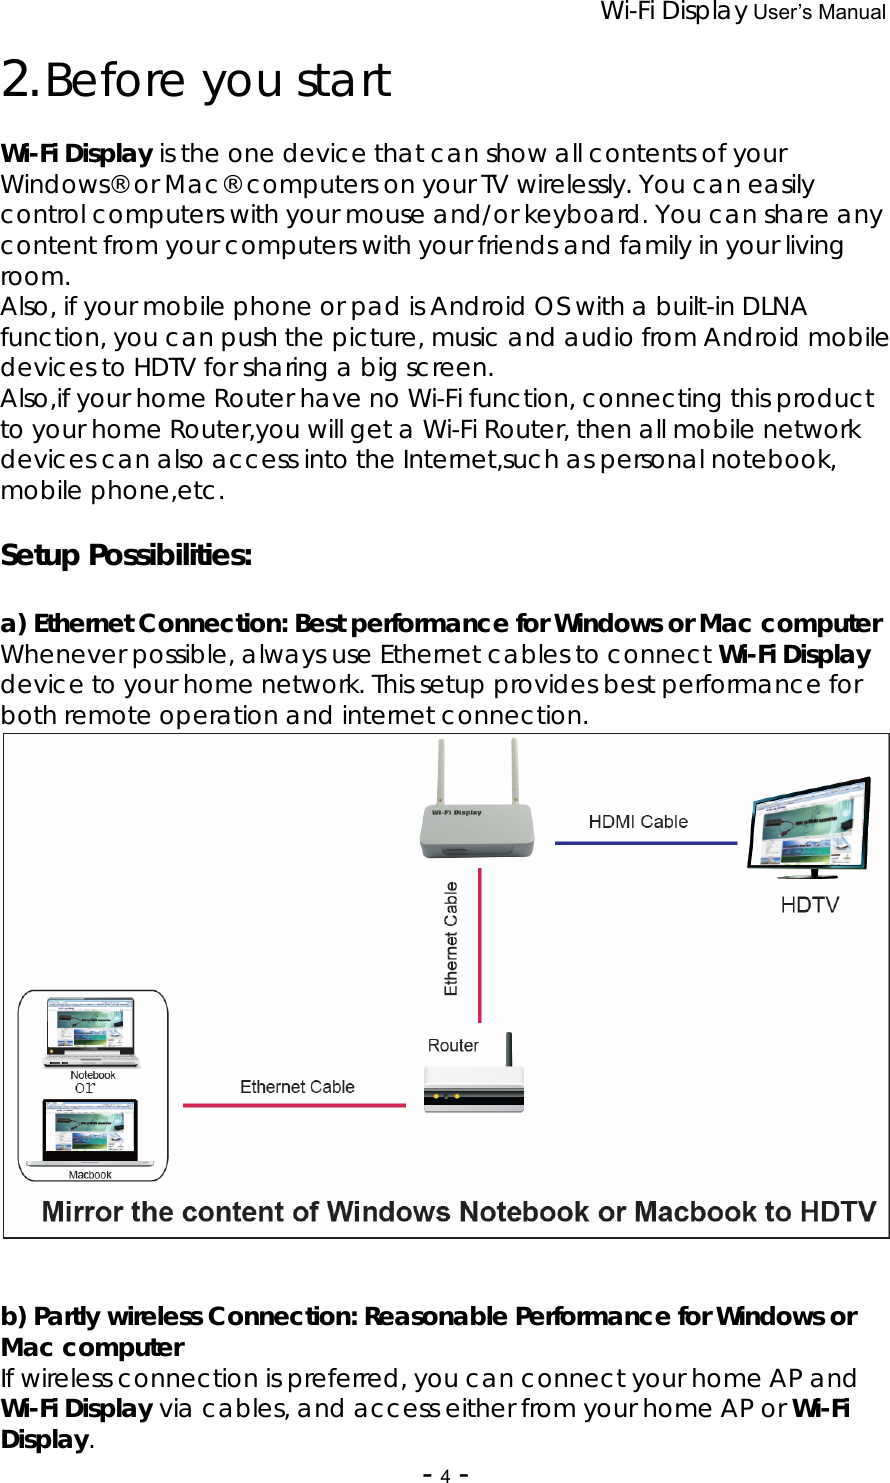
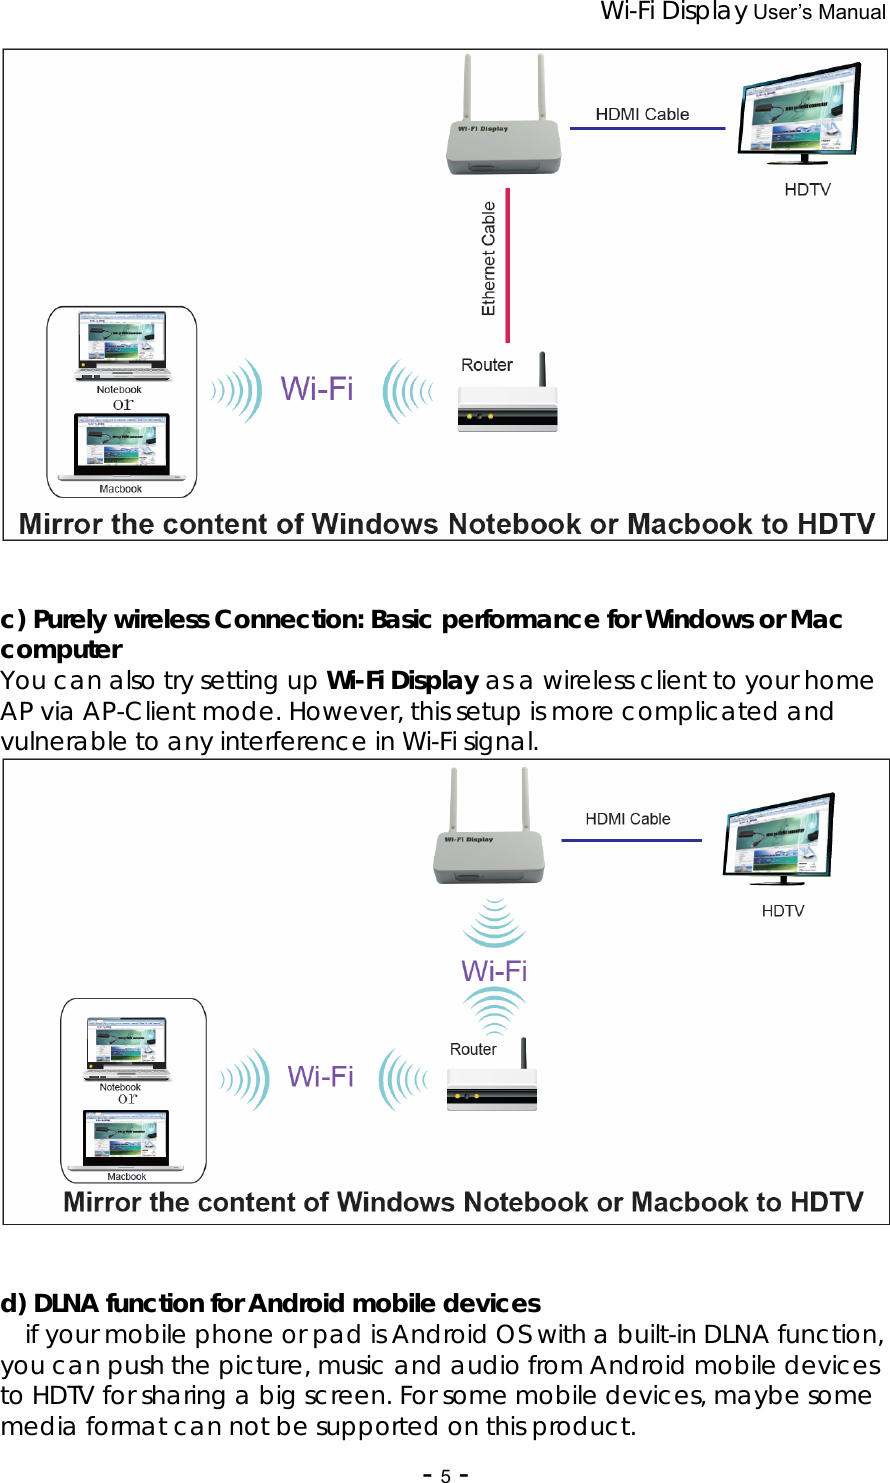
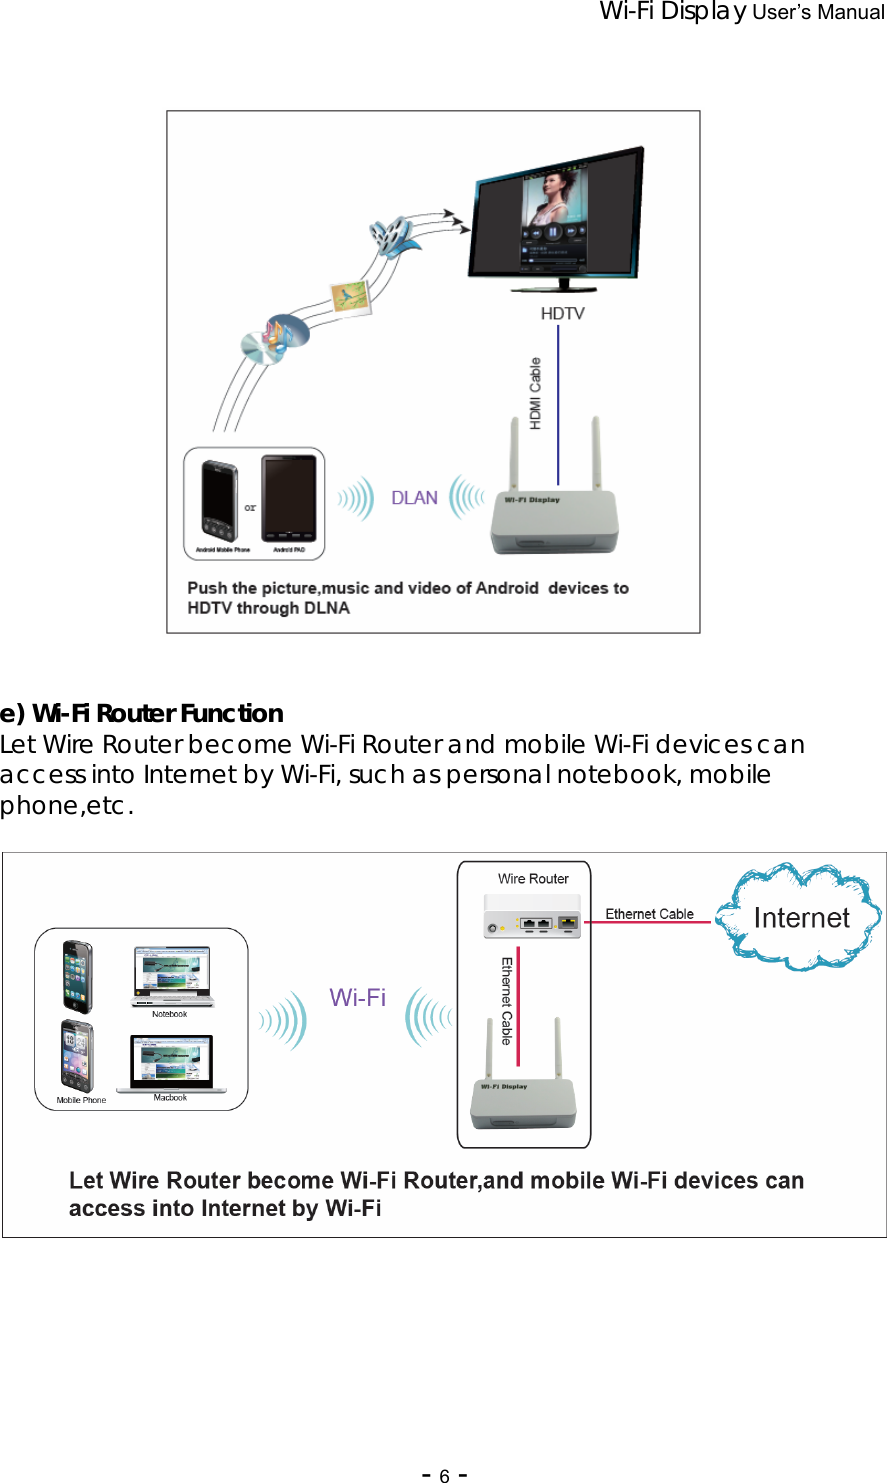
User manual
Navigation menu
Upload a User Manual
Namespaces
Wiki Guide
HTML
PDF
Info
Views
User Manual
Discussion / Help
Navigation
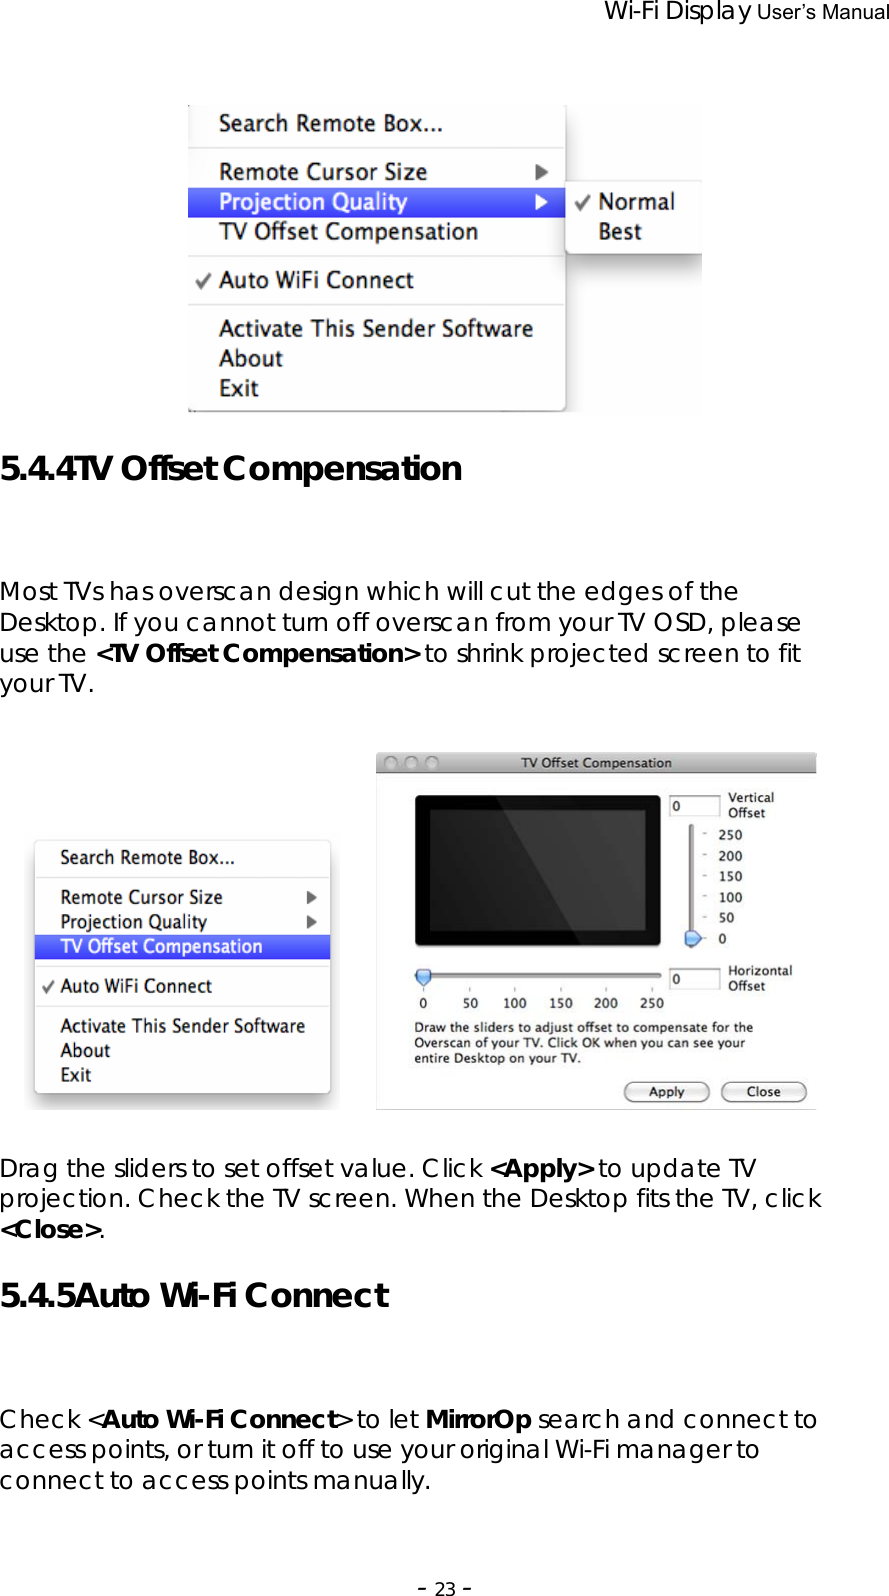

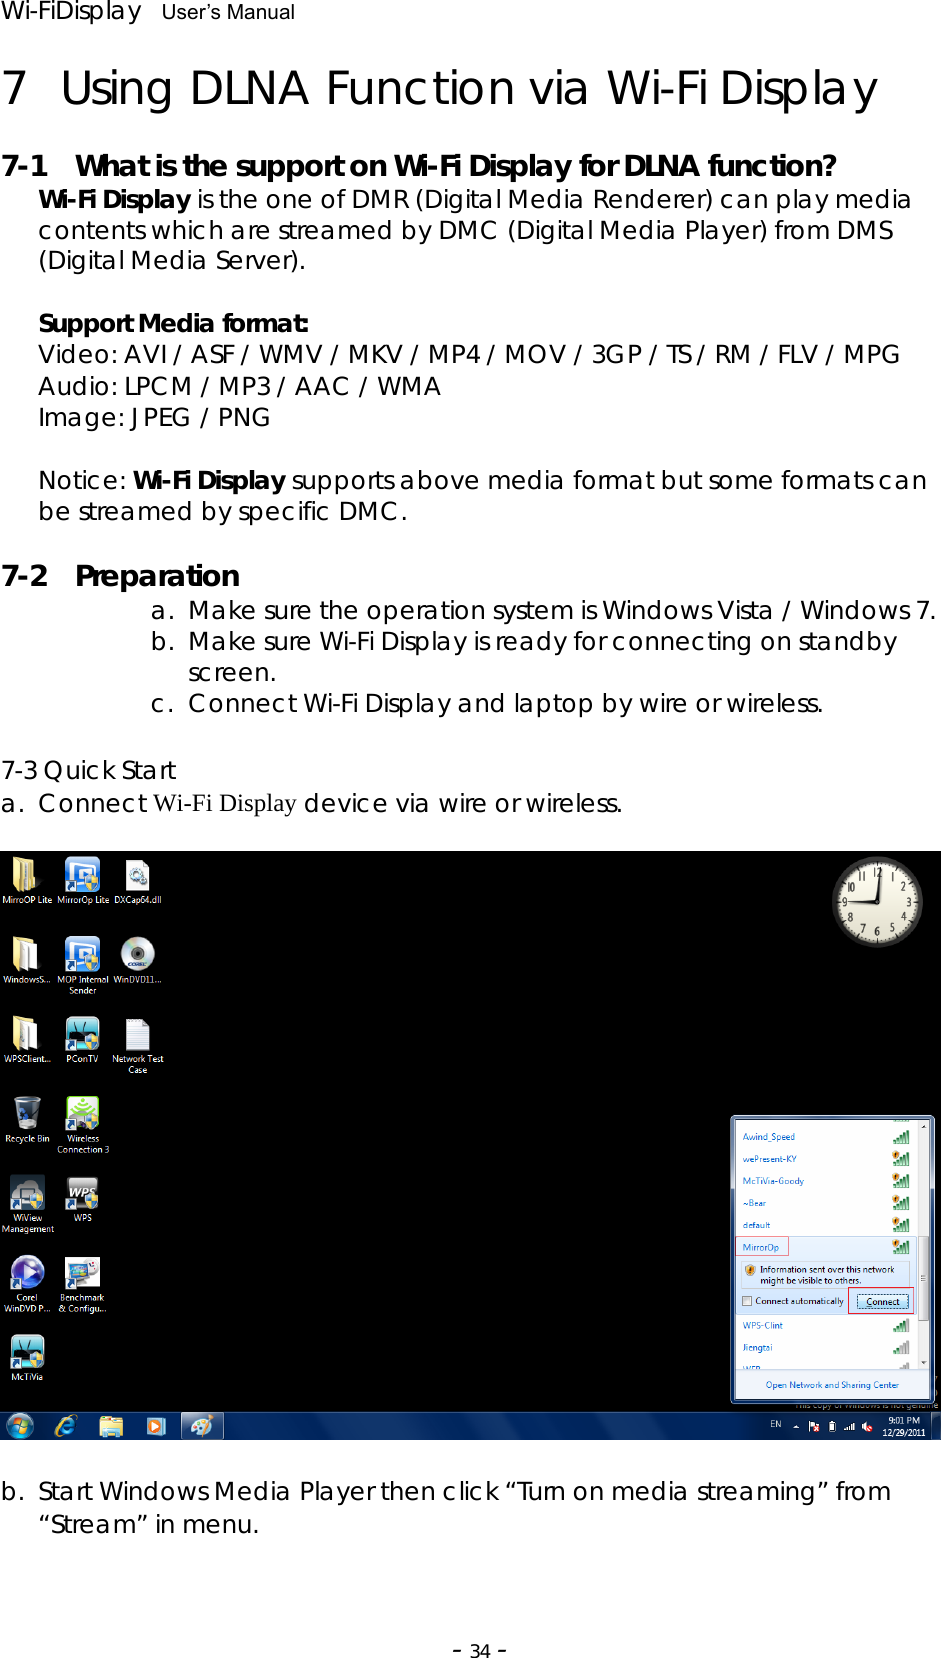
![Wi-Fi Display User’s Manual ‐28‐6 Web Management Home Page ♦ Make sure your PC is connected to MirrorOp device successfully. ♦ Open your browser, and enter the IP address of your MirrorOp device. Login Web Admin ♦ Click [Admin] and then enter password to login web page. ♦ Default password is “admin”.](https://usermanual.wiki/CE-LINK/WD01/User-Guide-1888964-Page-28.png)
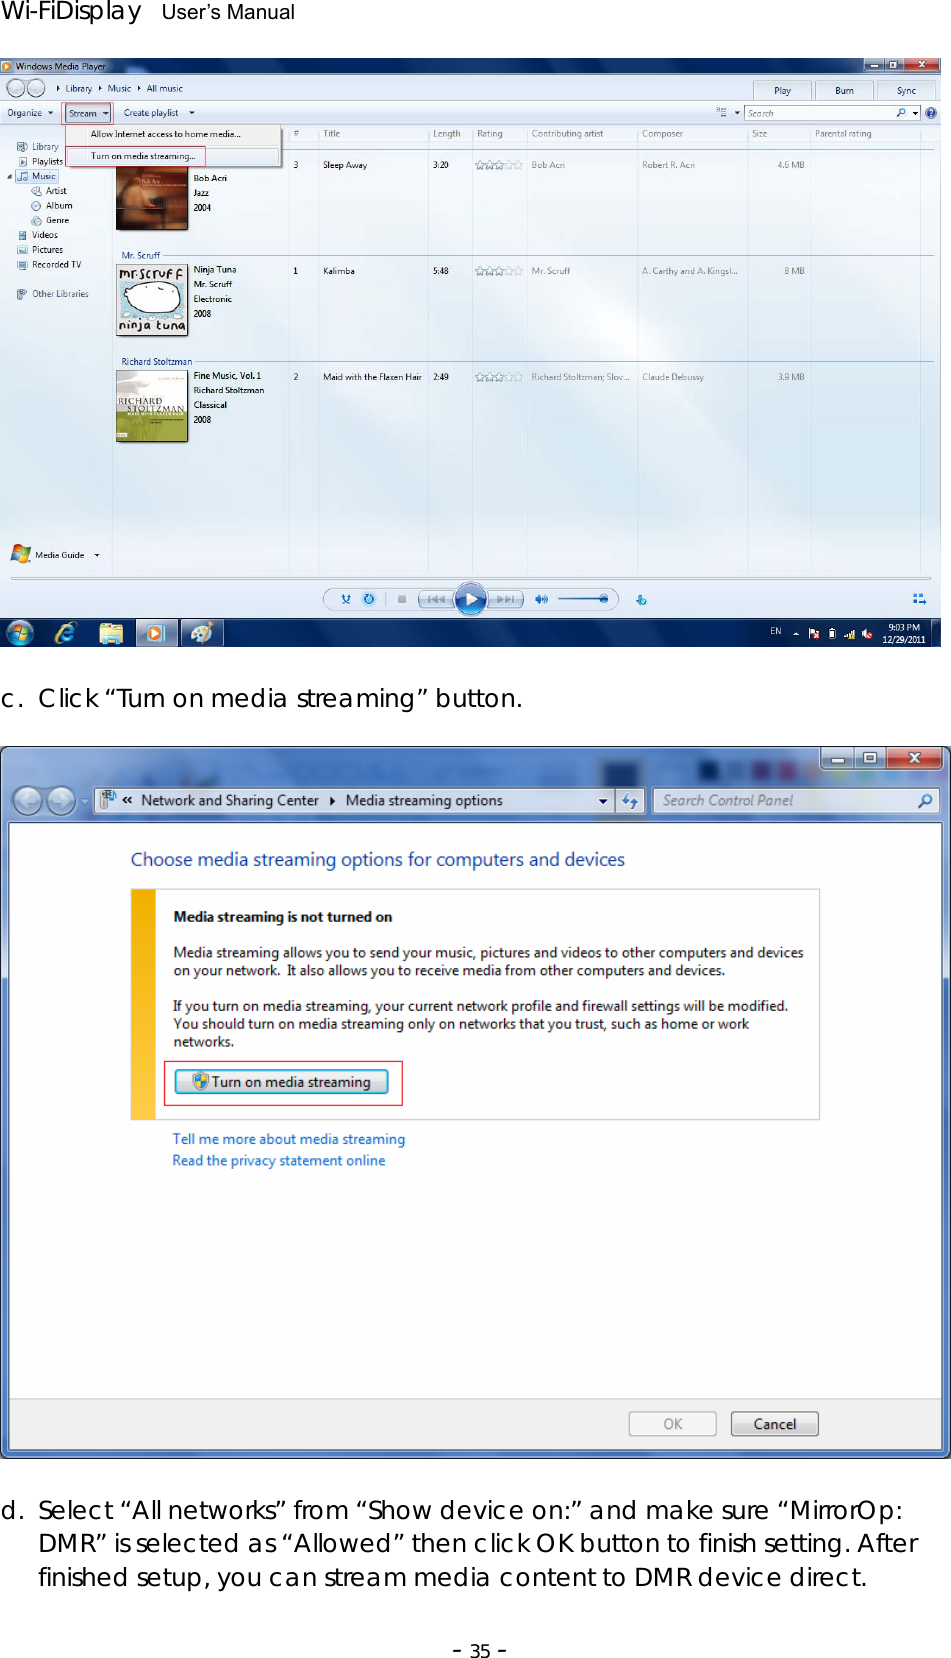
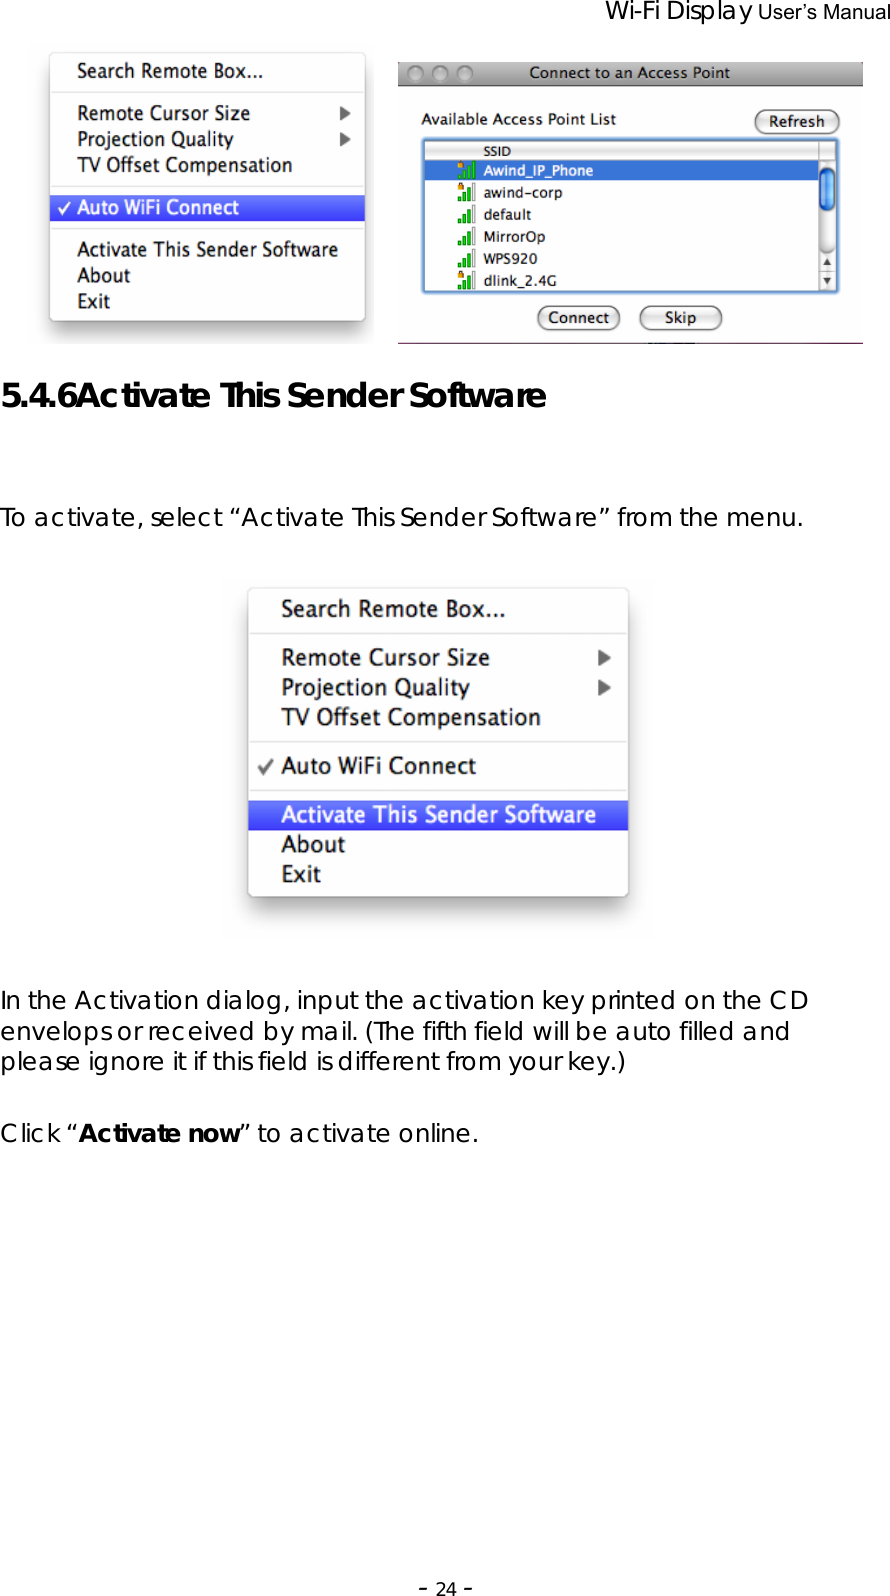
![Wi-Fi Display User’s Manual ‐29‐ System Status *** Click [System Status] to show current system status. Model Name: Product model name Versions: ♦ Firmware version: Product firmware version number. Network Status: ♦ IP address: IP address of MirrorOp device. ♦ Subnet Mask: subnet mask ♦ Default Gateway: default gateway ♦ Wire MAC address: wire network MAC address](https://usermanual.wiki/CE-LINK/WD01/User-Guide-1888964-Page-29.png)
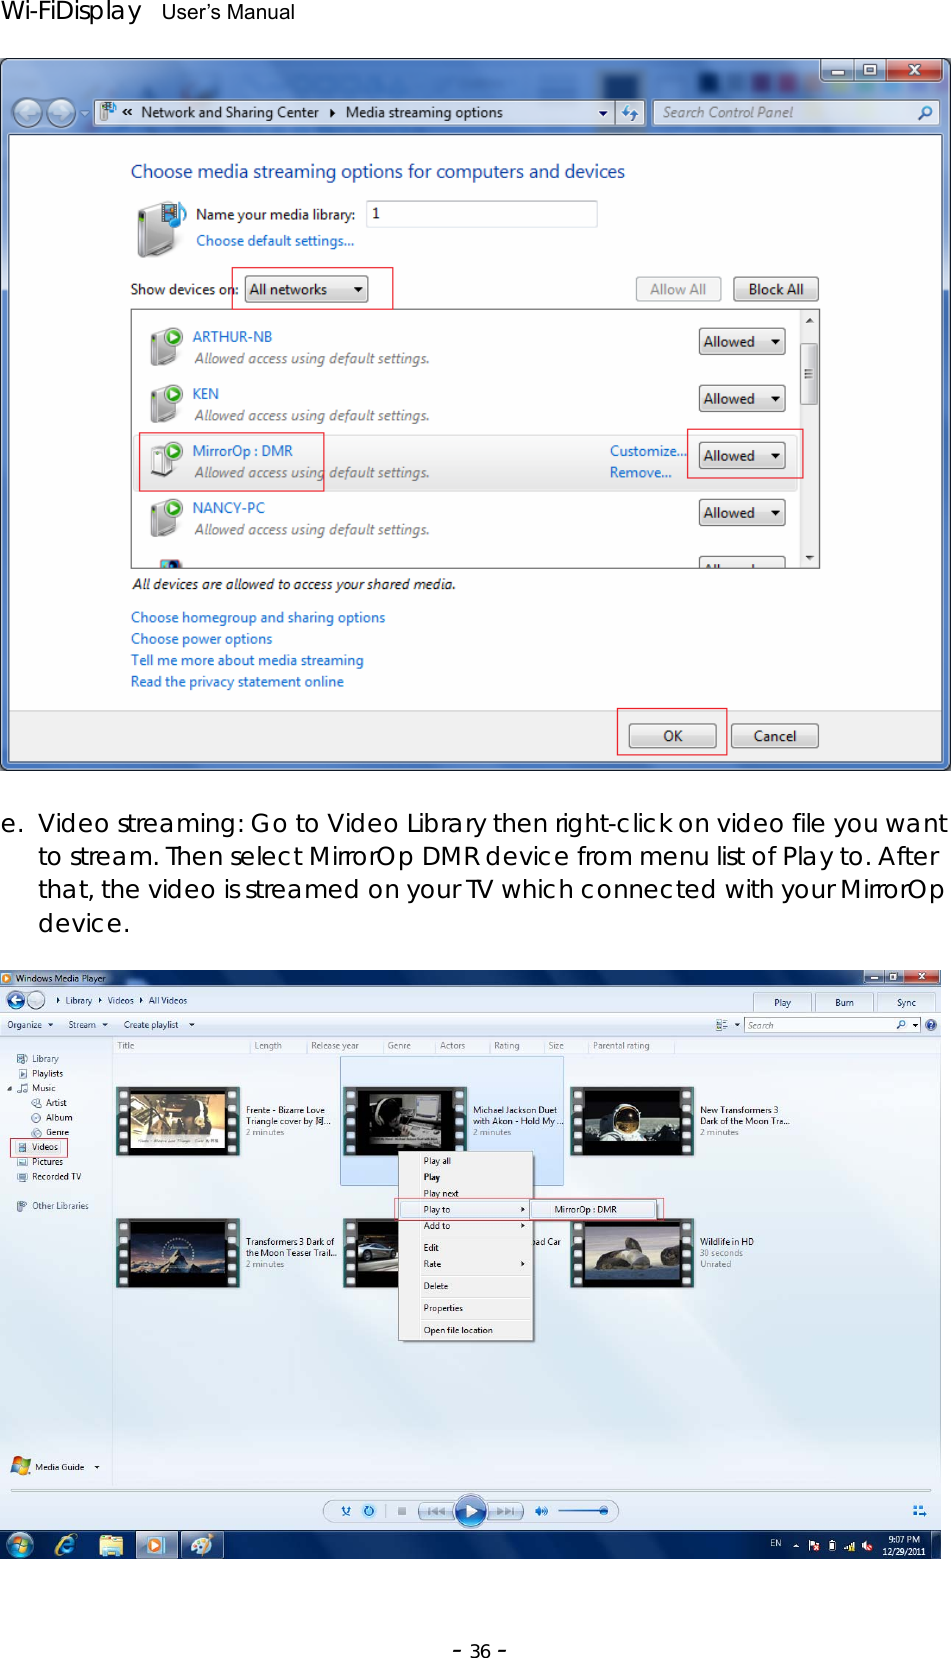
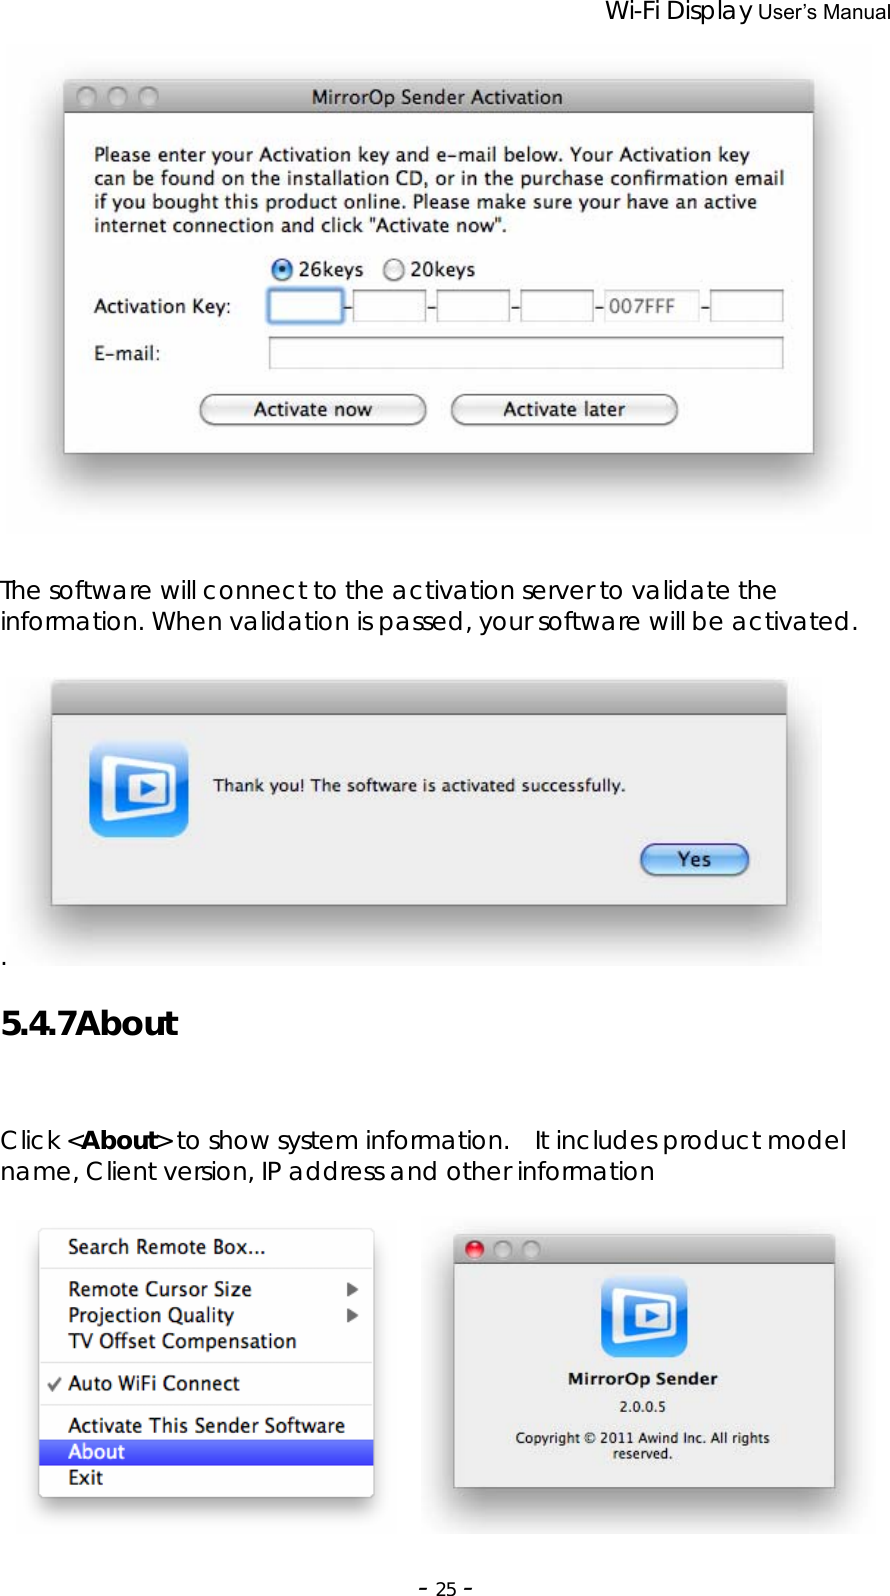
![Wi-Fi Display User’s Manual ‐31‐♦ SSID: SSID string, max. Length is 32 bytes. ♦ SSID Broadcast: you can select “Enable” or “Disable” ♦ Channel: to set fixed channel or Auto. ♦ Security: Disable/WEP/WPA/WPA2 ♦ Key: Security key of your choice. < AP Client> ♦ Connect to existing AP: Type in the Home AP SSID you want to connect. ♦ Encryption: Disable/WEP/WPA/WPA2 ♦ Key: Type the Home AP’s security key. <Apply >: press button to select this mode <Cancel>: press button to abort action. <Back>: back to Operating mode main menu Change Passwords *** Click [Change Password] button to change password value. <Enter New Password>: enter new password you want to change for each category. <Confirm New Password>: double confirm new password. <Apply>: Confirmation and Save modifications.](https://usermanual.wiki/CE-LINK/WD01/User-Guide-1888964-Page-31.png)
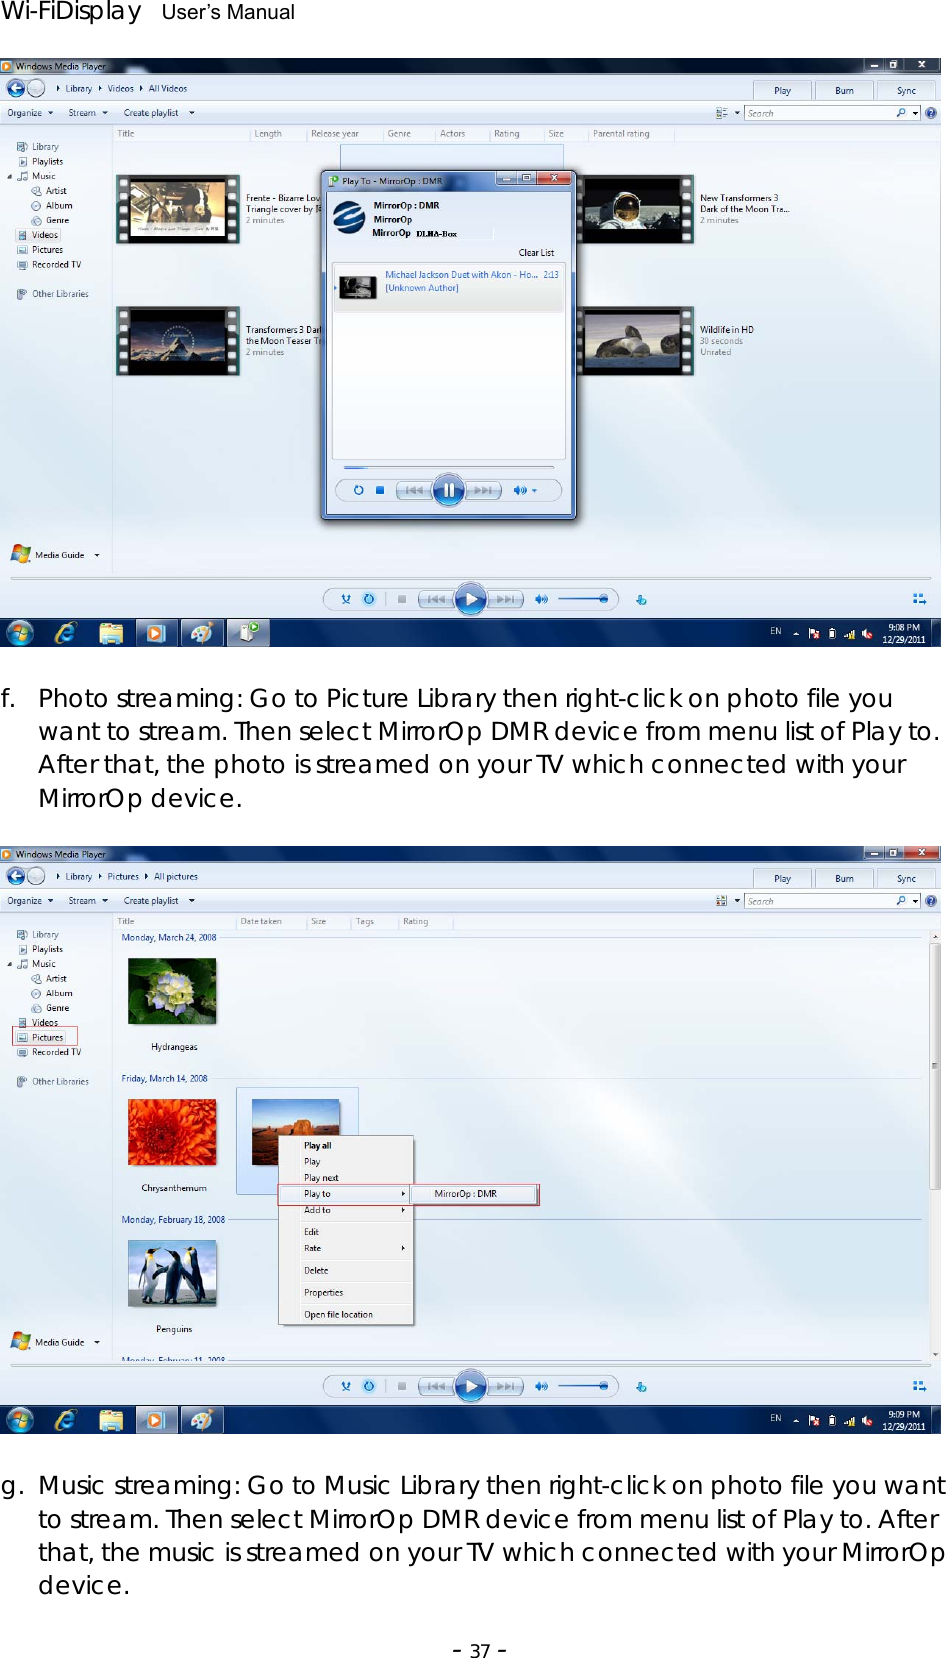
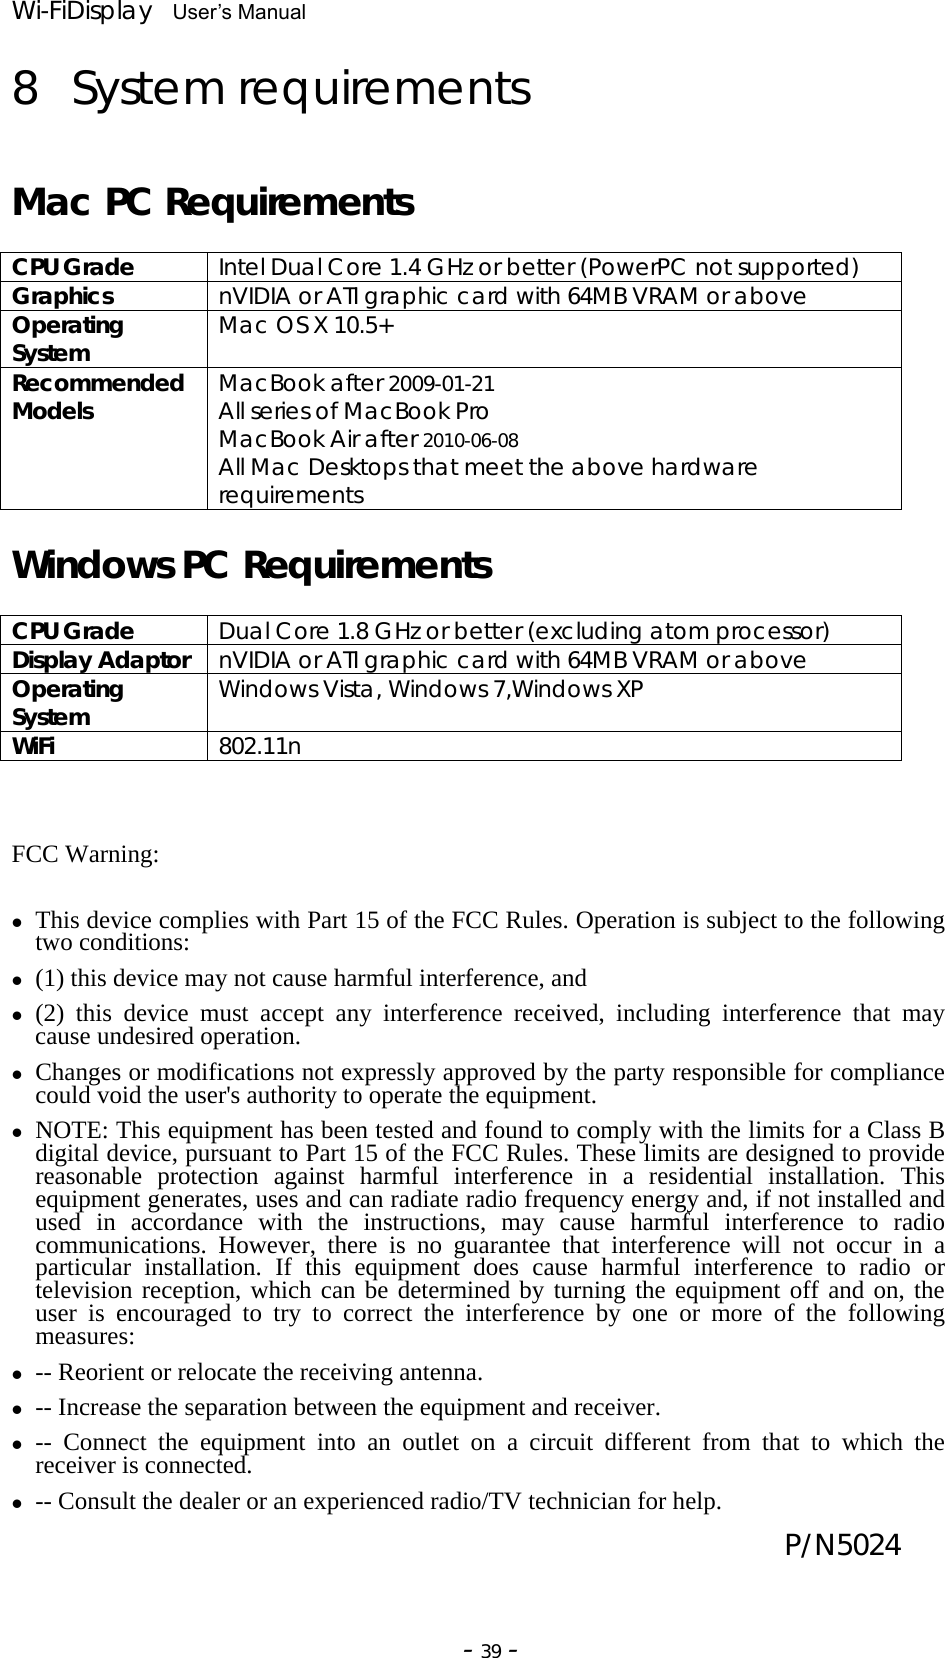
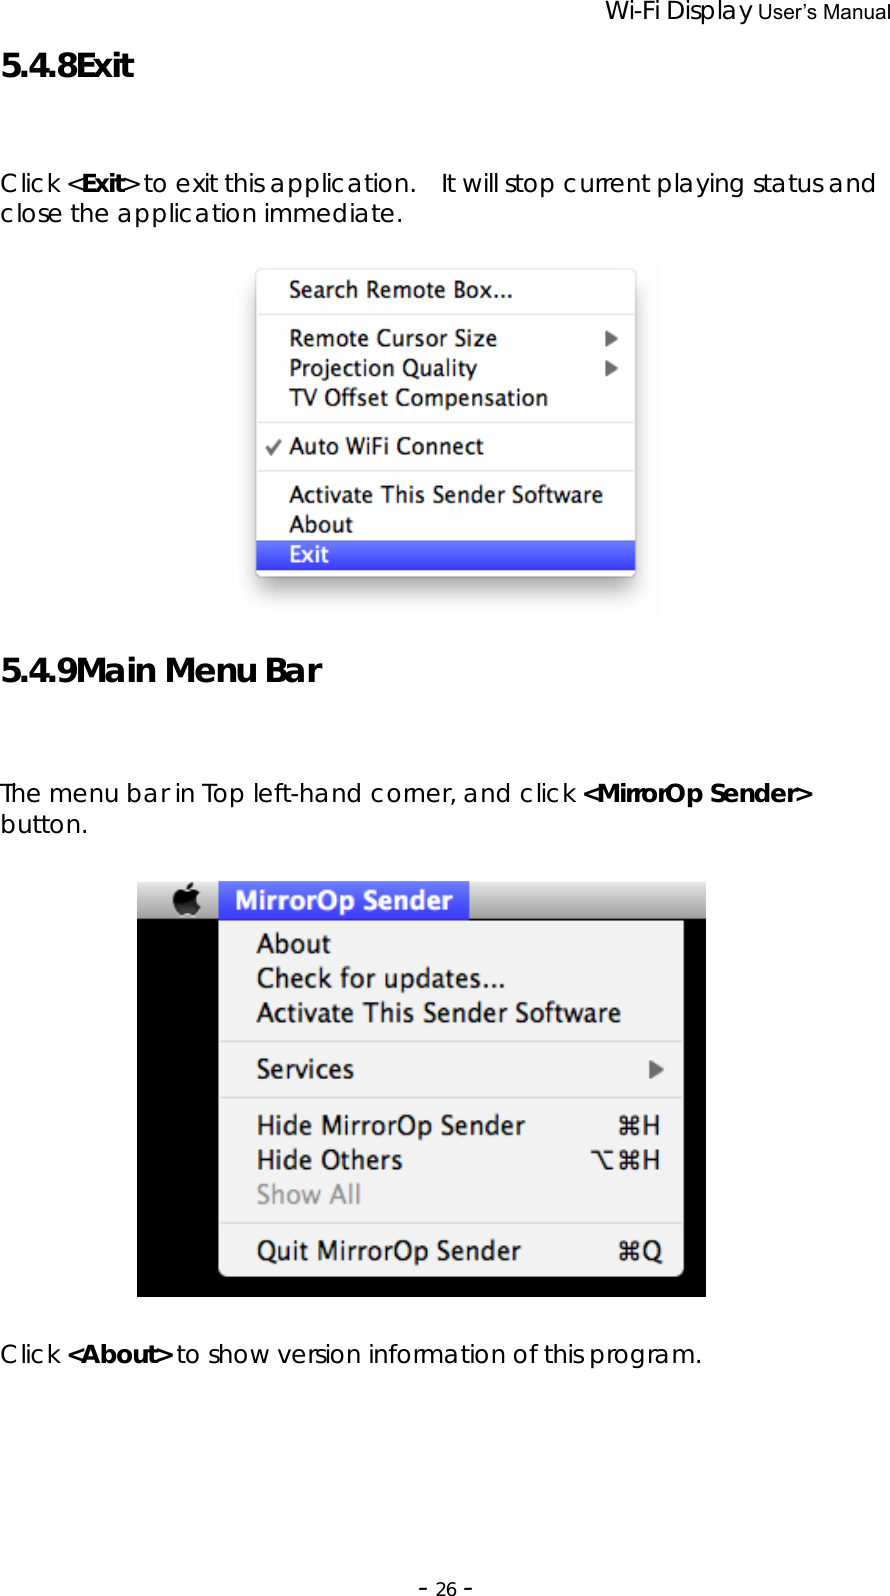
![Wi-Fi Display User’s Manual ‐32‐ Reset to Default *** Click [Reset to Default] button to restore factory default settings. <Apply>: Confirmation and action. Firmware Update *** Click [Firmware Update] button to upgrade firmware. ♦ Firstly, you have to get latest firmware image file from your vendor. ♦ Click <Choose File> to specify file name you want to upgrade. ♦ Click <Update> to start. The upgrade process takes about 5 minutes to complete. The MirrorOp device will reboot automatically when the process is completed. Warning: Don’t power off MirrorOp while firmware upgrade in progress, otherwise MirrorOp device may be damaged and have to be returned to your vendor for repair.](https://usermanual.wiki/CE-LINK/WD01/User-Guide-1888964-Page-32.png)
![Wi-Fi Display User’s Manual ‐33‐ Reboot System *** Click [Reboot System] button to restart system <Reboot>: reboot system automatically. Logout *** Click [Logout] button to return to home page.](https://usermanual.wiki/CE-LINK/WD01/User-Guide-1888964-Page-33.png)